manuals.online logo
Brands
  1. Home
  2. •
  3. Brands
  4. •
  5. KLH
  6. •
  7. Subwoofer
  8. •
  9. KLH STRATTON 10 User manual

KLH STRATTON 10 User manual

POWERED
SUBWOOFER
STRATTON 10 STRATTON 12
MANUAL
BIENVENUE!
Nous vous remercions d’avoir acheté l’un des subwoofers les plus puis-
sants jamais produits. Chez KLH, nous fabriquons des composants de
haute qualité depuis 1957, et nous sommes fiers de faire de votre musique
et de vos films la meilleure expérience possible.
POUR VOTRE SÉCURITÉ
Consignes de sécurité importantes!
1. Lisez ces instructions.
2. GARDEZ ces instructions.
3. HEED tous les avertissements.
4. SUIVEZ toutes les instructions.
5. N’utilisez PAS cet appareil près de l’eau.
6. NETTOYER avec un chiffon sec.
7. NE BLOQUEZ PAS les ouvertures de ventilation. Installez conformé-
ment aux instructions du fabricant.
8. Ne pas installer à proximité de sources de chaleur telles que des
radiateurs, des bouches de chaleur, des poêles ou tout autre appareil (y
compris les amplificateurs) produisant de la chaleur.
9. Protégez le cordon d’alimentation pour qu’il ne puisse pas marcher ou
ne soit pas pincé, en particulier au niveau des prises, des accessoires et
des points de sortie de l’appareil.
10. N’utilisez que des accessoires / accessoires spécifiés par le fabricant.
11. Débranchez cet appareil pendant les orages ou lorsqu’il n’est pas util-
isé pendant de longues périodes.
12. Confiez toute réparation à un technicien qualifié. Un entretien est
nécessaire lorsque l’appareil a été endommagé de quelque façon que ce
soit, comme un cordon d’alimentation ou une prise endommagée, du liq-
uide ou des objets sont tombés dans l’appareil, l’appareil a été exposé à la
pluie ou à l’humidité, ne fonctionne pas normalement ou été abandonné.
13. NE PAS exposer à l’excès d’humidité ou de liquides et ne pas placer de
récipients avec des liquides sur les haut-parleurs.
14. La ventilation ne doit pas être gênée en couvrant les ouvertures de ven-
tilation avec des articles tels que des journaux, des nappes, des rideaux, etc.
15. Aucune source de flamme nue, telle que des bougies allumées, ne doit
être placée sur l’appareil; l’utilisation d’appareils dans les climats modérés.
16. “AVERTISSEMENT”, “Pour réduire le risque d’incendie ou d’électrocu-
tion, n’exposez pas cet appareil à la pluie ou à l’humidité.”
17. La prise SECTEUR ou un coupleur d’appareil est utilisé comme dis-
positif de déconnexion, les dispositifs de déconnexion doivent rester
facilement opérationnels;
Le point d’exclamation, dans un triangle équilatéral, est destiné
à alerter l’utilisateur de la présence d’instructions importantes
d’utilisation et de maintenance (entretien) dans la
documentation accompagnant le produit.
Le symbole de l’éclair dans un triangle équilatéral est destiné à
alerter l’utilisateur de la présence d’une «tension
dangereuse» non isolée dans l’enceinte du produit qui peut
être d’une amplitude suffisante pour constituer un risque de
choc électrique pour les personnes.
INFORMATIONS DE CONFORMITÉ UE:
Éligible à porter la marque CE, conforme à l’EMC de l’Union européenne
Directive 2004/108 / CE; Directive 2011/65 / CE de l’Union européenne
sur la restriction de la refonte des substances dangereuses (RoHS2);
Directive européenne DEEE 2002/96 / CE. KLH et le logo KLH sont des
marques déposées de Kelley Global Brands Inc., enregistrées aux États-
Unis et dans d’autres pays.
WELCOME!
Thank you for purchasing one of the best sounding powered subwoofers
ever produced. At KLH, we have been making high-quality components
since 1957, and we take pride in making your music and movies the best
experience possible.
FOR YOUR SAFETY
Important Safety Instructions!
1. READ these instructions.
2. KEEP these instructions.
3. HEED all warnings.
4. FOLLOW all instructions.
5. DO NOT use this apparatus near water.
6. CLEAN with dry cloth.
7. DO NOT block any ventilation openings. Install in accordance with the
manufacturer’s instructions.
8. Do not install near any heat sources such as radiators, heat registers,
stoves, or other apparatus (including amplifiers) that produce heat.
9. Protect the power cord from being walked on or pinched particularly
at plugs, convenience receptacles, and the point where they exit from
the apparatus.
10. Only use attachments/accessories specified by the manufacturer.
11. Unplug this apparatus during lightning storms or when unused for long
periods of time.
12. Refer all servicing to qualified service personnel. Servicing is required
when the apparatus has been damaged in any way, such as power-supply
cord or plug is damaged, liquid has been spilled or objects have fallen
into the apparatus, the apparatus has been exposed to rain or moisture,
does not operate normally, or has been dropped.
13. DO NOT expose to excess moisture or liquids, and do not place con-
tainers with liquids on top of speakers.
14. The ventilation should not be impeded by covering the ventilation
openings with items, such as newspapers, table-cloths, curtains, etc.
15. No naked flame sources, such as lighted candles, should be placed on
the apparatus; the use of apparatus in moderate climates.
16. “WARNING” , “To reduce the risk of fire or electric shock, do not
expose this apparatus to rain or moisture.”
17. MAINS plug or an appliance coupler is used as the disconnect device,
the disconnect devices all remain readily operable;
The exclamation point, within an equilateral triangle, is intend-
ed to alert the user to the presence of important operating
and maintenance (servicing) instructions in the literature
accompanying the product.
The lightning flash with arrowhead symbol within an equilat-
eral triangle is intended to alert the user to the presence of
uninsulated “dangerous voltage” within the product’s enclosure
that may be of sufficient magnitude to constitute a risk of
electrical shock to persons.
EU COMPLIANCE INFORMATION:
Eligible to bear the CE mark, Conforms to European Union EMC
Directive 2004/108/EC; European Union Restriction of Hazardous
Substances Recast (RoHS2) Directive 2011/65/EC; European Union WEEE
Directive 2002/96/EC. KLH and the KLH logo are registered trademarks
of Kelley Global Brands Inc., registered in the U.S. and other countries.
WEEE NOTICE
Note: This mark applies only to countries within the European Union (EU) and
Norway.
This appliance is labeled in accordance with European Directive
2002/96/EC concerning waste electrical and electronic equipment
(WEEE). This label indicates that this product should not be disposed
of with household waste. It should be deposited at an appropriate
facility to enable recovery and recycling.
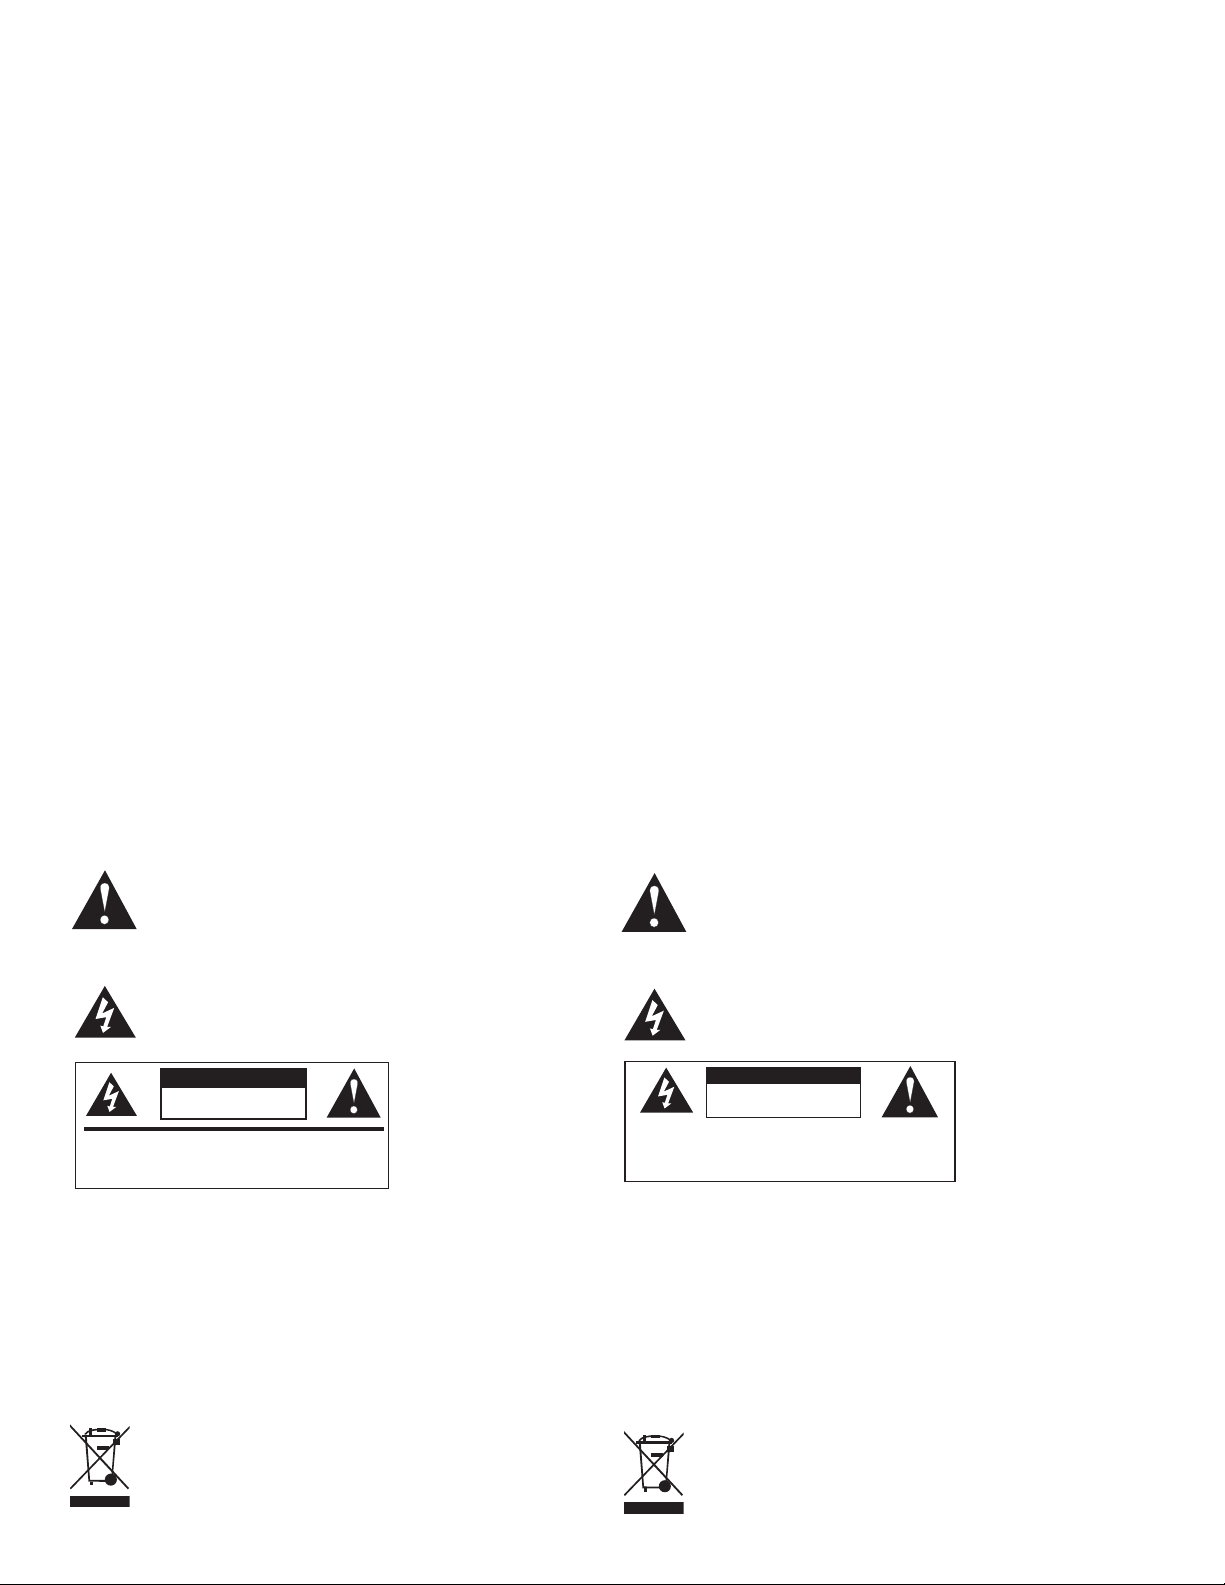
C A UTION
RISK OF ELECTRIC SHOCK.
DO NOT OPEN.
WARNING: Do Not Open! Risk of Electrical Shock. Voltages in this
equipment are hazardous to life. No user-serviceable parts inside.
Refer all servicing to qualified service personnel.
AVIS WEEE
Note: Cette marque s’applique uniquement aux pays de l’Union eu-
ropéenne (UE) et de la Norvège.
Cet appareil est étiqueté conformément aux normes eu-
ropéennes Directive 2002/96 / CE concernant les déchets
électriques et équipement électronique (DEEE). Cette étiquette
indique que ce produit ne doit pas être jeté avec les ordures
ménagères. Il devrait être déposé dans une installation appro-
priée pour permettre la récupération et le recyclage.
MISE EN GARDE!
RISQUE DE CHOC ELECTRIQUE.
NE PAS OUVRIR.
Attention! Ne pas ouvrir Risque de choc électrique. Les tensions
dans cet appareil sont dangereuses pour la vie. Aucune pièce
réparable par l’utilisateur à l’intérieur. Conez toute réparation à
un technicien qualié.
CONNECTION
Connect RCA connector from sub output on your amp/reciever to
LINE input on subwoofer.
CROSSOVER
If you are using the Bass Managagement crossover menu settings in your
A/V receiver or processor, select the 150Hz setting on the subwoofer, if
you are not using this function, set to 80Hz.
VOLUME CONTROL
This control affects the output of your subwoofer, and should be set at
lowest level before turning the power on. Volume can be increased until
desired level is achieved. For 2-channel applications, you should adjust
the volume to match the output of your speakers.
AC INPUT
Your subwoofer is supplied set to either 115 volts or 230 volts depend-
ing on the country it is shipped. This voltage can be changed by having
a technician change the fuse (T3.15AL for 115 V and T1.5AL for 230V) and
move the switch on your subwoofer amplifier to the desired voltage.
Residents of some other countries will need to purchase an adapter or
new proper power cord that fits your specific socket.
TRIGGER
Use of the trigger is an optional hook-up. If your A/V receiver or A/V
preamp/processor has a 12-volt trigger output, you can run a 3.5mm
connector cable to the subwoofer trigger input and your subwoofer will
power on and off with your A/V receiver or A/V preamp-processor.
When the trigger is in the “off” mode the LED will turn off and the ampli-
fier will be switched to a low power consumption standby mode.
LEFT
OPTIONAL
SUB
OPTIONAL
SUB
OPTIONAL
SUB
SUB
RIGHT
CENTER
SURROUND
LEFT
SURROUND
RIGHT
0-180 PHASE CONTROL
This synchronizes the in/out movement of the subwoofer driver with the
other speakers in your system. Once you have chosen the best location
for your subwoofer, try flipping the phase swith between 0-180 to see
which setting produces deeper and smoother bass output. Leave the
switch at the setting that results in the smoothest and deepest bass
at several listening locations in the room. If you hear no difference,
leave the switch at the 0 position. Quite often this switch makes little
difference, but it is dependent on your particular room dimensions and
subwoofer location.
POWER SWITCH
The POWER ON switch near the bottom of the panel
supplies power to the sub amplifier. When this switch is in
the ON position, the subwoofer will remain on, and the LED
indicator will be illuminated.
ROOM POSITION
The placement of your subwoofer can add a significant difference to the
performance of your home theater system. Low frequencies are omnidi-
rectional, but best performance results if you place the subwoofer in the
corner, as this will increase the level of bass output. You can experiment
with different configurations, or even add multiple subwoofers to your
system (see diagram).
NOTE: When cleaning your subwoofer, avoid the use of abrasives,
solvents, or harsh detergents. Windsor subwoofers have a long-lasting
vinyl finish that should only require dusting or cleaning with a dry cloth.
Gently use the brush attachment of your vacuum cleaner to remove any
dust or particles from the surfaces of your subwoofer.
WARRANTY
Our 5 year warranty begins from purchase date of the item. (Receipt
Date) Warranty registration must be completed at KLHAUDIO.com/
warranty. Registration of the product must be completed within 120 days
of purchase for warranty validation. Original receipt of purchase must
be retained for proof of purchase. For warranty or service issues, please
contact authorized KLH dealer. The warranty covers any production and/
or material defects of the product. This warranty is non-transferable.
The following is NOT COVERED by the warranty:
1. Accidents, misuse, poor maintenance, electrical overloads such as
lightning or voltage.
2. Incorrect use of product.
3. Altered serial number.
4. Transportation costs for service call.
5. Purchase of KLH products from unauthorized reseller.
Replacement item cannot exceed the cost of the item under warranty.
The supplier is responsible for only repair or replacement. KLH toll free
number is 1-833-554-8326
13
2
RCA SUB OUT
SUBWOOFER RECEIVER
LINE IN
UNPACKING
Place the package on the floor or table top with the box flaps up. Cut the
tape with a utility knife to open the package. Fold the carton flaps back
and carefully slide the subwoofer and packaging from the box, or turn the
box over with flaps open and remove the box. Stand the subwoofer and
packing upright, making sure the subwoofer is right side up, and remove
the packing material.
MAX
MIN
VOLUME
CROSSOVER 80 150
PHASE 0 180
TRIGGER
AC-220-240V~
AC-100-120V~
AC-220-240V~
AC-100-120V~
984 Logan Street, Suite 301
Noblesville, IN 46060
klhaudio.com
Stratton 10 Powered Subwoofer
Frequency response 29Hz-150Hz
Maximum Output 114dB.
Class “D” Digital Amplifier 200W rms/400W Dynamic Power
Components 10” Driver, Proprietary Blend of Treated Paper, Kevlar®and CSX
Enclosure Material 3
/4 ” MDF
Enclosure Type Rear Slot Ported Bass Reflex
Inputs Line Level/LFE Gold Plated RCA Jack
Dimensions 15.3” H x 17.72” W x 15.2” D (388mm H x 325mm W x 385mm D)
Weight 32 lbs. (14.55kg)
Finish Carbon Black
Features Volume, Lowpass, Phase, Trigger
Phase Switchable 0-180 degrees
Power Rating 100-120V~/220-240V~ 50Hz/60Hz
Stratton 12 Powered Subwoofer
Frequency response 25Hz-160Hz
Maximum Output 118dB.
Class “D” Digital Amplifier 200W rms/500W Dynamic Power
Components 12” Driver, Proprietary Blend of Treated Paper, Kevlar®and CSX
Enclosure Material 3
/4 ” MDF
Enclosure Type Rear Slot Ported Bass Reflex
Inputs Line Level/LFE Gold Plated RCA Jack
Dimensions 17.7” H x 15.4” W x 18.2” D (448mm H x 390mm W x 462mm D)
Weight 44 lbs. (20kg)
Finish Carbon Black
Features Volume, Lowpass, Phase, Trigger
Phase Switchable 0-180 degrees
Power Rating 100-120V~/220-240V~ 50Hz/60Hz
SPECIFICATIONS
BACK PANEL

This manual suits for next models

1

Other KLH Subwoofer manuals

KLH Windsor 10 User manual

KLH

KLH Windsor 10 User manual

KLH Windsor10 User manual

KLH

KLH Windsor10 User manual

Popular Subwoofer manuals by other brands

Gladen RSX SLIM owner's manual

Gladen

Gladen RSX SLIM owner's manual

L-Acoustics KIVA SB15M user manual

L-Acoustics

L-Acoustics KIVA SB15M user manual

Sony SA-W641 Service manual

Sony

Sony SA-W641 Service manual

Sony SA-WG99 Service manual

Sony

Sony SA-WG99 Service manual

Xiom EP600 v4 manual

Xiom

Xiom EP600 v4 manual

Focal 13 KS manual

Focal

Focal 13 KS manual

JVC RV-NB20B instructions

JVC

JVC RV-NB20B instructions

Autotek M12D4 quick guide

Autotek

Autotek M12D4 quick guide

APART sub2400 user manual

APART

APART sub2400 user manual

Bowers & Wilkins ASW850 Specification sheet

Bowers & Wilkins

Bowers & Wilkins ASW850 Specification sheet

JL Audio 8W1v2-4 owner's manual

JL Audio

JL Audio 8W1v2-4 owner's manual

Pioneer S-DV1000SW Service manual

Pioneer

Pioneer S-DV1000SW Service manual

Focal Polyglass 21 V2 Specification sheet

Focal

Focal Polyglass 21 V2 Specification sheet

Optimus PRO-SW100P user manual

Optimus

Optimus PRO-SW100P user manual

Profile California W10 Installation instructions and owner's manual

Profile

Profile California W10 Installation instructions and owner's manual

ELAC VARPO Reference Series owner's manual

ELAC

ELAC VARPO Reference Series owner's manual

JL Audio 13W3v3-2 owner's manual

JL Audio

JL Audio 13W3v3-2 owner's manual

Infinity PS-12 Service manual

Infinity

Infinity PS-12 Service manual

manuals.online logo
manuals.online logoBrands
  • About & Mission
  • Contact us
  • Privacy Policy
  • Terms and Conditions

Copyright 2025 Manuals.Online. All Rights Reserved.