KLINDEX EXPANDER 2000 RX Parts list manual

WWW.KLINDEX.COM
THE FLOOR TREATMENT SPECIALIST SINCE 1988
INSTRUCTIONS FOR INSTALLATION,
USE AND MAINTENANCE
Before installing and using the appliance, read this manual carefully and store it together
with the product.
Remote-control planetary grinding machine
EXPANDER
2000 RX
EN
Code

2www.klindex.com - Made in Italy
READING THE SYMBOLS
Keep the filter
clean
Tenere pulito
il filtro
Meaning of the notice and
warning symbols
The following symbols are used in the manual; each
has a specic meaning.
lNOTICE
This indicates particularly important or
delicate operations, which, if not per-
formed correctly, may cause damage to
the appliance and/or materials.
aWARNING
This indicates operations which, if not
performed correctly, may cause general
injury or may generate malfunctions or
damage to the appliance and/or materi-
als; therefore, they require careful atten-
tion and adequate preparation.
fELECTRICAL HAZARD
This indicates operations which, if not
performed correctly, may cause electrical
injury or may generate malfunctions or
damage to the appliance and/or materi-
als; therefore, they require careful atten-
tion and adequate preparation.
dNO
To indicate operations that MUST NOT be
performed.

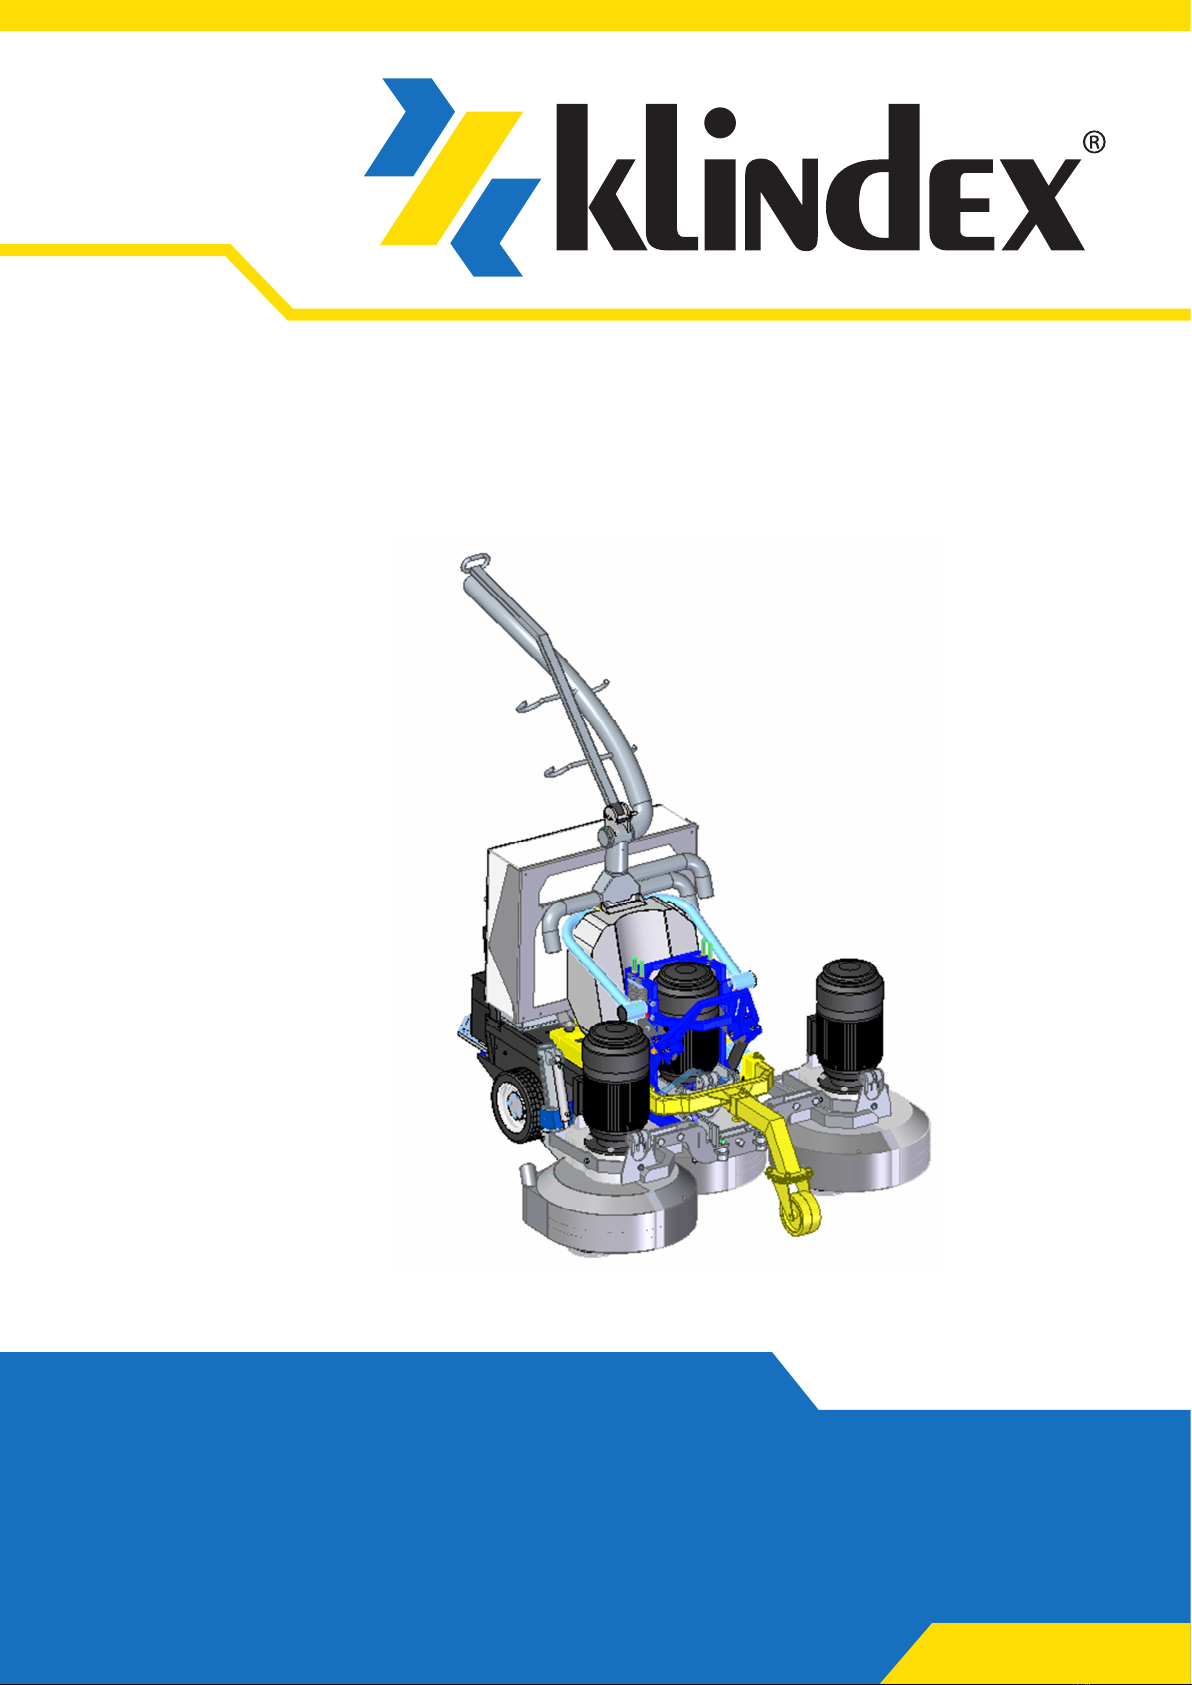
3www.klindex.com - Made in Italy
SAFETY
1 Safety
1.1 Important safety information
1.1.1 General warnings
lWARNINGS
–This manual belongs to Klindex S.r.l..
Reproduction or transfer to third parties
of the contents of this manual is forbid-
den. All rights reserved.
–This manual is an integral part of the
product; make sure that it always ac-
companies the appliance, including
where sold/transferred to another own-
er, to ensure that the user or authorised
maintenance or repair technicians can
consult it. Read the manual carefully
before using the appliance; this ensures
you understand how it works and how
to use it safely.
–The appliance must be used for the pur-
pose intended by Klindex S.r.l., who is
not liable for any damage to people, ani-
mals or property, caused by installation,
setting or maintenance errors or by im-
proper use.
–If you have any doubts regarding the
condition and/or operation of the ap-
pliance and its connected parts, please
contact you local distributor for further
information.
–Only use original or manufacturer-ap-
proved spare parts to avoid causing any
damage to the product.
–If the product packaging is damaged, in-
form the carrier and product supplier of
the problem in good time.
–After removing the packaging, make
sure that the supply is complete and in
tact. If this is not the case, contact the
distributor that sold that the appliance.
lWARNINGS
–Run a functional check on the appliance
and inform the product supplier of any
faults or malfunctions found.
–All maintenance or assembly operations
must be performed by qualied person-
nel, with the electrical power supply dis-
connected to avoid any risk of electric
shocks or mechanical knocks. If this is
not possible, adequate cut-o devices
(such as switches) must be provided.
In all cases, maintenance work must be
performed with the appliance not in op-
eration.
–Provide adequate lighting in the work-
place. Correct lighting is very important
to guarantee satisfactory safety condi-
tions at work. This is critical during night
shifts.
–Ensure that the work area is free of ob-
jects and/or people that may hinder the
normal appliance operating process.
–Use PPE (personal protective equip-
ment). All operators must be equipped
with adequate clothing and suitable de-
vices for the tasks assigned to them.
–When the appliance is not in use, store
it in a dry place, protected from possi-
ble knocks and sheltered from dust and
dirt.
–Take particular care when using the ap-
pliance in areas that are dicult to ac-
cess (stairs, narrow passages, etc.)
–Ducts and aspirators must be kept away
from people, especially from delicate
body parts such as the eyes, ears, nose
and mouth.
–Regularly clean and maintain the appli-
ance as described in the relevant sec-
tions of this manual.

4
www.klindex.com - Made in Italy
SAFETY
1.1.2 Prohibitions
dNO
–Removing any material entangled in the
appliance during operation, or introduc-
ing foreign objects during the produc-
tion process.
–Using the appliance in the presence of
explosive or potentially explosive sub-
stances, or multiple substances which,
when combined, may create such a risk.
–Using the appliance if the electrical pow-
er supply cable is damaged. This may
create an electrical short circuit hazard.
Do not use the electrical power supply
cable to drag the appliance. Keep the
electrical power supply cable away from
heated surfaces.
–Using an unsuitable electrical power
supply cable which does not have an
appropriate plug for connecting the ap-
pliance.
–Resting any object on the appliance,
whether in use or idle.
–Using the appliance without having ex-
amined all of the symbols on it and un-
derstood their meaning. Ensure that all
of the information labels on the appli-
ance are legible and in good condition.
Where not easily legible or in poor con-
dition, request a duplicate from the re-
tailer that sold you the appliance.
–Using the appliance as a drive mecha-
nism.
–Using the appliance upside down or in
an another inappropriate way.
–Consuming alcohol or taking medication
that may cause fatigue and/or drowsi-
ness before or during the work shift.
dNO
–Making changes to the product without
written authorisation from the manu-
facturer.
–Pulling, detaching or twisting the elec-
trical cables protruding from the appli-
ance, even if the appliance is discon-
nected from the electrical power supply.
–Leaving the appliance exposed to
weathering.
–Touching the appliance with wet or
damp parts of the body or with bare
feet.
–Unassisted children, inexperienced or
disabled people may use the appliance.
–Disposing of the packaging material ir-
responsibly as it is may be a potential
hazard. It must be disposed of in line
with the legislation in force.
–Climbing or sitting on the appliance dur-
ing operation or when idle.
–Leaving the keys in the electric panel;
this may allow untrained or unauthor-
ised people to tamper with the appli-
ance.

5www.klindex.com - Made in Italy
RECEIVING THE PRODUCT
2 Receiving the product
2.1 Unpacking and handling
aWARNING
Handling the appliance carries a risk of
personal injury and damage to the ap-
pliance or surrounding area. Identify the
risk area and check that it is free of people
and objects during any lifting operations.
EXPANDER RX is supplied in 3protective card-board
and cellophane packages.
Remove the cardboard and cellophane packaging us-
ing suitable tools, taking care not to damage the ap-
pliance.
dNO
Disposing of the packaging material irre-
sponsibly or leaving it within the reach of
children, as it is may be a potential haz-
ard. It must be disposed of in line with the
legislation in force
lNOTICE
The appliance must only be lifted using
suitable lifting equipment such as an
overhead crane, block and tackle, or fork-
lift, capable of holding the load.
2.1.1 Handling using a forklift
Move the appliance, placed on a pallet, as shown in
the gure.
B
A
dNO
Lifting the appliance without the pallet, in-
serting the blades of the forklift under the
planetary gear. This may cause irrepara-
ble damage to the appliance.

6
www.klindex.com - Made in Italy
RECEIVING THE PRODUCT
2.1.2 Manual handling
lWARNINGS
–Before handling the appliance, fit the
caster wheel as described in section “
Fitting/removing the caster wheel”
on page 17.
– To make it easier to slide the appliance
off the pallet, install a ramp that is the
same height as the pallet, at a 30° angle
(maximum).
After tting the caster wheel and the handlebar:
– position the ramp in front of the appliance
–make sure that the drive mechanism on the wheels
is hitched
–turn the appliance on using the battery power
supply on the appliance or by connecting it to the
mains, see sections “Appliance battery” on page 15
and “Connecting to the power socket” on page 24
–connect the radio transmitter to the appliance con-
trol connector if you are using a radio control, or the
electrical cable on the handlebar if you are using a
control panel; see sections “Connecting the radio
transmitter” on page 18, “Starting the appliance
using the radio control” on page 34 and “Starting
in manual mode” on page 37
–lift the appliance using the planetary lift/lower sin-
gle-axle joystick on the radio control or on the con-
trol panel.
< 30°
The appliance can now be moved either manually or
using the radio control:
– to move it manually release the 4 bolts on both
wheels by pulling and twisting the pin (1). Push the
handle bar and guide the appliance, sliding it carefully
off the pallet; see section “Manual handling” on
page 23
aWARNING
Take extra care when disconnecting the
drive mechanism as the appliance may
slide down the ramp.
–to move it using the radio control, see section “Mov-
ing the appliance with the radio control” on page
20.
2.2 What is included?
A metal case is provided together with the appliance
containing the following equipment:
– radio control
– battery charger for the 220V radio control
– second battery for the radio control
– electric panel key
– spare fuse (1 for each fuse in the electric panel)
– appliance power supply plug.
Inside the case, there is a wallet containing the follow-
ing documentation:
– wiring diagram
– test sheet
– instruction manual
– inverter error sheet (inverter documentation).
The instruction manual is an integral part of the
product and must be read carefully before using
the EXPANDER RX. It must be stored carefully so
that it can be consulted at a later date and it must
ALWAYS accompany the EXPANDER RX. In the
event of any damage or loss, request a copy from
Klindex S.r.l. support.

7www.klindex.com - Made in Italy
RECEIVING THE PRODUCT
2.3 Identifying the product
The appliance should have an ID plate; check that it
is there. If it is not there, inform the manufacturer or
retailer immediately. Appliances without an ID plate
must not be used, failing which, the manufacturer is
no longer in any way liable. Products without an ID
plate must be considered anonymous and potentially
hazardous.
x - x x x
2.4 Checking the supply
When you receive the appliance, check that each and
every part is integral and that the supply is complete
of all of the materials as listed under section “What is
included?” on page “7”.
If you notice any damage to the equipment or that
any equipment is missing, contact your authorised re-
tailer promptly.

8
www.klindex.com - Made in Italy
FAMILIARISING YOURSELF WITH THE APPLIANCE
3 Familiarising yourself with
the appliance
3.1 General description
EXPANDER RX is a remote-control planetary grinding
machine with variable speed and adjustable work-
ing pressure. It resolves issues relating to preparing
oors quickly and cheaply.
The safe, ergonomic appliance control is equipped
with a 24V button panel from which you can control
all of the appliance functions: switching on and o,
turning left and right, automatically adjusting the
working pressure, setting the speed from 300 to 1300
rpm, and lifting the appliance to move it.
With EXPANDER RX it is possible to carry out both
wet and dry work. This patented planetary, with gears
in tempered steel and with working section which var-
ies based on the model.
The main characteristics are:
–servo-assisted mechanism to adjust the operating
pressure
–servo-assisted lifting of the planetary gear to facili-
tate loading/unloading from the van
– remote control that controls all functions
–built-in batteries to move the appliance even when
there is no electricity
–QUICK ATTACK SYSTEM to change tools without us-
ing a hammer or other tool.
3.1.1 Possible applications
Possible applications for the EXPANDER RX are:
–grinding all types of ooring and surfaces
–preparing all types of ooring and surfaces
– removing uneven concrete
– removing resins, glue, paint and other residues
– preparing surfaces for applying resins
–mirror-nish polishing of marble, granite and any
other type of stone
–mirror-nish polishing of industrial concrete oor-
ing.

9
www.klindex.com - Made in Italy
FAMILIARISING YOURSELF WITH THE APPLIANCE
3.3 Command and control system
3.3.1 Electric panel (external view)
Error B
Stop B
Error A
Stop A
RF Busy
Power
Working
14
13
12
11
1816 17
1 Main dial
2 “PLC ready” green light
3 “Grinding power OK” white light
4 Battery level indicator / “Transport mode” light
5 Lock
6 Hour meter
7 Emergency button
8 Inverter window
9 Radio control compartment
10 Display
11 Fan (no. 2)
12 Appliance operating/moving ashing warning light
13 Auxiliary electrical plug (max. 1.3 kW)
14 Radio control battery charger
15 Air lter
16 Dummy connector (not electrically powered)
17 Appliance control plug
18 Radio transmitter

10
www.klindex.com - Made in Italy
FAMILIARISING YOURSELF WITH THE APPLIANCE
3.3.4 RX radio control
LEFT RIGHT SWING
UP
0
DOWN
STOP MAN AUTO
SPEED
PLANETARY
STOP
LEFT
RIGHT
ON
TX RX
W W
1
7 8 9 10 11
3 542 6
12 13
1 Single-axle joystick, automatic forward and back-
ward motion
2 Planetary lift/lower single-axle joystick
3 Oset dial
4 Swing dial
5 LED panel
6 Directional joystick
7 Planetary gear speed dial
8 Three-position dial to set planetary direction of ro-
tation (clockwise, anti-clockwise, stop)
9 Emergency/OFF button
10 Three-position dial to set the appliance speed
range
11 Manual/automatic operating mode dial
12 Reset/ON button
13 Battery
LED panel
ON
TX RX
W W
1 32
1 TX transmitter LED (green)
OFF: transmitter o
FLASHING: transmitter on but not running
ON: transmitter on and operating
2 Battery/alarm LED (yellow)
OFF: battery charged
TWO ashes every 20 seconds: battery at
3 RX receiver LED (blue)
OFF: receiver o
FLASHING: receiver on but not running
ON: receiver on and operating
When the battery/alarm yellow LED starts ash-
ing dierently, or the buzzer starts to sound, re-
start the radio control. If the problem persists af-
ter restarting, contact Klindex.

11 www.klindex.com - Made in Italy
FAMILIARISING YOURSELF WITH THE APPLIANCE
3.3.5 Radio control receiver
Error B
Stop B
Error A
Stop A
RF Busy
Power
Working
Error B
Stop B
Error A
Stop A
RF Busy
Power
Working
Error B
Stop B
Error A
Stop A
RF Busy
Power
Working
1
2
3
4
5
6
7
LED panel
1 Error B LED (red)
2 Stop B LED (red/green)
RED: receiver o
GREEN: receiver on
1 Error A LED (red)
2 Stop A LED (red/green)
RED: receiver o
GREEN: receiver on
3 RF Busy LED (white)
OFF: receiver o
FLASHING: receiver on but not running
ON: receiver on and operating
4 Power LED (green)
OFF: receiver not electrically powered
ON: receiver electrically powered
5 Working LED (blue)
OFF: receiver not operating
ON: receiver operating

12
www.klindex.com - Made in Italy
BATTERY
4 Battery
4.1 General information about the
battery
dNO
Replacing the original batteries with an-
other type of batteries, as this may create
an explosion hazard.
In extremely low-temperature working conditions,
the battery life may decrease.
The batteries must be recharged with an ambient
temperature of between -10 °C and 60 °C.
dNO
Disposing of at batteries in normal do-
mestic waste. Flat batteries must be taken
to your nearest authorised collection cen-
tre.
4.2 Appliance battery
lNOTICE
–Before using the appliance for the rst
time, charge the battery.
–Only use the appliance battery for trans-
portation manoeuvres in the working
area. For all grinding work, the product
must be connected to an electrical pow-
er supply; see section “Connecting to
the power socket” on page 24
The battery lasts for a maximum of 1.5 hours depend-
ing on the usage type.
4.2.1 Recharging the battery
When the at-battery light on the electric panel is on,
this means that the battery needs to be recharged.
To recharge the battery, connect the appliance to
the mains and turn it on by turning the main dial to
“Grinding”. A at battery take 8 hours to recharge ful-
ly.
lNOTICE
The appliance battery recharges when the
appliance is in use and connected to the
mains.
There are three LEDs on the charger on the electric
panel which indicate the level of charge of the appli-
ance battery:
–Red light; battery at
– Orange light; battery charging
– Green light; battery 100% charged

13 www.klindex.com - Made in Italy
BATTERY
4.3 Radio control battery
4.3.1 Replacing the radio control battery
lNOTICE
–Before removing the battery, make sure
that the appliance is stationary and the
emergency button on the radio control
has been pressed.
When the battery/alarm LED starts ashing (two
ashes every 20 seconds), this means that the battery
needs to be replaced.
ON
TX RX
W W
To replace the battery:
–press down on the battery and lift the end up to re-
move the battery from the radio control (1)
–follow the same procedure to remove the battery
from the charger (2) on the back of the electric panel
2
1
–insert the charged battery in the radio control, re-
peating the above procedure in reverse order. Make
sure it is blocked
–insert the at battery in the charger on the side of
the electric panel (repeating the above procedure in
reverse order). Make sure it is blocked
– make sure that the battery is recharged.
There are three LEDs on the charger behind the elec-
tric panel which indicate the level of charge of the ap-
pliance battery:
–Red light; battery at
– Orange light; battery charging
– Green light; battery 100% charged

14
www.klindex.com - Made in Italy
ASSEMBLY, TRANSPORTATION AND STORAGE
5 Assembly, transportation
and storage
5.1 Assembly
lNOTICE
Before performing any operation on the
appliance, make sure that the main dial is
set to “OFF”.
5.1.1 Fitting/removing the caster wheel
The caster wheel (1) is needed for transporting the
appliance and lightening the contact pressure of the
appliance in some applications. Assembly and dis-
mantling is easy: simply loosen or tighten the lever (2).
lNOTICE
To disassemble the caster wheel, lower
the carriage fully until the planetary is in
contact with the oor.
1
B
A
2
lNOTICE
The caster wheel must only be tted to
move the appliance a short distance with-
in the working area or to move it from
the vehicle it was transported to the work
area.

15 www.klindex.com - Made in Italy
ASSEMBLY, TRANSPORTATION AND STORAGE
5.1.3 Connecting the radio transmitter
To connect the radio transmitter (1) to the appliance
control plug(2), follow the instructions below:
–make sure that the hooks(3) on the connector are
open
–angle the plug on the electrical cable so that it lines
up with the pins on the connector (4)
–insert the plug without angling it, as shown in the
gure
3
4
1
1
2
–after checking that the plug is fully inserted, close
the hooks (3).

16 www.klindex.com - Made in Italy
ASSEMBLY, TRANSPORTATION AND STORAGE
5.3 Moving to the site/work area
The appliance can be moved to the site or work area
in one of the ways indicated below:
– using the radio control
– manually
–lifting the appliance in the case of uneven surfaces
or with obstacles present. Lift the appliance using a
suitable means such as overhead crane, block and
tackle, or forklift as described in section Unpacking
and handling" on page 6.
5.3.1 Moving the appliance with the radio
control
The appliance can be moved in one of the following
ways:
–using the appliance battery energy supply. The ap-
pliance has up to 1.5 hours of autonomy if moved
using just the battery power supply (see the section
"Appliance battery" on page 15)
–with the appliance connected to the electrical power
supply (see the section "Connecting to the power
socket" on page24).
lWARNINGS
–Before moving the appliance to the
work area, make sure that the handle
grip and caster wheel are both inserted
and locked.
–The operator must be in a position and
at a total distance which allows him/her
to have a full overview of the area in the
operating range of the appliance.
–Make sure there are no people or ani-
mals within the operating range of the
appliance.
aWARNING
Avoid any steep slopes as there is the risk
the appliance could overturn.

17
www.klindex.com - Made in Italy
ASSEMBLY, TRANSPORTATION AND STORAGE
To move the appliance to the work area using the ra-
dio control, act as follows:
–check that the radio transmitter is connected to the
appliance control plug and that the battery in the
radio control is in place and fully charged.
Error B
Stop B
Error A
Stop A
RF Busy
Power
Working
–with the appliance battery energy supply, select
"Transport mode" by setting the main dial on the
electric panel to position "1", the "Transport Mode"
light activates
GRINDING
POWER OK
PLC
READY
OFF 21
TRANSPORT
MODE
OK
LOW
–with the appliance connected to the mains power
supply, select "Grinding" by setting the main dial on
the electric panel to position "2", the "Grinding pow-
er OK" light activates
TRANSPORT
MODE
OK
LOW
OFF 21
GRINDING
POWER OK
PLC
READY
–release the emergency button of the electric panel
by turning it to the right
– the "PLC ready" light activates.
GRINDING
POWER OK
PLC
READY
TRANSPORT
MODE
OK
LOW
Acting on the radio control:
– release the radio control emergency button
–press the reset button once. The green TX LED im-
mediately starts to ash. The yellow battery/alarm
LED ashes just once. After a few seconds the blue
RX LED starts to ash
–the white Busy RF LED on the radio control receiver
starts to ash
–press the reset button a second time after the blue
RX LED has started ashing. The green TX LED stops
ashing and stays xed on. The yellow LED stays o.
The blue RX LED stops ashing and stays xed on
–the white Busy RF LED on the radio control receiver
stops ashing and stays xed on, the red Stop LEDs
turn green and the Working LED activates
ON
TX RX
W W
ON
TX RX
W W
– the radio control is now fully operational.
If the yellow alarm/battery LED ashes, replace and
recharge the battery as described in the section "Re-
placing the radio control battery" on page 16.
–Using the joystick, raise or lower the planetary to
prevent any damage to the cutters
–select the most suitable speed on the basis of the
incline and distance to be travelled; lever up, maxi-
mum speed; lever in the intermediate position, me-
dium speed; lever down, minimum speed.
UP
DOWN

18 www.klindex.com - Made in Italy
ASSEMBLY, TRANSPORTATION AND STORAGE
At this point, the operator can choose whether to
move the appliance in manual or automatic mode.
Manual mode
– Set the switch to "MAN"
MAN AUTO
– move the appliance with the directional joystick.
Automatic mode
– Set the switch to "AUTO"
MAN AUTO
– select the direction of rotation of the planetary;
-to the left, the planetary rotates in an anti-clock-
wise direction
-middle, motor o
-to the right, the planetary rotates in a clockwise
direction
STOP
LEFT
RIGHT
PLANETARY
lNOTICE
–In “Grinding” mode if the lever of the
switch for the direction of rotation re-
mains in the "STOP" position, the appli-
ance will not move.
–With the appliance connected to the
mains power supply, make sure that
once the direction of rotation has been
selected, the planetary begins to turn. If
the appliance is powered by the battery,
the planetary remains stationary.
–move the appliance acting on the single axis joystick,
select the direction and speed of the appliance by
simply moving the joystick forwards and backwards.
By leaving the joystick in the required position, the
appliance will continue to move at the speed and in
the direction set
–turn the oset knob to the right if the appliance
tends to move to the left, turn it to the left if the
appliance tends to move to the right.
LEFT RIGHT
0
If the radio control is not used for at least 3 min-
utes, it will deactivate (the green TX LED goes o).
To restore operation, press and hold the rest but-
ton on the right side of the radio control for ap-
proximately 3 seconds.

19
www.klindex.com - Made in Italy
ASSEMBLY, TRANSPORTATION AND STORAGE
5.3.2 Manual handling
lWARNINGS
–Before moving the appliance to the
work area, make sure that the handle
grip and caster wheel are both inserted
and locked.
–The planetary must be fully raised from
the oor: act on the joystick to raise/
lower the planetary.
aWARNING
Avoid any steep slopes as there is the risk
the appliance could overturn.
To manually move the appliance to the work place,
act as follows:
– make sure that the main dial on the electric panel is
set to "OFF"
– unhitch the drive mechanism on both wheels by
releasing the 4 bolts (1).
The appliance is now ready to be moved. Act on the
handle grip to push and direct the appliance.
aWARNING
Pay careful attention while manually mov-
ing the appliance on a surface which is not
perfectly level or on an inclined surface.
The signicant weight of the appliance
could make it dicult and hazardous for
both the operator and the appliance itself.
5.4 Storage
lWARNINGS
–When the appliance is not in use, store
it in a dry place, protected from possi-
ble knocks and sheltered from dust and
dirt.
–Make sure that the selected location
is locked (with a key) and is out of the
reach of children and unauthorised per-
sons.
If the appliance is to be left unused for a long period
of time, act as indicated below:
– take the appliance to the selected storage area
–switch o the appliance and disconnect it from the
mains power network
–fit the caster wheel to avoid damaging the plane-
tary, which remains in contact with the floor. See
the section "Fitting/removing the caster wheel"
on page 17
– clean the appliance and make sure that all the main-
tenance operations required prior to long-term stor-
age have been carried out, see the section "Mainte-
nance prior to long-term storage" on page 41.
5.5 Storing the battery for a long
period
lWARNINGS
–When the appliance is not in use, store
the battery in a dry place, protected
from possible knocks and sheltered
from dust and dirt.
–Make sure that the selected location
is locked (with a key) and is out of the
reach of children and unauthorised per-
sons.
If the period of inactivity is to exceed one month, the
battery must be removed from the radio control.
To remove the battery, follow the instructions in sec-
tion “Replacing the radio control battery” on page
16.
1

20 www.klindex.com - Made in Italy
ELECTRICAL CONNECTIONS
6 Electrical connections
lNOTICE
Before performing any operation on the
appliance, make sure that the main dial is
set to “OFF”.
6.1 Connecting to the power socket
lWARNINGS
–Before connecting the appliance to the
mains power network, make sure that
the voltage and frequency are suitable
for appliance operation as indicated in
the section "Technical characteristics"
on page 45.
– The power socket must be earthed.
To connect the appliance to the mains power socket,
simply insert the plug (1) into a suitable 32 amp power
socket and tighten the ring nut.
It is recommended that electrical power cables type
H07RN8-F QUADRUPOLE are used: cable 4G6, length
MAX 50 m (165 ft).
dNO
Cutting or altering the plug and using
adapters. Only a qualied and authorised
electrician can replace the plug, if neces-
sary. Only a qualied electrician can re-
place a burned, cut or damaged electrical
cable.
lWARNINGS
–Before moving the appliance to the
work area, make sure that the handle
grip and caster wheel are both inserted
and locked.
–The planetary must be fully raised from
the oor: act on the joystick to raise/
lower the planetary.
6.2 Adjusting the electrical power
supply cable support
Before staring to work with the appliance, it is recom-
mended that the power cable (1) is inserted into the
support (2). This allows the cable to be kept at an
appropriate distance from the appliance prevent-ing
any damage.
The height of the support can be adjusted; remove
the cotter pin (3), raise or lower the rod until the re-
quired position has been reached. Insert the cotter
pin again.
1
1
2
3
Table of contents
Other KLINDEX Grinder manuals