2
Table of Contents
Thank you for your purchase
We are pleased that you have chosen Kmart for your outdoor furniture
purchase. We hope that you enjoy the unmatched quality, comfort, and
style of your new patio set. Every piece is meticulously considered all the
way down to the smallest details, exclusively for you, by our world class
design team. We know you have a choice when it comes to your patio
umbrella needs, so from our team to yours, thank you for letting us be a
part of your outdoors.
Thank you for your purchase!
Table of Contents ..............................................................
Safety information ......................................................
.........................................................
...............................................
Warranty ......................................................................
...........................................................
.....................................................
Care and Maintenance ................................................
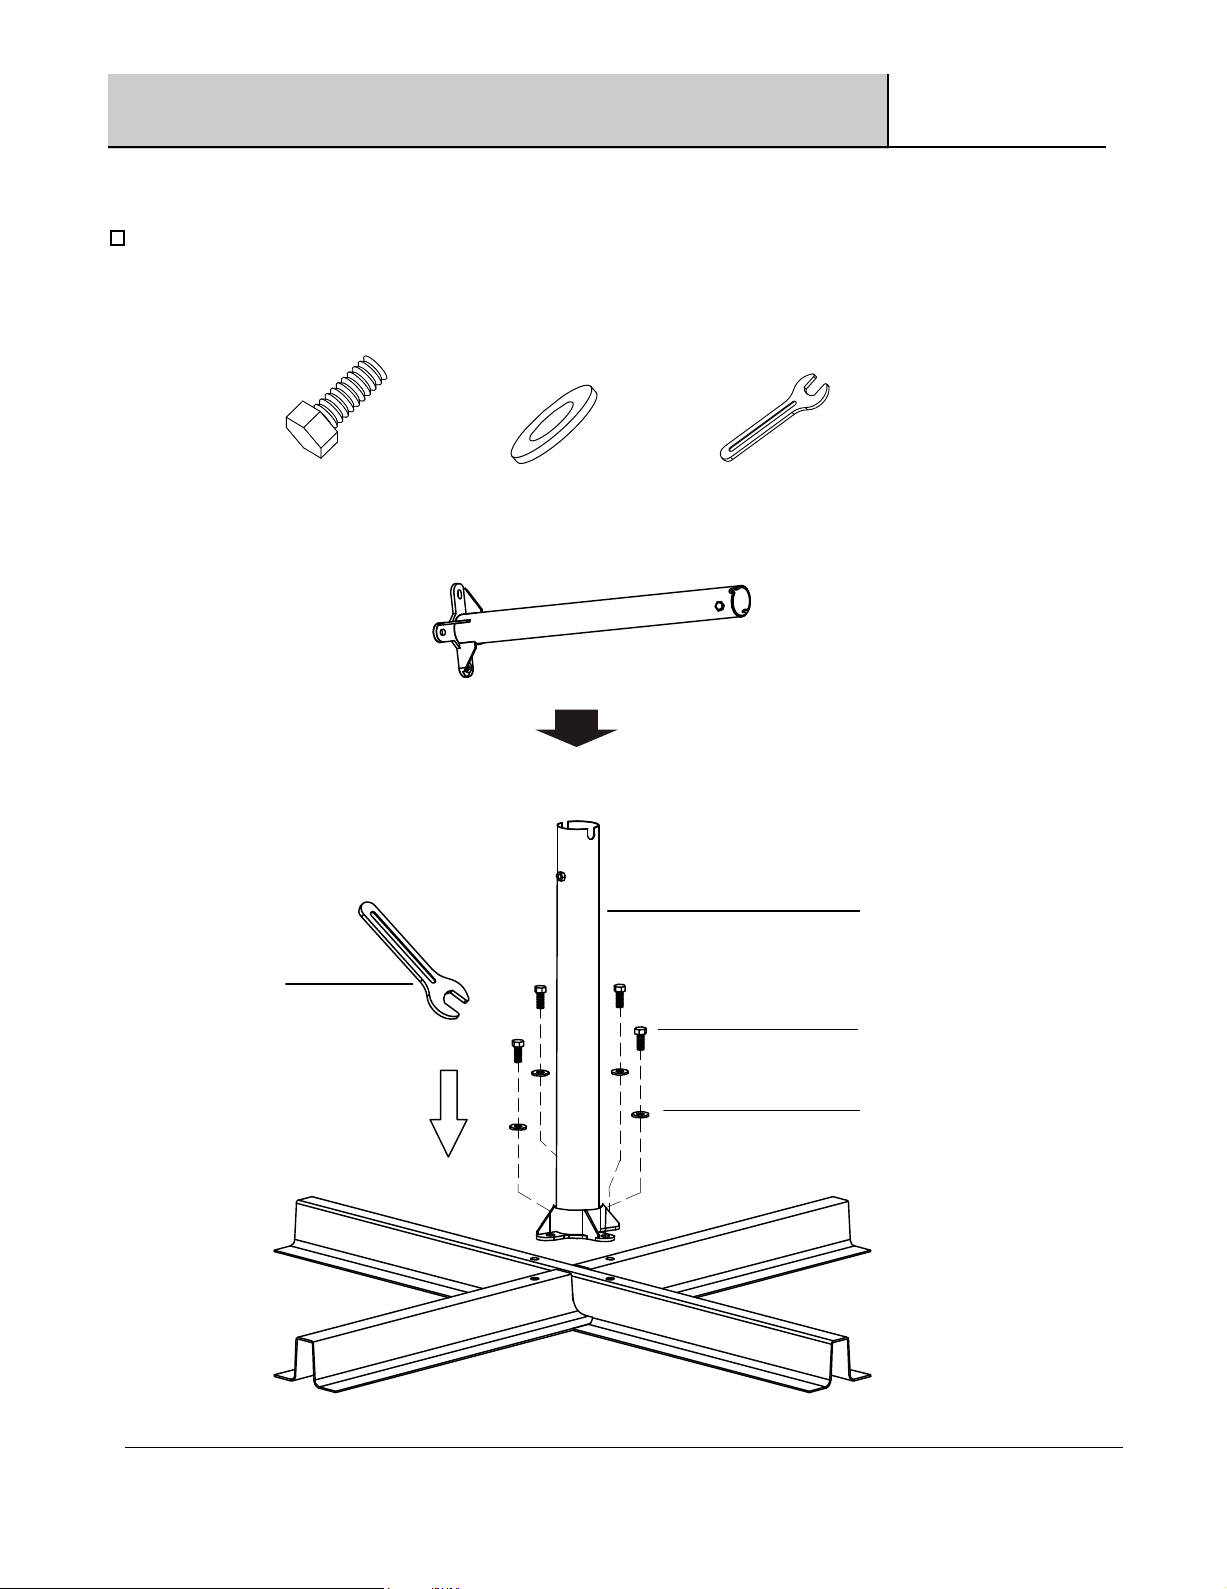
Pre- Assembly .............................................................
......................................................
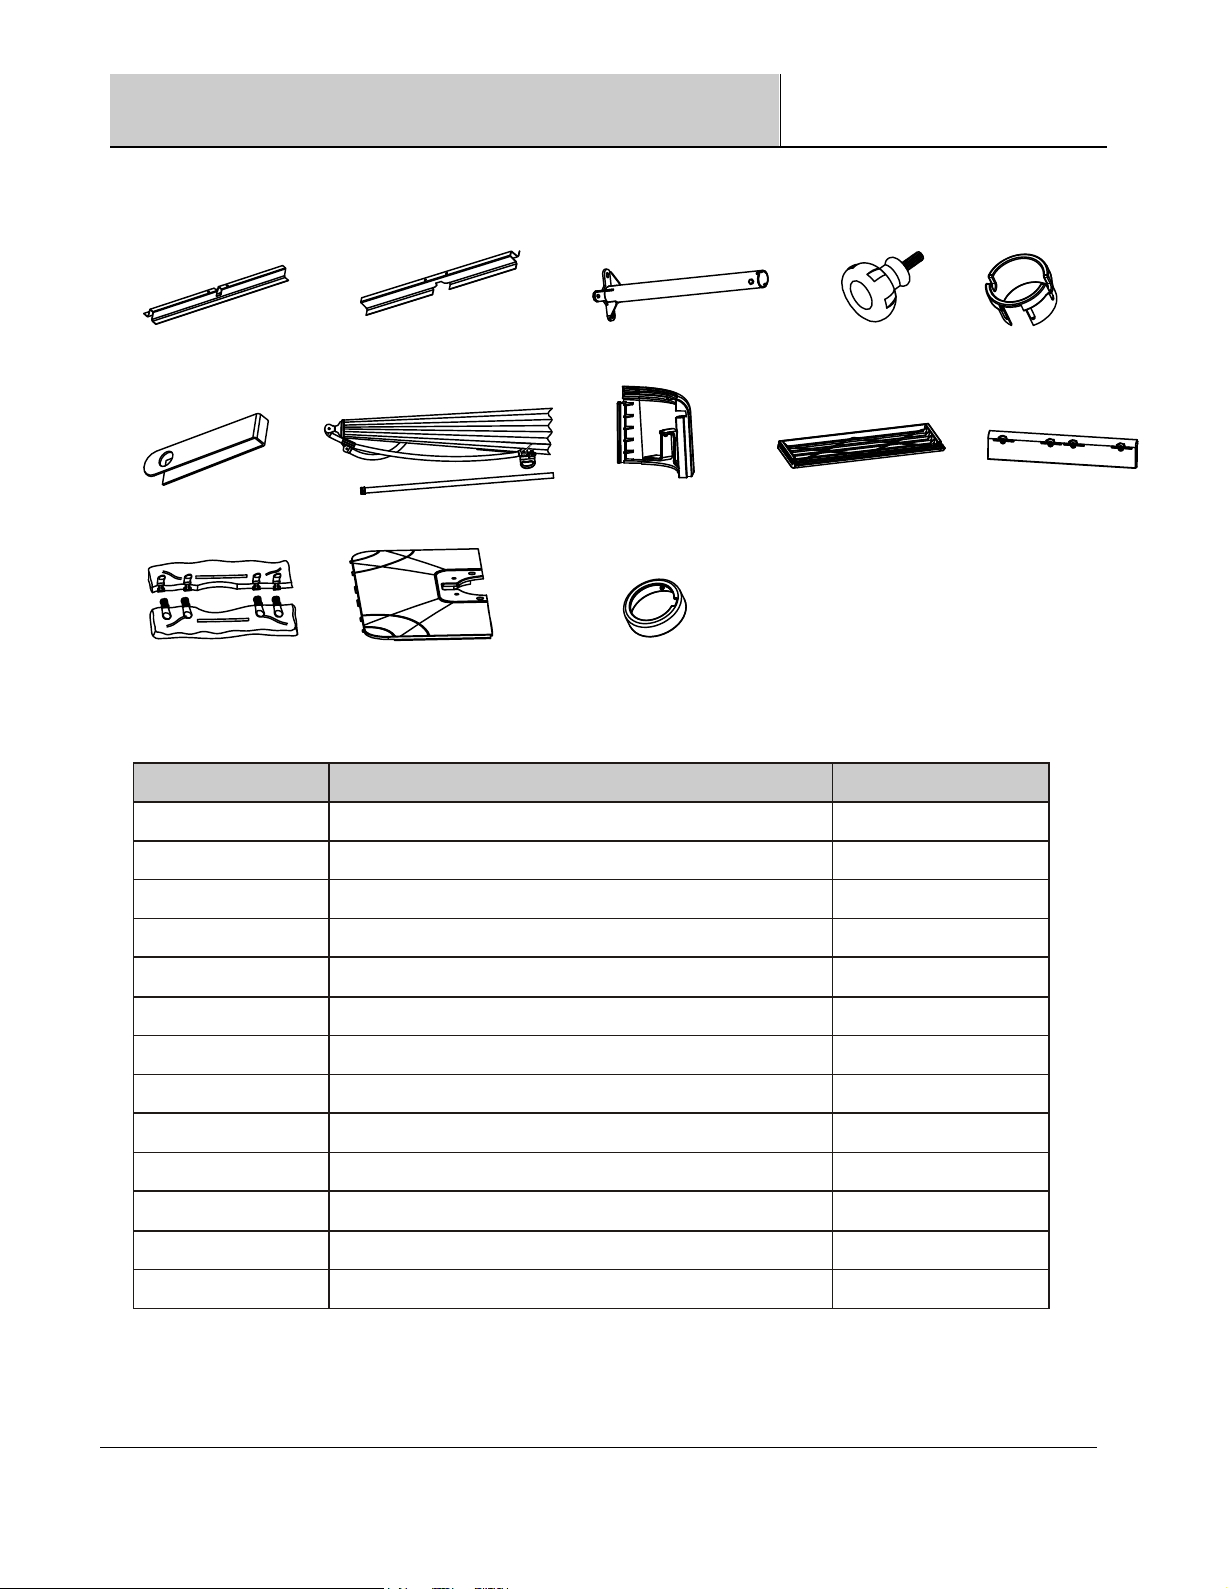
Hardware Included
.......................................................
Package Contents
.......................................................
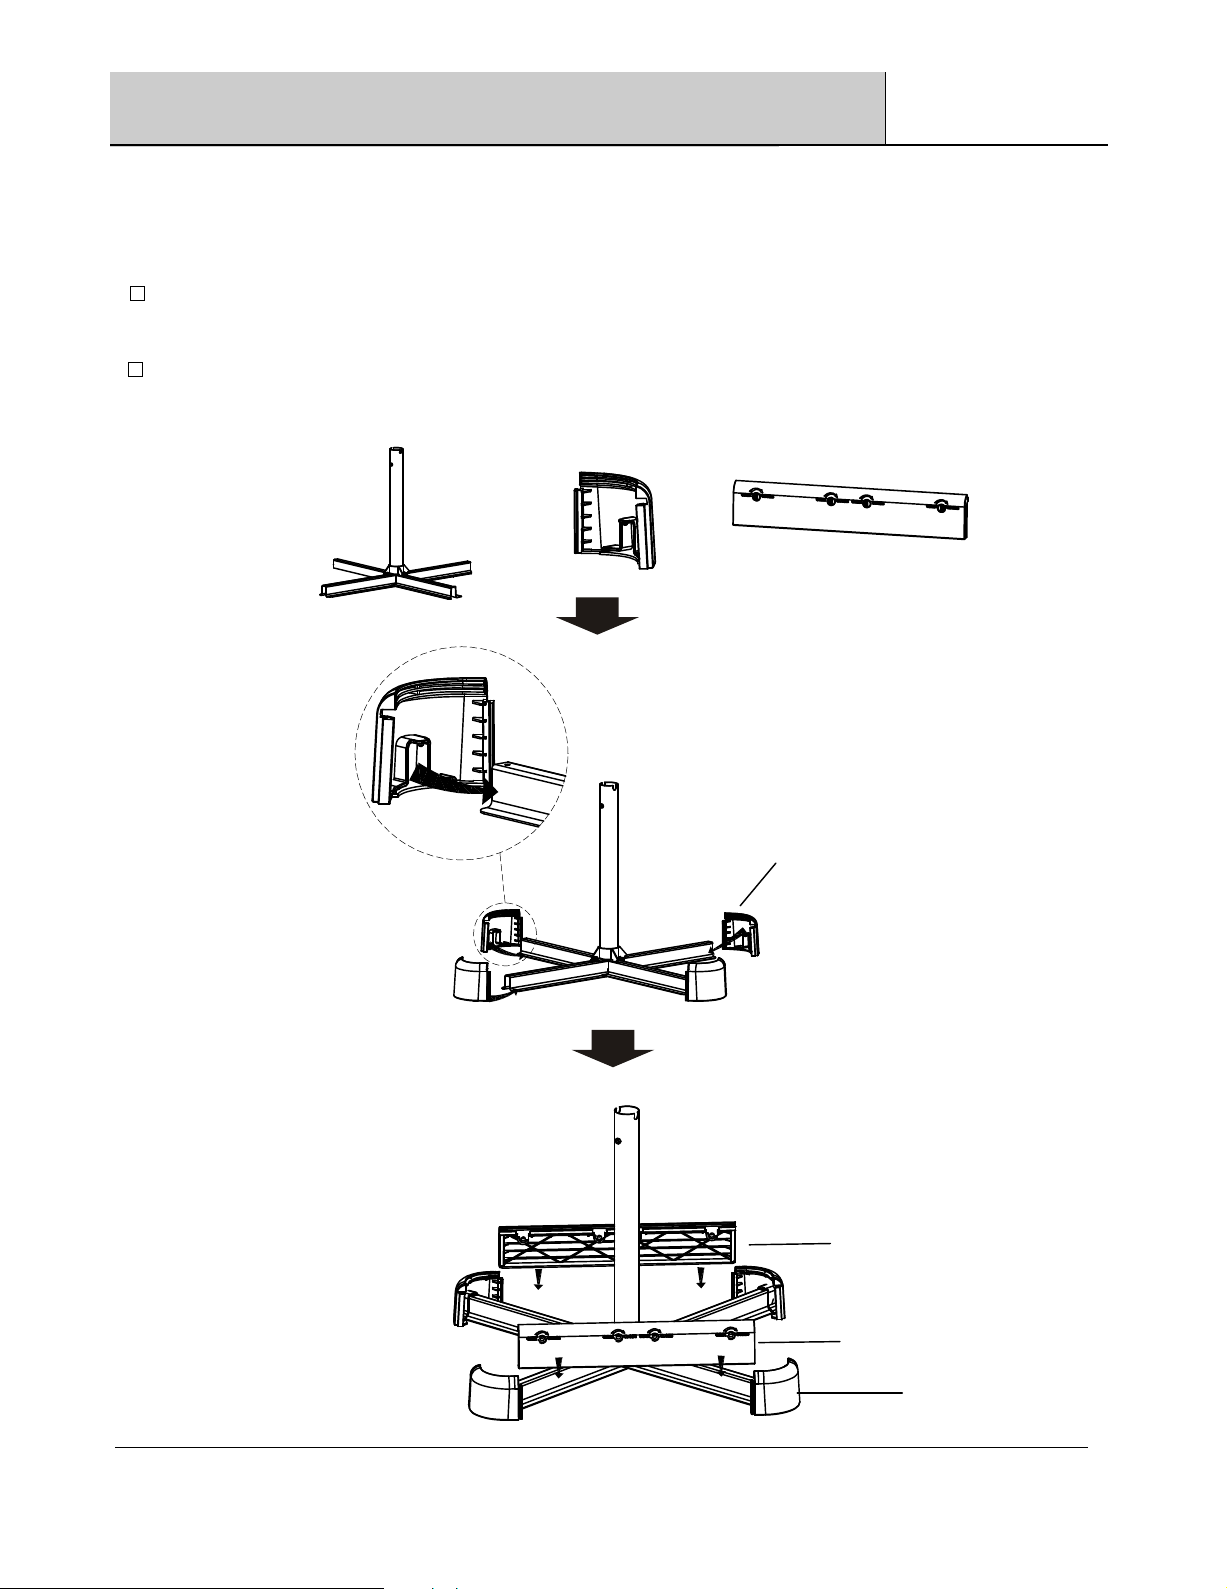
Assembly Instruction ..................................................
Customer Service .......................................................
Umbrella Set Up
Examine Your Umbrella
What is Covered
What is Not Covered
Planning Assembly
2
3
3
3
3
3
3
3
5
4
4
4
16
6