These instructions should be read carefully and retained after installation by the end user for future
reference and maintenance.
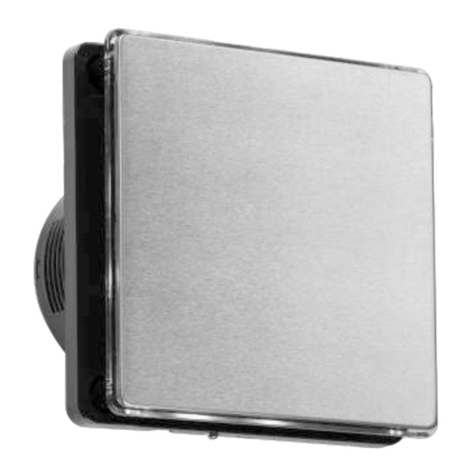
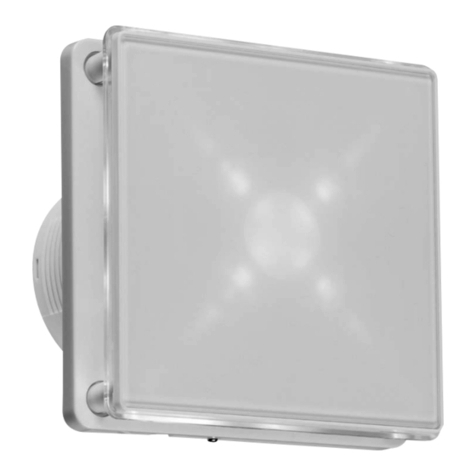
These instructions should be used to aid installation of the following products:
EX003T & EX004T
GENERAL INSTRUCTIONS:
SAFETY:
INSTALLATION:
• Installation of this product should only be carried out by a qualified electrician or competent person
to the current IEE Wiring Regulations (BS7671)
• Please isolate mains prior to installation/maintenance
• Check the total load on the circuit, including when this product is fitted, does not exceed the rating
of the circuit cable, fuse or circuit breaker
• Please note the IP (Ingress of Protection) rating of this product when deciding the location for
installation
• This product is class II, double insulated
• This product is suitable for installing in walls and ceilings
• This fan is not suitable for installing into a window
• Please recycle this unit
Note - If this product is being used in conjunction with external PIR or sensors, please confirm with
the manufacturer of the sensors that they are compatible.
• Provide power to the required point of installation, suitable IP rated junction boxes should be used
where required
• Remove the front facia (please see Fig 1)
• Mark the location of the 4 fixing holes
• Drill the holes ensuring not to infringe with any joists, gas or water pipes or electrical cables that
may be hidden behind the surface
• Note: If installed in bathrooms, the circuit should be covered by an RCB or RCBO
• Remove the cover by removing the screw at the bottom of the product (see Fig 3)
AD
C
E
B
Model A B C D E
EX003T
EX004T
158 158 39 81 100
Fig1
TLN
Min
2mins
Maz
• Connect the Live (L), Neutral (N) and switched Live (T) (see Fig 5)
• Make adjustments to the delay timer for desired setting (see Fig 5)
Fig3
Fig5
Fig4
• Install cable clamp (supplied) onto incoming mains cable
• Reassemble covers
• Switch on the power supply and test for correct operation
Remove screw
• Cut a suitable hole in the ceiling/wall as per the cut-out details in Fig 2 ensuring that it does not
infringe with electrical cables, water/gas pipes or ceiling joists
• Important: Subject to the surface foundation material, ensure the correct fixings are used
Remove screws
and lift cover
to access
connections
cable clamp
Delay timer settings


