Kodiak CG2800R User manual

Gas Powered Pressure Washer
Owner's Manual
Overview & Warnings ........................................ 1
Safety Precautions ......................................... 2,3
Assembly Instructions ....................................... 4
Operating Instructions ....................................... 5
Using the Accessories....................................... 6
Working with Detergent ..................................... 7
Shutdown Instructions ....................................... 8
Storage & Winterizing........................................ 9
Basic Maintenance ....................................... 9,10
Troubleshooting .......................................... 11,12
Warranty Information ....................................... 13
CG2800
R
IMPORTANT: Do not operate this equipment until you have read and understand all of the
enclosed Owner's Manuals. Carefully read all Warnings, Safety Precautions, Assembly
and Operating Instructions, Maintenance and Storage information.
Customer Service Hotline:
1-800-461-1323
visit our website:
www.kodiakpower.ca
MAN-CG2800REF(05-01)
Specifications
Pressure: 2800 PSI
Flow Rate: 2.5 GPM
Engine: 6.0 HP Honda (GC)
Water flow and maximum pressure
ratings determined in accordance
with PWMA standard 101.

1
1
2
3
4
5
6
7
8
14
9
11
12
13
10
*Detergent and detergent bottle not included.
Never aim water spray at persons, animals, electrical devices, or the machine itself.
Never touch water spray.
Never use hot water.
Never operate pressure washer without the water turned on.
Never operate pressure washer without inlet screen installed in the water inlet.
Never drink alcohol or use drugs while operating this equipment.
Never allow the pressure washer to freeze.
Always wear safety glasses and protective clothing.
Always ensure that you have read and understand all of the
enclosed Owner's Manuals before operating this equipment.
Nozzle connector
Spray lance
Detergent suction hose
High-pressure hose
Quick-connect nozzles (4)
Gun with safety-lock
Gun/lance assembly
Cart handle
Mounting hardware
Pump
Detergent inlet
Water outlet (OUTLET)
Water inlet (INLET)
On-board detergent
storage area*
Overview
Warning!
Note: Check for visible shipping damage. Shipping damage will cause problems in the operation
of this unit. Contact the Customer Service Hotline immediately if there are missing or damaged
parts. DO NOT return this product to the store.
Item Description Customer Service Hotline:
1-800-461-1323
visit our website:
www.kodiakpower.ca
14
13
12
11
10
9
8
7
6
5
4
3
2
1

2
Safety Overview
This unit was designed for specific applications. It
should not be modified or used for any application
other than that for which it was designed.
The Owner's Manual constitutes an essential part
of the pressure washer and should be kept in a
safe place for future reference. If you sell the
pressure washer, all manuals should be provided
to the new owner. Read this manual carefully
before using the product – know your equipment.
Save these instructions. The Owner's Manual
should remain with unit at all times.
continued ...
Important Safety Precautions
6. Always use both hands during operation to
maintain complete control of the gun/lance
assembly. Expect it to kick back when the
gun is triggered.
7. Always engage the gun safety-lock when not
spraying to prevent accidental triggering.
8. Always wear protective clothing and safety
glasses. Protect your eyes and skin from
contact with sprayed materials.
9. Stay alert – watch what you are doing.
10. DO NOT operate the product when fatigued
or under the influence of alcohol or drugs.
11. Learn how to stop the machine and release
pressure quickly. Be thoroughly familiar with
the controls.
12. Parts of the engine get extremely hot during
operation. Never touch engine while it is hot
or running; allow engine to cool down to avoid
injury.
13. DO NOT add fuel while the engine is running
or still hot. Doing so could result in a fire or an
explosion. (Please refer to the Honda Engine
Owner's Manual for fueling procedures.)
14. Before transport, ensure that the fuel is shut
OFF and that the unit is in an upright position
to avoid fuel spillage. Fuel vapor or spilled
fuel may ignite.
15. DO NOT allow the hose to touch any part of
the engine while it is running or still hot. A hot
engine could melt through the hose.
16. Work in a well-ventilated area. The pressure
washer should not be used in areas where
gas vapours may be present. A spark could
cause an explosion or fire.
17. To allow free air circulation, DO NOT cover the
pressure washer during operation.
18. DO NOT over reach or stand on an unstable
support. Keep good footing and balance at all
times when using this equipment.
19. The narrow pencil-point spray is very powerful.
It is NOT recommended for use on painted
surfaces, wood surfaces or items attached
with an adhesive backing.
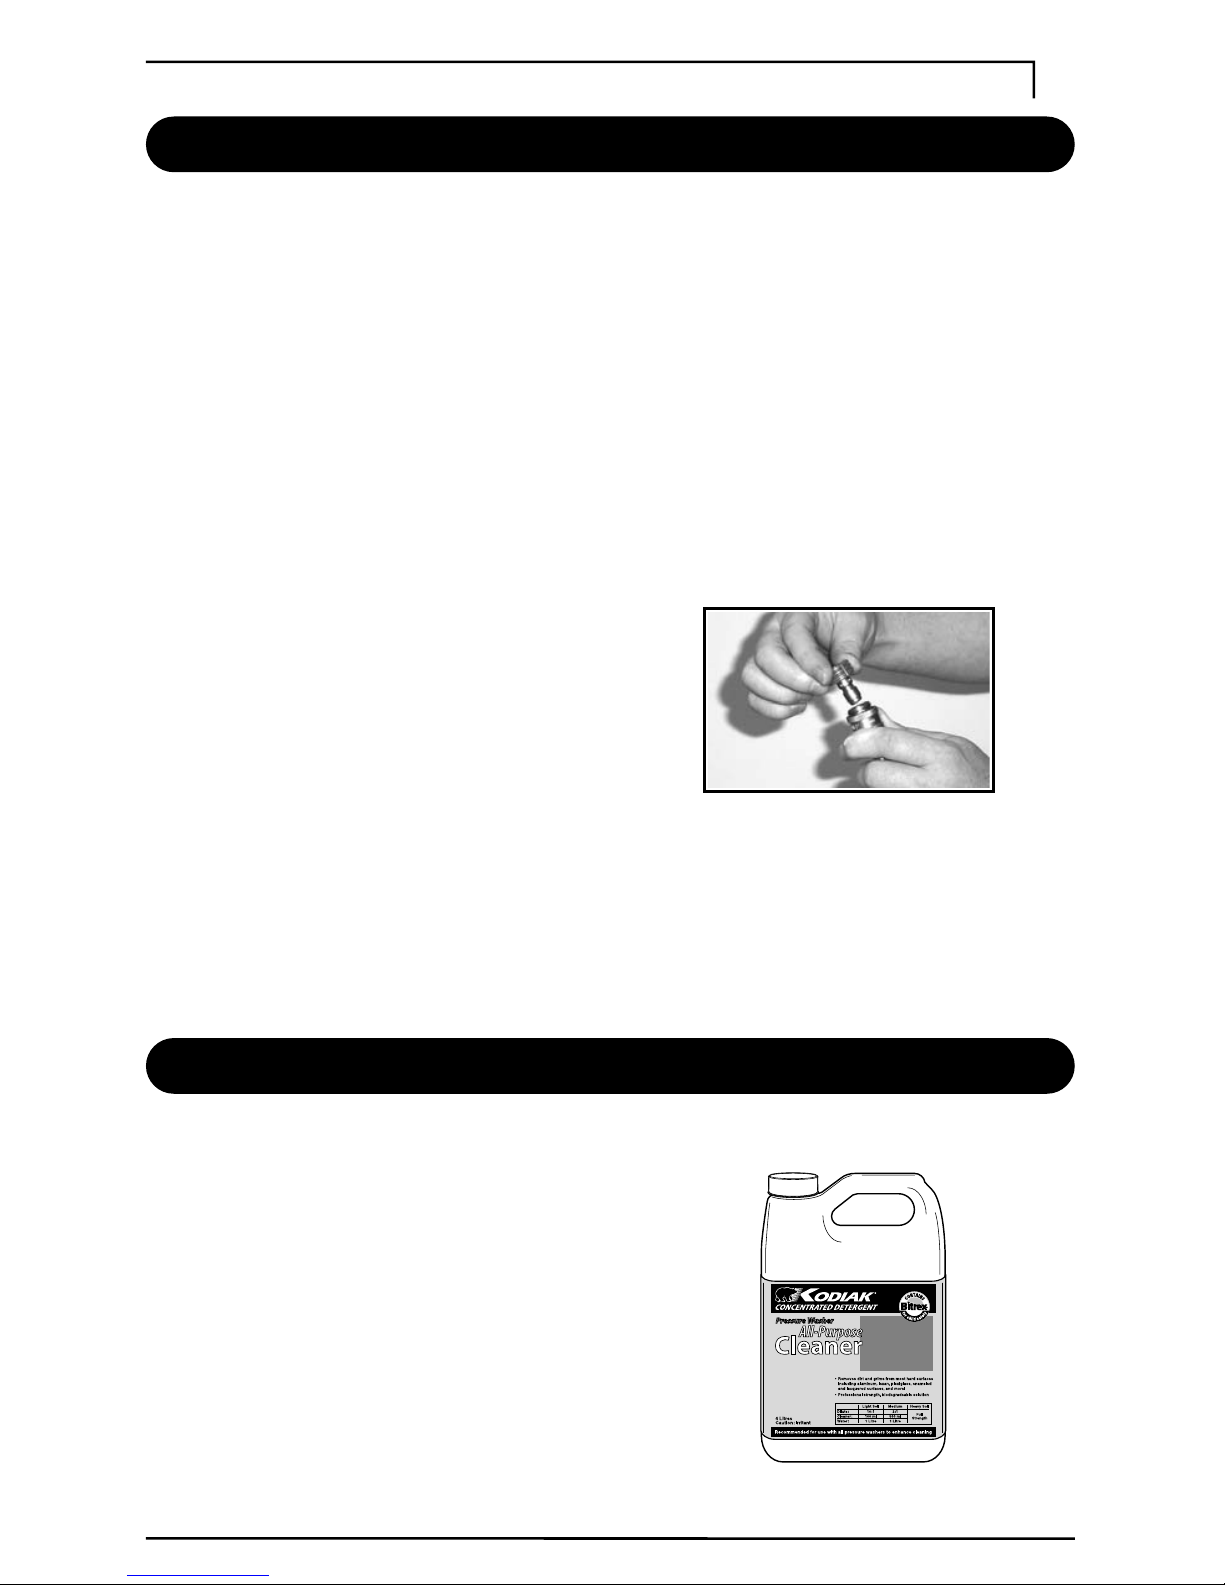
20. Only use pressure washer detergent with this
product. Carefully observe all instructions and
warnings before using detergents.
21. DO NOT use this product to spray chemicals,
acids, solvents, insecticides or any flammable
material. These products can cause physical
injuries to the operator and irreversible
damage to the unit.
Safety Precautions
The following safety precautions are essential for
the safe operation of your pressure washer. Make
sure anyone who may be using this gas-powered
pressure washer is familiar with these important
safety and equipment precautions.
If safety precautions are overlooked or ignored,
personal injury or property damage may occur.
Always heed these precautions, as they are
essential when using any mechanical equipment.
1. High-pressure spray can be dangerous if
subject to misuse. DO NOT direct the water
spray at persons, animals, electrical devices,
or the machine itself.
2. Never touch the water spray.
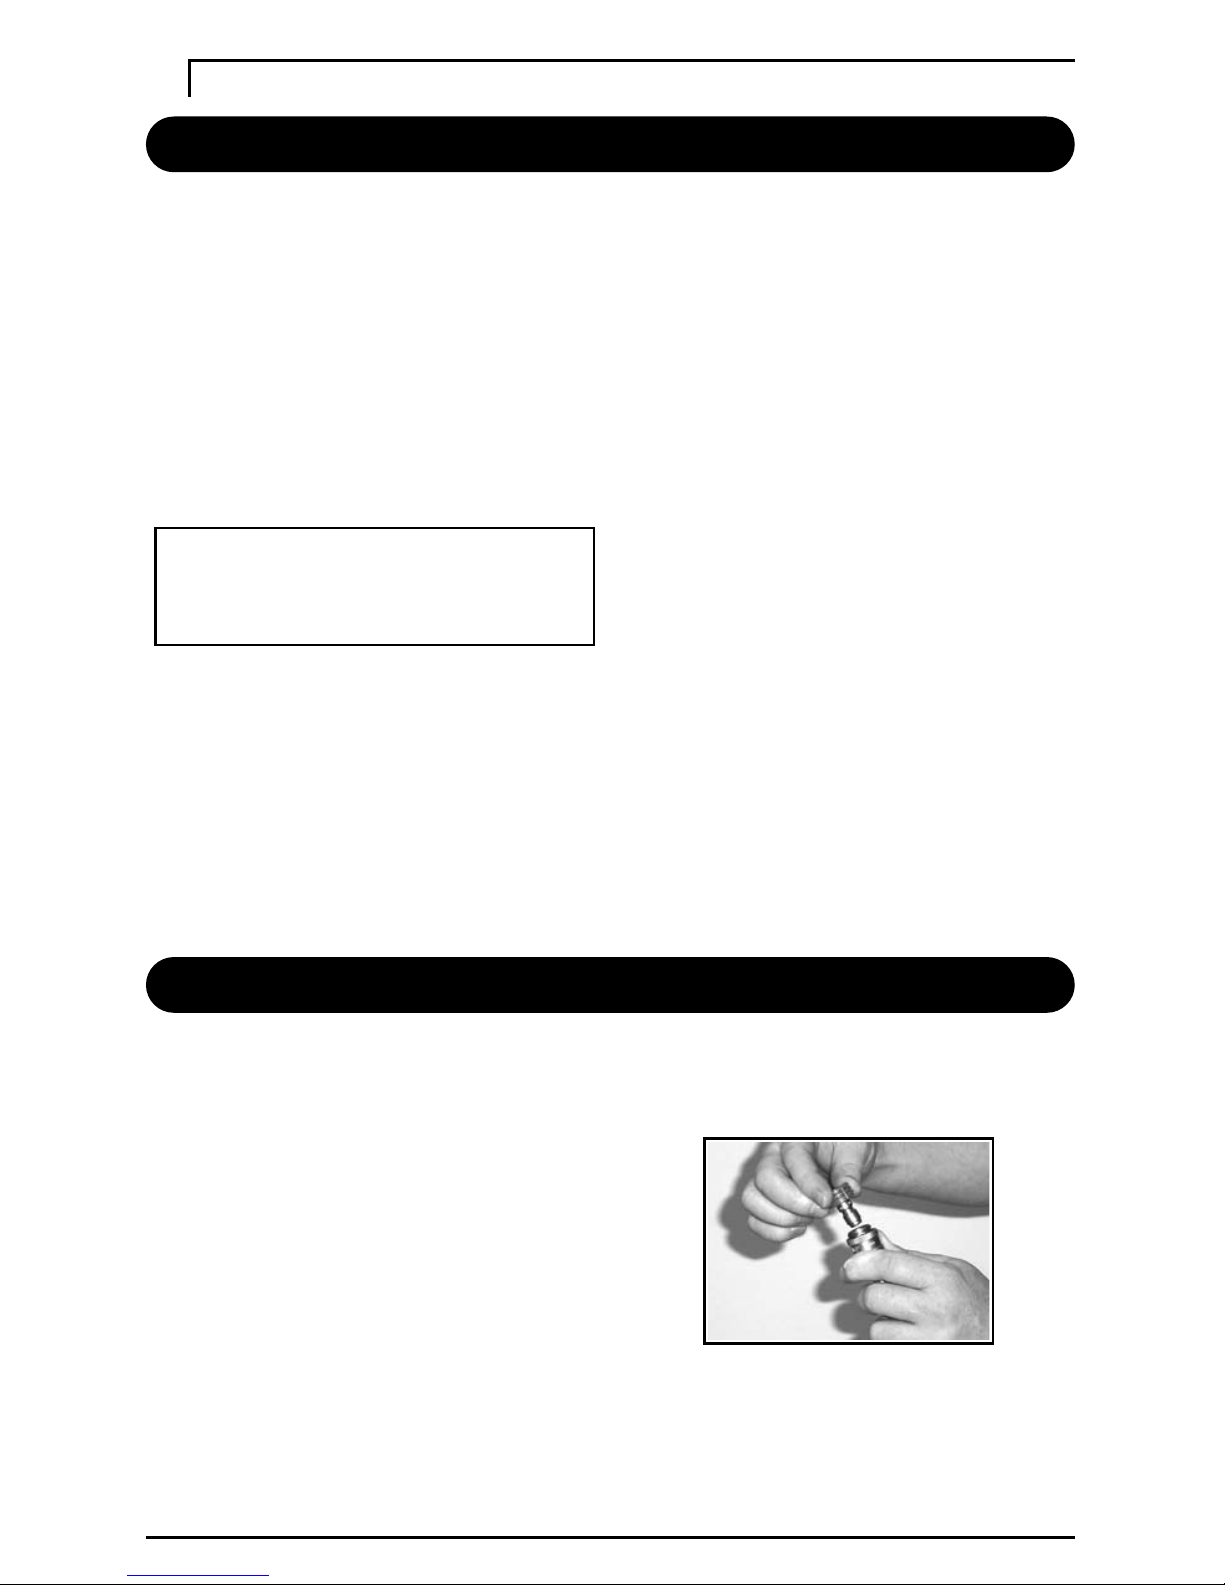
3. Never hold on to the hose or fittings while
operating the pressure washer.
4. Keep operating area clear of all persons. To
reduce the risk of injury, DO NOT operate the
machine near children.
5. Keep work area free of obstacles. Remove
loose objects from spray path. Secure light
objects to be cleaned.
IMPORTANT: Your pressure washer operates
at fluid pressures and velocities high enough
to penetrate human and animal flesh, which
could result in serious injury or amputation.
Leaks caused by loose fittings, damaged or
worn hoses can result in injection injuries.
WARNING: DO NOT treat fluid injection as
a simple injury. Fluid injection can lead to
amputation. See a physician immediately.

3
Safety Precautions – continued
22. DO NOT allow your pressure washer to freeze
during colder months. Damage as a result of
freezing will void the warranty.
23. Prior to starting the pressure washer in cold
weather, be sure that ice has not formed in
any part of the equipment.
24. Never tie knots or kink the high-pressure hose
as damage could result. DO NOT operate the
unit if the high-pressure hose is damaged.
25. The Gun Safety Lock PREVENTS the trigger
from accidentally being engaged. This safety
feature DOES NOT lock trigger in the ON
position.
26. To avoid serious injury and damage to the unit
DO NOT operate this pressure washer with
any components rated less than 2800 PSI
(i.e.: spray guns, hoses, hose couplings, etc...)
27. DO NOT allow the pressure washer to run for
more than 3 minutes with the gun closed and
the engine running. Prolonged operation in
bypass mode can result in damage to the pump.
28. Shut the engine OFF if you are not using the
pressure washer.
CAUTION: The pressure has been pre-set by
the manufacturer. DO NOT attempt to adjust the
pressure higher than its factory setting. Doing so
will damage the pump, void the warranty and
could result in personal injury or damage.
CAUTION: This machine has been designed
for use with pressure washer detergents only.
Important Safety Precautions – continued
Water Supply (Cold Water Only)
This pressure washer must only be used with
clean water; use of unfiltered water or corrosive
chemicals will damage the pressure washer.
1. The supply hose should be at least 5/8"
in diameter
2. The water supply must be at least equal to
the flow rate of the pressure washer.
3. The water supply pressure must be a minimum
of 20 psi and must not exceed 145 psi.
4. The water supply temperature must not exceed
40˚C/104˚F.
5. Never use the pressure washer to draw in
water contaminated with solvents, e.g. paint
thinners, gasoline, oil, etc.
6. Always prevent debris from being drawn into
the unit by using a clean water source.
7. Calcium build-up due to hard water is NOT
covered by the warranty.
Important Safety Precautions – continued

4
Step 2
Insert bolts and tighten
with the hardware provided.
Step 4
Connect the high-pressure
hose to the OUTLET.
Hand tighten.
Step 3
Connect the garden hose
hose to the INLET.
Hand tighten.
Assembly Instructions
Step 1
Align the handle to the frame
of the pressure washer
Note: Check for visible shipping damage. Shipping damage will cause problems in the operation
of this unit. Contact the Customer Service Hotline immediately if there are missing or damaged
parts. DO NOT return this product to the store.
CAUTION: Before connecting hoses to the pressure washer, ensure that the supply
hose is free of debris. Any foreign particles entering the pump will damage the unit.
CAUTION: If the lance is not securely locked into place, it could be ejected under high-pressure
when operating the gun, possibly causing injury or damage. If the nozzle is not securely locked in
place, it can become a projectile. Always ensure that lance and nozzle connections are secure.
Step 5
Connect the lance
to the gun assembly.
Hand tighten.
Step 6
Pull back the collar on the
lance socket to insert a
nozzle. Release the collar.

5
WARNING: Operating unit without water can damage seals and void the warranty.
Always trigger gun until steady stream of water flows from nozzle to ensure unit is
receiving water correctly before starting the engine.
Please refer to the Engine Owner's Manual for more details.
Step 1. If the engine is cold, pull engine choke rod out to the CLOSED position.
Step 2. Move throttle control about 1/3 of the way toward the FAST position.
Step 3. Pull the starter grip to start engine.
Step 4. Push choke rod back to OPEN position.
Step 5. Throttle up to full RPMs. Refer to the Engine Owner's Manual for details.
Step 6. Press the gun trigger gently.
DO NOT pump the trigger rapidly between ON and OFF settings
Step 5
Continue to squeeze gun
trigger until a steady stream
of water flows from nozzle
before releasing trigger.
Step 6
Start engine and throttle up
to full RPMs. Refer to the
Engine Owner's Manual.
Step 4
Release the gun safety-lock
and squeeze gun trigger.
Operating Instructions
WARNING: THE ENGINE IS SHIPPED WITHOUT OIL. Fill engine with the recommended oil to the
indicated level before operating the unit. Failure to do this will cause severe damage to the engine
and void the warranty. Please refer to the Engine Owner's Manual for details.
Step 2
Fill gas tank. Refer to the
Engine Owner's Manual.
Step 3
Connect the garden hose
to the water supply and
turn ON water full force.
Step 1
Check engine oil. Refer to
the Engine Owner's Manual.
Engine Quick-Start Procedure
CAUTION: Always shutdown the pressure washer when it is not in use.
Please refer to the Shutdown Instructions on page 8 for details.

6
Quick-Connect Nozzles
Four colour-coded quick-connect nozzles are
included with the pressure washer:
Red: This nozzle produces a high-pressure
pencil-point spray (0˚) ideal for removing
stubborn dirt.
Yellow: This nozzle produces a high-pressure
flat spray (15˚) suitable for cleaning
large surface areas.
Green: This nozzle produces a high-pressure
flat spray (25˚) suitable for cleaning
larger surface areas.
Black: This nozzle produces a low-pressure
spray that must be used for application
of detergents.
CAUTION: The pencil-point spray (0˚) is very
aggressive. For most cleaning applications, the
flat spray nozzles (15˚ and 25˚) should be used
to avoid damage to the surface being sprayed.
NOTE: The intensity of the spray increases as
you move the lance closer to the surface.
NOTE: When inserting or removing the spray
nozzles from the rubber grommet (located on
the handle) use a twisting action so the rubber
grommet does not disengage from the hole.
Changing Nozzles
CAUTION: When installing or removing a spray
nozzle, always do so with the water turned OFF
at the source and the engine turned OFF.
Using the Accessories
Optional Cleaning Accessories
CAUTION: Your pressure washer operates at fluid pressures and velocities high enough to cause
property damage. Before cleaning any surface, choose an inconspicuous area to test spray pattern
and distance for maximum cleaning results. If painted surfaces are peeling or chipping, use extreme
caution as pressure washer may remove the loose paint from the surface.
KODIAK offers a complete line of Concentrated Detergents to enhance the cleaning performance
of your pressure washer.
Please contact your local retailer for details, or visit our website at www.kodiakpower.ca
Concentrated Detergents (4 Litres)
• All-Purpose Cleaner
• Deck & Fence Cleaner
• Heavy-Duty Degreaser
• House & Window Wash
• Car & Boat Wash 'n Wax
Step 1. Discharge residual pressure by pressing
and holding the gun trigger until no water
comes out of the nozzle.
Step 2. Release the gun trigger and engage the
gun safety-lock.
Step 3. Pull back the collar on the lance socket
to insert a nozzle.
Step 4. Release the collar and pull sharply on
the connection to ensure connection is
secure.
CAUTION: If the nozzle is not securely locked in
place, it can become a projectile. Always ensure
that lance and nozzle connections are secure.

7
Cleanup Instructions
Working with Detergent
Detergent Overview
To enhance the efficiency of the pressure washer,
sometimes it is necessary to use detergents to
help loosen tough dirt and grime.
CAUTION: This machine has been designed for
use with pressure washer detergents only. The
use of other detergents or chemicals may affect
the operation of the machine and will void the
warranty.
NOTE: To apply detergent, the black-coloured
detergent nozzle must be used to activate the
low-pressure detergent injection system.
WARNING!
• Never use bleach, chlorine products and
other corrosive chemicals
• Never use liquids containing solvents
(i.e., paint thinners, gasoline, oils)
• Never use tri-sodium phosphate products
• Never use ammonia products
• Never use acid-based products
These products can cause physical injuries
to the operator and irreversible damage to
the machine and/or damage the surface
being cleaned.
Detergent Application
Step 1 Insert detergent suction tube into a clean
container (not supplied) with one gallon
(4 L) of fresh water.
Step 2 Pull back the collar on the spray lance
to insert detergent nozzle (see page 6).
Step 3 With the engine running, depress the
gun trigger to apply detergent to the work
area; DO NOT allow detergent to dry
on surface.
Step 4 Release the gun trigger and attach one
of the high-pressure nozzles to rinse
(see page 6).
Step 1 Place suction hose into a container
of pressure washer detergent.
Step 2 Pull back the collar on the spray lance
to insert detergent nozzle (see page 6).
Step 3 With the engine running, press and hold
the gun trigger for one minute or until the
container of fresh water is empty.
Step 4 Release the gun trigger and attach one of
the high-pressure nozzles (see page 6).
IMPORTANT: When you have finished using detergent, always follow the Cleanup Instructions.
Failure to clean properly will cause the injection system to become clogged and inoperable.

8
Shutdown Instructions
Step 1
Turn the engine to
the OFF position.
Step 4
Disconnect the high-pressure
hose from the water OUTLET.
Step 2
Turn OFF the water supply.
Step 6
Engage the gun safety-lock.
Step 5
Disconnect the garden hose
from the water INLET.
CAUTION: Failure to discharge the residual
pressure could result in personal injury due
to discharge of high-pressure water.
Step 3
Discharge residual pressure
by pressing and holding the
gun trigger until no water
comes out the nozzle.
Thermal Protection Valve
Your pressure washer is equipped with a thermal protection valve, located at the base of the pump.
If the engine is left running for an extended time with the gun closed, the pressure washer will dump
water into the atmosphere through this valve.
NOTE: Always shut the engine OFF and engage
the gun safety-lock when the pressure washer
is not is use.
CAUTION: Never allow the pressure washer to
run for more than 3 minutes with the gun closed
and the engine running. Prolonged operation in
bypass mode can result in damage to the pump.

9
Storage & Winterizing
Storage
CAUTION: Always follow Shutdown Instructions
on page 8 before storing the pressure washer or
the accessories. For your own safety, be sure to
turn the engine OFF and discharge the residual
pressure (see page 8).
Always store your pressure washer in a location
where the temperature will NOT fall below 0˚C.
Store the machine and accessories in a dry place,
protected from freezing. The machine should NOT
be placed near an open flame i.e. furnace, hot
water heater, etc.
WARNING: The pressure washer pump is
susceptible to permanent damage if frozen.
Damage as a result of unit freezing is NOT
covered by the warranty.
If you must store your pressure washer in a
location where the temperature is below 0˚C,
you can minimize the chance of damage to your
machine by utilizing the following procedure:
1. Shut off water supply and relieve pressure in
the spray gun by depressing the trigger.
2. Disconnect the garden hose from the unit, but
leave the high-pressure hose connected.
3. Connect a short hose (not supplied) to the
water inlet of the pressure washer.
4. Place the other end of this hose into container
of winter windshield washer fluid.
5. Start the engine to circulate the windshield
washer fluid in the pump.
6. Press and hold the gun trigger until the fluid
comes out the nozzle. Turn the engine OFF
immediately.
7. Discharge residual pressure by pressing and
holding the gun trigger, then disconnect the
high-pressure hose.
The winter windshield washer fluid will help protect
against freezing during storage, and help prevent
the pistons from sticking.
Winterizing
Always store your pressure washer in a location
where the temperature will NOT fall below 0˚C.
CAUTION: Always remove gasoline from the
engine if storing the pressure washer indoors.
IMPORTANT: Always follow the Shutdown Instructions on page 8 before working on the pressure
washer or the accessories. For your own safety, be sure to turn the engine OFF and discharge the
residual pressure (see page 8) before carrying out any maintenance.
Nozzle
Clogging of the nozzle causes pump pressure to
be high and a distorted spray pattern can result.
Cleaning is immediately required with unit turned
OFF.
CAUTION: Failure to do discharge the residual
pressure could result in personal injury due to
discharge of high-pressure water.
Step 1. Discharge residual pressure by pressing
and holding the gun trigger until no water
comes out of the nozzle.
Basic Maintenance
Step 2. Disconnect the nozzle from the lance.
Step 3. Flush the nozzle backwards with water.
Step 4. Reconnect the nozzle to the lance.
Restart the pressure washer and depress
trigger on the spray gun. If the nozzle is
still plugged, repeat steps 1 through 4.

10
Basic Maintenance – continued
Connections
Connections on hoses, the gun/lance assembly
and spray lance should be cleaned regularly and
lubricated with lithium grease to prevent leakage
and damage to the O-rings.
Water Screen
CAUTION: If the screen is not kept clean, the
flow of water to the pressure washer will be
restricted and the pump may be damaged.
The pressure washer is equipped with a water
inlet screen to protect the pump. Clogging of the
water screen will restrict flow of water. Cleaning
is immediately required with unit turned OFF.
1. Disconnect the garden hose from the INLET.
2. Remove the water screen from the INLET.
3. Clean screen under warm water.
4. Replace screen immediately to prevent any
foreign matter from entering the pump.
5. Reconnect the garden hose to the INLET.
CAUTION: Do not damage the screen while
removing or cleaning. Any foreign particles
entering the pump will damage the unit.
Pump Oil Change
NOTE: The pump of the pressure washer will
require an oil change once a season or after
every 50 hours of operation. Use only SAE30
non-detergent oil in the pump.
To change the oil in the pump, the unit needs to
be tipped on its side. As a result of this the engine
oil should be changed at the same time. This will
avoid flooding the engine with oil when the unit is
tipped sideways.
NOTE: Refer to the Engine Owner's Manual
for details on changing the engine oil.
Step 1. Remove gasoline from engine.
Step 2. Drain engine oil. Refer to the Engine
Owner's Manual for details.
Step 3. Gently tip the unit sideways so that the
oil drain/fill plug is facing upward.
Step 4. Remove oil drain/fill plug from pump, then
gently tip the unit in the opposite direction
until the oil is drained from the pump.
Please dispose of oil properly.
Step 5. Once oil is drained, gently tip unit so that
the drain/fill hole faces up and add new
oil to chamber. Do not overfill. Use 0.13 L
of SAE30 non-detergent motor oil.
Step 6. Replace oil drain/fill plug, secure firmly
and tip unit upright.
Step 7. Replace engine oil. Refer to the Engine
Owner's Manual for details.
Engine
To ensure proper care of the engine, be sure to
follow the manufacturer's maintenance schedule,
routine inspection procedures, and maintenance
procedures.
Please refer to the Honda Engine Owner's Manual
for details on maintenance of the engine.
WARNING: Improperly maintaining the engine,
or failure to correct a problem before operation,
can cause a malfunction in which you can be
seriously hurt or killed.
NOTE: In the unlikely event that you have a
problem with the engine, you must contact a
Honda Service Centre. Please call the Honda
toll-free hotline at 1-888-946-6329 to locate the
nearest Authorized Service Centre.

11
Symptom Possible Cause Solution
Engine will not start. No gasoline.
Engine throttle is not in
correct position.
Choke in wrong position.
Excess pressure built up
in the unit.
IMPORTANT: Always follow the Shutdown Instructions (see page 8) before working on
the unit or the accessories. Always discharge residual pressure and turn the engine OFF.
Fill gas tank.
Position throttle 1/3 of the way
towards FAST position.
Pull choke rod to CLOSED position
for cold engine.
Press gun trigger to discharge
residual pressure (see page 8).
Engine running, but Water supply is restricted.
pump is not delivering
maximum pressure.
Diameter of garden hose
is too small.
Water inlet screen clogged.
Nozzle obstructed.
Spray nozzle is in
low-pressure mode.
Unit has been stored in
freezing temperatures.
Open water faucet to full force.
Check garden hose for kinks,
leaks and blockage.
Use a minimum 5/8" diameter
garden hose
Remove screen and clean (see page 10).
Clean nozzle (see page 9).
Adjust the spray nozzle to the
high-pressure position (see page 6).
Thaw out unit completely including
hose, gun and wand.
Output pressure varies Water supply is restricted.
between high and low.
Pump is sucking air.
Water inlet screen clogged.
Nozzle obstructed.
Calcified gun, hose
or spray lance.
Open water faucet to full force.
Check garden hose for kinks,
leaks and blockage.
Check that hoses and fittings are airtight.
Turn off machine and purge pump by
squeezing gun trigger until a steady flow
of water emerges through the nozzle.
Remove screen and clean (see Page 10).
Clean nozzle (see Page 9).
Run distilled vinegar through machine.
Troubleshooting
Garden hose Loose fittings.
connection leaks. Missing or worn rubber washer.
Tighten or replace fittings.
Insert new washer.
Gun/lance assembly Spray lance not
or spray lance leaks. attached properly.
Broken O-ring.
Ensure the spray lance is connected
properly. Hand tighten the connection.
Call Customer Service hotline
to order a replacement O-ring.

12
Symptom Possible Cause Solution
No detergent. Black-coloured detergent
nozzle not attached.
Detergent suction tube
not properly attached.
Filter on detergent suction
tube is clogged.
Detergent suction tube
damaged or blocked
Nozzle obstructed.
Detergent container empty.
Attach the black-coloured
detergent nozzle (see page 7).
Check connection.
Run warm water through filter
to remove debris.
Remove obstruction or replace
detergent suction tube.
Clean nozzle (see Page 9).
Replace detergent container.
Pump is noisy. Pump is sucking air. Check that hoses and fittings are airtight.
Turn off machine and purge pump by
squeezing gun trigger until a steady flow
of water emerges through the nozzle.
Water or oil leaking
from bottom of unit.
Check that all fittings are tight.
If excessive leaking occurs,
call Customer Service hotline.
Loose fittings.
A small amount of leakage
is normal.
Excessive leaking may indicate
water seals damaged or worn.
Trigger will not move. Gun safety-lock engaged. Release safety lock.
If you encounter any difficulties not listed above,
please contact the Customer Service hotline.
IMPORTANT: Always follow the Shutdown Instructions (see page 8) before working on
the unit or the accessories. Always discharge residual pressure and turn the engine OFF.
Water leaking Loose fittings. Check that all fittings are tight.
Troubleshooting – continued
Customer Service Hotline:
1-800-461-1323
visit our website:
www.kodiakpower.ca

13
Warranty Information
Engine Warranty
The engine is warranted for a period of two years by the Honda Motor Company Limited.
In the unlikely event that you have a problem with the engine you must contact an authorized Honda
Service Centre. Please call the Honda toll-free hotline at 1-888-946-6329 to locate the Service Centre
nearest you.
Gas Powered Pressure Washer Warranty
This product is warranted to be free from defects in materials and workmanship under normal
household use and service, for a period of one year from the date of purchase, when operated and
maintained in accordance with the Maintenance and Operating Instructions supplied with the unit.
Hoses, spray lances and other accessories are warranted for 30 days. Warranty period commences
on date of purchase.
The warranty herein is expressly conditioned upon the customer's compliance with all precautions
and instructions contained in the Owner's Manual.
If the machine is still under warranty, the customer has a valid receipt, and the machine meets the
warranty criteria, then the repair will be made at no charge to the customer. Units and parts should
be returned at the customer's expense to the nearest Authorized Service Centre. Include original
purchase receipt with any claim, making sure to keep a copy for your files. Be sure to pack the unit
in a strong carton and pad tightly to avoid damage. Damage in transit is NOT covered by warranty.
Warranty is void if any devices or accessories other than those distributed or recommended by
Kodiak are attached to or connected with the equipment in such a manner that the original factory
construction is altered.
Warranty is void if repairs are attempted by anyone other than an Authorized Service Centre. In the
event that a difficulty develops with the product, you should contact the nearest Authorized Service
Centre. Only these locations are authorized to make repairs to the product or affect replacement of
defective parts, which will be done at no charge within a reasonable time after receipt of the product.
This warranty shall not apply to any problem which is due to misuse, neglect, accident, abuse,
improper handling, freezing, normal wear and tear, use of improper detergents/chemicals, or
non-compliance with precautions and instructions contained in the Owner's Manual. Warranty is void
if the equipment is used for commercial or industrial purposes.This warranty is non-transferable.
The liability of John Brooks Company Limited is limited to repair of the product and/or replacement of
parts, and is given to the purchaser in lieu of all other remedies including incidental and consequential
charges. There are no expressed warranties other than those specified herein.
Customer Service Hotline:
1-800-461-1323
visit our website:
www.kodiakpower.ca
This manual suits for next models
1
Table of contents
Other Kodiak Pressure Washer manuals