manuals.online logo
Brands
  1. Home
  2. •
  3. Brands
  4. •
  5. KODU
  6. •
  7. Indoor Furnishing
  8. •
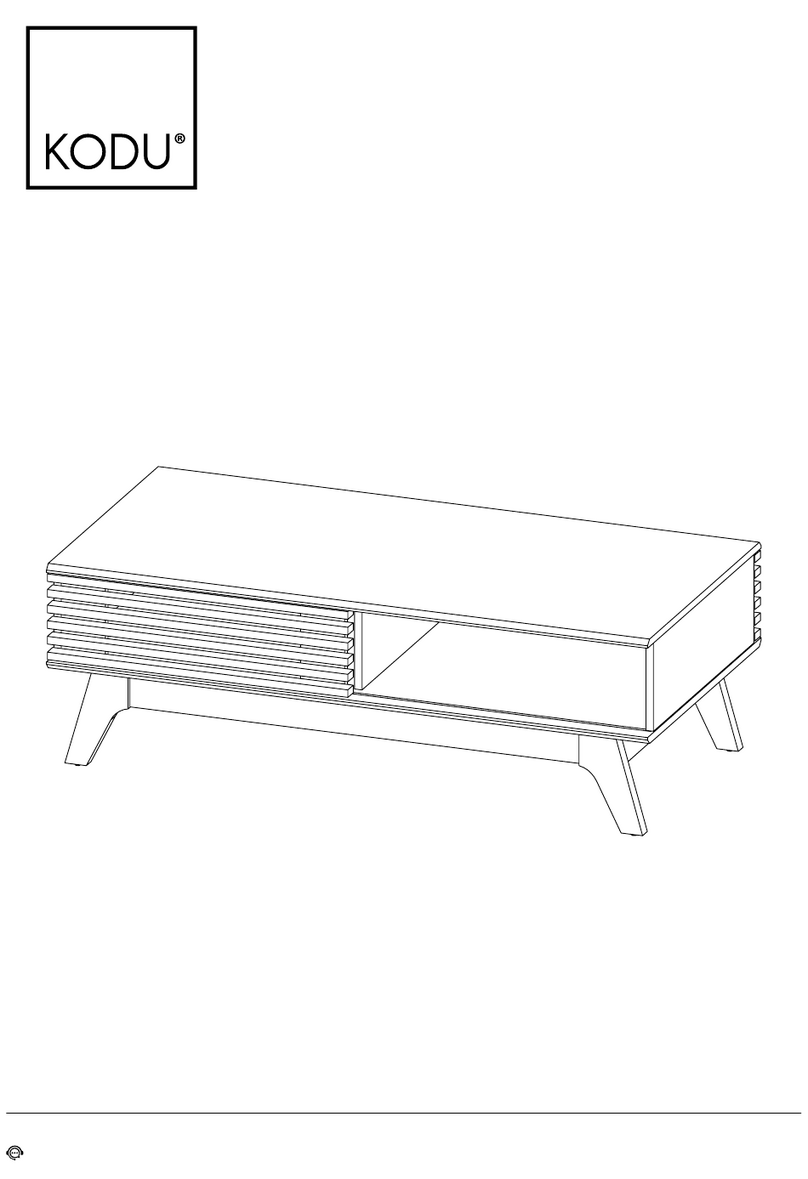
  9. KODU UH11049 User manual

KODU UH11049 User manual

AFTER SALES SUPPORT
1300 777 137
ASSEMBLY INSTRUCTIONS
UH11049 UH11050
TV UNIT
2 DOORS 2 DRAWERS
ASSEMBLY INSTRUCTIONS
2 of 36 AFTER SALES SUPPORT
1300 777 137
ASSEMBLY INSTRUCTIONS
UH11049 UH11050
TIPS BEFORE YOU START
1. Please check that all parts are present before you start the assembly of your furniture.
2. For ease and speed of assembly, we recommend that before you commen ce each step of the
assembly, that you identify all the parts required for that step.
3. For larger items, please ensure that you have sucient space and people to assemble your product
safely.
4. We recommend that, where possible, all items are assembled near to the area in which they will be
placed in use, to avoid moving the product unnecessarily once assembled.
5. For the protection of your furniture, we recommend that the product is placed on a protected
surface during assembly to prevent any damage.
6. During assembly please take care not to over-tighten any ttings, as this may damage the product.
Do not use power tools.
7. Always place the product on a at, steady and stable surface.
8. Do not stand on the product. Do not use the product as a stepladder.
9. This product is intended for indoor, household use only as it is a non-industrial product.
10. Please use caution and care when lifting the product to avoid personal injury and/or product
damage.
CARE AND MAINTENANCE OF YOUR FURNITURE
; Please periodically check all ttings and re-tighten as necessary.
;To clean your item, please use a damp cloth and wipe clean.
;To clean glass, please use glass cleaner.
;Never allow any kind of liquid to remain on your furniture. Absorption can cause wood to warp or
nishes to de-laminate.
;Please do not place hot items (eg. hot drinks) directly on to the surface.
;Please do not drag and pull your furniture.
ASSEMBLY REQUIREMENTS
;Equipment: phillips head screwdriver, at head screwdriver
;2 x adults required
;2m x 2m assembly space required
;1.5 hour assembly time approx.
3 of 36 AFTER SALES SUPPORT
1300 777 137
ASSEMBLY INSTRUCTIONS
UH11049 UH11050
USING CAM LOCK AND QUICKFIT
QUICKFIT
Tighten quickfit until shoulder is flush with panel. Do not overtighten or undertighten.
CAM LOCK
When fitting cam lock, ensure starting position is correct before you insert connecting quickfit.
Quickfit head should be in the centre of the
cam lock when the two panels are joined.
Cam lock should be inserted before quickfit. Turn cam lock clockwise to tighten.
CORRECT
PANEL PANEL
SHOULDER
WRONG
4 of 36 AFTER SALES SUPPORT
1300 777 137
ASSEMBLY INSTRUCTIONS
UH11049 UH11050
HARDWARE LIST
52 x D
Screw
16 x F
Screw
24 x G
Screw
4 x I
Handle
8 x J
Bolts
36 x A
Quickfit Screw
24 x C
Wooden Dowel
8 x L
Washer
16 x E
Screw
12 x H
Wedge
8 x K
Washer
36 x B
Cam Lock
5 of 36 AFTER SALES SUPPORT
1300 777 137
ASSEMBLY INSTRUCTIONS
UH11049 UH11050
HARDWARE LIST
4 x P
Hinges
4 x R
Rubber Pad
2 x S
Outer Drawer Runner
2 x U
Inner Drawer Runner
2 x V
Inner Drawer Runner
1 x M
Allen Key
2 x O
Door Stopper
2 x Q
Adjustable Feet
2 x T
Outer Drawer Runner
8 x N
Shelf Support
2 x W
Wall Bracket
4 x Y
Screw
2 x X
Wall Plug
6 of 36 AFTER SALES SUPPORT
1300 777 137
ASSEMBLY INSTRUCTIONS
UH11049 UH11050
PARTS LIST
5
1 PC
4
1 PC
8
4 PCS
9
1 PC
6
1 PC
7
2 PCS
11
2 PCS
10
1 PC
2
1 PC
3
1 PC
1
1 PC
12
2 PCS
7 of 36 AFTER SALES SUPPORT
1300 777 137
ASSEMBLY INSTRUCTIONS
UH11049 UH11050
PARTS LIST
17
2 PCS
20
2 PCS
21
2 PCS
18
2 PCS
19
2 PCS
23
3 PCS
22
1 PC
16
1313 14
14
2 PCS
15
4 PCS
13
4 PCS
16
2 PCS
24
2 PCS
8 of 36 AFTER SALES SUPPORT
1300 777 137
ASSEMBLY INSTRUCTIONS
UH11049 UH11050
A x 8
A
A
A
A
A
A
A
A
O
E
E
O
EE
1
E x 4
O x 2
W x 2
Y x 2
W
Y
W
Y
ASSEMBLY INSTRUCTIONS
STEP 1
Insert quickt screw (A) to parts 1,
Fix door stoppers (O) to part 1 using screws (E).
Fix wall brackets (W) to part 1 using screws (Y), as shown.
9 of 36 AFTER SALES SUPPORT
1300 777 137
ASSEMBLY INSTRUCTIONS
UH11049 UH11050
A x 14
A
A
A
A
A
A
A
A
AA
A
A
A
A
2
ASSEMBLY INSTRUCTIONS
STEP 2
Insert quickt screw (A) to part 2, as shown.
10 of 36 AFTER SALES SUPPORT
1300 777 137
ASSEMBLY INSTRUCTIONS
UH11049 UH11050
A x 4
A
A
A
A
4
5
ASSEMBLY INSTRUCTIONS
STEP 3
Insert quickt screw (A) to part 4 and 5, as shown.
11 of 36 AFTER SALES SUPPORT
1300 777 137
ASSEMBLY INSTRUCTIONS
UH11049 UH11050
D x 6
T x 2
DDD
T
4
D
D
D
D
D
D
T
T
ASSEMBLY INSTRUCTIONS
STEP 4
Fix outer drawer runners (T) to part 4 using screws (D), as shown.
12 of 36 AFTER SALES SUPPORT
1300 777 137
ASSEMBLY INSTRUCTIONS
UH11049 UH11050
D x 6
S x 2
D
D
D
S
D
D
D
D
D
D
S
S
5
ASSEMBLY INSTRUCTIONS
STEP 5
Fix outer drawer runners (T) to part 5 using screws (D), as shown.
13 of 36 AFTER SALES SUPPORT
1300 777 137
ASSEMBLY INSTRUCTIONS
UH11049 UH11050
B x 4
B
B
B
B
22
5
4
ASSEMBLY INSTRUCTIONS
STEP 6
Insert cam locks (B) to part 22.
Attached part 22 to parts 4 and 5, as shown.
Turn cam locks clockwise to tighten.
14 of 36 AFTER SALES SUPPORT
1300 777 137
ASSEMBLY INSTRUCTIONS
UH11049 UH11050
C x 8
B x 8
C
C
C
C
C
C
C
C
B
B
B
B
B
B
B
B
3
4
5
6
1
ASSEMBLY INSTRUCTIONS
STEP 7
Insert wooden dowel (C) to parts 3, 4, 5 and 6.
Attach part 1 to parts 3, 4, 5 and 6, as shown.
Turn cam locks clockwise to tighten.
15 of 36 AFTER SALES SUPPORT
1300 777 137
ASSEMBLY INSTRUCTIONS
UH11049 UH11050
623
23
23
8
24 8
88
24
3
4
5
1
ASSEMBLY INSTRUCTIONS
STEP 8
Insert parts 8, 23 and 24 into the grooves of parts 1, 3, 4 5 and 6, as shown.
16 of 36 AFTER SALES SUPPORT
1300 777 137
ASSEMBLY INSTRUCTIONS
UH11049 UH11050
x2
Q
14
Q x 2
ASSEMBLY INSTRUCTIONS
STEP 9
Screw adjustable feet (Q) to part 14, as shown.
17 of 36 AFTER SALES SUPPORT
1300 777 137
ASSEMBLY INSTRUCTIONS
UH11049 UH11050
G x 4
2
G
G
G
G
14
14
ASSEMBLY INSTRUCTIONS
STEP 10
Fix parts 14 to part 2 using screws (G), as shown.
18 of 36 AFTER SALES SUPPORT
1300 777 137
ASSEMBLY INSTRUCTIONS
UH11049 UH11050
G x 8
C x 8
3
4
5
6
1
C
C
CC
CC
CC
G
G
G
G
G
G
G
G
2
ASSEMBLY INSTRUCTIONS
STEP 11
Insert wooden dowel (C) to parts 3, 4, 5 and 6.
Fix part 2 to parts 3, 4, 5 and 6 using screws (G), as shown.
19 of 36 AFTER SALES SUPPORT
1300 777 137
ASSEMBLY INSTRUCTIONS
UH11049 UH11050
F x 16
15
F
F
FF
F
F
F
F
F
F
F
F
F
FF
F
11
11
15
12
12
15
15
ASSEMBLY INSTRUCTIONS
STEP 12
Fix parts 15 to parts 11 and 12 using screws (F), as shown.
20 of 36 AFTER SALES SUPPORT
1300 777 137
ASSEMBLY INSTRUCTIONS
UH11049 UH11050
C x 8
C
C
C
C
C
C
C
C
3
4
5
6
2
ASSEMBLY INSTRUCTIONS
STEP 13
Insert wooden dowels (C) to part 2, as shown.

This manual suits for next models

1

Other KODU Indoor Furnishing manuals

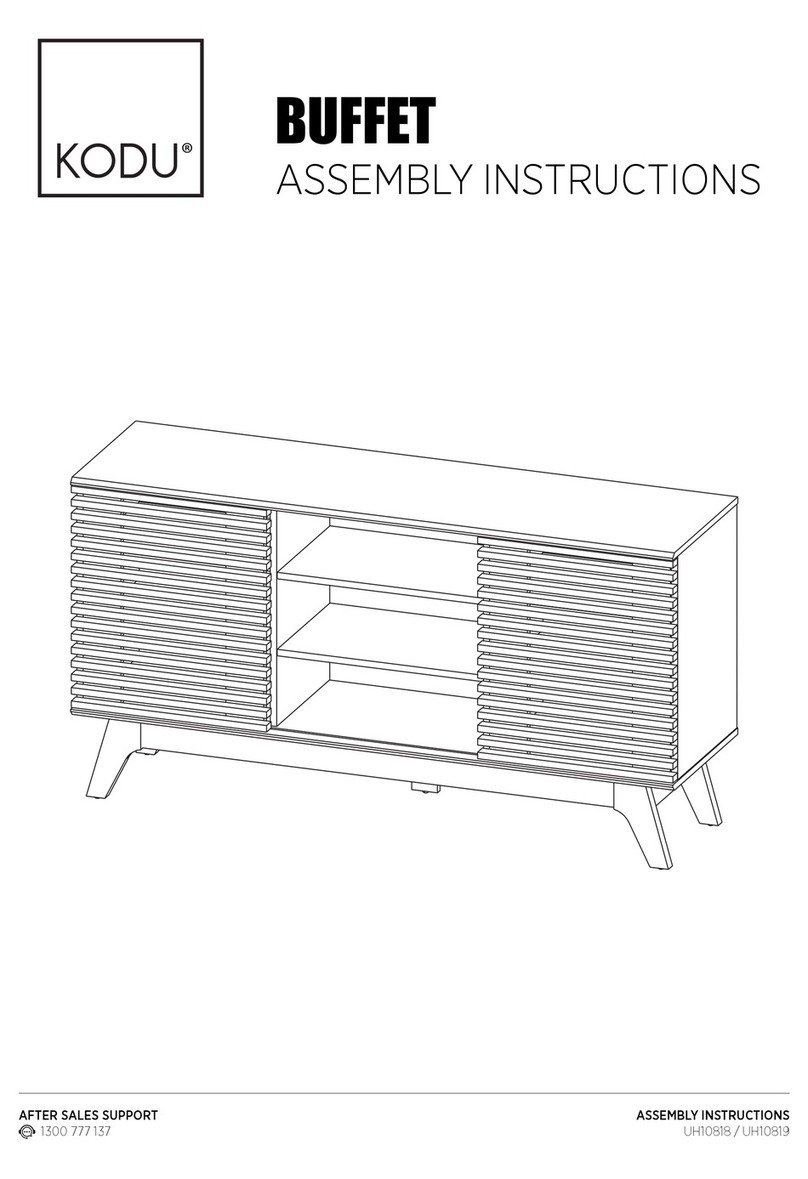
KODU BUFFET UH10818 User manual

KODU

KODU BUFFET UH10818 User manual

KODU UA1407 User manual

KODU

KODU UA1407 User manual

KODU TALL CABINET 2 DOORS User manual

KODU

KODU TALL CABINET 2 DOORS User manual

KODU UB2282 User manual

KODU

KODU UB2282 User manual

KODU Glacier Bookcase User manual

KODU

KODU Glacier Bookcase User manual

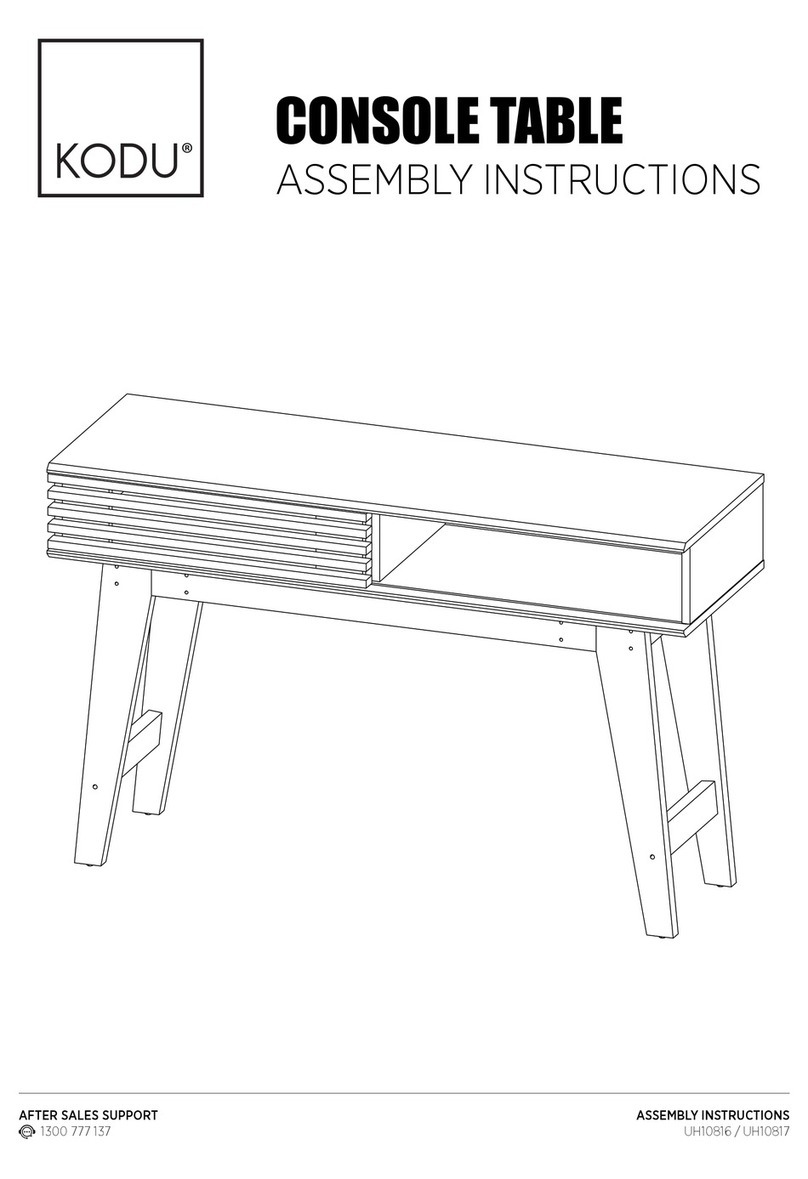
KODU UH10816 User manual

KODU

KODU UH10816 User manual

KODU UK0607 User manual

KODU

KODU UK0607 User manual

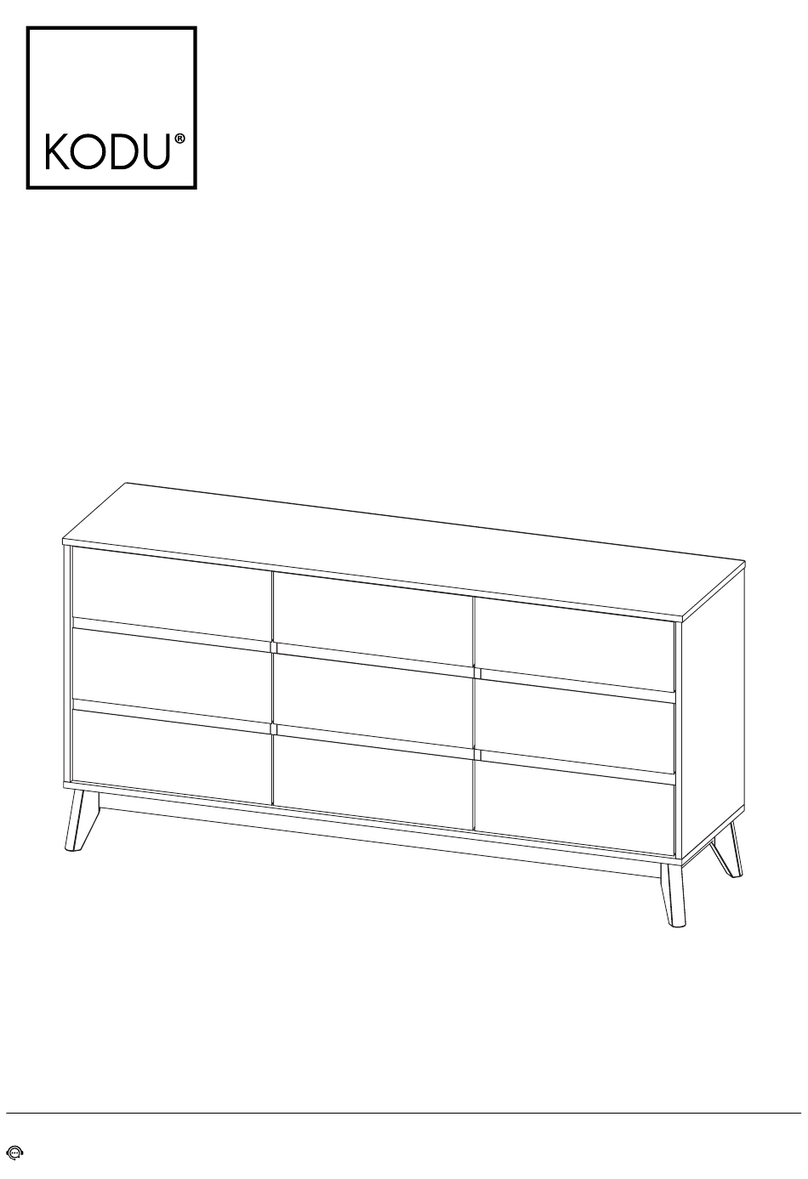
KODU CHEST 3x3 DRAWERS User manual

KODU

KODU CHEST 3x3 DRAWERS User manual

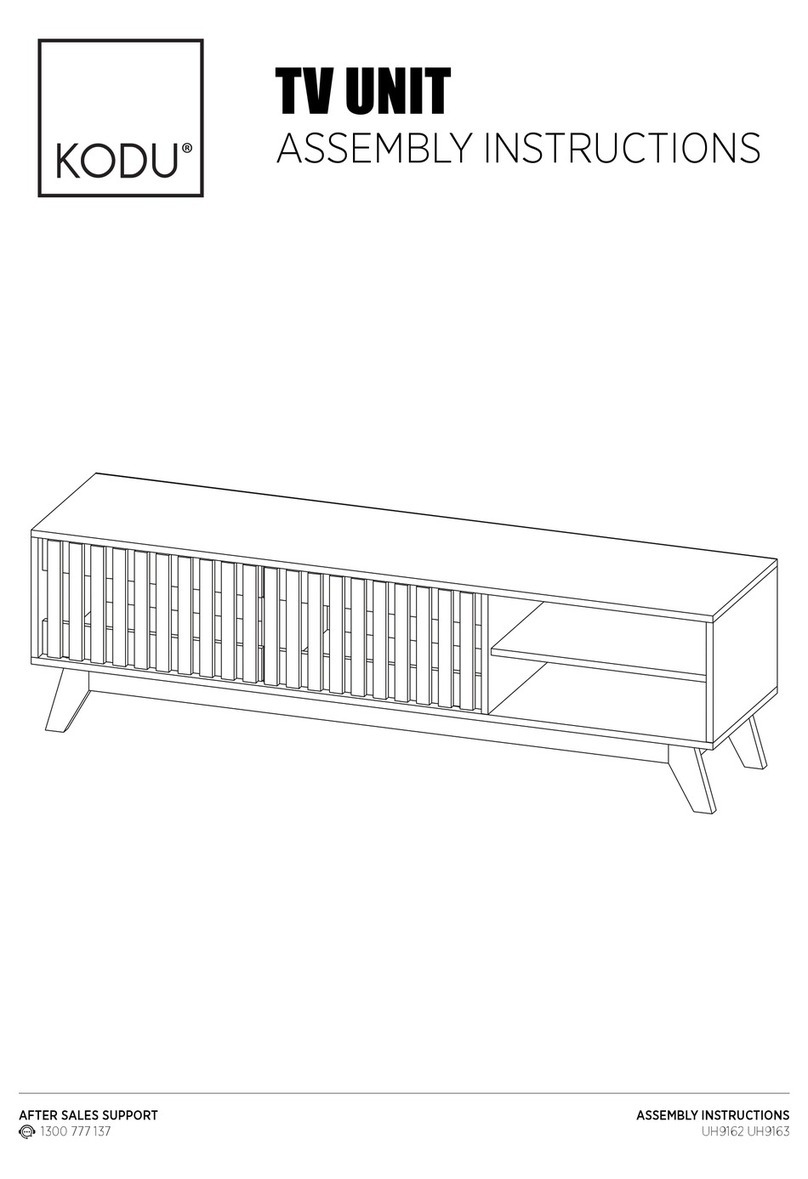
KODU UH9162 User manual

KODU

KODU UH9162 User manual

KODU UH10945 User manual

KODU

KODU UH10945 User manual

KODU UH10814 User manual

KODU

KODU UH10814 User manual

KODU UH8876 User manual

KODU

KODU UH8876 User manual

Popular Indoor Furnishing manuals by other brands

TREX TXR155 Assembly instructions

TREX

TREX TXR155 Assembly instructions

Herman Miller Sayl quick guide

Herman Miller

Herman Miller Sayl quick guide

Frisco 322631 instruction manual

Frisco

Frisco 322631 instruction manual

JAXSUNNY HG61X0813 user manual

JAXSUNNY

JAXSUNNY HG61X0813 user manual

Levira ISAR 10004 Assembly instructions

Levira

Levira ISAR 10004 Assembly instructions

Okay JODIE S60P Assembly instruction

Okay

Okay JODIE S60P Assembly instruction

LPA Medical Thera-Glide W Series instruction manual

LPA Medical

LPA Medical Thera-Glide W Series instruction manual

Eureka Ergonomic ARCH-B Assembly instructions

Eureka Ergonomic

Eureka Ergonomic ARCH-B Assembly instructions

IKEA ANDY DRAWER UNIT W/CASTERS 15X23" instructions

IKEA

IKEA ANDY DRAWER UNIT W/CASTERS 15X23" instructions

Steelcase 464 Leap Assembly instructions

Steelcase

Steelcase 464 Leap Assembly instructions

Breezesta PALM BEACH CLUB PB-1604 Assembly instructions

Breezesta

Breezesta PALM BEACH CLUB PB-1604 Assembly instructions

needs&wants Tably1 + Tably2 quick start guide

needs&wants

needs&wants Tably1 + Tably2 quick start guide

Birlea SANTIAGO 3 Assembly instructions

Birlea

Birlea SANTIAGO 3 Assembly instructions

Baxton Studio King Bed MG0005 Assembly instructions

Baxton Studio

Baxton Studio King Bed MG0005 Assembly instructions

IKEA Ransby Assembly instructions

IKEA

IKEA Ransby Assembly instructions

baby&child WILKES TRUNK manual

baby&child

baby&child WILKES TRUNK manual

Die Hausmarke 321 quick start guide

Die Hausmarke

Die Hausmarke 321 quick start guide

Profijt Meubel PAPILLON KB1 Assembly instruction

Profijt Meubel

Profijt Meubel PAPILLON KB1 Assembly instruction

manuals.online logo
manuals.online logoBrands
  • About & Mission
  • Contact us
  • Privacy Policy
  • Terms and Conditions

Copyright 2025 Manuals.Online. All Rights Reserved.