Kogan Agora gOS edition User manual

.
Agora Netbook
User Manual
Agora
Agora Pro
Edition

About this User’s Manual
Congratulations on your purchase of the Kogan Agora Netbook.
This user manual provides information regarding the various components in the Netbook
and how to use them.
Table of Contents:
Chapter 1: Introducing the Agora Netbook:
Notes for this Manual……………………………………………....
Safety Precautions
The AC adapter………………………………………………
Battery Pack………………………………………………….
General ………………………………………………………
Where to Place your Netbook……………………………………...
Ergonomic Considerations…………………………………………
Power Systems……………………………………………………..
Turning your Netbook On/Off……………………………………..
Chapter 2: Knowing the Parts:
Opening/Closing Netbook…………………………………………
Front Side………………………………………………………….
Left Side…………………………………………………………...
Right Side………………………………………………………….
Bottom Side………………………………………………………..
Status LEDs………………………………………………………..
Chapter 3: Getting Started:
Connecting the AC adapter and Charging the Battery…………….
Removing the Battery………………………………………………
Using the Touchpad….…………………………………………….
Using the Keyboard
Special Function keys……………………………………….
Initial Start-up Guide…………………………………………….....
p 1
p 2-3
p 4
p 5
p 6
p 7
p 8
p 9
p 10
p 10-11
p 12
p 13
p 14
p 15
p 16-17
p 18
p 19
p 20
p 21-22

Chapter 4: Using your Netbook
Adjusting Display Resolution……………………………………..
Switching Users……………………………………………...........
Different Log-Out States
Restart………………………………………...................................
Shutdown………………………………………..............................
Stand-by………………………………………................................
Log-Out……………………………………….................................
Switch User………………………………………...........................
Hibernate………………………………………...............................
Suspend……………………………………….................................
Using the Web Camera…………………………………………….
Using Peripherals………………………………………………….
Connecting USB Storage Devices…………………………………
Connecting Audio Devices…………………………………...........
Using the Bluetooth Dongle……………………………………….
Connecting to a Wi-Fi Network…………………………………...
Connecting an External Monitor………………………………......
Using Open Office………………………………………………....
Returning to Default Factory Settings…………………………......
Appendix
Installing Windows XP…………………………………………….. p 38
Support Information……………………………………………….. p 38
p 23
p 24
p 25
p 25
p 25
p 25
p 25
p 25
p 25
p 25
p 26
p 27-29
p 30
p 31
p 32
p 33
p 34
p 35
p 36-37

Notes for this Manual
You will come across the following symbols in this manual.
Warning
Page X
Notice
Tip
Attention
The detail information is mentioned in the specific page
Points out possible damage to property, personal injury or death
To help you note and avoid possible damage to your Netbook’s hardware or software.
Helpful points and tricks for operating your Netbook
Important notice for non-operational actions or the points you must know for your operation
Pleasenote:Theremaybe
differencesbetweenyourNetbook
andthepicturesinthismanual.
Informationinthismanualissubject
tochangewithoutnotice.
Page 1

Safety Precautions
The following safety precautions will increase the life of the Netbook. Follow all precautions and instructions.
Except as described in this manual, refer all servicing to qualified personnel. Do not use damaged power cords,
accessories or other peripherals. Do not use strong solvents such as thinners, benzene, or other chemicals on
or near the surface of your Netbook.
The sign shows the behavior prohibited
The sign shows the regulative behavior or the indication
Warning (The AC adapter)
DO NOT expose to or use near water,
rain, or moisture. DO NOT use the LAN
during an electrical storm.
DO NOT attempt to service this product
by yourself. By opening covers, you will
be exposing your Netbook to electrical
dangers.
DO NOT use an AC adapter not
included in the package. Use of
another type of adapter may risk
fire or explosion.
Before you connect the Netbook
to a power source, ensure the
voltage rating of the AC adapter
matches the available power
source.
When you feel the surface of the AC
adapter is very hot or giving off bad
odour please pull out the power
plug immediately. Continuing to use
the AC adapter may risk fire or
electrical shock.
DO NOT leave the Netbook on your
lap or any part of the body to prevent
discomfort or injury from heat
exposure.
Page 2

Safety Precautions
Attention (AC adapter)
Please be sure not to pull out the
power plug from the cord only.
Unplug this Netbook from the wall
outlet when you stop using this
Netbook.
DO NOT place this Netbook on an
unstable cart, stand, or table. DO OT
place heavy object on this Netbook.
It may be broken to cause some serious
damage.
SAFE TEMP: This Netbook should not
be used in environments with extreme
temperatures.
Please verify there is no foreign
object on the keyboard when you close
the Netbook lid as it could damage the
display panel.
DO NOT press or touch the display
panel. DO NOT place together with
small items that may scratch or enter
the notebook.
If you operate the touchpad with
unreasonable force or posture, it
may hurt you finger or wrist.
When you carry the Netbook please close
the display lid to avoid damage to the panel.
A
void using the Netbook during an
electrical storm. Disconnect all plugs
and cables to avoid the possible
damage.
If an extension cord is used with this Netbook,
make sure that the total ampere rating of the
equipment plugged into the extension cord
does not exceed the extension cord ampere
rating. DO NOT allow anything to rest on the
power cord. DO NOT position this Netbook
where people will step on the cord.
Page 3

Warning (Battery Pack)
Danger: Explosion may occur if battery
is incorrectly replaced. Replace only with
the same or equivalent type battery
recommended by the manufacturer.
DO NOT dispose batteries in a fire.
They may explode. Check with local
authorities for disposal instructions.
Do NOT drop or step on the
battery If the battery pack leaks and the fluid get
in your eyes, rinse your eyes under
wate
r
and seek medical attention to avoid
eye injury.
If the battery pack leaks, gives off a bad
odor, generates heat, discolors
or is deformed, or in any way appears
abnormal during use, immediately remove
it from the Netbook.
If you exceed the specified charge time and
the charge does not complete, please stop
the battery charge. It may risk fire or
explosion if you continue to charge the
battery.
Do not crush, disassemble, puncture, or
incinerate the short external contacts of
the battery pack.
Page 4

Safety Precautions
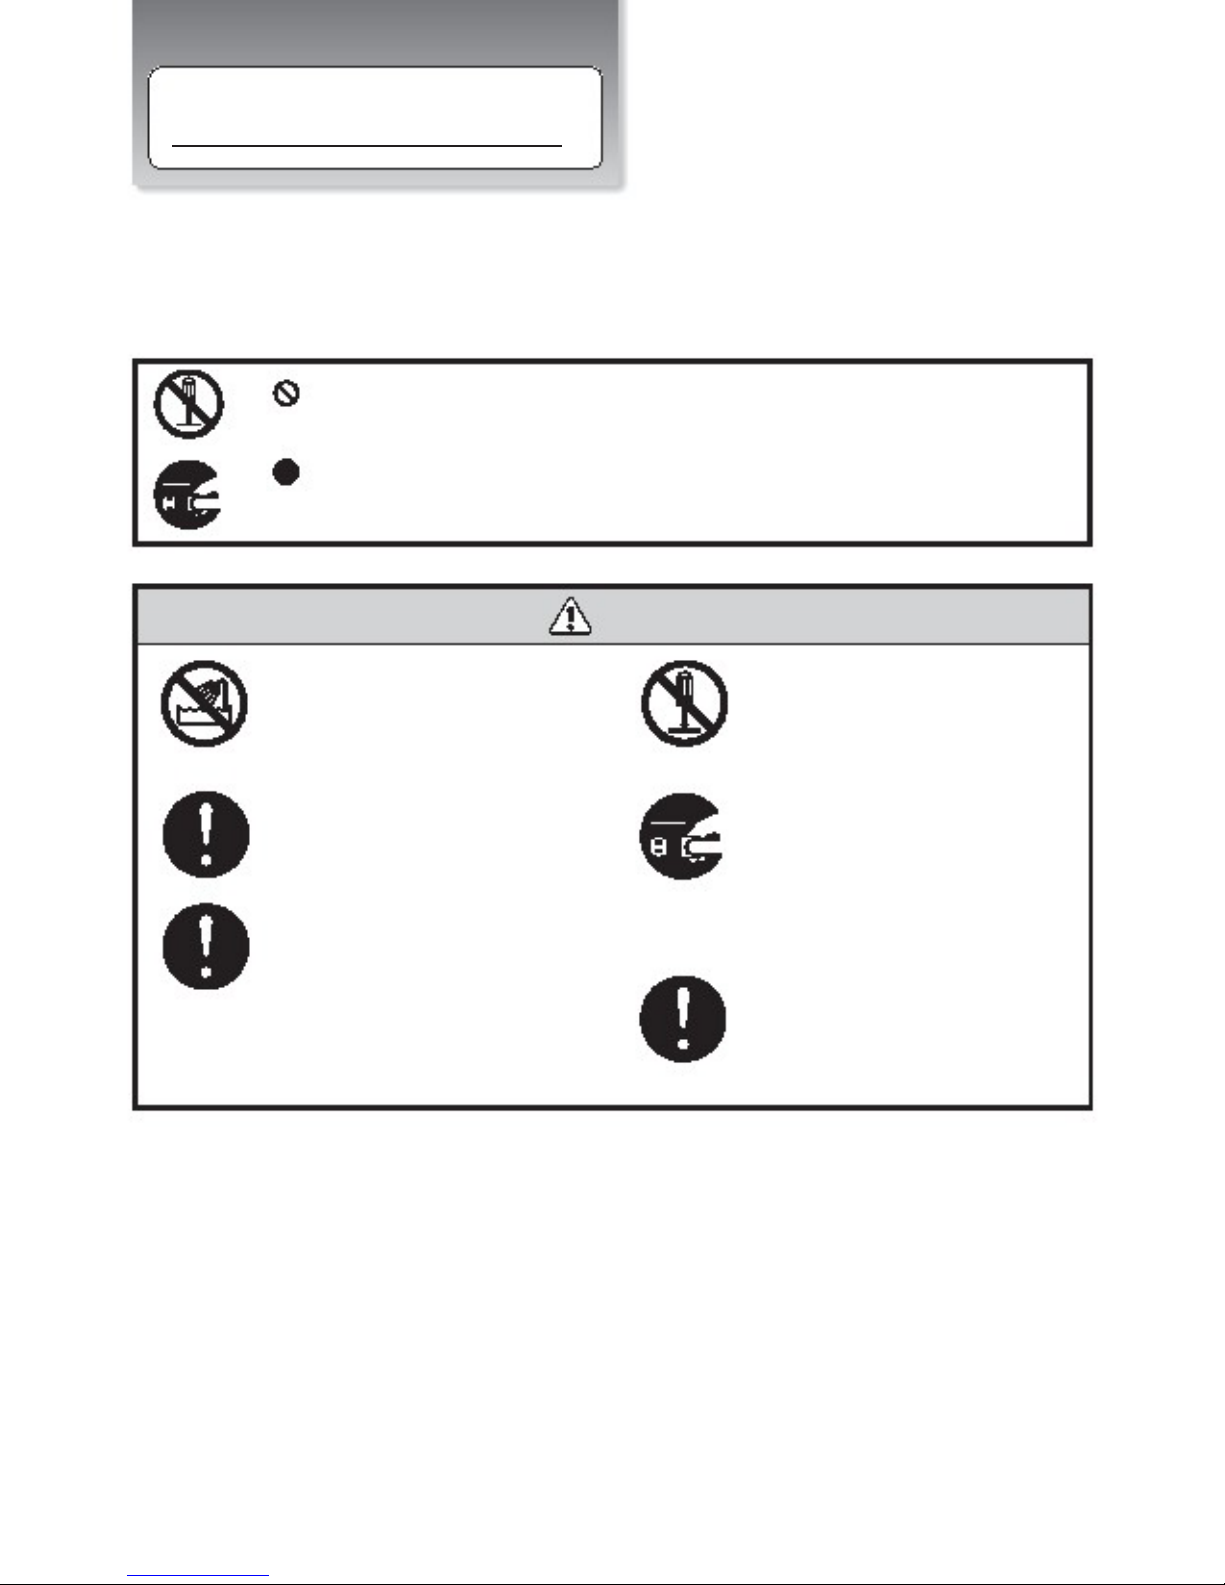
Attention (Battery Pack)
If liquid solution from the battery comes
out and contacts the skin or clothes,
flush out with clean water.
Do not connect the positive (+) and
negative (-) terminals with a metal object
such as wire. Short-circuiting may occur
leading the battery pack to leak acid,
overheat, emits smoke, or ignite.
DO NOT throw the battery in fire.
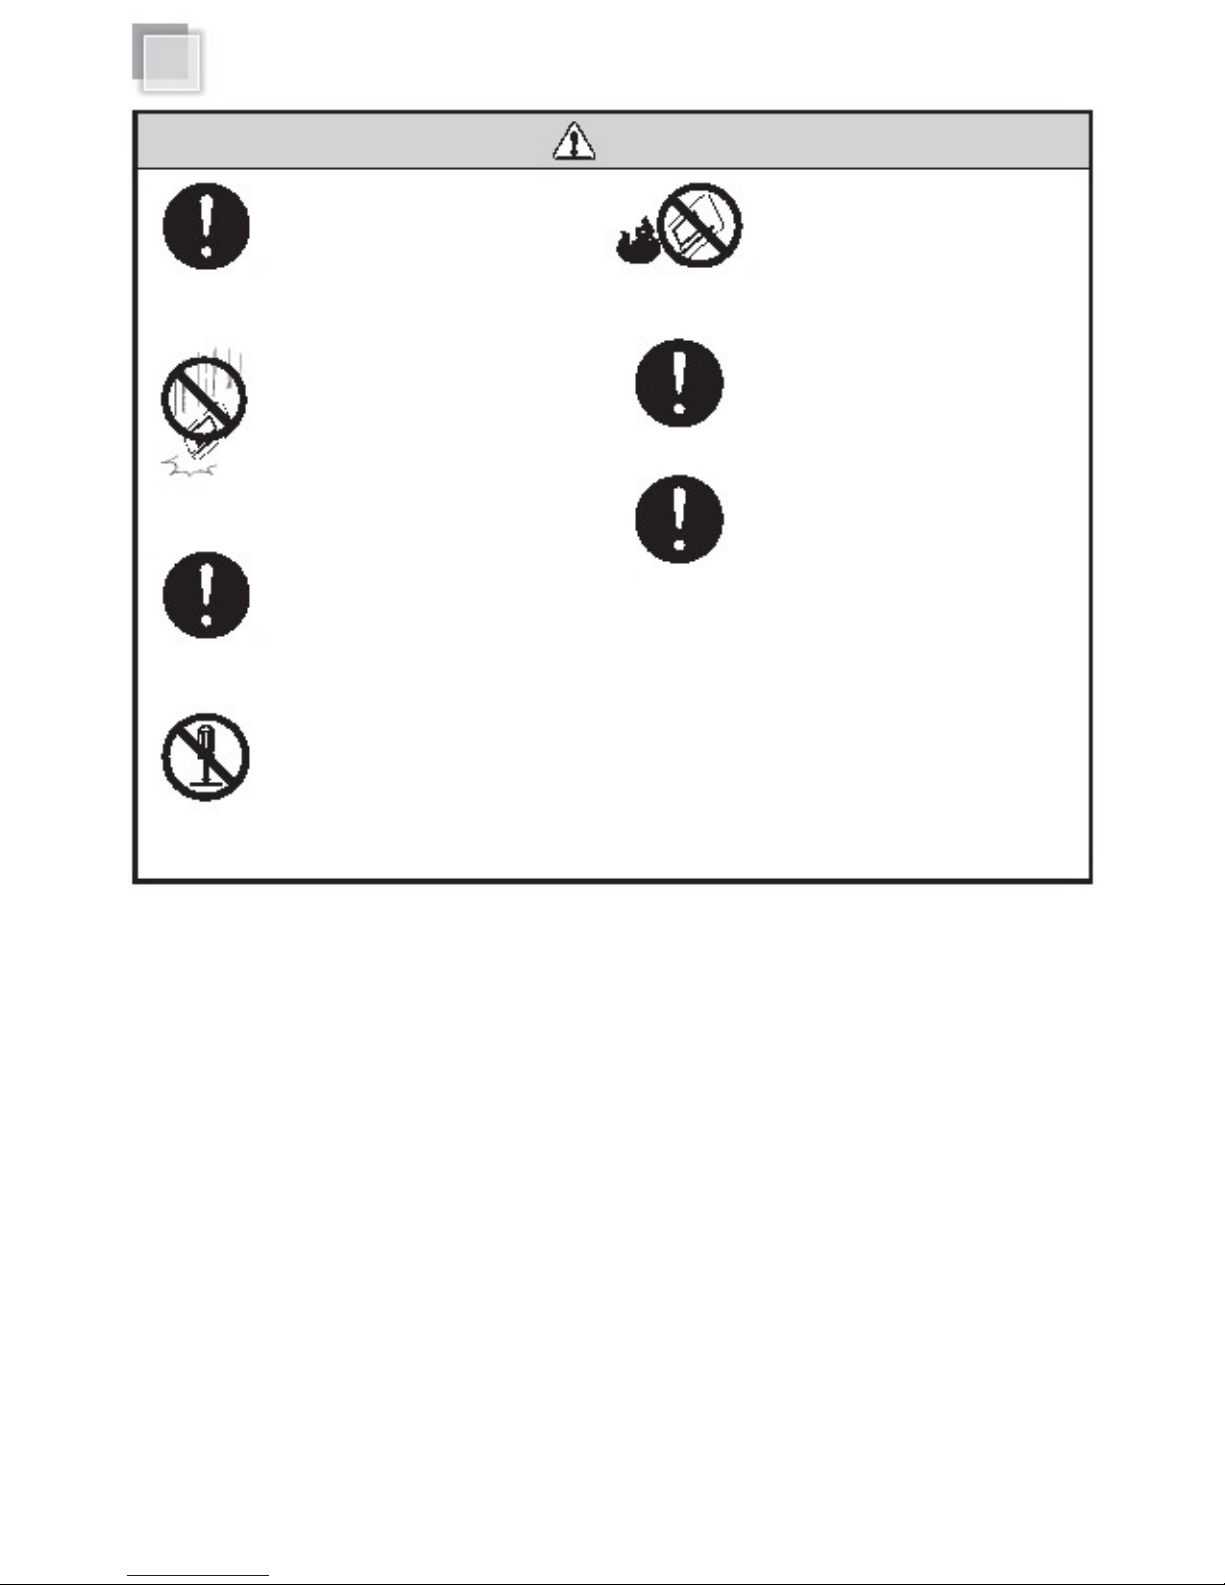
Do NOT immerse the battery pack in water
or allow it to get wet. Its protective features
can be damaged. Abnormal chemical
reactions may occur, possibly leading it to
leak acid, overheat, emit smoke, burst and
or ignite.
If you find a bad odour, overheating,
discolor, deformation, and or other irregularities
when using the battery, return it to your supplier
Keep the battery away from children.
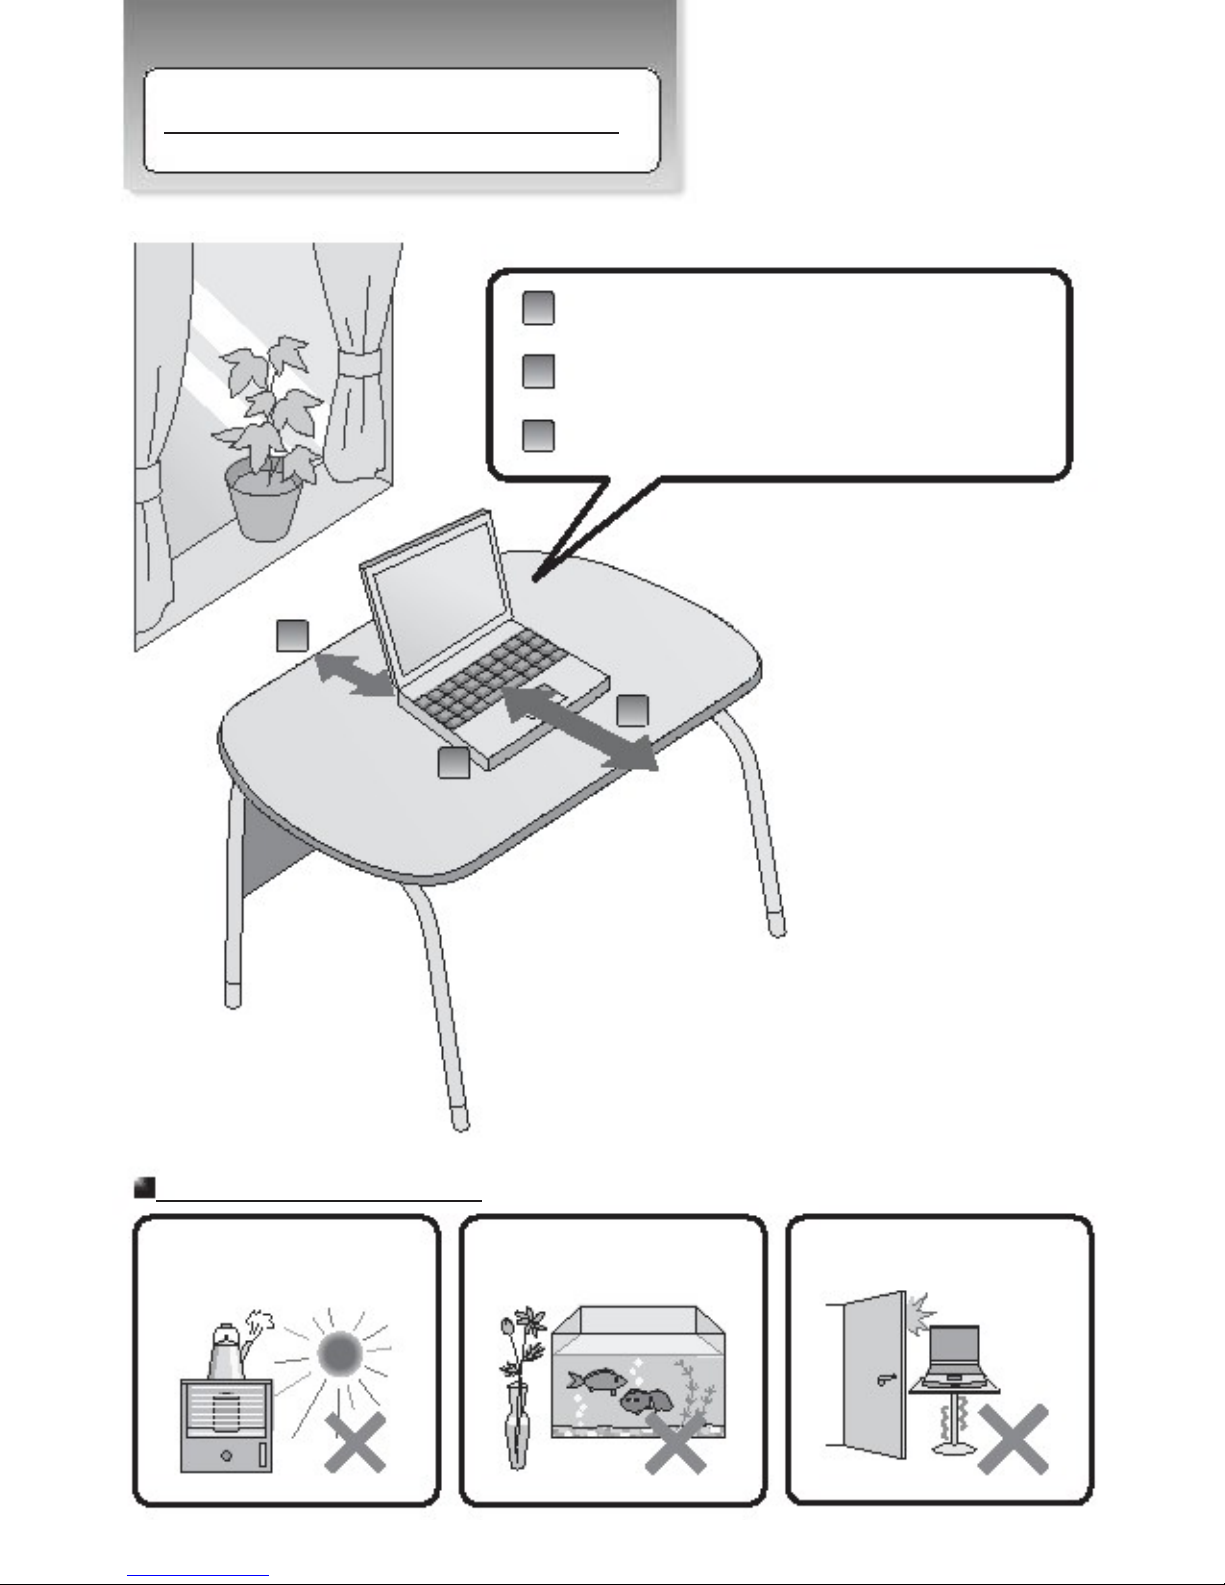
General Warnings
DO NOT touch the panel with sharp objects
DO NOT
knock or scratch
the machine while operating
DO NOT remove your Netbook while
the hard disk is in operating status. It
may damage the hard disk.
Clean your Netbook with a soft cloth
dampened with water. Do not use liquid
or aerosol cleaners, which may contain
flammable substances.
Periodically backup your data in the
hard disk.
Page 5

Where to Place Your Netbook
Make sure that your Netbook is placed in a well-ventilated area.
Please reserve at least 15cm distance around the Netbook.
Please reserve suitable space in front of keyboard and touchpad
for operating the Netbook comfortably.
A
void placing the Netbook on a bed, sofa, rug, or similar surface
to avoid blocking ventilations.
15cm
Where Not to Place Your Netbook
This Netbook should never be placed near or
over a radiator or a heat register, or under direct
sunlight.
DO NOT operate this Netbook near water, for
example near a sink, bathtub or laundry tub.
DO NOT place this Netbook on uneven or
unstable work surfaces.
Page 6

Er
g
onomic Considerations
Your Netbook is a portable device that may be used in various environments. Whenever
possible, consider the following ergonomic factors:
Position of your computer – Placing the computer directly in front of you:
1. Keep your forearms horizontal.
2. Position your wrists in a neutral, comfortable position while using the keyboard, touch
pad, or external mouse.
3. Let your upper arms hang naturally at your sides.
4. Take frequent breaks while using your computer.
Excessive use of the computer may cause strain to your eyes, muscles, or tendons.
Furniture and posture - Sit in a chair with good back support.
Adjust the level of the chair so your feet are flat on the floor. A footrest may make you
more comfortable. Sit in a relaxed upright posture and avoid slouching forward or leaning
far backwards.
Viewing angle of the computer's display - Use the display's tilting feature to find the best
position.
You can reduce eye strain and muscle fatigue by adjusting the tilt of the display to the
proper position Adjust the brightness level of the display as well.
Lighting – Choose a location where windows and lights do not cause glare and reflection
on the display.
Use indirect lighting to avoid bright spots on the display. Proper lighting adds to your
comfort and work efficiency.
Page 7

Power System
To install the battery pack
Close the Netbook lid and
turn it over gently. Slide the battery pack into the
slot.
Battery Pack
1
Connect the DC plug to DC-IN pack
DC-IN pack
Connect the AC power cord to the AC outlet
Page 8

Turning Your Netbook
On/Off
Turning your Netbook On Turning your Netbook Off
After setting up the Netbook, press the power button to
turn on it. The gOS desktop screen will appear.
Operates from the “start” menu to power off your Netbook
Click [gOS] →[Quit], and the
“Turn off computer” dialog box will appear.
Press the power button to turn on your Netbook
A
ttention
power button
DO NOT turn off the Netbook by pressing the power
button directly. It may damage the gOS operating
system
gOS desktop screen will appear after
the power button is pressed. Click [Shutdown].
The Netbook will be powered off later.
Depending on your Netbook setup and
software, your desktop may have different
or additional shortcuts.
Turn off the power of peripherals connected if
necessary.
Restart
We suggest you restart gOS when a new device
driver is installed or if gOS is unstable. Click
[gOS] →[Quit] →[Restart].
Page 9

To Open/Close the Netbook
Open the panel cover and adjust to an appropriate
angle. Close the panel cover to make sure the Netbook is
closed.
Front Side
Web Camera
Display Screen
Wireless LAN Switch
Power Button
Keyboard
Touchpad Internal Microphone
Stereo Speaker Status LEDs
Stereo Speaker
Touchpad (left button) Touchpad (right button)
Chapter 2
–
Knowing the Parts
Page 10

Web Camera
The built in camera allows picture taking or video
Recording
Display Screen
It functions as the same as a desktop monitor.
Use a soft cloth without any chemical fluids to clean the display screen.
Wireless LAN Switch
Press this button to enable the built-in Wireless LAN
Power Button
The button allows you to turn your Netbook ON and OFF.
The blue indicator LED lights when the Netbook is turned on
Touchpad: right and left buttons
The touchpad and its buttons comprises a pointing device
that provides the same functions as a desktop mouse
Touchpad
This is the pointing device of the Netbook.
Keyboard
The keyboard provides with comfortable travel depth for both hands
Internal microphone
It can be used for video conferencing, voice narration,
audio recording, and multimedia applications.
Status LEDs
Indicates the system status of the Netbook
Stereo Speaker
The built in speaker allows you to hear audio without
any additional attachment
Page 11

Right Side
DC Input
VGA Port
LAN Port
USB Port
Memory Card Slot
DC Input
To connect the AC adapter Memory Card Slot
The following cards listed below can be used on this Netbook.
Attention
To prevent damage to the Netbook and battery
pack, always use the supplied power adapter.
It may become warm when in use. Be sure
not to cover the adapter and keep it away from
your body.
Memory Stick
Memory Stick Pro
SD
MMC
Memory cards have different insert directions,
Please insert the memory card in the correct manner
MiniSD cards cannot be inserted into the memory
card slot. Please verify the card type before
you insert it.
VGA Port
To connect an external monitor
N
otice
LAN port
Ethernet connector is used to connect
a LAN cable for network connection.
This uses a standard Ethernet Cable. Do not use
any other type of cable as it may cause damage
Attention
USB Port
Refer to the next page.
Page 12

Left Side
Kensington Lock Port
Ventilation Slot
USB Port
Microphone Jack
Headphone Output Jack
Kensington Lock Port
Allows the notebook to be secured using Kensington
Lock.
Ventilation Slot
The slot is designed to cool the system. DO NOT
block the ventilation for air circulation.
USB Port
The US port is compatible with USB 1.0 or 1.1 devices.
It allows many devices to run simultaneously on a single
computer, with some peripherals acting as additional
plug-in sites or hubs. The USB Port also supports
hot-swapping function.
Page 3
Microphone Jack
It is designed to connect the microphone used for
Skype, voice narrations, or simple voice recordings.
Page 3
Headphone Output Jack
It connects the notebook s audio out signal to amplified
speakers or headphones. Using this jack automatically
Page 3
disables the built-in speakers.
Kensington® Lock Port
The Kensington® lock port allows the Netbook to be secured using Kensington® compatible
security products. These security products usually include a metal cable lock that prevent the
Netbook to be removed from a fixed object.
LAN Port
The eight-pin RJ-45 LAN port (10/100M bit) supports a standard Ethernet cable for connection to a
local network. The built-in connector allows convenient use without additional adapters.
Ventilation Slot
This slot is designed to cool the Netbook and should not be covered.
USB Port (2.0/1.1)
The USB (Universal Serial Bus) port is compatible with USB 2.0 or USB 1.1 devices such as
keyboards, cameras, and storage devices connected in a series up to 12Mbits/sec (USB 1.1) and
480Mbits/sec (USB 2.0). This allows USB devices to run simultaneously
on a single computer, with some peripherals acting as additional plug-in or hubs. It also supports
hot-swapping function
Microphone Output Jack
The Microphone jack is designed to connect the microphone used for Skype, voice narrations or
audio recordings.
Page 13

Bottom Side
Battery Release Hatch
Battery Pack
Memory Module Cover
Battery Lock Switch
Battery Release Hatch
The latch keeps the battery pack secure. When the battery pack is inserted
it will automatically lock. When removing the battery pack, this latch must be
retained in the unlocked position.
Battery Pack
Your Netbook will be powered by the battery pack when the AC adapter is
disconnected.
Battery Lock Switch
The switch is used to keep the battery pack secured. Move the lock to the
locked position to insert or remove the battery pack.
Memory Module Cover
The memory module, hard disk drive, and wireless LAN module are located under
the cover. Please take the cover off when adding removing the module.
Page 14

About Status LEDs
①Num K ED
②Caps Lock ED
③HDD ED
④Battery ED
⑤Power ED
⑥Wireless A
1. Numlock.
The LED lights when you press the Numlock key on the keyboard.
2. Capslock.
Pressing the Capslock key will light up the LED.
3. HDD LED
This LED blinks when data is being written to or read from the Hard drive.
4. Battery
Lights up when Netbook is running on battery power.
5. Power LED
Lights up when the Netbook is turned ON and blinks slowly when the netbook in
the Suspend mode. This LED is off when the Netbook is turned off.
6. Wireless LED
When the built in WLAN is enabled the LED lights turn on.
Page 15

For First Time Use
The battery included in the package is not fully
charged. When you use the Netbook for the
first time, please connect the AC adapter after
slide the battery pack.
ONLY use the AC adapter included in
the package. Use of another type of adapter
may risk fire or explosion.
DO NOT allow anything to rest on the AC
adapter. It may overheat the AC adapter
and risk fire or explosion.
Connect the AC power cord to the AC outlet
LED lighted indicates
Charging.
The Netbook comes with a universal AC-DC adapter for
connecting to any 100 - 240 outlet.
You can use the Netbook while charging the battery.
Connect the DC plug to DC-IN jack.
Chapter 3
–
Getting Started
Connecting AC adapter and Charging battery
Page 16

Power and Battery Status LEDs
Power LED
Battery LED
Power LED
Status
Blue Light
Blue Blinking
Orange Blinking
Red Blinking
Battery LED
Content
The Netbook is powered on
The Netbook is in suspend mode
Battery charge is between 10-50% charged
Battery charge is less than 10% charged
Status
ON
OFF Battery is charging
Battery is fully charged
Content
A
ttention
Battery pack cannot be exchanged during
battery charging. When the battery level
is low you can possibly lose your data
if you continue to operate your Netbook.
When the battery is empty, your Netbook will
turn off so ensure that you have saved your
documents when your battery level is low.
Page 17
This manual suits for next models
3
Table of contents
Other Kogan Netbook manuals