2
Install Preparaon
Remove the ATV Rear Rack Extender from packaging. Ver-
ify that the Rack Extender is in good condion and that all
the parts and hardware are present.
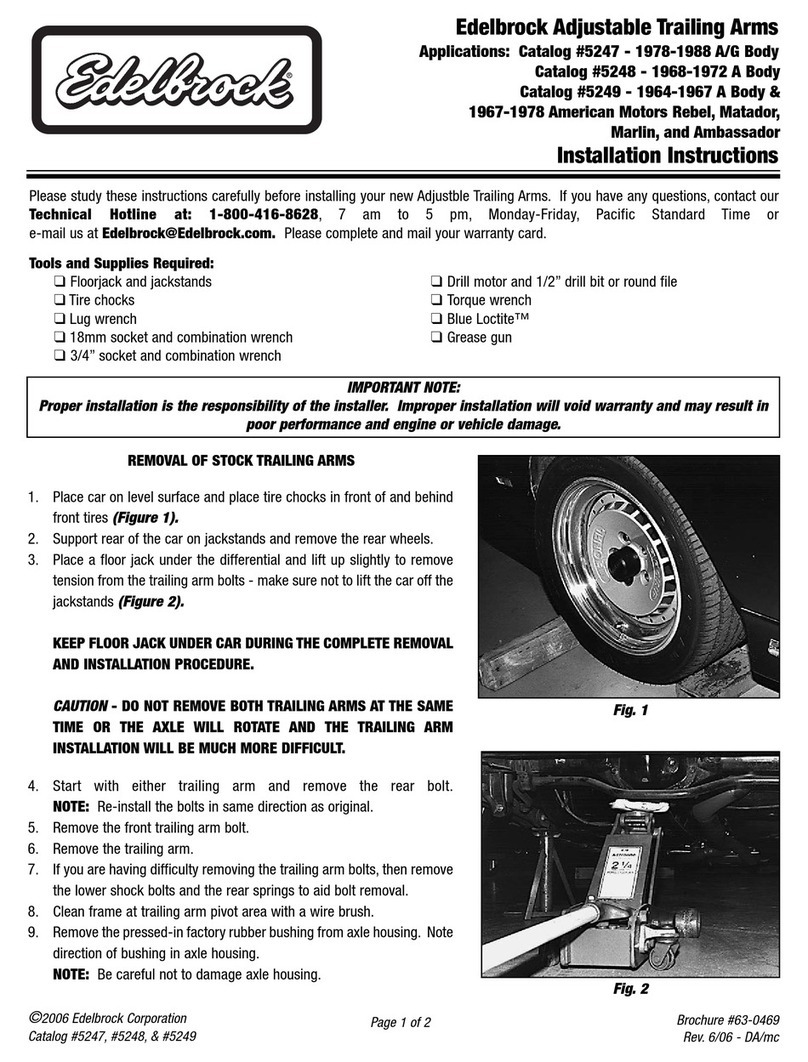
Rack Extender Installaon
Assemble the Rear Rack Extender as shown in Illustraon
1-1. Leave out the 4 Machine Screws ll later. Once the
Rack Extender is assembled, place the assembly on top of
the atv rack as shown in Illustraon 1-2. Aach the 4 J-
Hooks as shown.
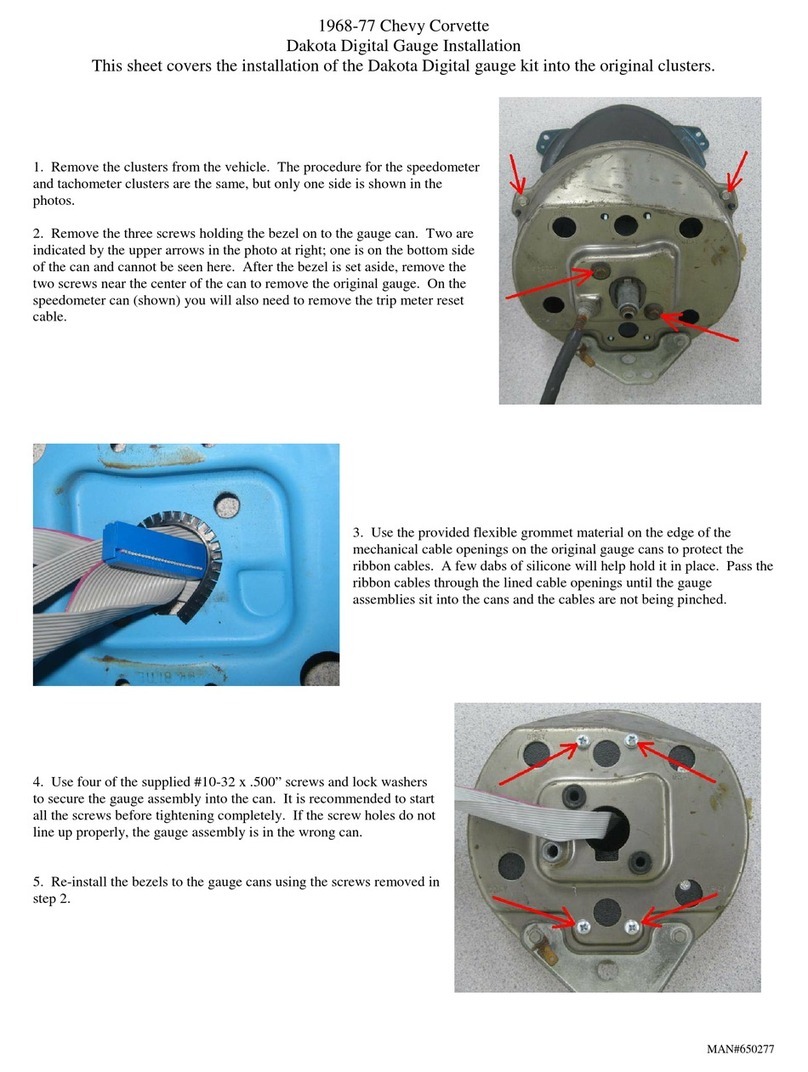
Rack Extender Final Aachment
Once the J-Hooks are securely ghtened down, Center the
Middle Frame Support as shown in Illustraon 1-2. Locate
and drill in the locaons of the open holes . Finish by in-
stalling the machine screws to secure the frame.
WARNING: Do not over ghten to prevent stripping the hard-
ware.
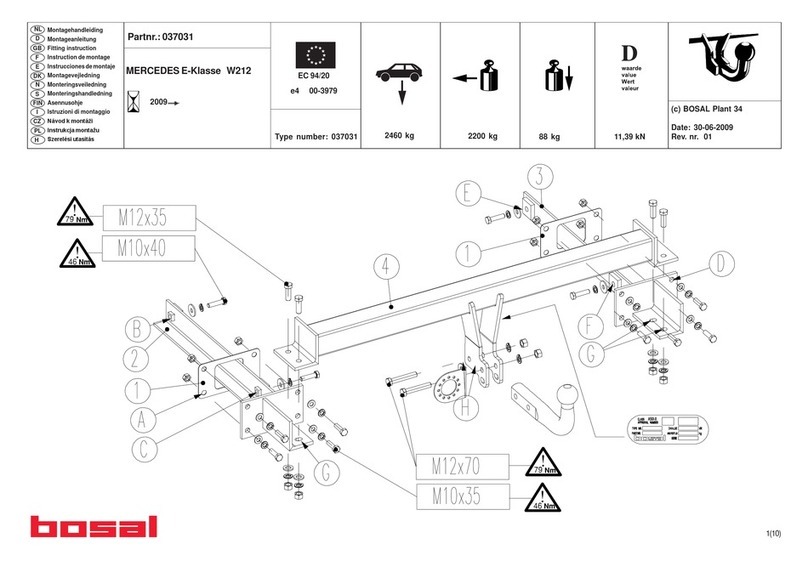
Hardware Included (KOL0400) Qty. Part No.
M6 x 15mm Machine Screw 4PUR3261
M8 x 70mm J-Hook 4PUR3260
M8 Turn Knob 4PUR3262
M6 Nylock Nut 4PUR3067
M6 x 12mm OD Flat Washer 4PUR3269
M6 x 25mm Carriage Bolt 4PUR3047
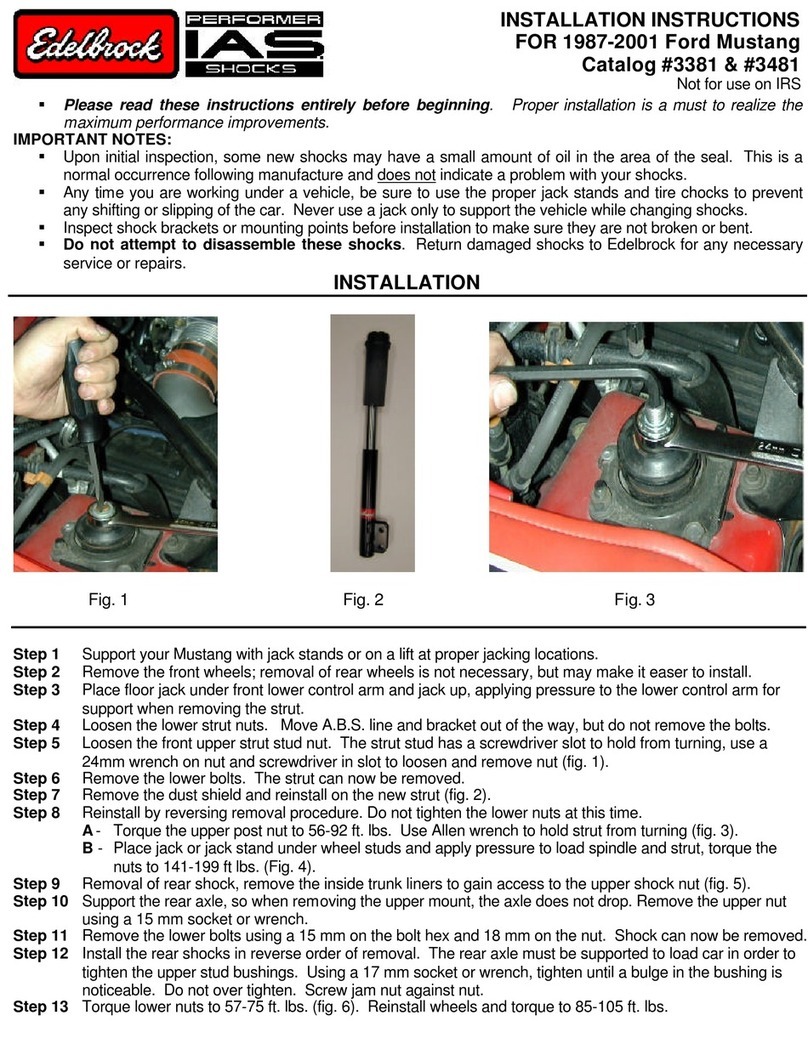
Before you begin:
Read and understand all instrucons.
Verify all parts are accounted for.
Reference to Le and Right are from a driver’s perspecve.
Tools required:
Ratchet and 10mm Socket
Drill with 3/16” drill bit
Phillips head screw driver
Illustraon 1-1
Illustraon 1-2
Illustraon 1-3
Middle Frame Support
J-Hook
Carriage Bolt
Washer
Nylock Nut
Turn Knob
J-Hook
Machine Screw
Drill Locaons
