5
Table of Figures
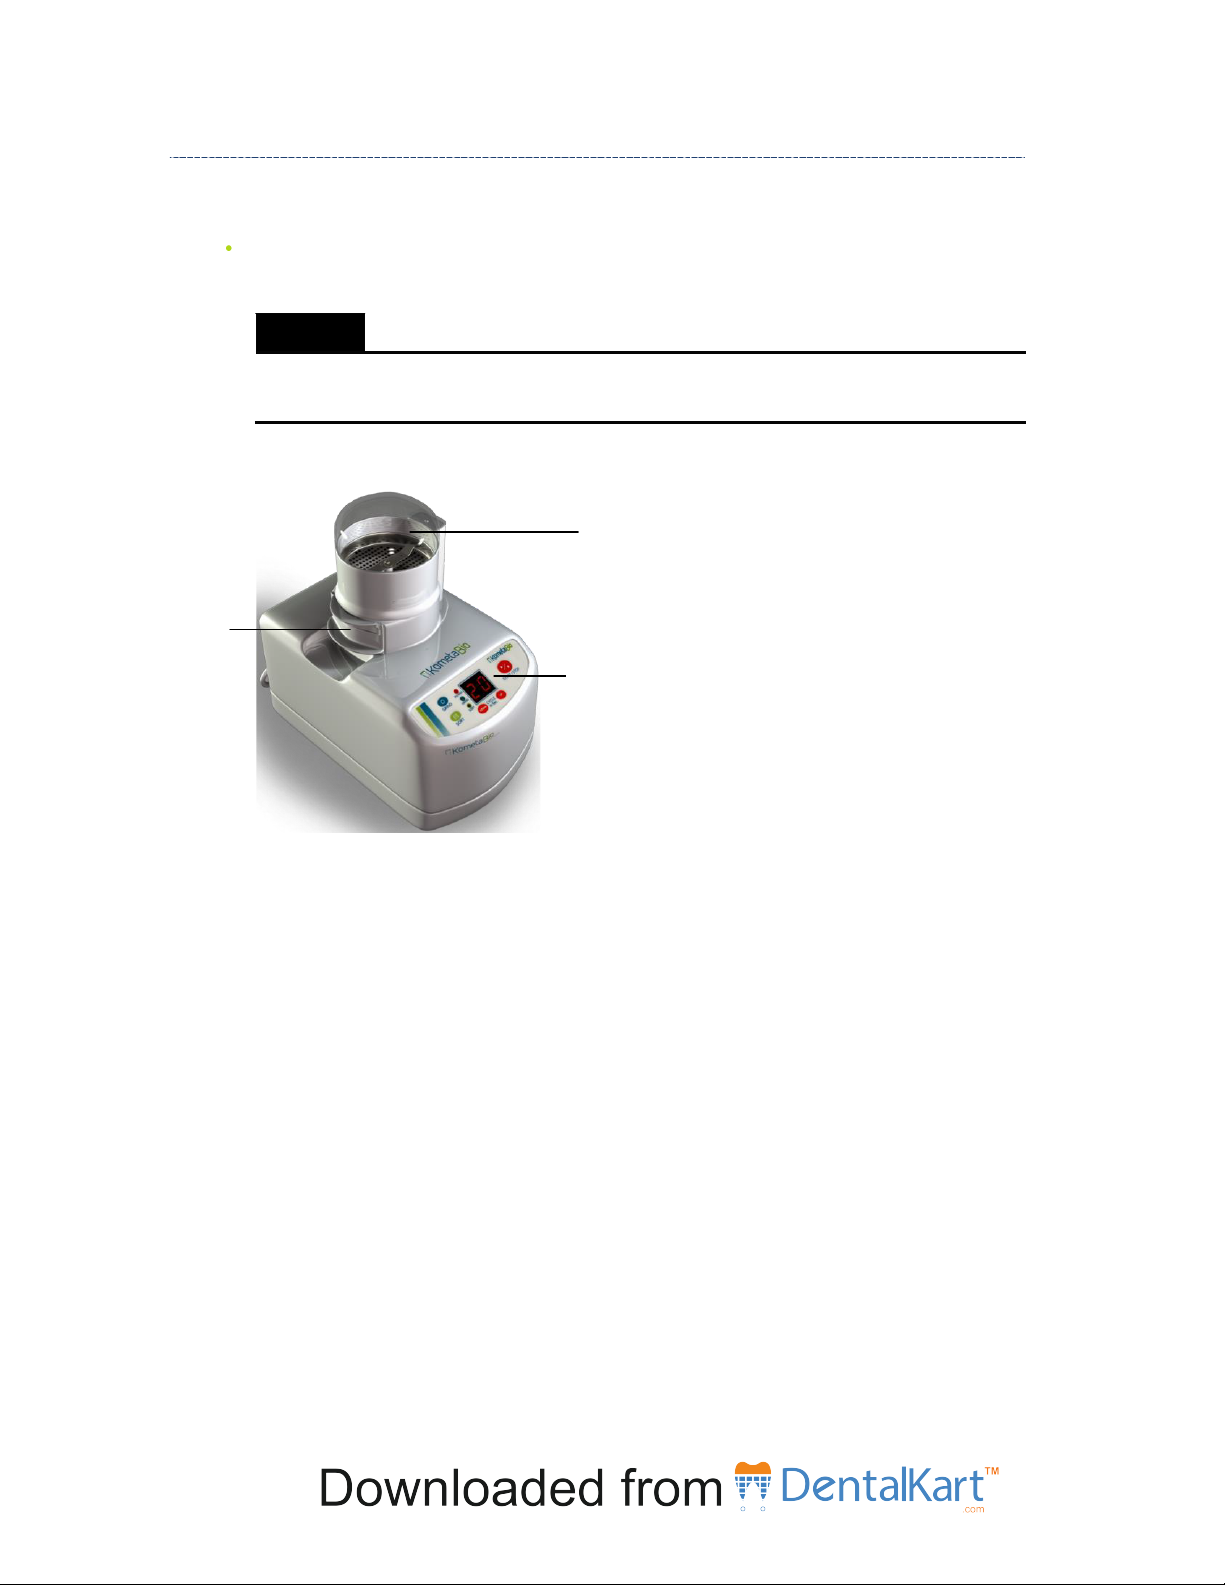
Figure 1: Smart Dentin Grinder Components ...............................................................................................8
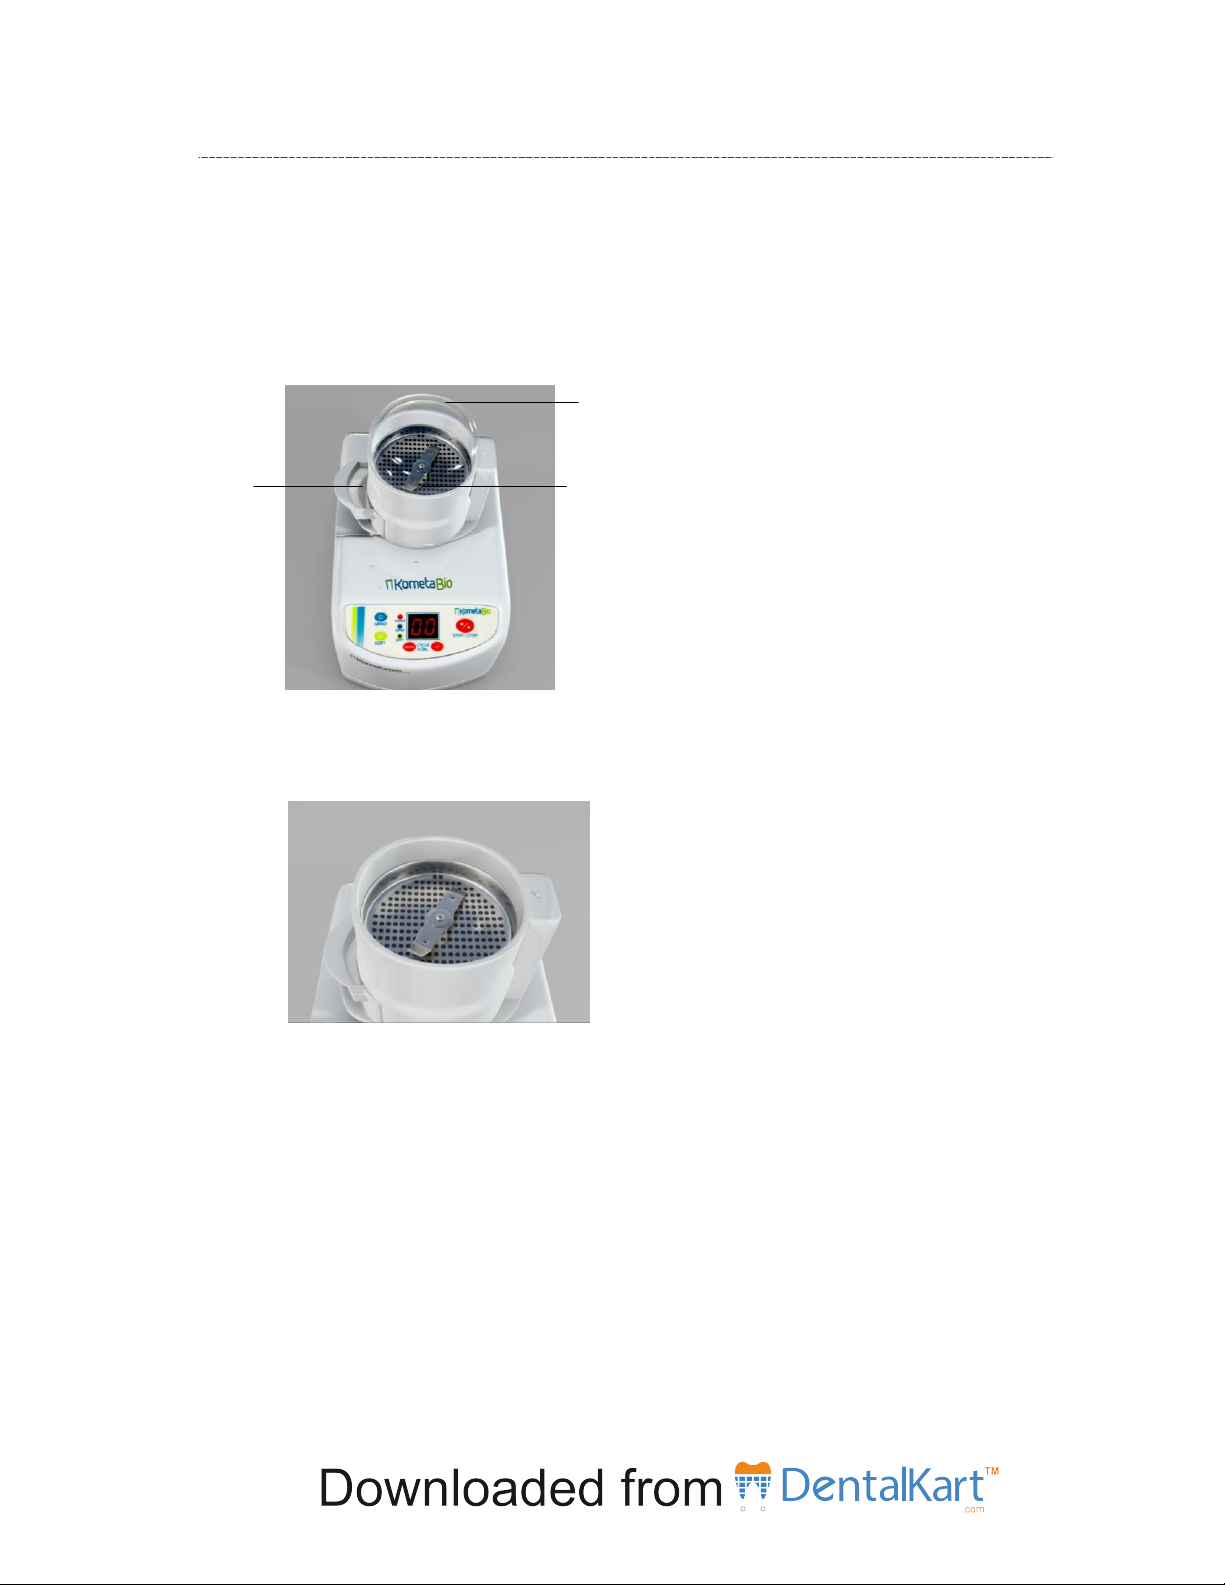
Figure 2: Sterile Disposable
Chamber
...........................................................................................................9
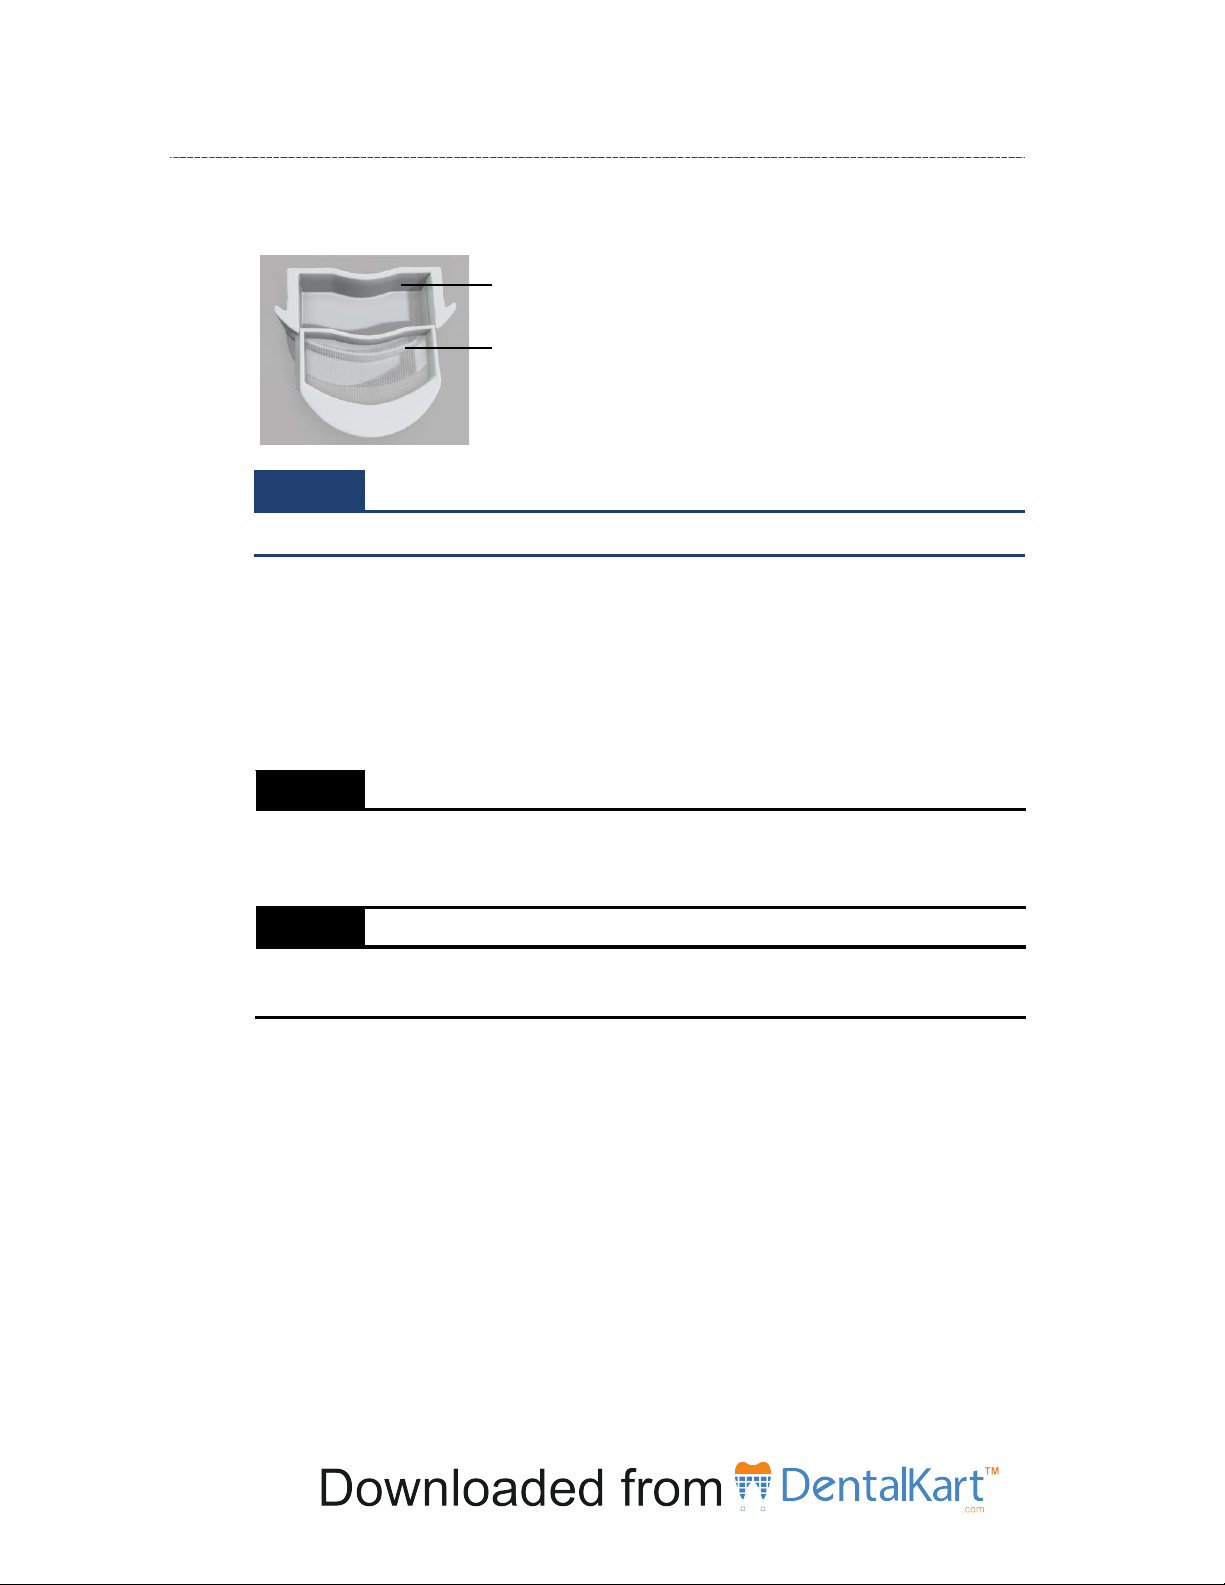
Figure 3: Grinding Blade and Particulate Si
eve
.............................................................................................9
Figure 4: Particulate Drawer
Compartments
..............................................................................................10
Figure 6: Using the Smart Dentin Grinder –Workflow Dia
gr
a
m
.................................................................13
Figure 7: Attaching the
Chamber
................................................................................................................15
Figure 8: Aligning the Arrows......................................................................................................................15
Figure 9: Chamber is
Locked
.......................................................................................................................16
Figure 10: Switching On the Smart Dentin Grinder.....................................................................................16
Figure 11: Power Indicator..........................................................................................................................16
Figure 12: Removing the Chamber Cap ......................................................................................................17
Figure 13: Placing the Teeth in the Smart Dentin
Grinder
..........................................................................17
Figure 14: Closing the Chamber Cap...........................................................................................................18
Figure 15: Grinding for 3 S
ec
onds...............................................................................................................19
Figure 16: Sorting for 20 Seconds ...............................................................................................................19
Figure 17: Pulling Out the D
r
a
wer
s.............................................................................................................21
Figure 18: Pulling Out the Top Drawer
Compartment
................................................................................21
Figure 19: Harvesting the Implantable
Particles
.........................................................................................22
Figure 20: Hot Plate ....................................................................................................................................23
Figure 21: Smart Dentin Grinder Label .......................................................................................................28
Documentation Conventions
NOTE:
Notes provide additional important information.
TIP:
Tips provide shortcuts or special guidance that may enable optimal performance.
WARNING!
Warnings indicate conditions or practices that could result in death or serious injury.
It may also describe potential serious adverse reactions and safety hazards.
CAUTION:
Caution indications relate to conditions or practices that are potentially hazardous
that may result in minor or moderate injury to the user or damage to the equipment
or other property. Caution indications may also be used to indicate practices
necessary for effective use of the device.