EN
10
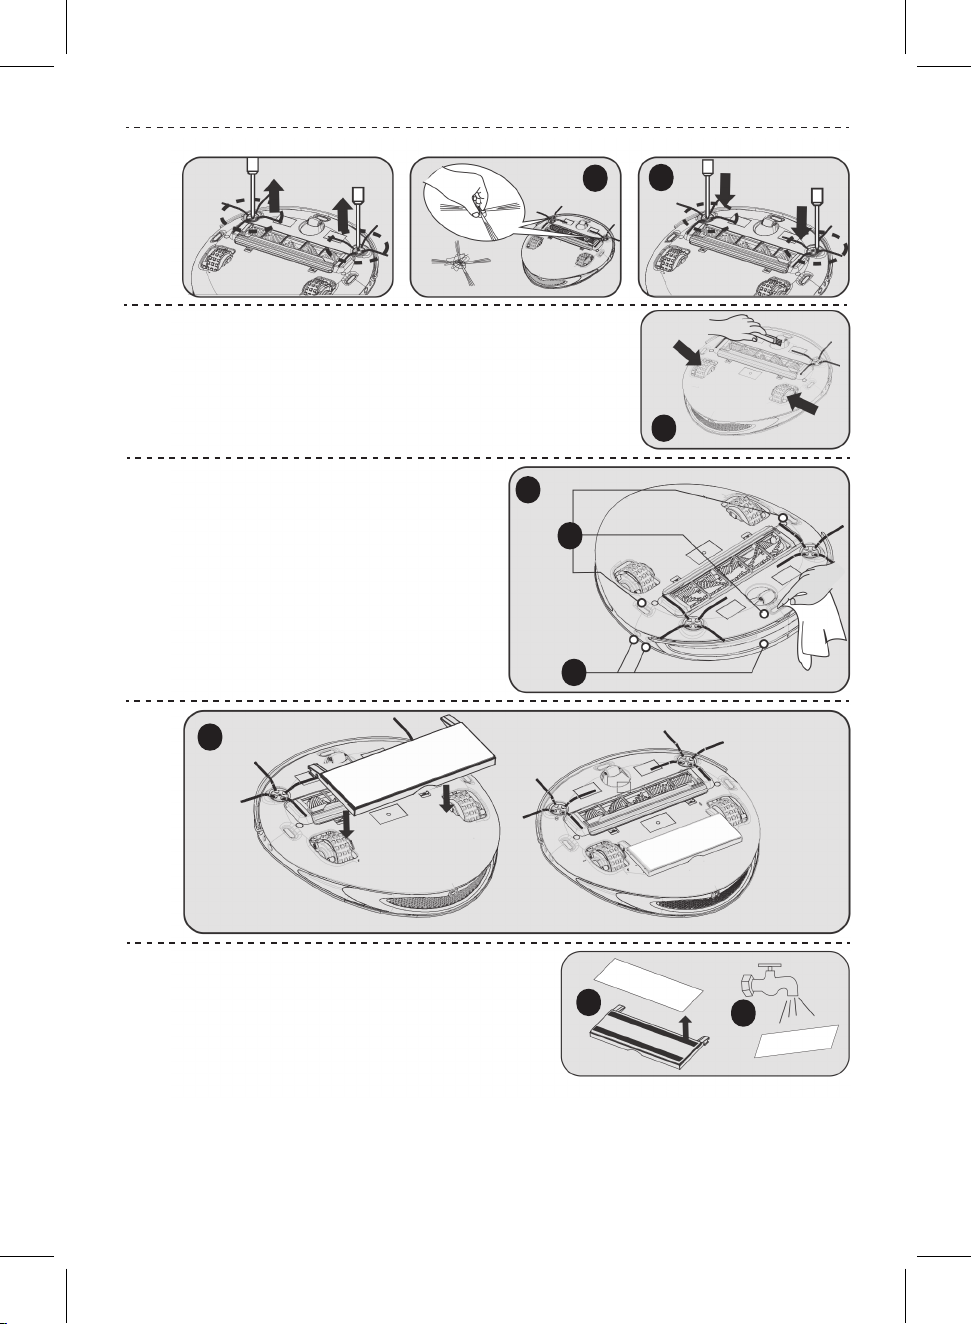
A
B
C
D
G
H
I
J
K
L
M
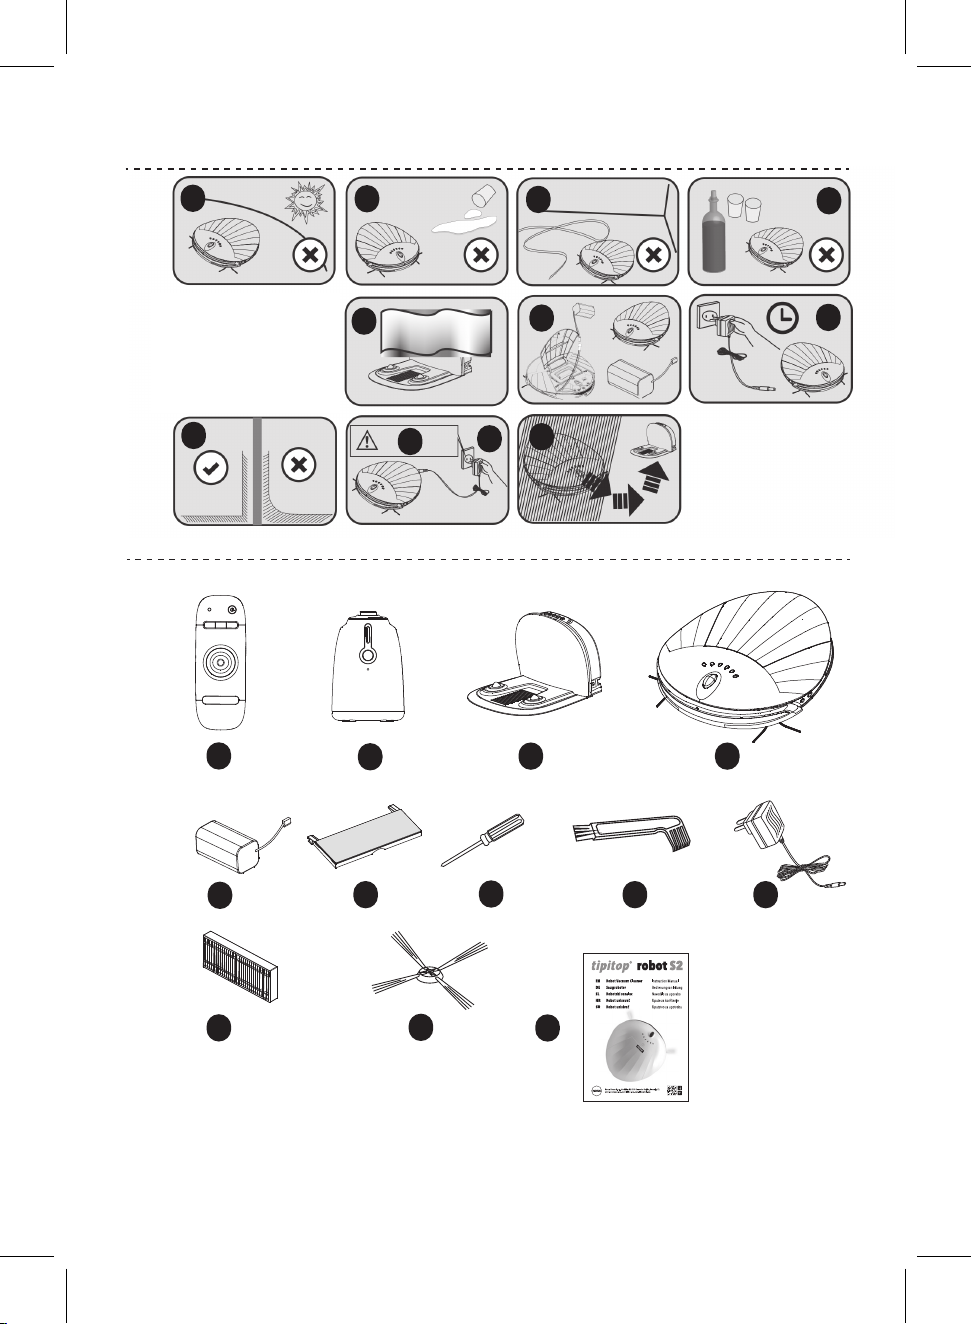
Attention
The machine is only used indoor.
Prevent water,oil and other liquid into the
machine.
Please clean up the wire in the floor, or else it will
hinder the working of the machine.
Please remove all fragile objects.
Do not cover the signal window of the charging
station, or else the function of auto-charging will
be invalid.
If the machine is long time not in use, remove the
battery from the machine and store it in a cool dry
place after being fully charged.
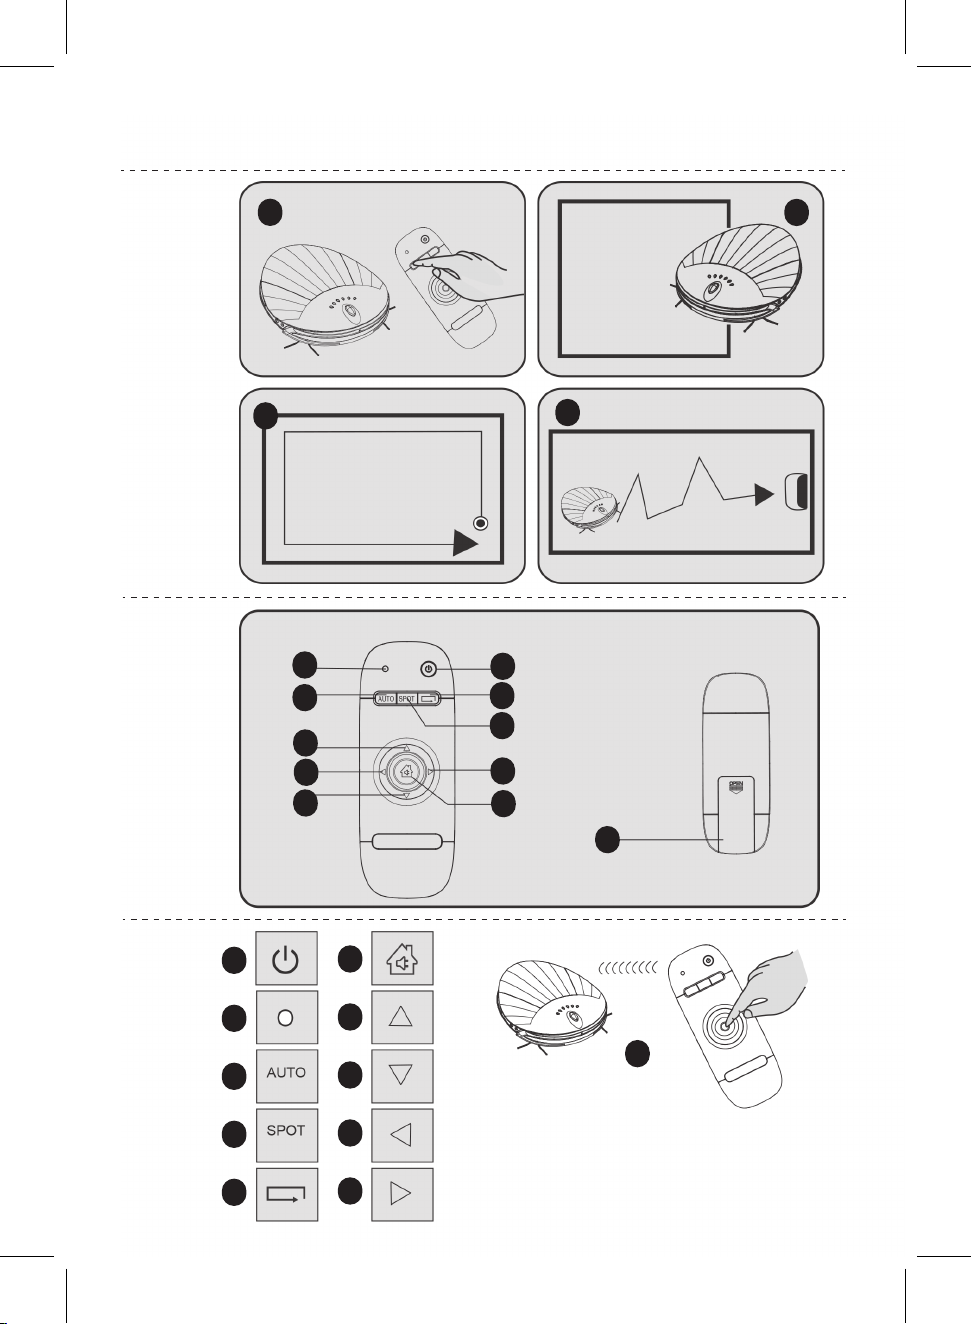
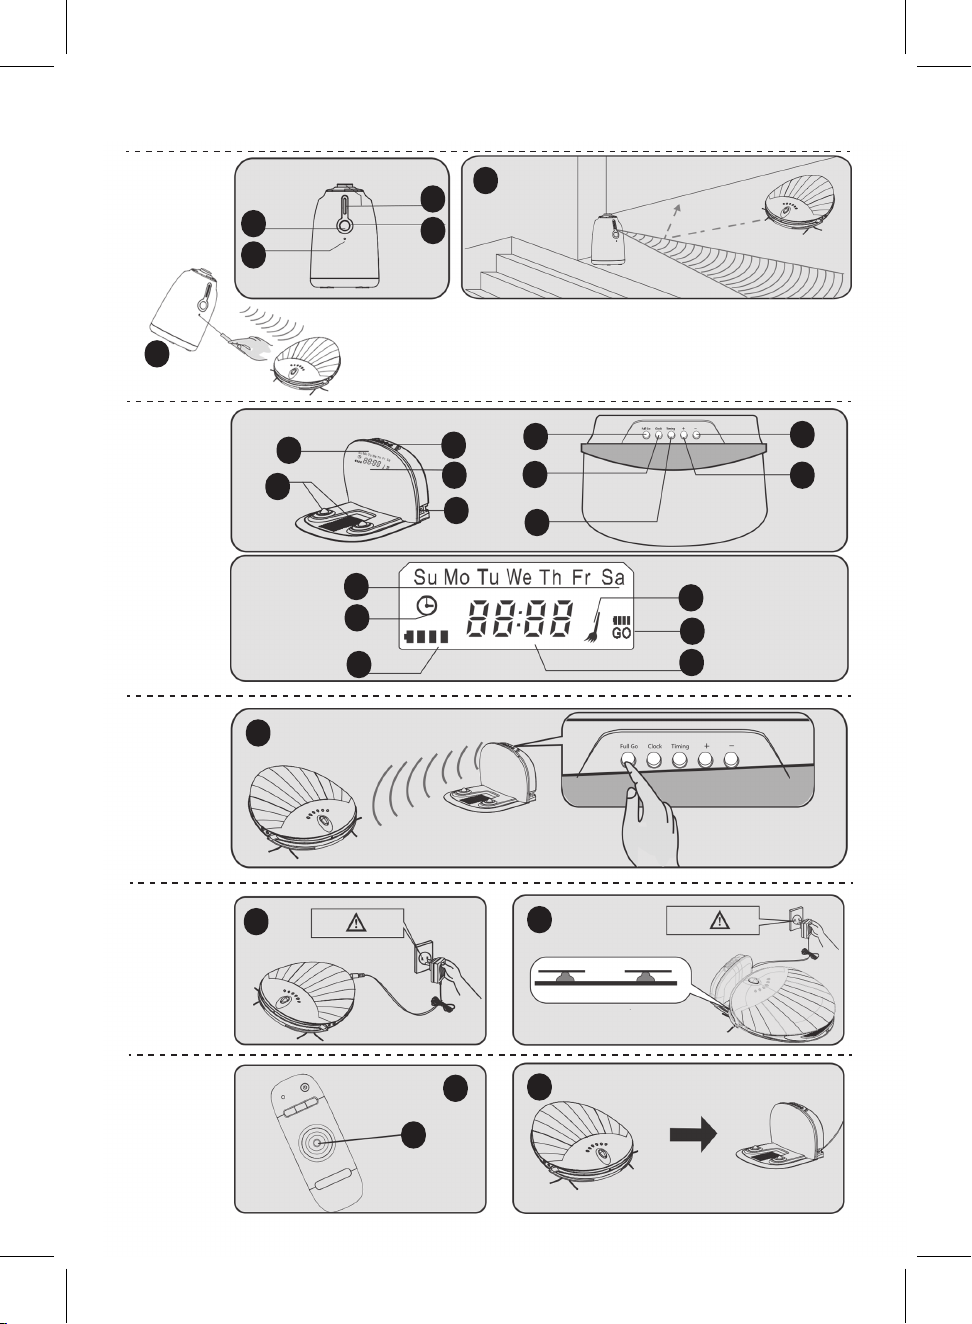
1
The battery should be charged about 12H, if the
machine were not used for a long time or the first
time.The battery should be used up for 3-4 times,
which will make the battery best efficient.
Charging station and space isolator should be
behind the wall and flat place,or else the function
will be influenced.
Danger!Electric shock
Please put out the power socket,if the charging
station will be not used for a long time.
The machine will seek the bright place when it
enters the black environment during seeking the
charging station.If it does not find the charging
station within 5s, it will be powered off automati-
cally.
Thanks for purchasing intelligent vacuum cleanerTT robot S2, which saves time and energy.
Child Safety
• The machine should not be used alone by children.
• Forbid the children playing the packing bag, or else it
will cause smother.
About Battery
1. The machine will only be used with the original battery.
2. Please turn off the power switch before taking out the battery .
3. The battery must be taken out before abandoning it.
4. If you want to replace the battery,please keep contact with
our after-sale department.it will lead to accident if wrong
battery is put in the machine.
5. If the battery is leaked,please do not touch the liquid,you
should wipe the liquid with dry cloth,and put the battery to
recycle bin or maintenance point,do not throw it at random.
6. Please handle the old battery of the parts(remote control
and space isolator).The battery includes hazardous substance,
please put it to recycle site according to original environmen-
tal protection regulations.
Usable Range
Applicable Range
• The cleaner is suitable to the following environment:
Wooden Floor,Tile, Carpet.
Not Applicable Range
• Not suitable to be used in the extreme hot or cold
environment.
• The machine is only used indoor.
• Do not use the machine in the place without guard
railing,or else it will damage the machine and cause
personal injury.
• Do not use the machine in the following environment: Wet,
inflammable, explosive and easily corrosive.
• Do not let the machine clean the burny butt,match and so
on.
• Do not let the machine suck the toner from laser printer and
copier, or else it will cause fire.
• Do not let the machine suck sharp objects, such as glass
sheet,piton and so on, or else it will damage the machine.