MAINTENANCE
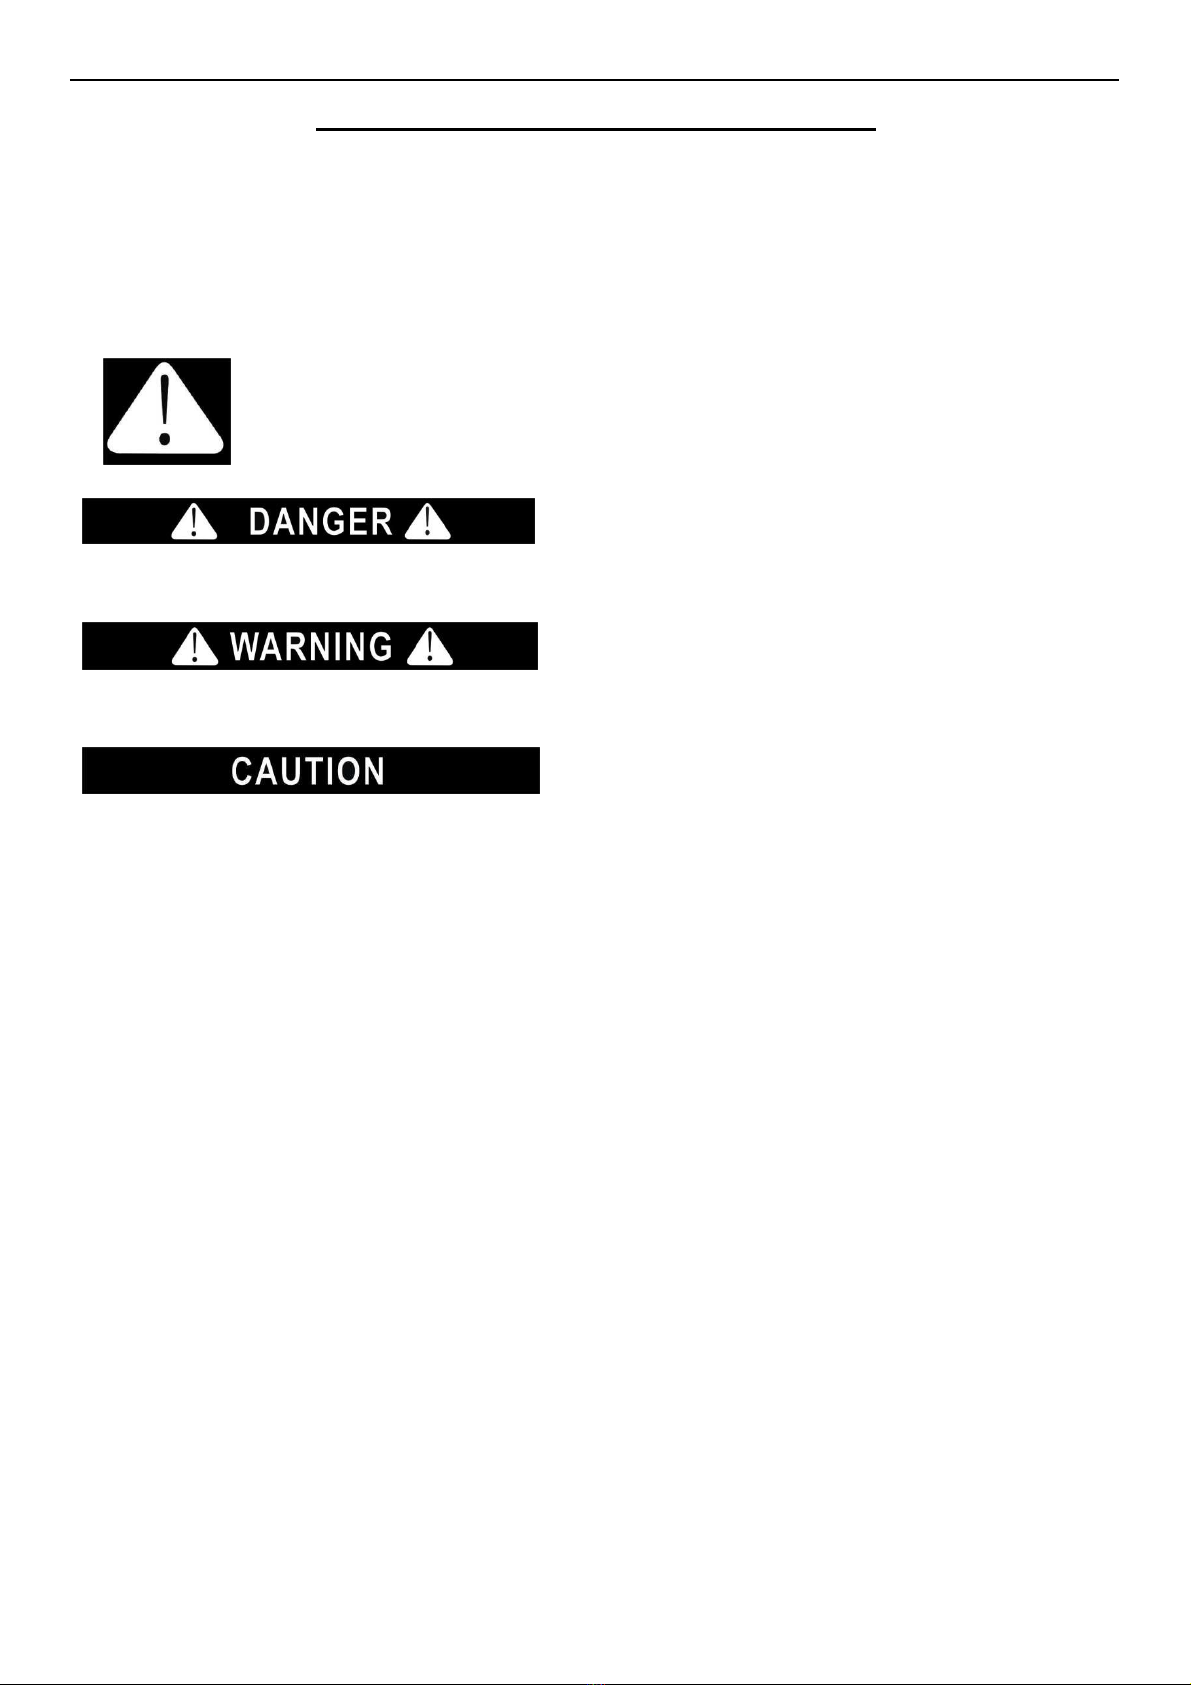
DANGER
The power switch must be turned OFF and the unit disconnected from the power source
whenever performing service, maintenance functions or cleaning the refrigerated area.
Refrigerators and Freezers
The interior and exterior can be cleaned using soap and warm water. If this isn't sufficient, try ammonia and
water or a nonabrasive liquid cleaner.When cleaning the exterior, always rub with the "grain" of the stainless
steel to avoid marring the finish.
Do not use an abrasive cleaner because it will scratch the stainless steel and plasticand can damagethe
breaker strips and gaskets.
Cleaning the Condenser Coil
The condenser coil requires regular cleaning. Cleaning is recommended every 90 days. In some instances,
you may find that there is a large amount of debris and dust or grease accumulated prior to the 90 day time
frame. In these cases the condenser coil should be cleaned every 30 days.
If the build up on the coil consists of only light dust and debris, the condenser coil can be cleaned with a simple
brush. Heavier dust build-up may require a vacuum or even compressed air to blow throughthe condenser
coil.
If heavy grease is present, there are de-greasing agents available for refrigeration use and specifically for the
condenser coils. The condenser coil may require cleaning with the de-greasing agent and then blown through
with compressed air.
Failure to maintain a clean condenser coil can initially cause high temperatures and excessive run times.
Continuous operation with dirty or clogged condenser coils can result in compressor failures. Neglecting the
condenser coil cleaning procedures will void any warranties associated with the compressor or cost to replace
the compressor.
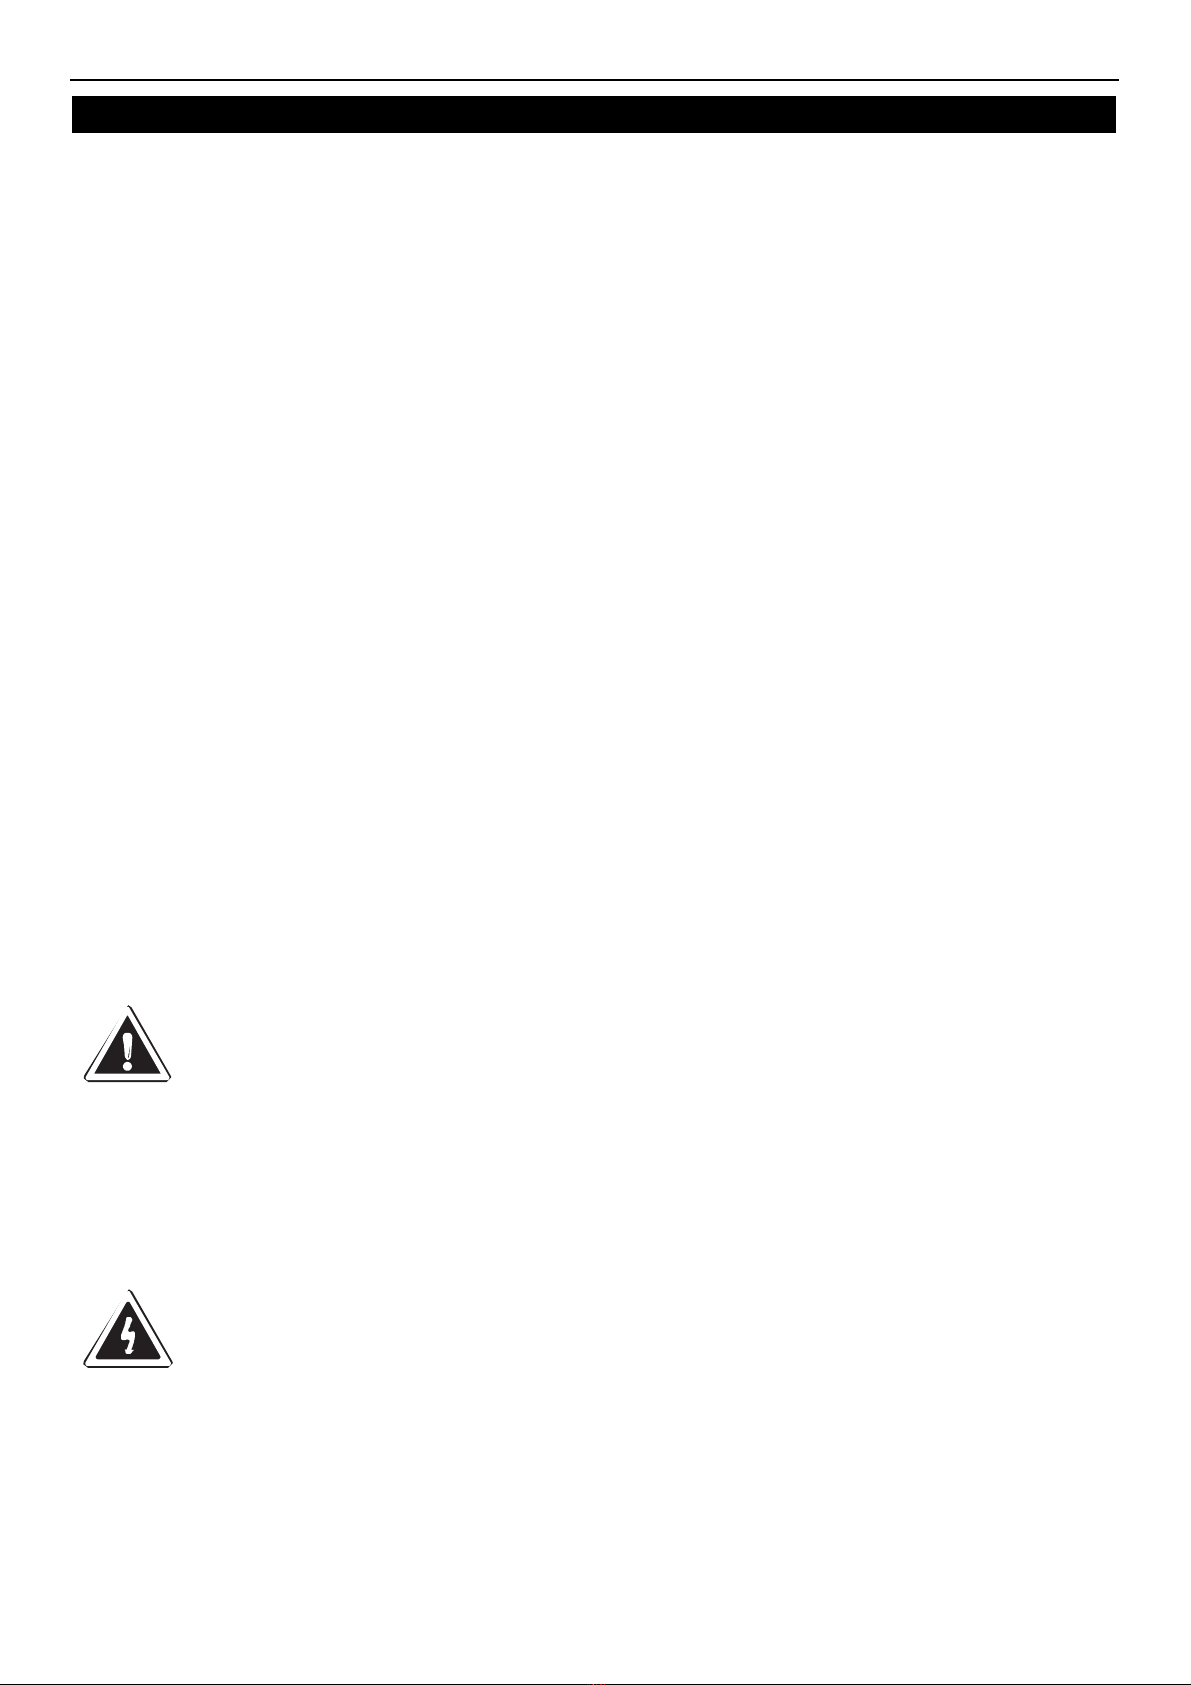
DANGER
Never use a high pressure water wash for this cleaning procedureas water can damage the
electrical components located near or at the condenser coil.
In order to maintain proper refrigeration performance, the condenser fins must be cleaned of dust, dirt and
grease regularly. It is recommended that this be done at least every three months. If conditions are such that
the condenser is totally blocked in three months, the frequency of cleaning should be increased. Clean the
condenser with a vacuum cleaner or stiff brush. If extremely dirty, a commercial-grade condenser cleaner may
be required.
Stainless Steel Care and Cleaning
Toprevent discoloration of rust on stainless steel, several important steps need to be taken. First, we need to
understand the properties of stainless steel. Stainless steel contains 70-80% iron which will rust. It also contains
12-30% chromium which forms an invisible passive film over the steels surface which acts as a shield against
corrosion. As long as the protective layer is intact, the metal is still stainless. If the film is broken or
contaminated, outside elements can begin to breakdown the steel and begin to form rust of discoloration.
Proper cleaning of stainless steel requires soft cloths or plastic scouring pads,
NEVER USE STEEL PADS, WIRE BRUSHES OR SCRAPERS!
DANGER