14 www.kraun.it
Manual Manual
www.kraun.it 15
Chapter 4. Kraun Wireless Utility
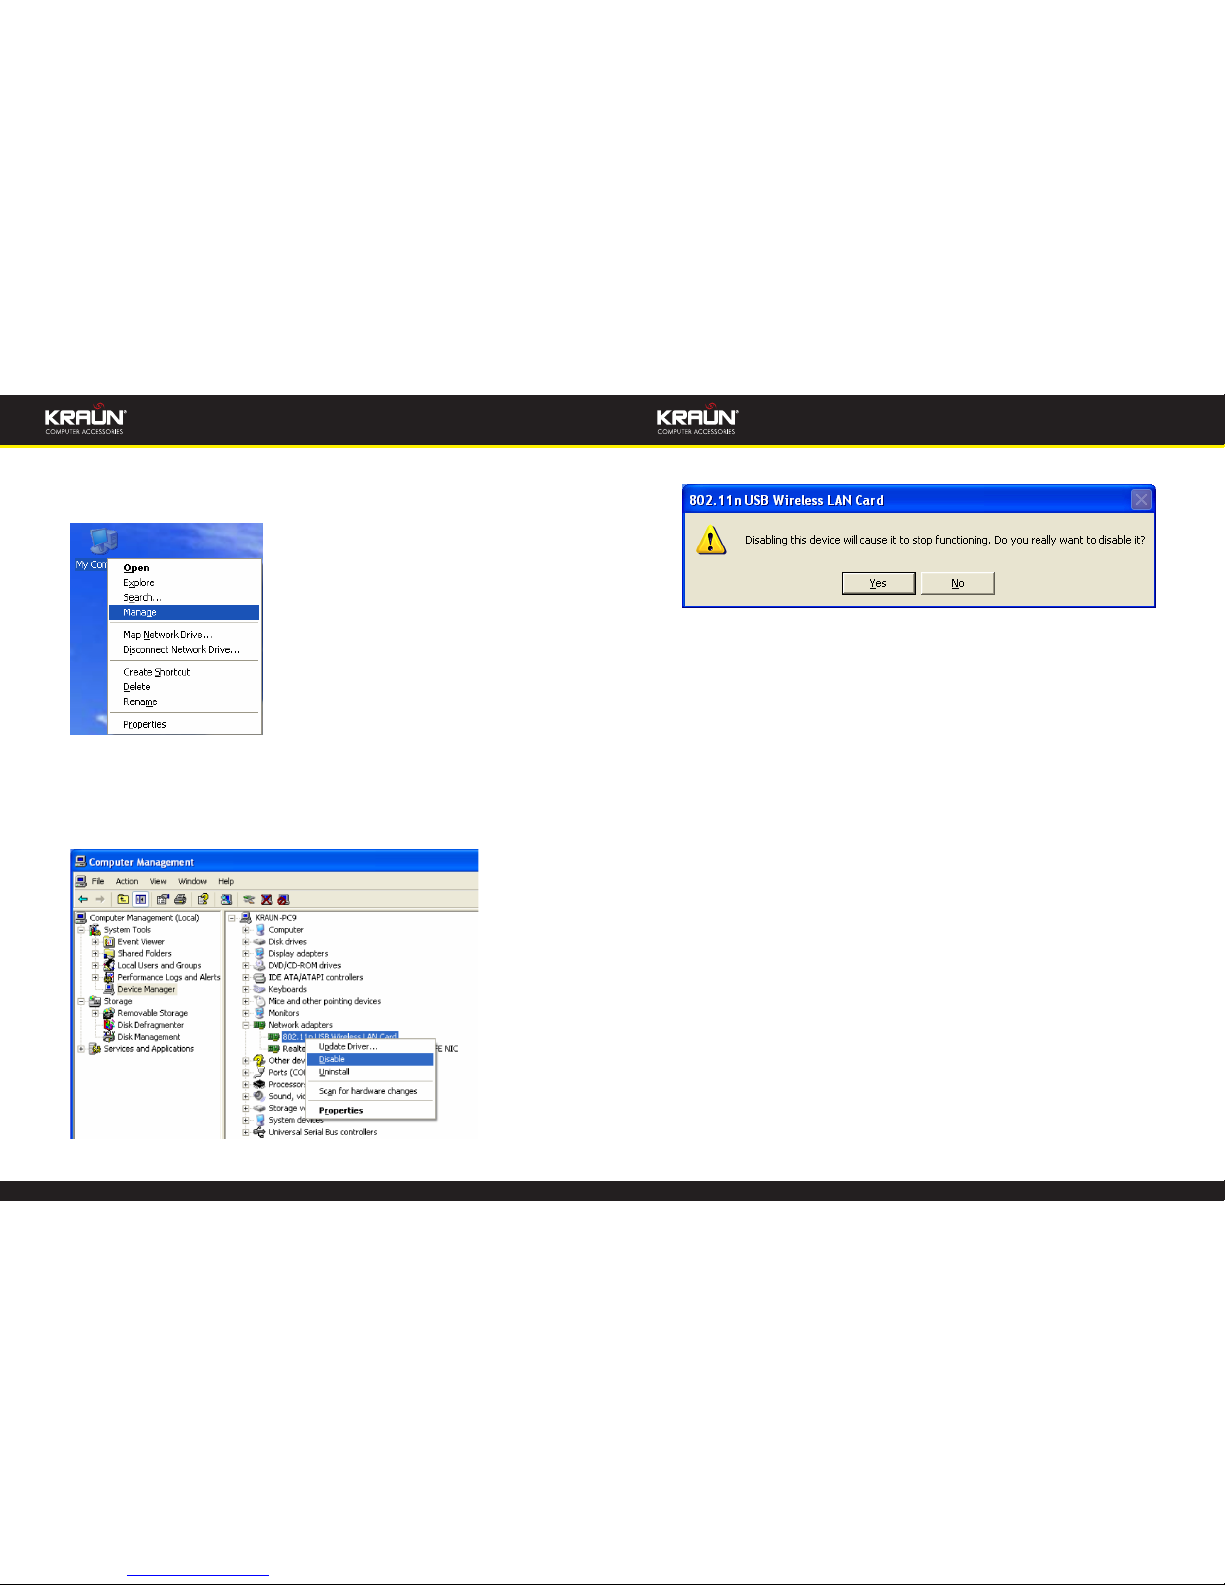
When you are installing the driver, select “Install driver and Kraun WLAN Cong
Tool” and the adapter driver and client utility will be installed. All functions of this
adapter can be congured via Kraun’s utility interface (in the following text it is ab-
breviated as UI).
Select “Start”—“All Programs” —“Kraun Wireless”— Kraun Wireless Utility”, or click
the “Kraun Wireless Utility” shortcut on your PC’s desktop to start the UI.
4.1 Station mode (Client Mode)
Station mode (Client Mode) Overview
It is a common solution to use the wireless network adapter as a client to receive
signals.
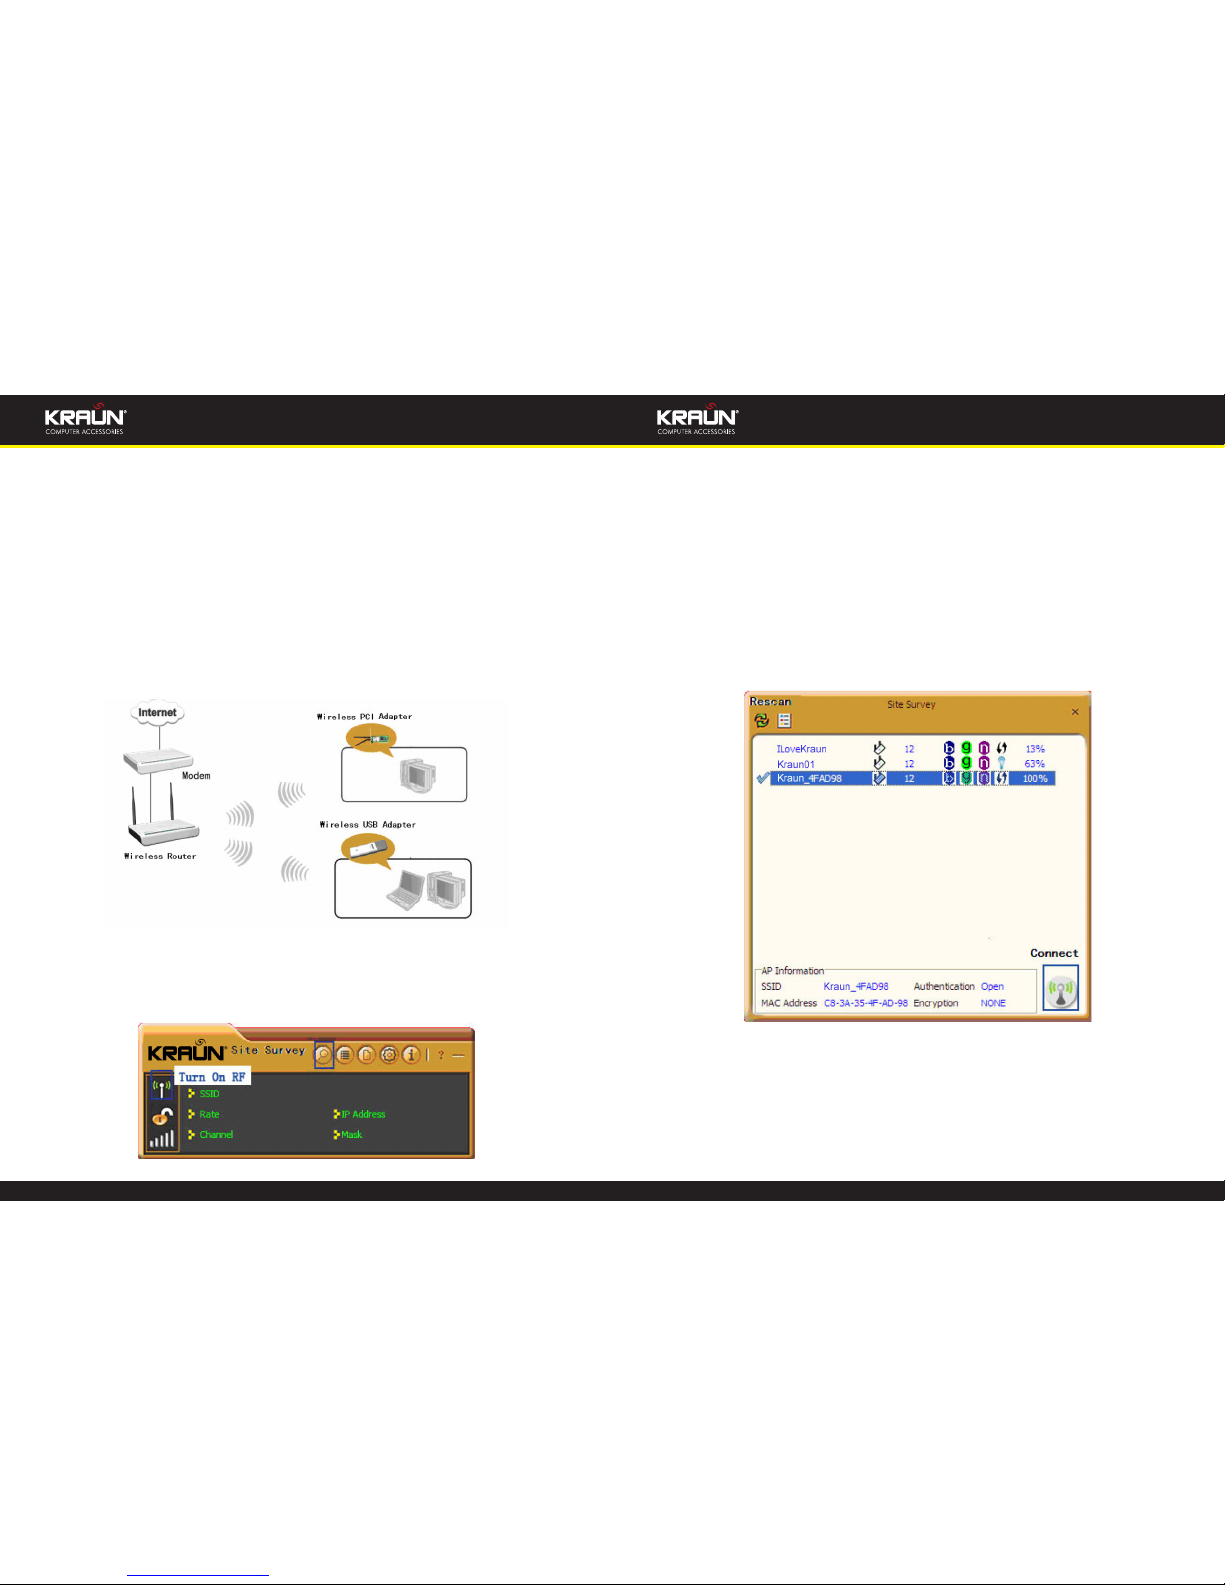
Main interface for station mode
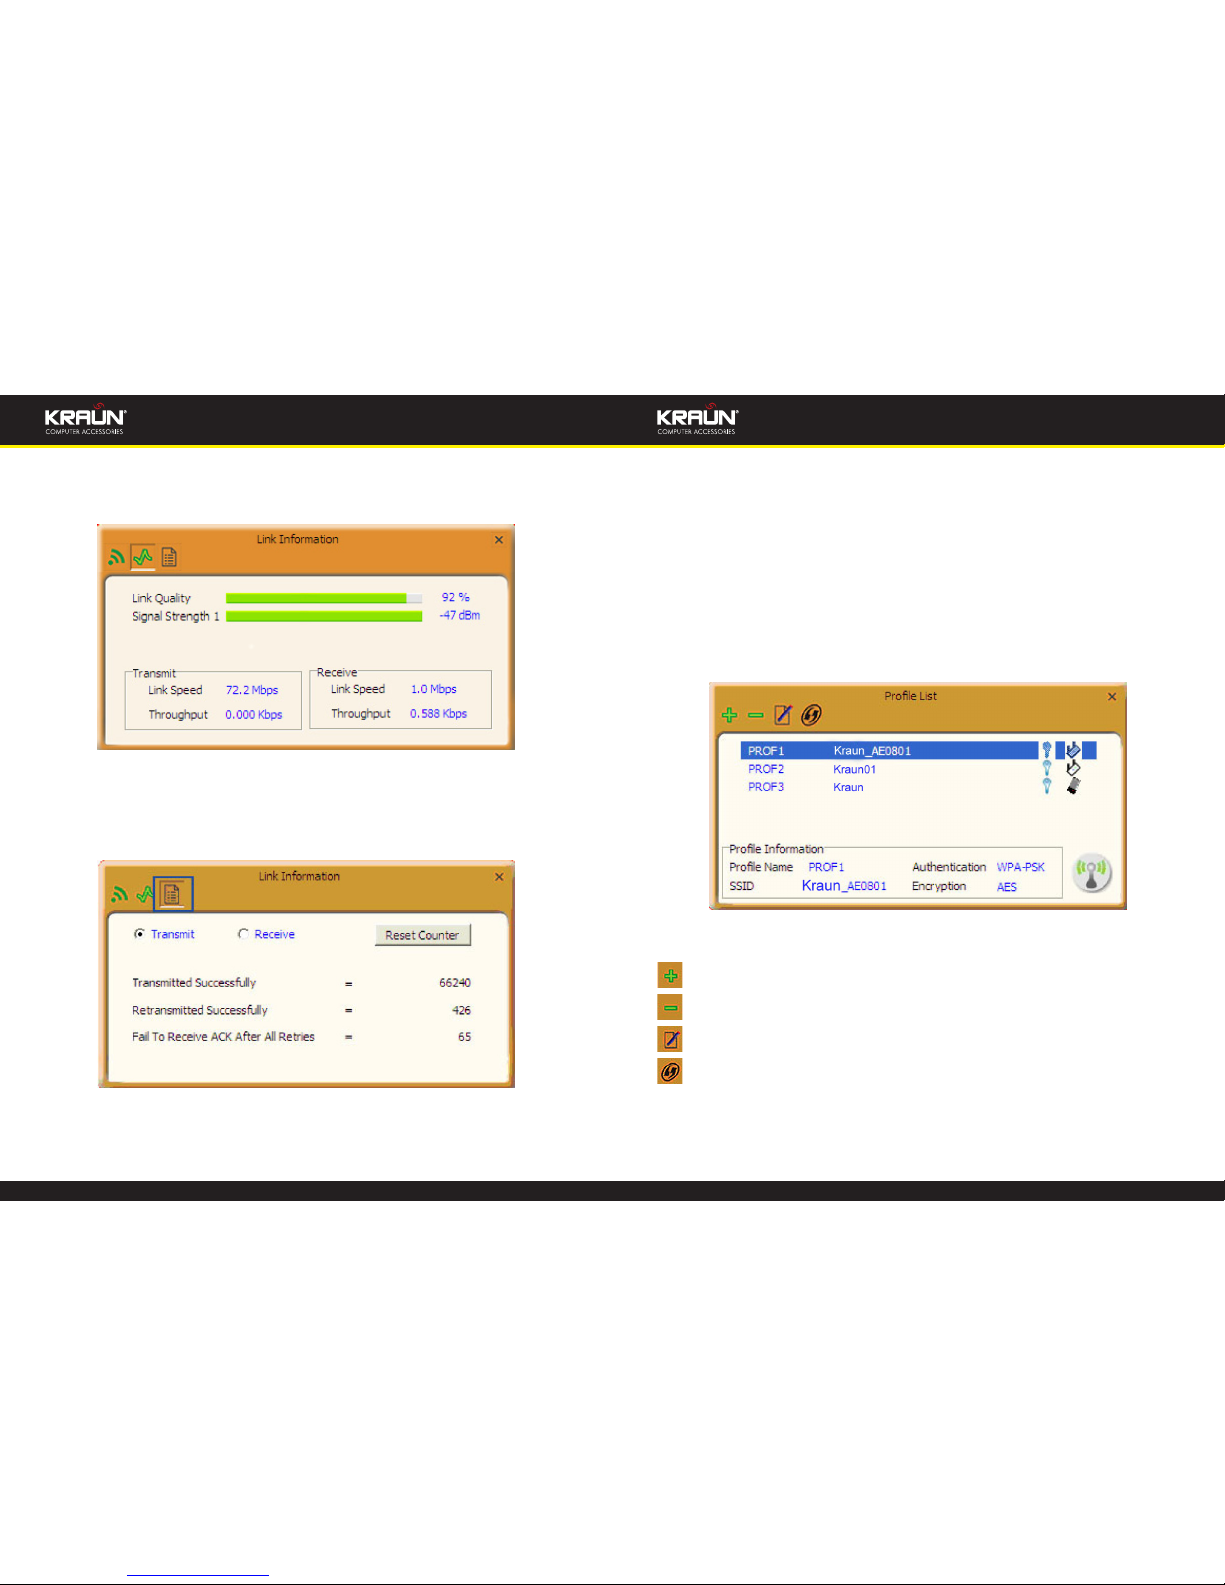
The function buttons on the top(From L to R )are respectively Site Survey, Link In-
formation, Prole, Advanced, About, Help, and MiniSize. While the left column dis-
plays Turn On/O RF, Security /No security, and Signal status.
4.1.1 Site Survey
The “Site Survey” screen displays currently scanned wireless signals and you can
click one to connect the signal. Select one and you may view the AP’s MAC ad-
dress, wireless mode (A/B/G/N), authentication type, and encryption type, or WPS
authentication and signal strength.
Before you connect to a wireless network, please click the “Rescan” button to up-
date the wireless network list and select the one you wish to connect, then click the
“Connect” icon.
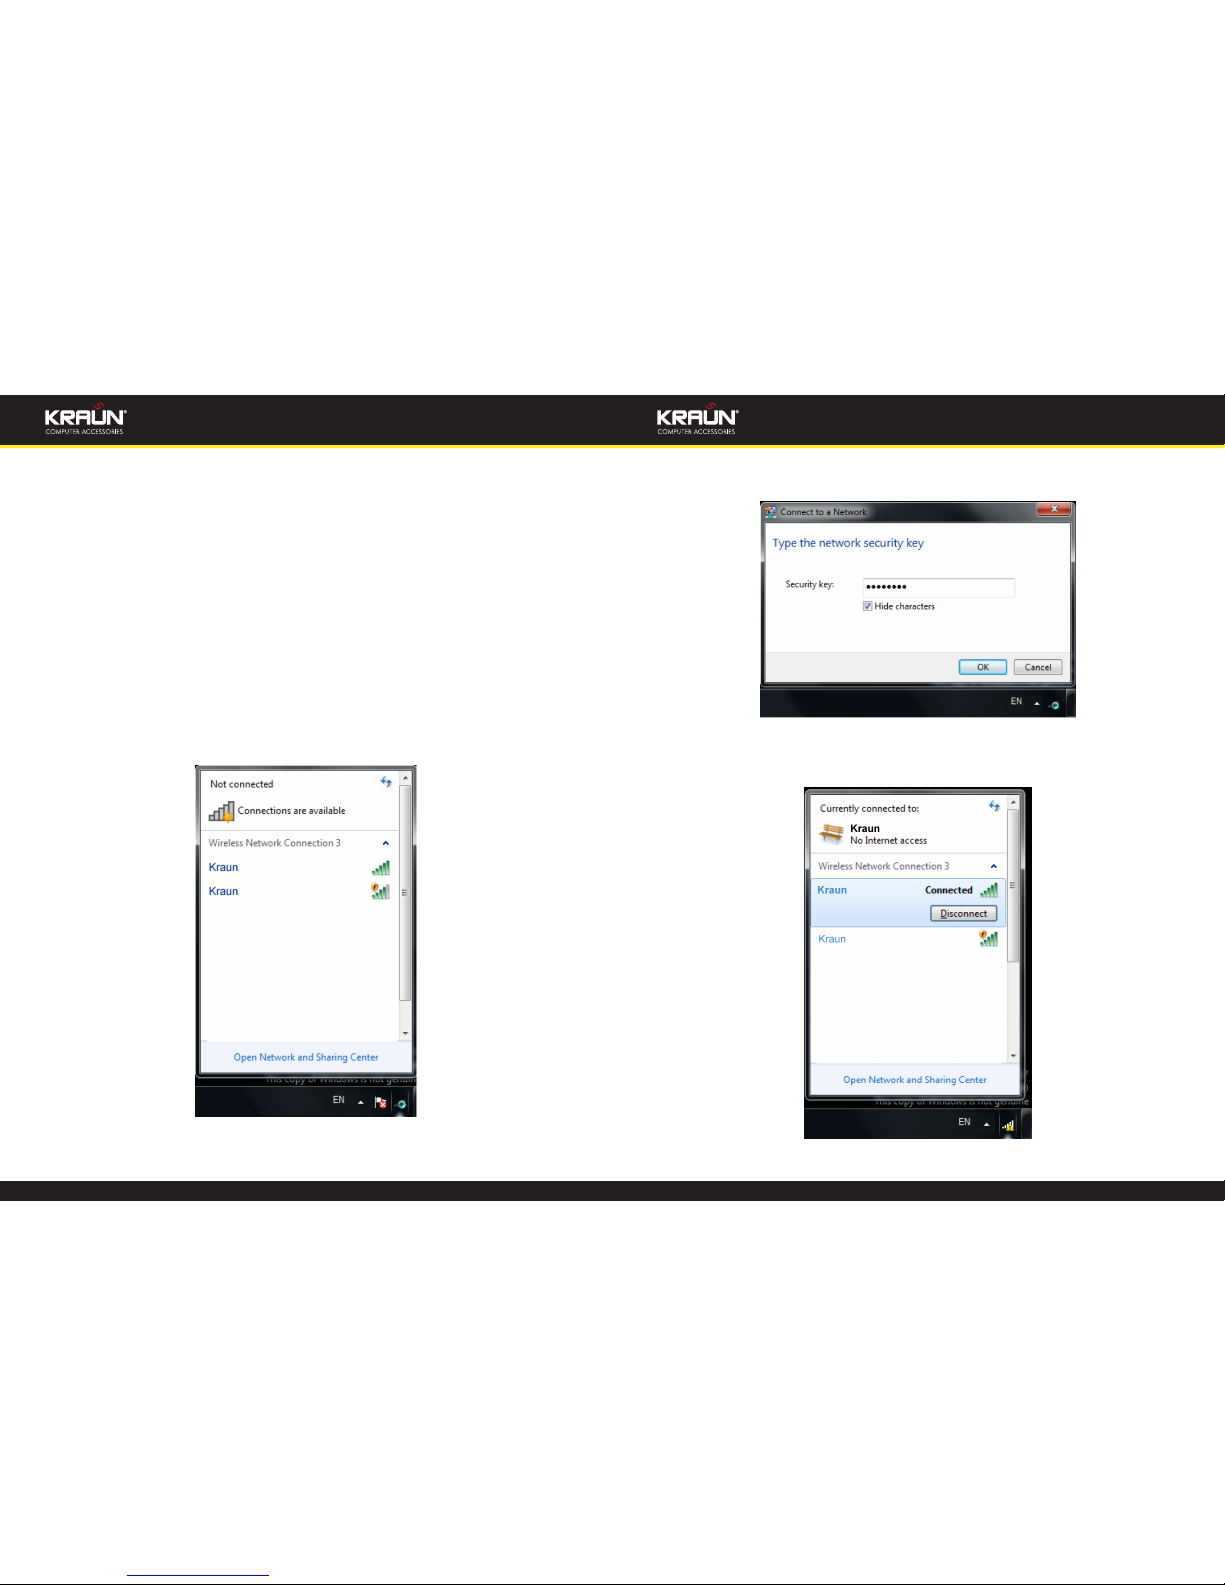
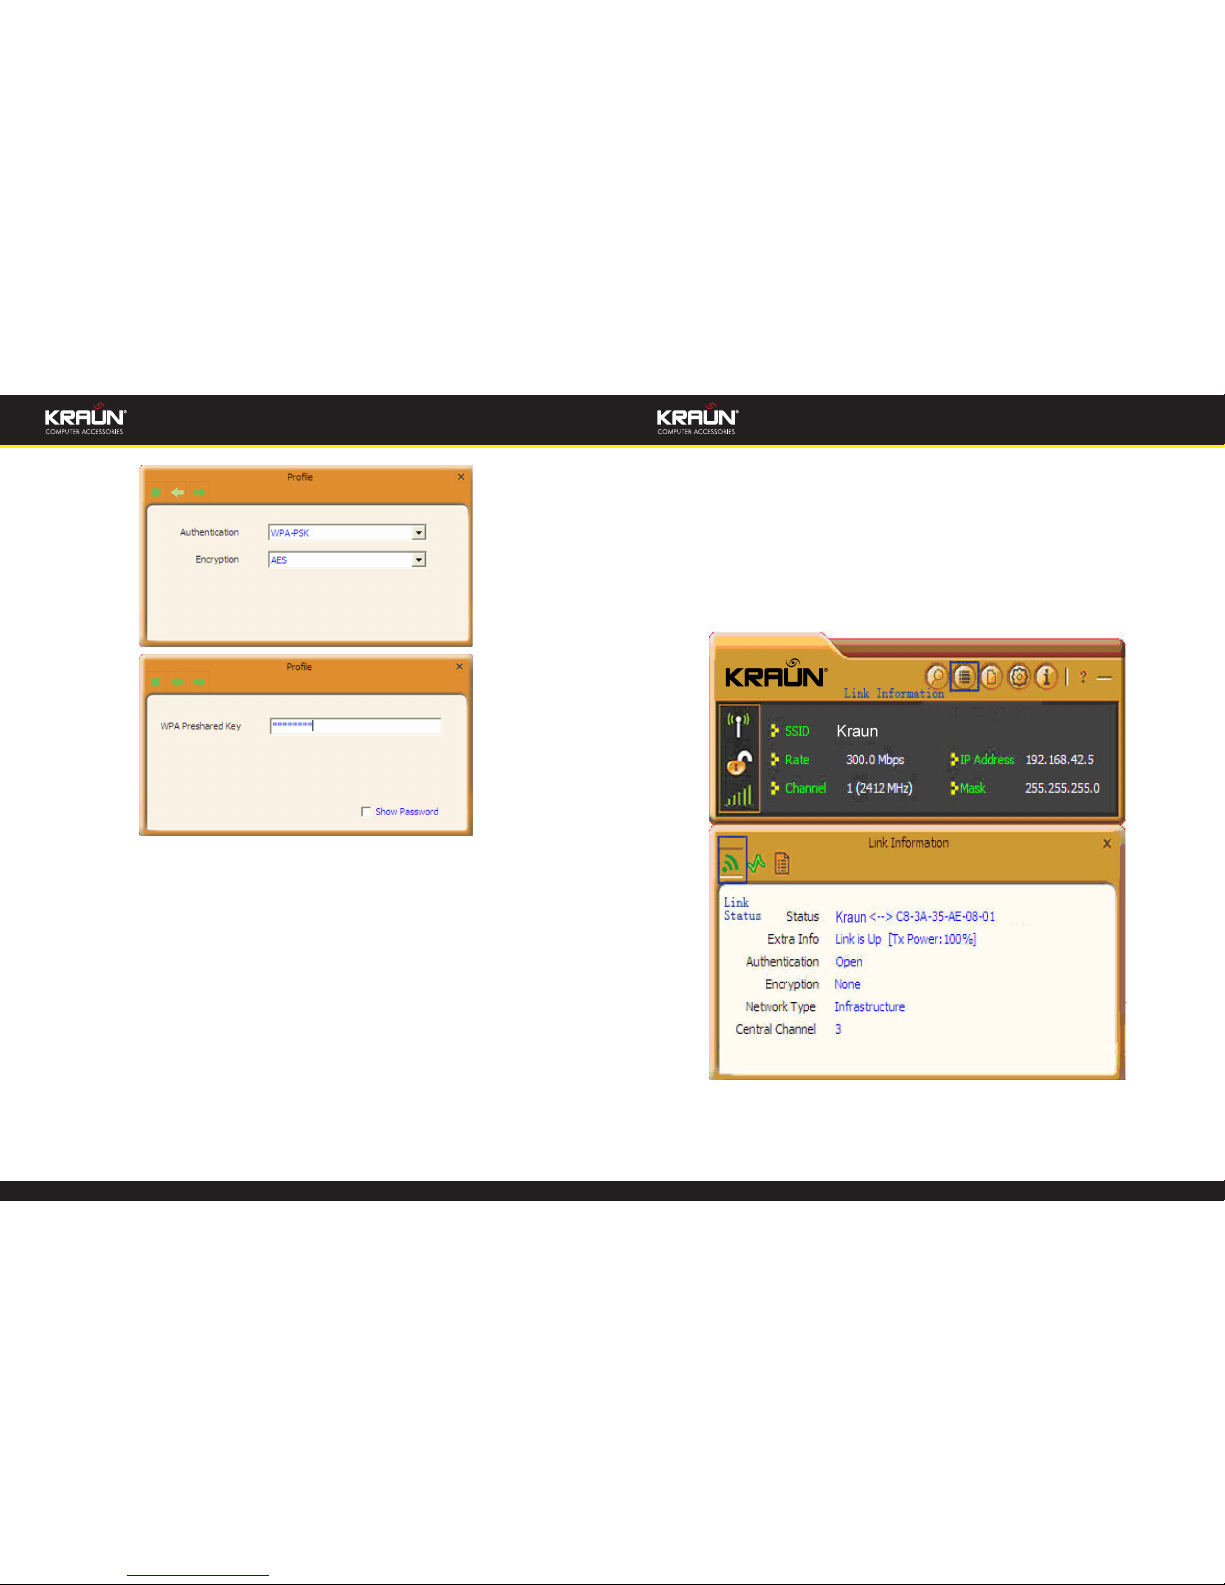
For the networks that are not encrypted, you can directly click “Connect”. However,
for the encrypted wireless networks,a “Prole” dialog will pop up and you must se-
lect the corresponding authentication type and encryption type,and then click the
“Next” button to input the correct key.Please note that this type of connection will
not create a prole ,thus next time connect to this network you still need to select
it manually.