kunak AIR Pro User manual

Pq. Emp. La Muga 9, 4º Ofic. 1, Orkoien, 31160, Navarra, Spain +34 848470055 info@kunak.es www.kunak.es i
Kunak AIR Pro Quick
Start Guide
Quick Start Guide
Ref: KP-A-NA-05
Date: 22/10/2021
Reproduction in whole or in part is expressly prohibited without the written consent of KUNAK TECHNOLOGIES S.L.

KP-A-NA-05 Kunak AIR Pro Quick Start Guide
P. E. La Muga 9, 4º Ofic. 1, Orcoyen, 31160, Navarra, Spain +34 848470055 info@kunak.es www.kunak.es 1
SUMMARY
QUICK START GUIDE .............................................................................................................................................................. 2
1. Package Content....................................................................................................................................................... 2
2. Required Tools and Equipment ............................................................................................................................. 2
3. Parts of a Kunak AIR Pro Station........................................................................................................................... 3
4. Power On/Off Button .............................................................................................................................................. 3
5. LEDs Indicators and Display Buttons ................................................................................................................... 4
6. Installation of the Smart Gas Cartridge............................................................................................................... 4
7. Pluggable Probes or Extra Sensors ...................................................................................................................... 5
8. Checking Before Deployment................................................................................................................................ 5
9. Location Selection .................................................................................................................................................... 7
10. Installation to Mast or Wall Mount .................................................................................................................. 7
11. Storage and Transportation .............................................................................................................................. 9
12. Kunak Cloud Account .......................................................................................................................................... 9
13. Verification of the correct functioning.........................................................................................................10
14. Getting help.........................................................................................................................................................11

KP-A-NA-05 Kunak AIR Pro Quick Start Guide
P. E. La Muga 9, 4º Ofic. 1, Orcoyen, 31160, Navarra, Spain +34 848470055 info@kunak.es www.kunak.es 2
QUICK START GUIDE
1. Package Content
The Kunak AIR Pro is always supplied mounted into the solar shield and with an eSIM preconfigured to work
with it. To install and configure a SIM card, please refer to the manual on how to change the SIM card.
Gas cartridges, probes and power supplies are sent separately.
Standard Kunak AIR Pro Package:
•1x Kunak AIR + Solar Shield (more information
about the version on the label of the box)
•5x Cartridge slot cap (plugged)
•1x Particle sensor cover kit1
•1x Wall or mast mounting kit
•1x Stainless steel hose clamp
•1x Allen key 4 mm
•1x Quick start guide
If any damage has been produced during transport, please, contact KUNAK or your local distributor.
2. Required Tools and Equipment
To install the Kunak AIR Pro, you need the following tools:
•4-mm Allen Key (provided).
•(For mast installation) Screwdriver or 6 mm socket wrench.
•Cutter for the stainless-steel hose clamp.
•(For wall installation) Screwdriver and 4 bolts (minimum 2).
1
Only if the Particle sensor is mounted. If not, the covers will be installed in the device.

KP-A-NA-05 Kunak AIR Pro Quick Start Guide
P. E. La Muga 9, 4º Ofic. 1, Orcoyen, 31160, Navarra, Spain +34 848470055 info@kunak.es www.kunak.es 3
3. Parts of a Kunak AIR Pro Station
Figure 1 –Parts of a Kunak AIR Pro
1. Inlet Particle sensor
2. Support holder
3. Outlet Particle sensor
4. Metallic grid
5. Solar Shield
6. External Temp, Humidity, pressure and
dew point sensors
7. Cartridge
8. Power button
9. Connectors for power
and optional probes
10. LCD display
11. Display Buttons
12. LEDs indicators
4. Power On/Off Button
Please note that the button cuts off all power to the device so that the gas sensors are no longer powered
and will have to be restabilised when powered on.
ON
Button pressed down. If it was already pressed down the power button, press the
sleep button to reactivate the device.
OFF
1. Hold down during 5 sec the sleep button and wait for the LCD indicators.
2. The LCD will show the messages before going to sleep and when the LCD is Off,
the device can be totally powered off by un-pressing the power button (button at
enclosure level).

KP-A-NA-05 Kunak AIR Pro Quick Start Guide
P. E. La Muga 9, 4º Ofic. 1, Orcoyen, 31160, Navarra, Spain +34 848470055 info@kunak.es www.kunak.es 4
5. LEDs Indicators and Display Buttons
The LEDs below the display indicate the current status of the device.
RED LED
GREEN
LED
INFORMATION
ON
ON
Powering ON or OFF
ON
OFF
Error status
OFF
ON
Measuring or connecting to the
KunakCLOUD
ON (blink 1Hz)
OFF
Device ON at stand-by mode and charging
OFF
OFF
Between measures or powered off
There are two buttons below the LCD that will change the LCD messages. To access the functionality of the
buttons, for the upper symbols briefly press the button, and for the lower symbols, press the button for 5
seconds.
Icon
Name
Hold
Description
Info
Simple
Show information about the state of the device
and the sensors
Alarms
5 sec
Currently not available
Maintenance
Simple
Currently not available
Sleep
5 sec
Switching the working mode to stand-by or to
normal mode..
6. Installation of the Smart Gas Cartridge
The cartridge can be installed at any slot of the Kunak AIR Pro device (always with the device switched
off). When is turned ON, the device will automatically detect the cartridge and its position showing them at
the LCD display. The positions are:
The VOCs sensor cartridge ionises ambient air generating small amounts of O3, so avoid
installing it near O3, NO2or SO2sensors. For example, place the VOCs sensor in slot 5 and
the O3, NO2and SO2sensors in slots 1, 2 and 4; avoid placing them in slot 3.

KP-A-NA-05 Kunak AIR Pro Quick Start Guide
P. E. La Muga 9, 4º Ofic. 1, Orcoyen, 31160, Navarra, Spain +34 848470055 info@kunak.es www.kunak.es 5
Figure 2 –Cartridges position
7. Pluggable Probes or Extra Sensors
There are 5 plugs at the bottom of the device for connect extra sensors. Each external sensor has only one
of the M12 plug where it can be connected.
There are some probes or extra sensors that can be plugged to the Kunak AIR device in every moment and
some that depends on the characteristics chosen at the purchase time.
The connector
All the sensors that can be connected as Standard for all the devices are:
•Connector 1: Power 7V to 12V or Ethernet (PoE if communication is via ethernet).
•Connector 2: RS232 & Modbus Slave.
•Connector 3: Sound Level Meter.
•Connector 4: WBGT & Pyranometer.
•Connector 5: Anemometer & Rain Gauge.
Figure 3 –Probes position
8. Checking Before Deployment
Be aware while installing a cartridge or a probe sensor.

KP-A-NA-05 Kunak AIR Pro Quick Start Guide
P. E. La Muga 9, 4º Ofic. 1, Orcoyen, 31160, Navarra, Spain +34 848470055 info@kunak.es www.kunak.es 6
Before placing the base station in the final location, it is recommended to connect the cartridges and probes
to test the correct function of the station in the office.
The steps to properly test the device prior to deployment are described below. The device will be factory
configured being ready to start working.
Video tutorial of the steps described below
1
Remove the metallic grid cartridge protector by
loosening the bolts and sliding the protector forward.
2
Plug the cartridges of your choice into the device.
Be careful when inserting the cartridges into the
device, the pins can bend if the cartridge is not
inserted perpendicularly.
The device must be switched off during
connections.
3
Plug all the probes that will be installed at the final
deployment by removing the cover of the connector
in which the probe will be mounted. Do not remove
covers from connectors that are not going to be used.
4
Keep the cartridge covers and the connectors
protectors of the probes in the cartridges box for
future use.
➢The Kunak AIR device must be powered OFF while plugging/unplugging a cartridge
or probe. If the device is powered ON while doing the change, it can damage the
sensor or the Kunak AIR Pro station. Press firmly on the cartridge.
➢Be careful while inserting the cartridges into the device, the pins may bend if the
cartridge is not inserted perpendicularly.
➢If a SIM card is going to be installed, please go to “Install or Change the SIM card”
section of the Kunak AIR Pro User Manual.

KP-A-NA-05 Kunak AIR Pro Quick Start Guide
P. E. La Muga 9, 4º Ofic. 1, Orcoyen, 31160, Navarra, Spain +34 848470055 info@kunak.es www.kunak.es 7
5
Press the power ON button (the button must be held
down) and check on the display that the device
detects all the cartridges (on its position) and probes.
If any sensor is not detected, verify that it is properly
connected.
6
Mount the metallic grid cartridge protector and
tighten the two bolts.
Put the device at stand-by or power OFF depending
of your needs.
9. Location Selection
Selecting a location depends on the final application, road traffic monitoring, urban background, etc.
However, the user should have the following considerations when selecting the final location:
Install the device far away from very close pollution sources and without enough air flow
(chimneys, air conditioners, etc), that may disturb your readings. If a sonometer is also
going to be placed, install it in a place with low wind impact, avoiding vibration sources
and avoiding electromagnetic sources.
Install the unit between 3 and 4 meters high.
If the unit is installed with solar panel, locate the devices far away from buildings, trees,
etc…. to be sure that the solar panel receives maximum solar radiation to guarantee a
correct battery recharge. Otherwise, Kunak AIR Pro will run out of battery.
if the device is intalled with a solar panel in the North hemisphere, the solar panel must
face to the South, and to the North in case of the South hemisphere.
10. Installation to Mast or Wall Mount
The Kunak AIR Pro device must be mounted in a determined way due to some design restrictions.
The fixed Kunak AIR Pro model should be mounted with the five cartridge sensor holes facing down and
the Kunak AIR Pro sticker facing to the front.
The steps to install the Kunak AIR Pro to a wall or mast are described below. The device is delivered
completely mounted into the solar shield.

KP-A-NA-05 Kunak AIR Pro Quick Start Guide
P. E. La Muga 9, 4º Ofic. 1, Orcoyen, 31160, Navarra, Spain +34 848470055 info@kunak.es www.kunak.es 8
Different types of possible installations: vertical mast, horizontal mast or wall. The minimum mast diameter
on which the device can be hung is 3cm.
Video tutorial of the steps described below
Vertical mast
Horizontal mast
Wall
Figure 4 –Types of possible installations
1
Place the base of the support on a wall or mast.
2
Place the support to the base with the two bolts.
3
Place the device inside the support through the groove.
4
Screw the two captive fixing bolts.

KP-A-NA-05 Kunak AIR Pro Quick Start Guide
P. E. La Muga 9, 4º Ofic. 1, Orcoyen, 31160, Navarra, Spain +34 848470055 info@kunak.es www.kunak.es 9
5
Connect the power connector and the probes. Screw the probes
connectors all the way in.
The device must be switched off during connections.
6
Power ON the device returning from “stand-by” by pressing the
sleep button or by pressing down the power ON button.
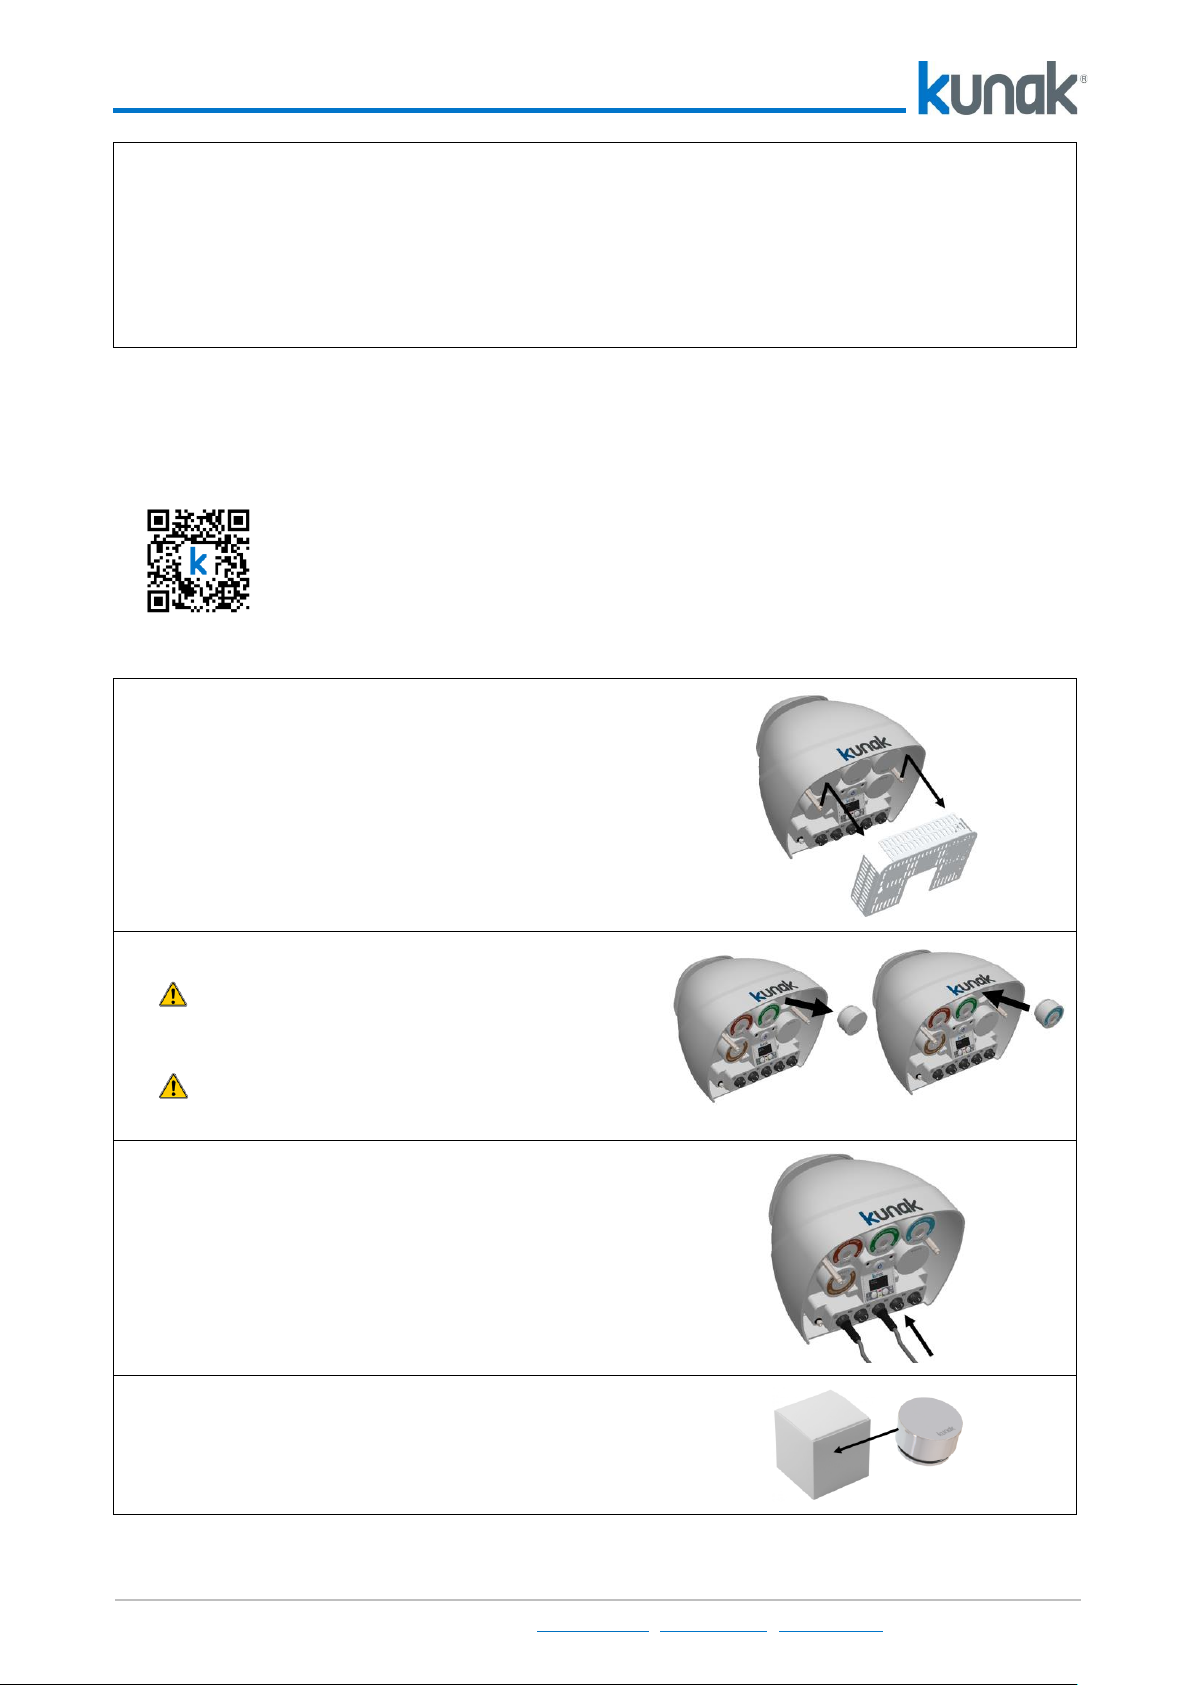
Table 1 –Installation steps
Note: Once the device is working normally, the status of all sensors, battery, charge and connection can be
checked by pushing the button.
11. Storage and Transportation
There are some aspects to consider if the Kunak AIR Pro device is going to be stored or transported to
change of location.
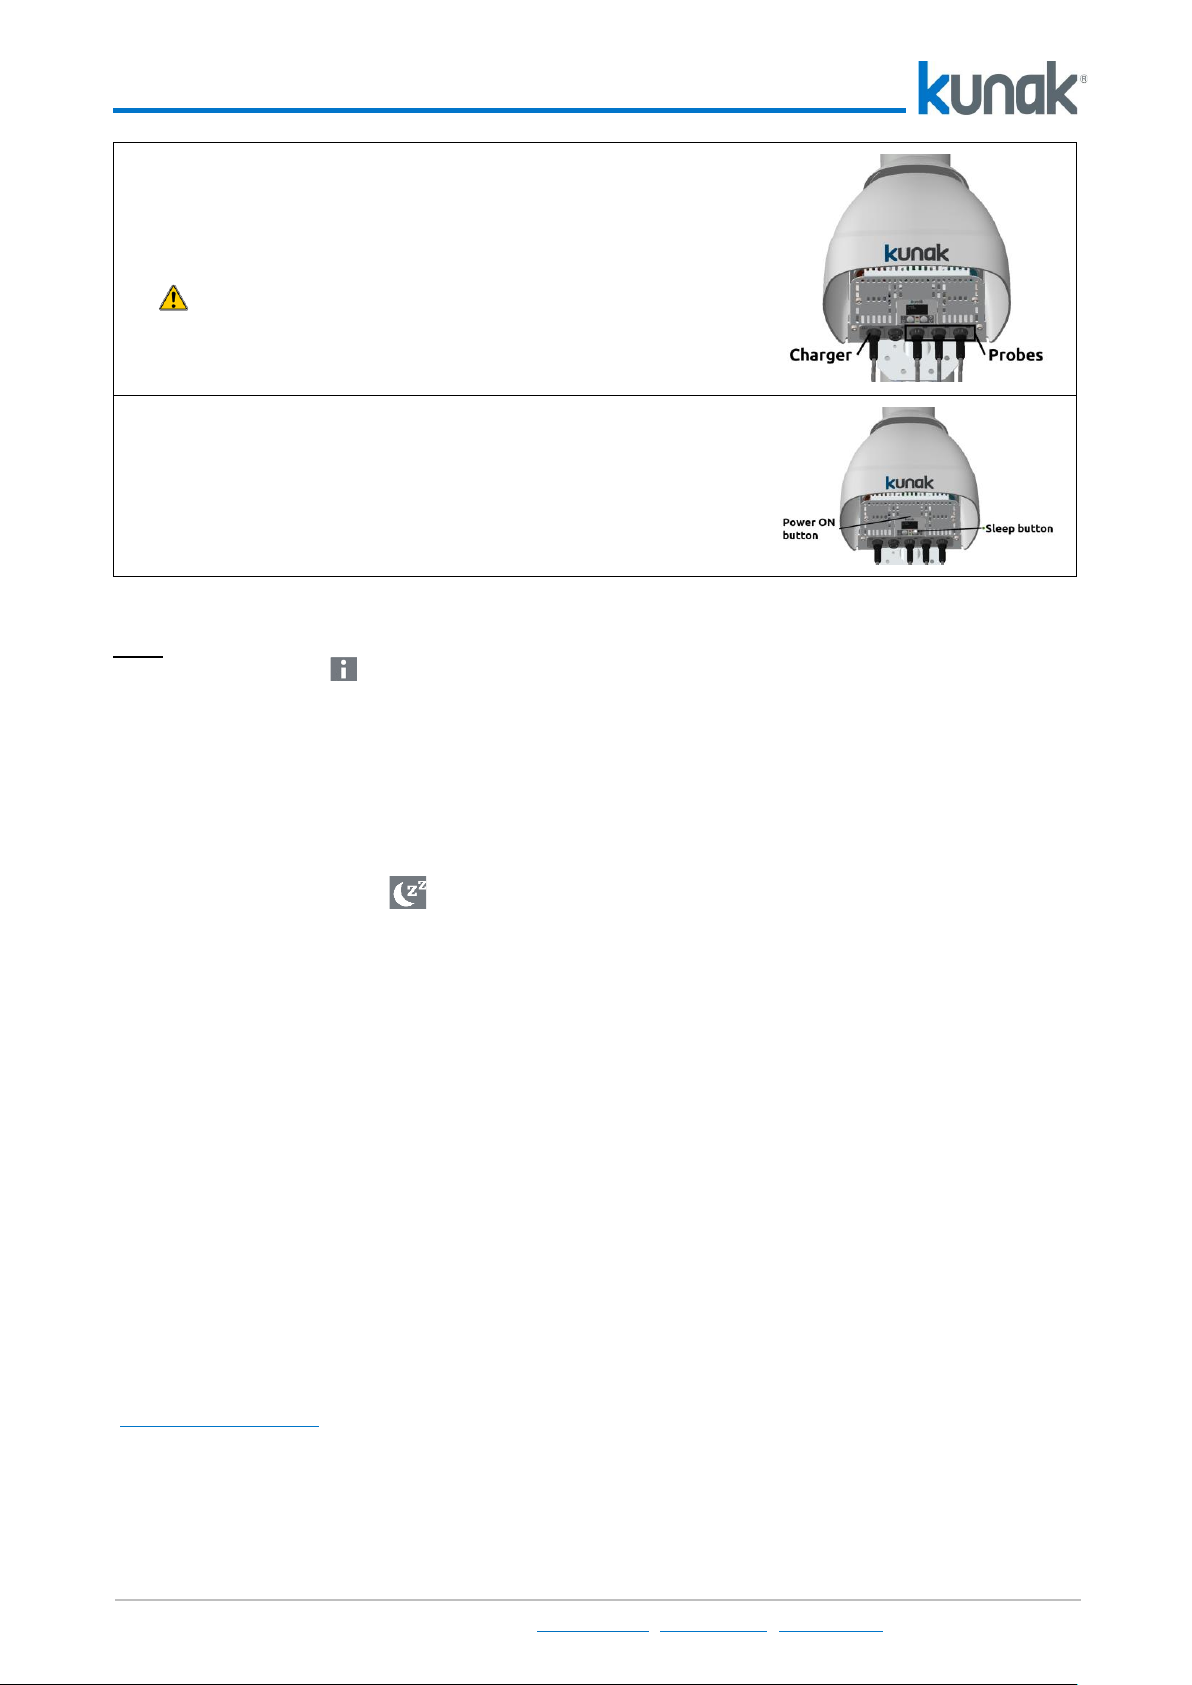
Before uninstalling the device, turn it off.
1. Push the sleep button for 5 seconds.
2. LCD will show that is sending the last data.
3. Wait until the LCD and the LEDs are off.
To avoid the stabilization period of the gases sensors, let the device at Stand-by mode. If it is going to be
stored long period of time, with the device in stand-by:
4. Un-press the power button (it must rest at the same level that the LCD).
5. Unplug the gas cartridges.
6. Store them at the antistatic bag provided.
7. Plug the cartridge covers to the device.
8. Put the covers on the connectors.
It is very important that the power button is un-pressed before transportation or storage for long period of
time. This ensures that the internal battery power is not connected.
12. Kunak Cloud Account
When purchasing a Kunak AIR Pro device an email with initial User account and Password of Kunak Cloud
(www.kunakcloud.com) is sent. If no user account has been sent, please contact your distributor or KUNAK.
Only an Admin account can create new accounts if free items are available. Check the user manual of Kunak
Cloud to get more info.

KP-A-NA-05 Kunak AIR Pro Quick Start Guide
P. E. La Muga 9, 4º Ofic. 1, Orcoyen, 31160, Navarra, Spain +34 848470055 info@kunak.es www.kunak.es 10
13. Verification of the correct functioning
On the Kunak AIR Pro start-up, follow the LCD display infos to know that all the sensors are detected by
the device and it is correctly connected to the Kunak Cloud. This procedure can last up to 5 minutes.
Figure 5 –LCD display help knowing what has detected the device
Also, it is recommended to wait for the first data to arrive on the Kunak Cloud platform. See the figure
below to find the last connection time.
Figure 6 –Last connection time in Kunak Cloud
The device must turn green or yellow (with warnings) indicating that is connected and checking the “last
connection time”. It can be read when the last connection was made.
Once the device has successfully connected to the cloud, it sends one measurement to Kunak Cloud before
start working at the configured sampling and sending periods. These values can be checked in the
dashboard. If the device has been switched off for a long time or the battery has been disconnected, the
sensors may require several minutes (between some minutes several hour) till the cartridges reach the
working conditions. If the values send by Kunak AIR Pro while the sensors are stabilizing are out of range,
the Cloud platform will invalidate these values.
Be aware when analysing data that each sampling period is an average. It is calculated
from the last sample to the new one. The average timestamp is set at the end of the
sampling time.
If the sampling period is 5 minutes, Kunak AIR Pro device will calculate the average, for
example, from 12:08 to 12:13 and the timestamp of that measure will be 12:13.
Then, it is recommended to wait a from 2 hours to 24 hours (depending on the sensor) after the first
initialization to check the sensor readings. Every Kunak AIR Pro has been factory pre-calibrated before
shipping to guarantee the best accuracy as possible during initial deployments. However, a final local
calibration may be required to reach the best performance of the sensors.

KP-A-NA-05 Kunak AIR Pro Quick Start Guide
P. E. La Muga 9, 4º Ofic. 1, Orcoyen, 31160, Navarra, Spain +34 848470055 info@kunak.es www.kunak.es 11
While Kunak AIR Pro is turned ON and after switching it OFF, the user can access to Kunak Cloud to check
the data, connections, health of the devices, sensor readings, etc. Please, check that sensors readings,
battery and signal values, charge, etc. are within expected ranges to detect any anomaly.
Kunak AIR Pro must communicate its values to Kunak Cloud, but sometimes a connection may fail. In these
cases, the devices will store all the readings till a successful connection is achieved.
If the device status is “OFF” or “OFFLINE” in Kunak Cloud, wait until the next connection period and/or
check its last battery value. When the installation has been made under very low signal levels, (<-90dBm),
the number of failed connections could be higher than desired, but no data should be lost.
14. Getting help
Scan the QR code to get more information about the Kunak AIR Pro device or visit our web page
www.kunak.es/en/help-center/kunak-air-pro/.
Video tutorials of Kunak Air Pro
Complete User Manual
Help articles
Table of contents