1. Turn on the power of the MIDI device with the Air MIDI plugged in, and confirm that the blue
LED flashes slowly.
2. Click the [Apple icon] on the upper left corner of the screen, click the [System Preferences]
menu, click the [Bluetooth icon], and click [Turn Bluetooth On], then exit the Bluetooth settings
window.
3. Click the [Go] menu at the top of the screen, click [Utilities], and click the [Audio MIDI Setup]
Note: If you don't see the MIDI Studio window, click the [Window] menu at the top of the screen
and click [Show MIDI Studio].
4. Click the [Bluetooth icon] at the upper right of the MIDI studio window, find the Air MIDI that
appears under the device name list, and click [Connect]. The Air MIDI ’s Bluetooth icon will
appear in the MIDI studio window, indicating successful connection.
You can then exit all setting windows.
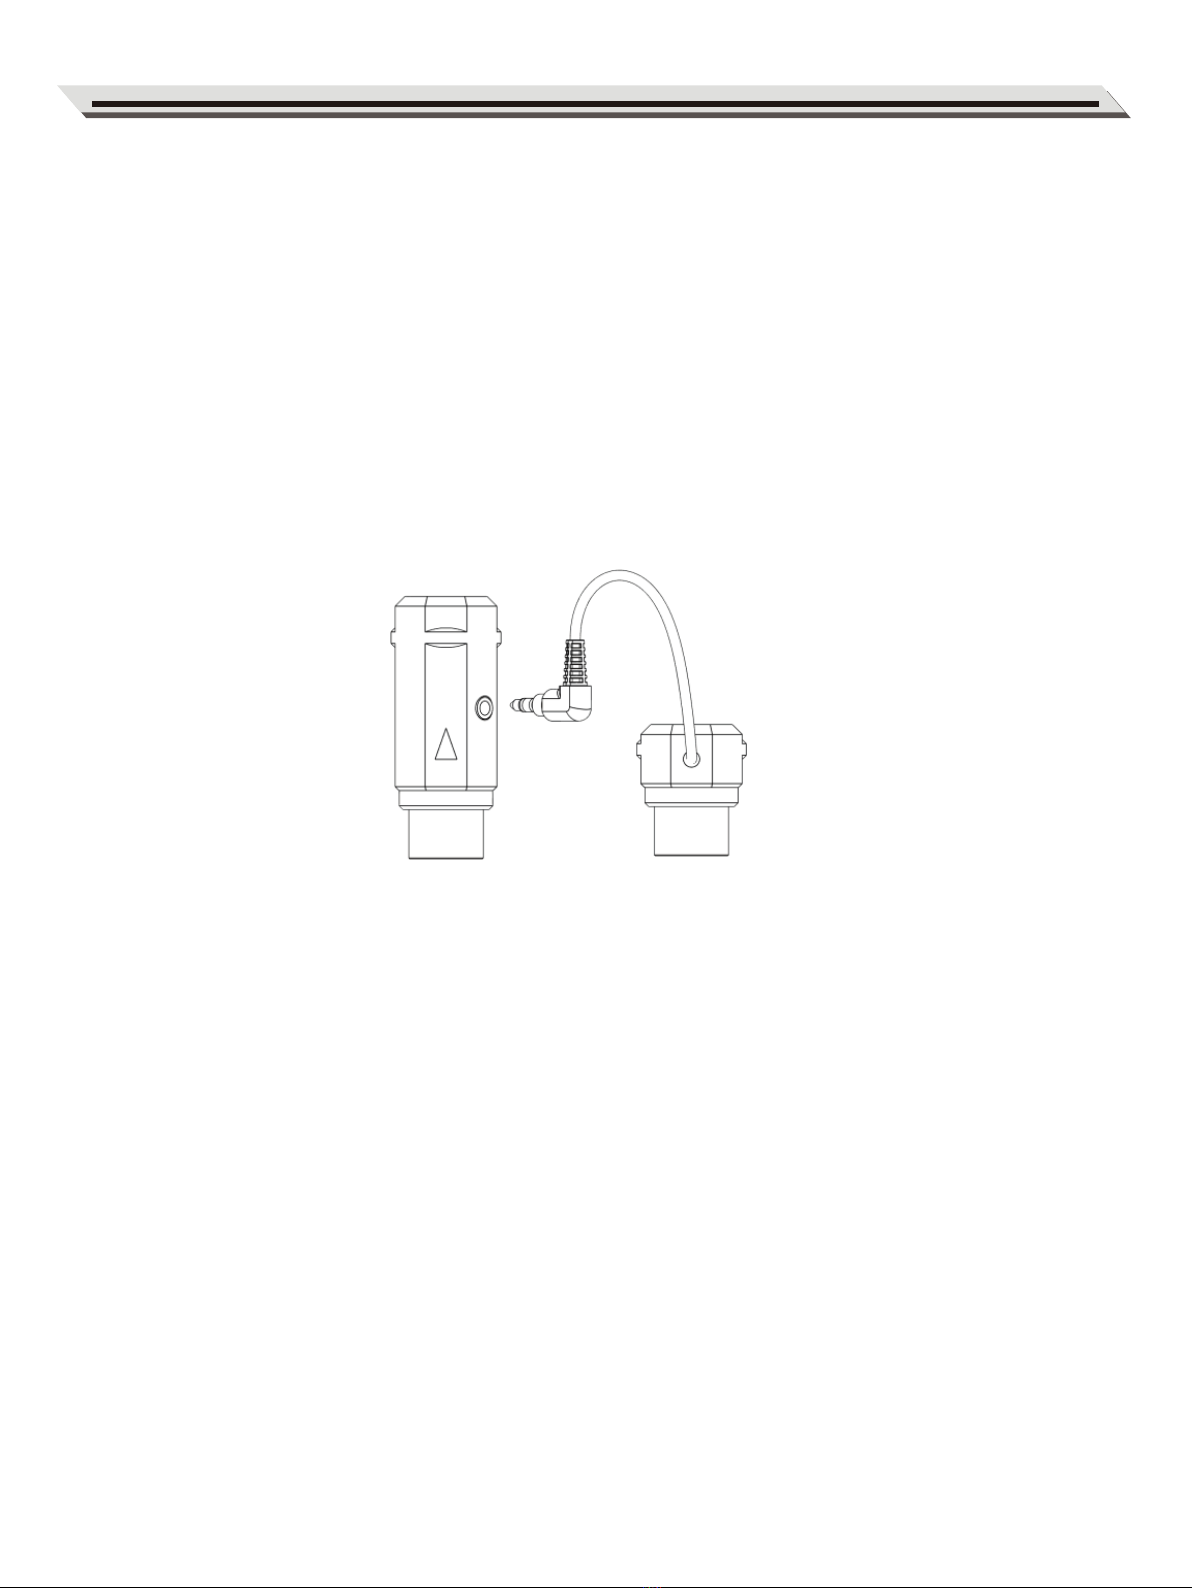
●Connect Air MIDI with MacOS X
1. Turn on the power of the MIDI device that has the Air MIDI adapter connected to it, and confirm
that the blue LED flashes slowly.
2. Click the [Settings] icon to open the settings page. Click [Bluetooth] to enter the Bluetooth setting
page and slide the Bluetooth switch to turn on the Bluetooth functionality.
3. Go to the Apple AppStore to search for and download the free application [midimittr].
4. Open the midimittr App. Click the [Device] menu at the bottom right of the screen. Find the
Air MIDI selection that appears under the list. Click [Not Connected] then click [Pair] on the
Bluetooth pairing request pop-up window. In the list, the status of Air MIDI will be updated to
[Connected], indicating that the connection is successful.
5. Open the desired music app that can accept external MIDI input and select Air MIDI as the MIDI
input device on the settings page. You can then start using it.
●Connect Air MIDI with an iOS device
CONNECTION
06