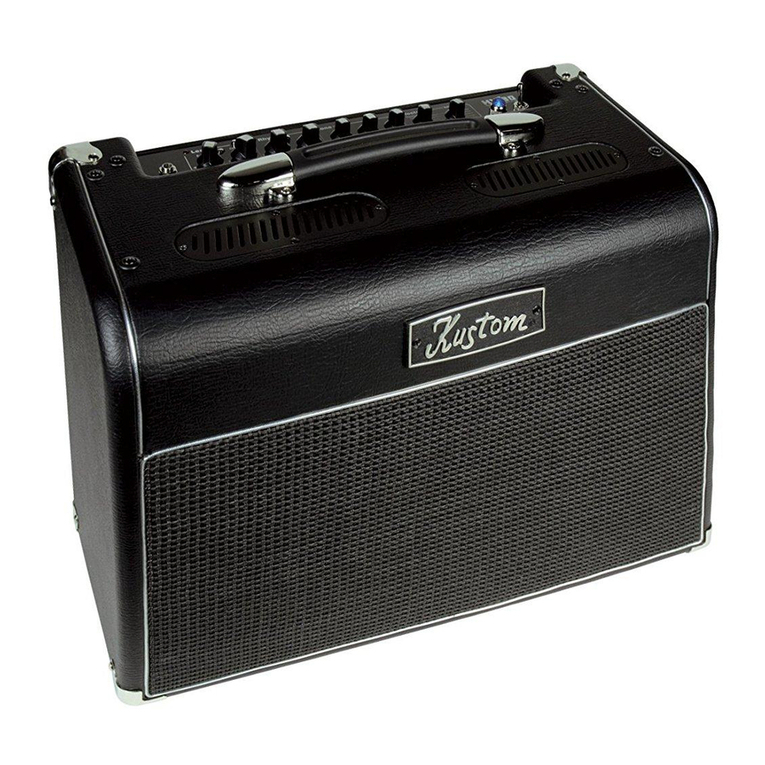
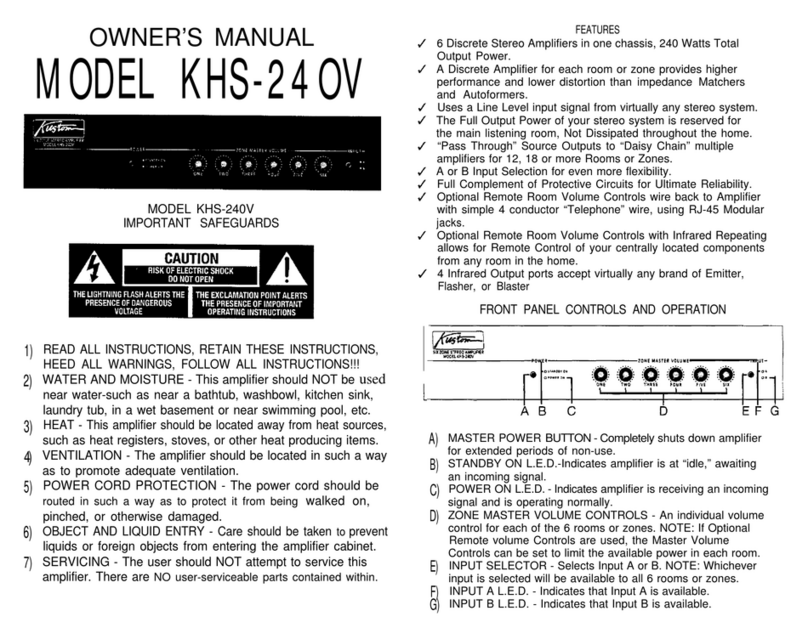
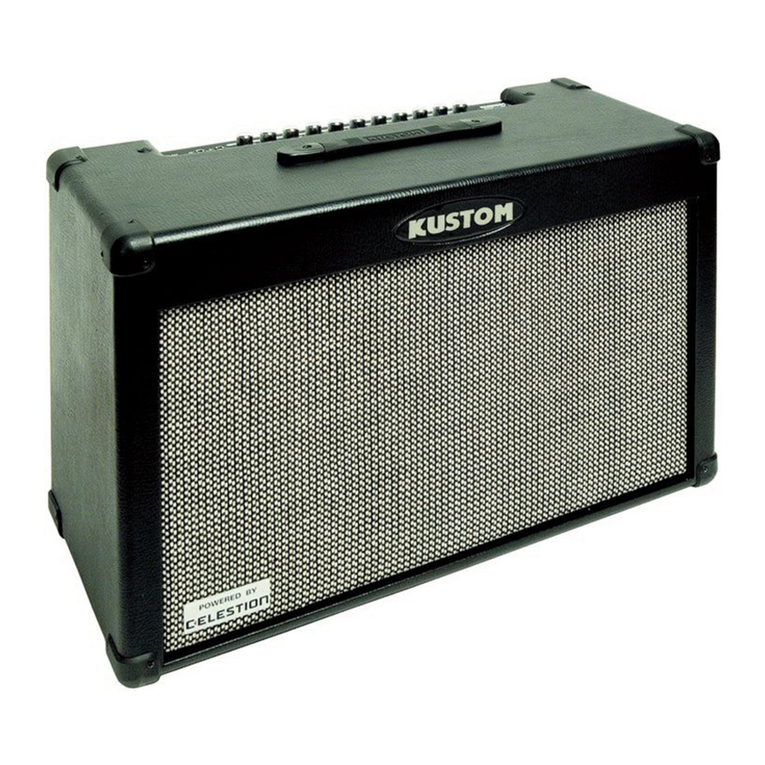
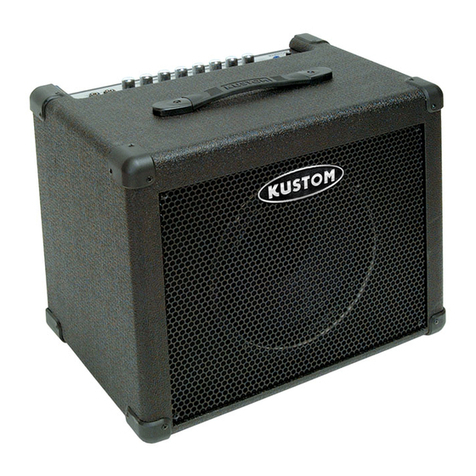
Kustom High Voltage HV 65T User manual

Congratulations on the purchase of your new Kustom® High Voltage HV™ Series guitar amplier.
This model utilizes an exclusive preamp design that combines a 12AX7 tube, known for its robust
tonal qualities, with solid-state circuitry that provides consistency of performance and reliability. The
result is rich, dynamic tone that is perfect for a wide variety of playing styles and environments. Inside
this manual you’ll nd details about your HV Series model. Everyone at Kustom wishes you many
years of enjoyment with your new amplier!
OWNER’S MANUAL
kustom.com

FCC Statements
1. Caution: Changes or modications to this unit not expressly approved by the party
responsible for compliance could void the user’s authority to operate the equipment.
2. Note: This equipment has been tested and found to comply with the limits for a Class
B digital device, pursuant to Part 15 of the FCC Rules.These limits are designed to
provide reasonable protection against harmful interference in a residential installation.
This equipment generates, uses, and can radiate radio frequency energy and, if not
installed and used in accordance with the instructions, may cause harmful interference
to radio communications. However, there is no guarantee that interference will not
occur in a particular installation. If this equipment does cause harmful interference to
radio or television reception, which can be determined by turning the equipment off and
on, the user is encouraged to try to correct the interference by one or more of the following
measures:
• Reorient or relocate the receiving antenna.
• Increase the separation between the equipment and receiver.
• Connect the equipment into an outlet on a circuit different from that to which
the receiver is connected.
• Consult the dealer or an experienced radio/TV technician for help.


1.) Guitar Input Jack - this is a 1/4” 2-conductor input jack for plugging in your instrument. It is intended for guitars but will accept other
instruments as well.
2.) Lead Channel On LED - when this LED light is on, it indicates that the Lead Channel is active.
3.) Lead Gain - adjust this clockwise to increase the amount of distortion. Lower ranges of the control, you get a less distorted sound. As you
increase the gain, you add tremendous amounts of distortion to the signal.
4.) Gain Boost Switch - this switch will add more gain to the Lead Channel.
5.) Lead Volume - this is a volume control for the Lead Channel ONLY.
6.) EQ Mod Switch - this switch selects between two preamp tonalities, each offers a different tonal variation.
7.) Lead Bass - this passive EQ adjusts the low frequency equalization of the amplier. For tighter low-end response, set the Bass control to
lower settings. This is particularly helpful when using the amp at very loud volume levels.
8.) Lead Middle - this passive EQ adjusts the midrange equalization of the amplier. It interacts with the Bass and Treble EQ as described
in the Treble EQ section below. For a heavier, more distorted sound, set the Middle lower. For more of a vintage-style, cleaner sound, set the
Middle higher.
9.) Lead Treble - this passive EQ adjusts the high frequency equalization of the amplier, but also interacts with the Bass and Middle controls
as follows: As Treble is increased, Bass automatically decreases and the Middle slides down in frequency. Conversely, if Treble is decreased,
Bass automatically increases and the Middle slides up in frequency. This interaction is typical of classic, passive tone controls and is respon-
sible for the increased effectiveness of such a simple system.
10.) Channel Select Switch - this switch selects between the Lead or Rhythm Channel.
11.) Rhythm Channel On LED - when this LED light is on, it indicates that the Rhythm Channel is active.
12.) Rhythm Gain - adjust this clockwise to increase the amount of gain of the Rhythm Channel. The gain is applied before the tone controls.
13.) Bright Switch - this enhances upper Treble frequencies and helps provide clarity to darker sounding guitars.
14.) Rhythm Volume - this is a volume control for the Rhythm Channel only.
15.) Rhythm Bass - this passive EQ adjusts the low frequency equalization of the amplier. For tighter low-end response, set the Bass control
to lower settings. This is particularly helpful when using the amp at very loud volume levels.
16.) Overdrive - this increases the gain of the second stage of the 12AX7 preamp tube on the Rhythm Channel.
17.) Rhythm Middle - this passive EQ adjusts the midrange equalization of the amplier. It interacts with the Bass and Treble EQ as
described in the Treble EQ section below. For a heavier, more distorted sound, set the Middle lower. For more of a vintage-style, cleaner
sound, set the Middle higher.
18.) Rhythm Treble - this passive EQ adjusts the high frequency equalization of the amplier, but also interacts with the Bass and Middle
controls as follows: As Treble is increased, Bass automatically decreases and the Middle slides down in frequency. Conversely, if Treble is
decreased, Bass automatically increases and the Middle slides up in frequency. This interaction is typical of classic, passive tone controls and
is responsible for the increased effectiveness of such a simple system.
19.) Boost - this is a volume control for the overall amplier that can be used to boost the volume of solos. The optional HV footswitch can be
used to activate this boost
20.) Effects Level - this control adds the effects section and mixes it into the main signal. Sixteen different effects are available.
21.) Toggle Tap - this momentary switch performs different functions, depending on which effect is selected. Page 6 describes each effect in
detail and how to enhance its usefulness with this switch.
22.) Effects Program Select - this switch will select any of sixteen different effects. Page 6 describes each effect in detail.
23.) Effects Active - this switch engages the effects section. The footswitch over-rides this switch when it’s plugged into the amp.
24.) Jewel Light - this jewel light lets you know that the amplier is on.
25.) Power Switch - this switch turns on and off the AC power to the amp.
Effects Level - This control adds the effects section and mixes it into the main signal. Sixteen different
effects are available.
Effects Program Select - This switch will select any of the sixteen different effects.
Effects Active - This switch engages the effects section. The Footswitch over-rides this switch when
it’s plugged into the amp.
Toggle Tap - This switch is a dual function depending on which effect is selected. On “Toggle” effects,
this button cycles through alternate variations of the effect. For example, for the Spring Reverb, it
cycles through 3 different degrees of brightness. On “tap” effects, this button selects the rate time at
which the effect cycles, by tapping the switch twice. For example, for the Delay setting, it selects the
amount of time between delay repeats (If the 2nd tap is beyond the maximum setting, the time will
default to the longest available choice).
Effects Module Memory - Aside from all the versatility of the built-in effects, the effects module in
your Kustom amplier has the ability to store your favorite sounds. All the most recent changes to the
Toggle Tap button are saved in each of the 16 effect locations. For example, If you tap in your favorite
delay time, then go to chorus, and then go back to delay, your own tapped delay time will still be saved.
These setting changes are also retained when powering down the amplier.
To Restore Factory Settings - If you ever want to restore the effects to the factory default settings,
you can do this by selecting Program 1 (Delay/Reverb), then holding the tap switch down and simulta-
neously selecting Program 2 (Trem/Reverb).
Effects Description Toggle Tap Toggle Tap Function
Spring Reverb Simulates the spring reverb found in vintage tube amps X Pages through 3 different degrees of reverb brightness
Room Reverb The sound of your amp being played in a room X Adjusts Reverb decay time
Hall Reverb The sound of your amp being played in a large hall X Adjusts Reverb decay time
Flanger Deep flanger for spacey, sweeping tones X Adjusts Flanger rate time
Rotary The swirling sound of vintage organ speaker cabinets X Ramps between fast and slow Rotary speeds
Octave Shifts the pitch up or down one octave from the original signal X Toggles between Octave up and Octave down
Auto Wah Wah Wah automatically sweeps at your chosen speed X Adjusts Auto Wah rate time
Roto/Reverb Combination effect of Rotary with Room Reverb X Ramps between fast and slow Rotary speeds
Chorus/Reverb Combination effect of Chorus and Room Reverb X Adjusts Chorus rate time
Delay/Reverb Combination effect of the delay and room reverb X Adjusts Delay time…..maximum delay = 350 mS
Trem/Reverb Combination effect of tremolo and room reverb X Adjusts Tremolo rate time
Tremolo Classic-sounding tremolo with a hint of vibrato X Adjusts Tremolo rate time
Phaser Swooshy '70s-style phase shifter X Adjusts Phaser rate time
Delay Organic-sounding longer delays X Adjusts Delay time….maximum delay = 680 mS
Chorus Thick chorus with enhanced harmonics X Adjusts Chorus rate time
Slap Back Fast 80ms delay effect X Toggles between Slapback and Slapback/Reverb

Jacks located on chassis bottom in sequence shown above
1.) External Speaker - this is a 2-conductor, 1/4” speaker output jack. Rating is 8 ohms minimum. For full power, use an
8-ohm speaker load. Higher impedance loads will result in lower power levels to the speaker. The signal path to the internal
speakers is disconnected when using this jack.
2.) Direct (SPKR Emulated) - this is a 3-conductor, XLR output jack for plugging into Lo-Z microphone inputs as found
on PA or recording mixers. It is intended in place of external mics or used as a built-in direct box. Great effort was made in
emulating the actual speaker sound.
3.) Effects Return - This switching 2-conductor 1/4” line level input jack is the return from an external signal processor
such as a digital delay or EQ. By using this jack, you break the signal path between the preamp output and power amp
input.
4.) Effects Send - this 2-conductor 1/4” line level output jack is the send to an external signal processor. It can also be
used as a preamp output and it does not break the signal path between the power amp and preamp. The front panel
volume and tone controls do affect the output of this jack. The output of the speaker is not emulated, so this is not a good
choice as a substitute for mic-ing the amp.
5.) CD/ Tape Input - this is a 3-conductor 1/4” line level input jack that allows playback from an audio device. The volume is
controlled by the device plugged into this jack.
6.) Ext Tap FT Switch - this 2-conductor 1/4” switching jack replaces the Toggle Tap switch on the top panel. This is a nice
feature to have, because it allows you to change the selected effect parameter in real time with your foot while playing.
Using the jack disables the top panel switch. The jack accepts a non-LED single button momentary foot-switch. This foot-
switch is not included with the amplier. Kustom model KACFS-101M can be purchased separately. Most keyboard sustain
pedals are this type and can also be used. (NOTE: most single button foot switches used on analog instrument ampliers
are alternate contact (the ”push on/push off” type). Using this type of switch will give unsatisfactory results but will not dam-
age the amplier.)
7.) Main FT Switch - this 1/4” stereo jack connects a foot-switch to the amplier. It uses a special circuit to decode the
3 switches through a simple stereo cable. The tip selects the Rhythm or Lead channel. The ring is multifunction for the
overdrive on/off switch and the effects active/off switch. This foot-switch is not included with the amplier. Kustom model
KACFS-301 must be used to enjoy all the features. In an emergency, a mono single-conductor shielded instrument cable
and single button foot-switch can be used to allow switching of the channels only. In this setup, the LEDs will not be visible,
but the foot-switch will select Rhythm or Lead channels. The top panel overdrive on/off and effects active/off switches will
still function.

1.) AC Power Cord Receptacle - AC power cord can be removed for easy storage and replace-
ment if damaged. Insert the AC cord (provided) rmly into the AC receptacle. NOTE: Replace the AC
power cord if protective jacket is damaged or ground pin is damaged or removed.
2.) Fuse - The fuse is located in a fuse tray just below the receptacle. Replace only with same type
and size. For your convenience, a spare fuse is located inside the fuse tray toward the front. To re-
place fuse, remove AC power cord. Remove fuse tray by pulling the tab located above the fuse sym-
bol away from the receptacle.


www.kustom.com
Kustom Musical Amplification INC.
3015 Kustom Drive
Hebron, Kentucky
USA 41048
888-4-KUSTOM (888-458-7866)
All specifications are subject to change without prior notice. ©2009 Kustom
This manual suits for next models
1
Table of contents
Other Kustom Amplifier manuals

Kustom
Kustom III User manual

Kustom
Kustom Dual 35 DFX User manual

Kustom
Kustom Quad 100 DFX User manual

Kustom
Kustom GROOVE 215H User manual

Kustom
Kustom 36 coupe User manual

Kustom
Kustom Arrow 16 User manual

Kustom
Kustom KHS-6640 User manual

Kustom
Kustom KHS6440 User manual

Kustom
Kustom KPM4080 User manual

Kustom
Kustom Tube12A User manual

Kustom
Kustom WAV 210 User manual

Kustom
Kustom Dart 10 User manual

Kustom
Kustom DE200HD User manual

Kustom
Kustom G410H User manual

Kustom
Kustom Dart 10FX User manual

Kustom
Kustom KMA16/16R User manual

Kustom
Kustom HV 30T User manual

Kustom
Kustom PA40BAT User manual

Kustom
Kustom KMA35X DFX User manual

Kustom
Kustom Wav 1000 User manual