3
Table of Contents
Precautions.....................................................................................................................5
■For User in USA............................................................................................. 5
External View.................................................................................................................. 6
■External View ................................................................................................. 6
Installing the Printer Driver ......................................................................................... 9
■Windows 95/98/Me/NT/2000.......................................................................... 9
Configuring the Printer Driver Settings ....................................................................... 12
■Windows 95/98/Me......................................................................................... 12
■Windows NT 4.0 (Administrator) .................................................................... 21
■Windows NT 4.0 (User).................................................................................. 29
■Windows 2000 (Administrator)....................................................................... 34
■Windows 2000 (User)..................................................................................... 43
Print Operation ............................................................................................................... 48
■Printing from Windows Applications............................................................... 48
■Printing on Network........................................................................................ 49
Installing the Document Management System............................................................ 51
■Windows 95/98/Me/NT/2000.......................................................................... 51
Document Manager........................................................................................................ 56
■Main Window.................................................................................................. 56
■Basic Operations............................................................................................ 58
■Setting Plug-in................................................................................................ 60
■File Menu........................................................................................................ 61
■Edit Menu....................................................................................................... 66
■View Menu...................................................................................................... 67
■Document Menu............................................................................................. 68
Image Converter............................................................................................................. 70
■General Description........................................................................................ 70
■Windows 95/98/Me......................................................................................... 70
■Windows NT 4.0............................................................................................. 71
■Windows 2000................................................................................................ 72
Document Scanner......................................................................................................... 73
■Main Window.................................................................................................. 73
■Tool Menu ...................................................................................................... 75
■Image Scanning ............................................................................................. 77
Document Viewer ........................................................................................................... 79
■Main Window.................................................................................................. 79
■Basic Operations............................................................................................ 81
■Annotation Function ....................................................................................... 82
■File Menu........................................................................................................ 83
■Edit Menu....................................................................................................... 87
■View Menu...................................................................................................... 88
■Page Menu..................................................................................................... 89
■Annotation Menu............................................................................................ 92
■Window Menu................................................................................................. 101
Before Use
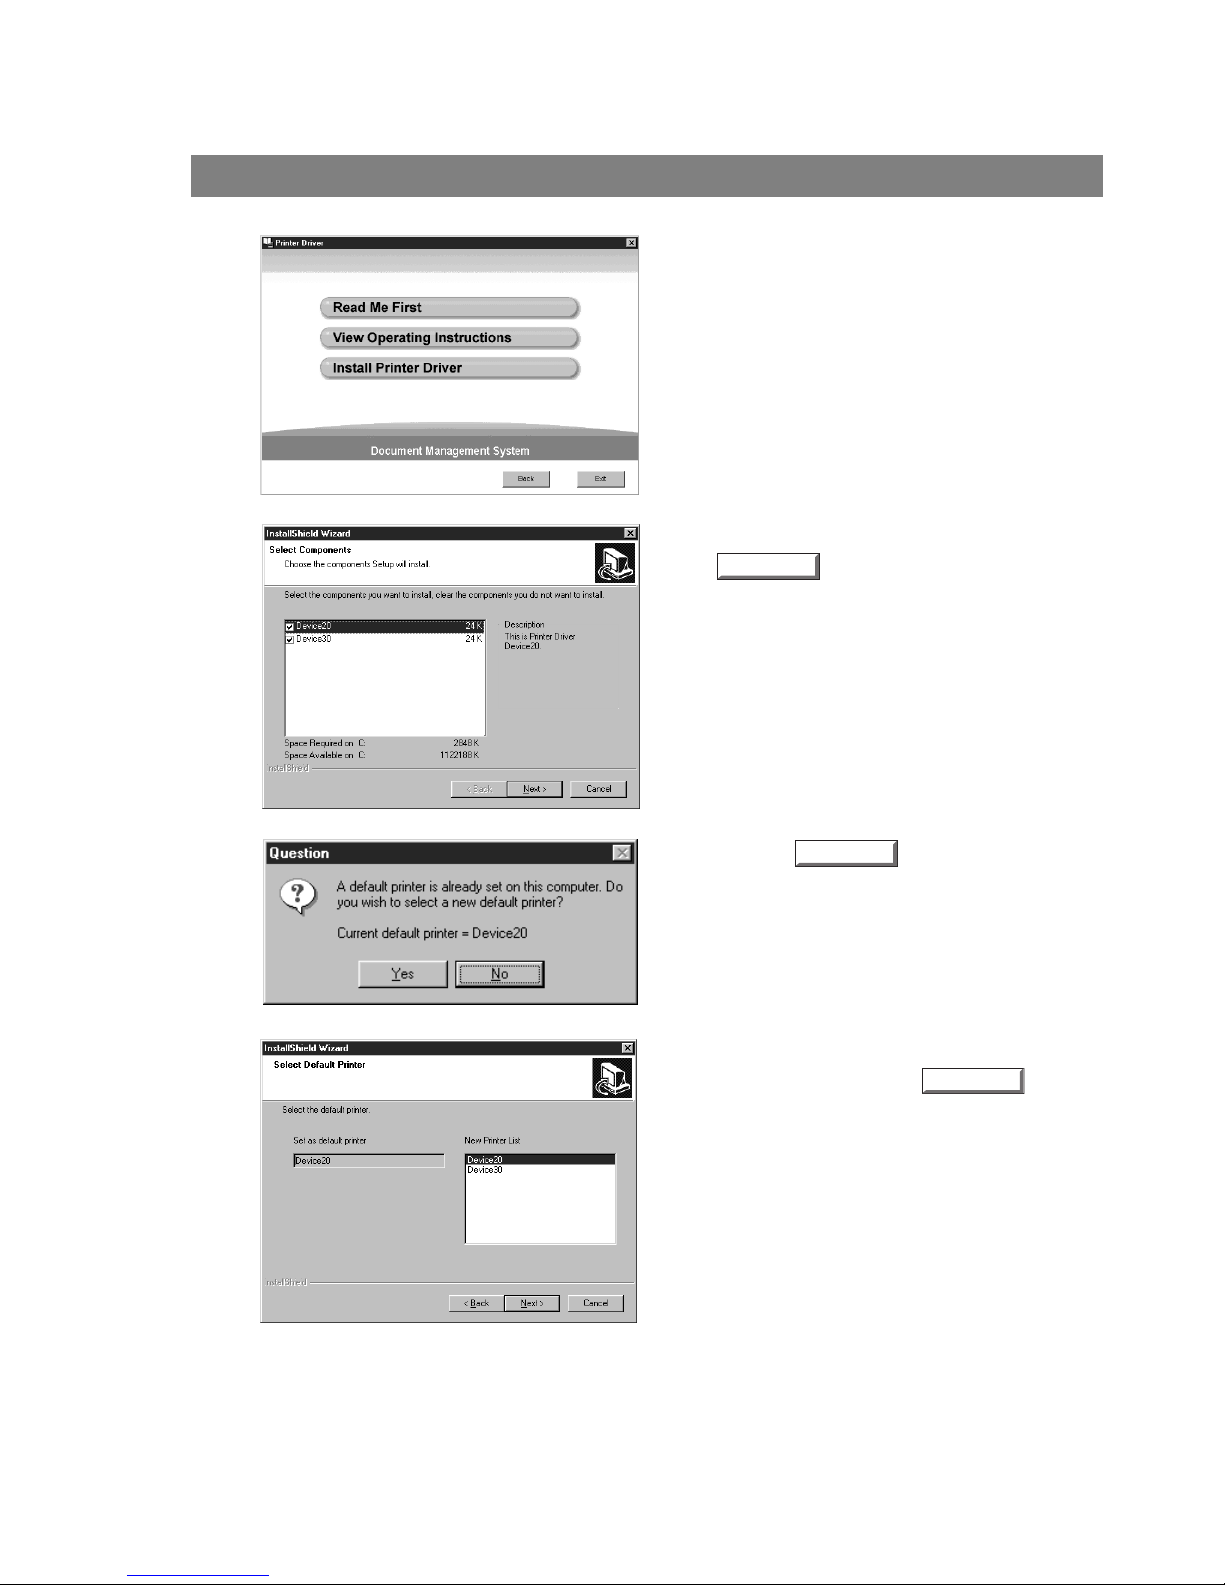
Printer Section
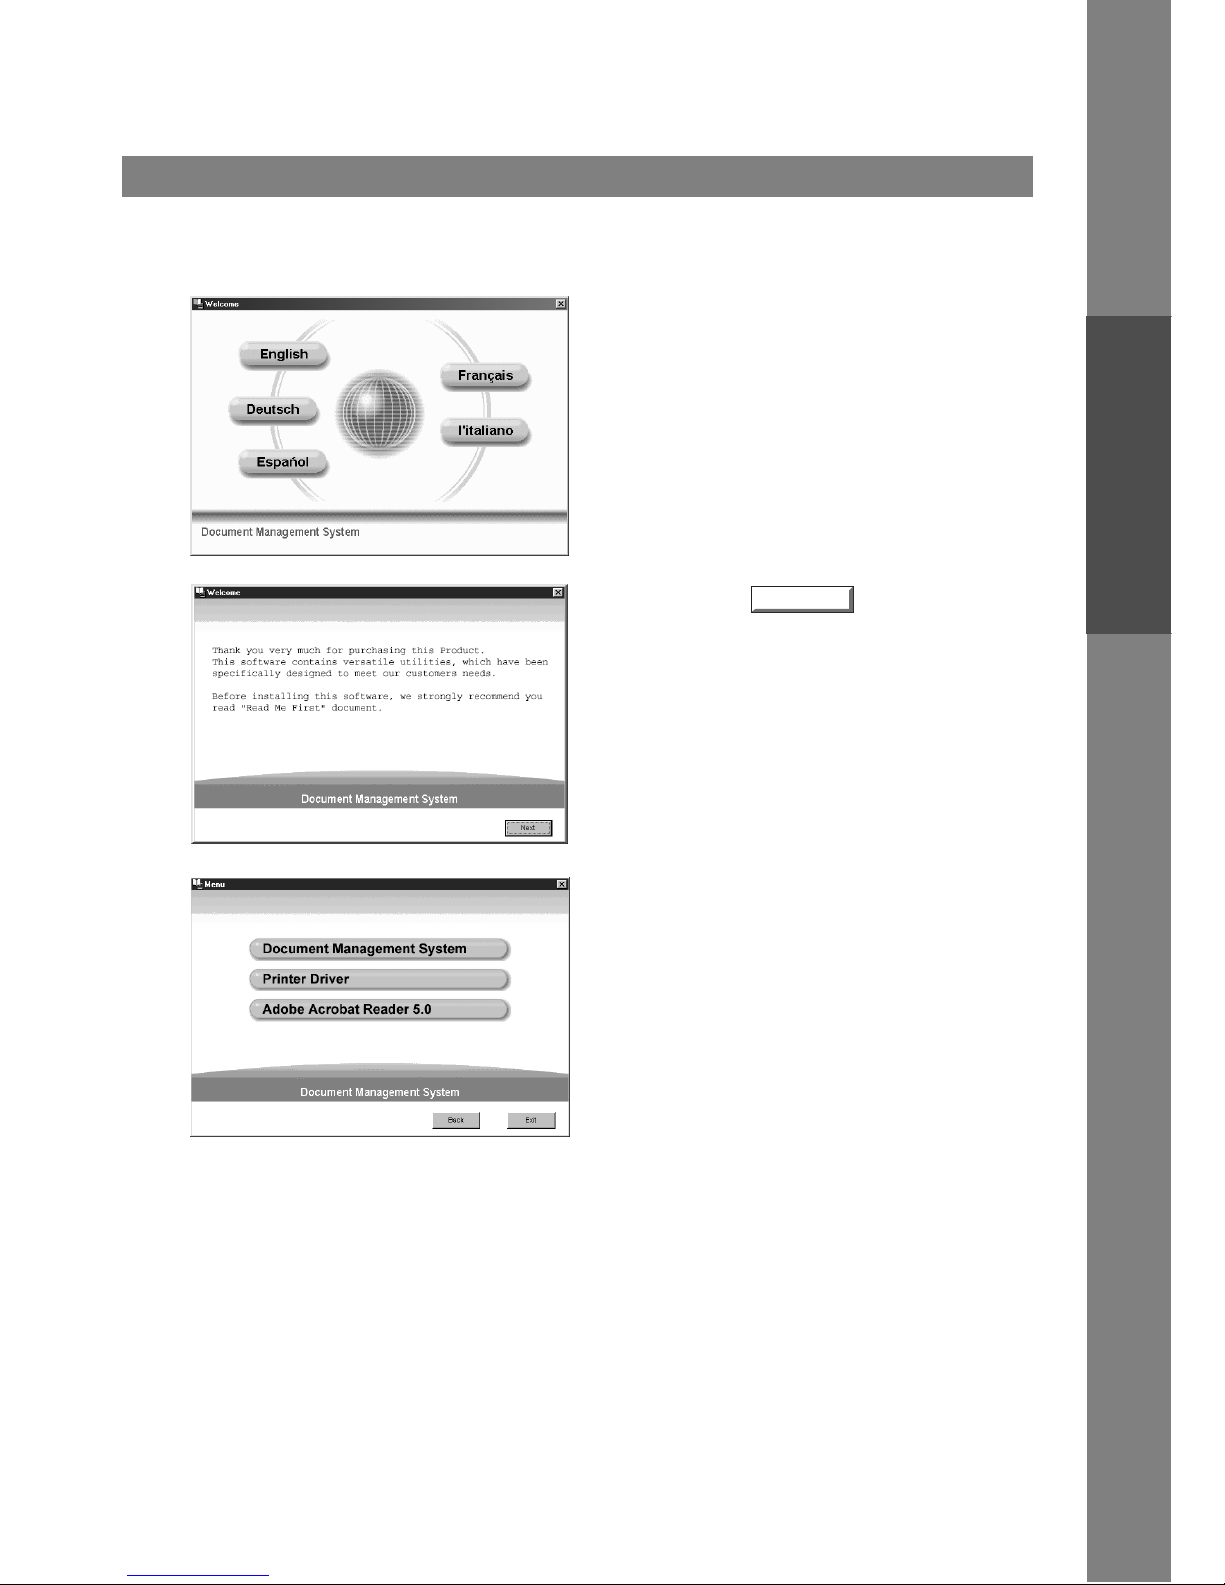
Document Management System Section