IMPORTANT INFORMATION:
This product is a label rewinder. It is only to be used to rewind or unwind labels of the
recommended dimensions and weight in an indoor, dry environment.
The machine has to be unplugged before any manipulation.
The machine is to be used on a flat surface, if the surface is not flat, it is to be fixed using
the holes in the base plate.
Do not leave the power cable in a passageway.
The ambient light of the working area needs to be sufficient to avoid any risk.
The rewinder can be used in ambient temperatures of +2°C to 40°C.
Connection of the machine to the power source must respect local and European
legislations.
SET-UP:
(if you have the ACH Adjustable Core Holder option Skip to step 4).
1. STANDARD AND 10": Identify the inner Label Flange. Slide the Flange Plate onto the
hollow end of the Rewind Shaft. For maximum width, the Flange face should be flush with
the end of the Shaft. Tighten the screw in the Hub until it is snug. Not too tight.
2. CHUCK: Mount the inner Flange onto the Quick-Chuck with two screws provided.
3. Slide the Shaft and Flange Assembly onto the CAT-4 Motor Shaft allowing for clearance to
the CAT-4 Chassis and Motor Screws. Tighten the Allen Screw onto the flat part of the
Motor Shaft until it is tight.
4. ACH: Slide the Hub of the ACH over the motor Shaft of the CAT-4. Position the Hub so
there is a gap between the ACH Hub and the Rewinder Drive Unit case. Tighten the Allen
Screw onto the flat part of the Motor Shaft until it is tight.
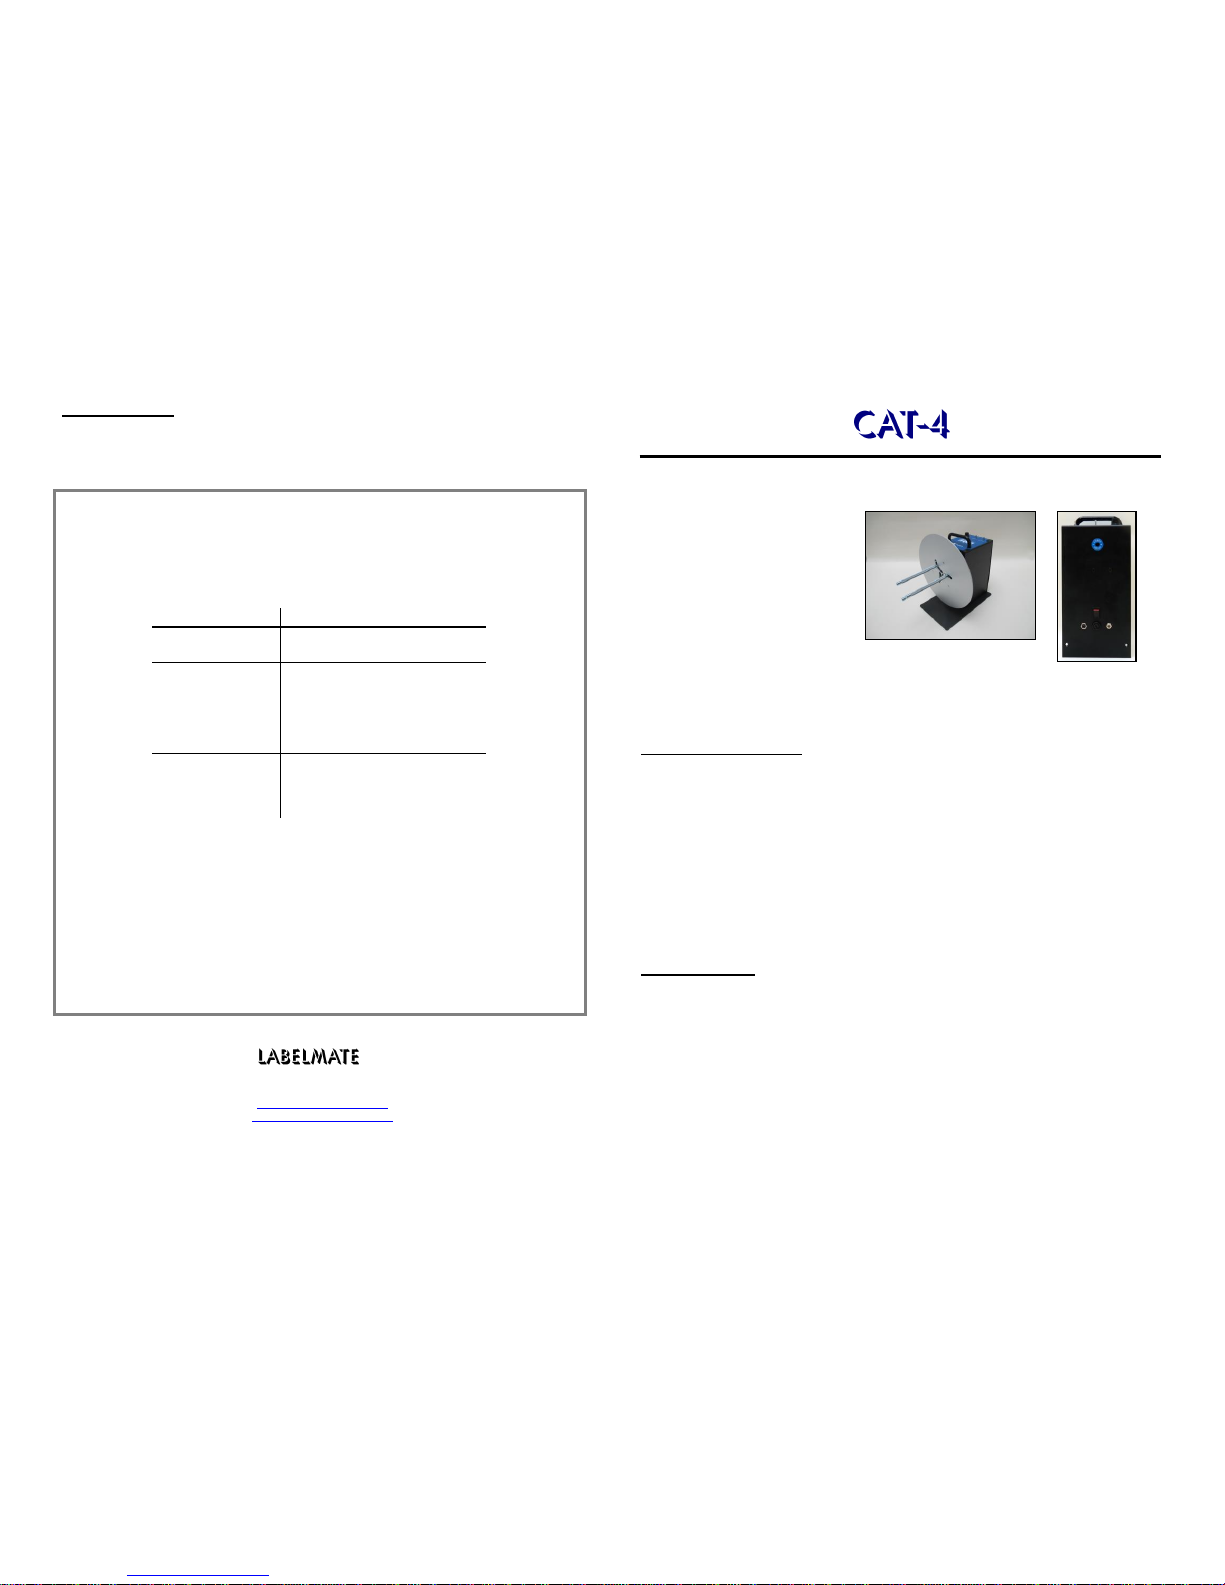
5. Set the CAT-4 in place near the label exit slot of the printer.
6. CAUTION: AVOID ACCIDENTS. THE CAT- WEIGHS OVER 10KG, SO CHOOSE ONLY
A STURDY SURFACE ON WHICH TO SET THE UNIT.
7. Verify that the "DIRECTION" Switch on the CAT-4 Control Panel is in the "OFF" position.
8. Plug the Power Plug at the end of the wire on the AC/DC Wall Transformer into the CAT-4
Power Input Jack. Plug the AC/DC Transformer into an appropriate AC power outlet. The
unit is now ready for use.
FOR YOUR SAFETY:
Switch off device before any manipulation.
REWINDING LABELS:
1. Place the "DIRECTION" Switch on the CAT-4 Control Panel in the centre "OFF" position.
2. Slide an empty label core over the Quick-Chuck or Vanes on the shaft until the core is
against the inner Flange Plate. On the Quick-Chuck, tighten the Lock Knob (for an ACH
see the ACH user manual).
3. If desired, slide the outer label Flange Plate (with Ball Plunger in the Hub) onto the Shaft
and up against the label core.
4. Feed the label web from the printer and secure it to the take-up roll core with tape. Rotate
the take-up reel a couple of turns.
5. Place the CAT-4 "TORQUE RANGE" Switch in the "MEDIUM" position. NOTE: When the
"TORQUE RANGE" Switch is in the "HIGH” position, the CAT-4 develops higher torque.
When the "TORQUE RANGE" Switch is in the "LOW” position, the CAT-4 develops lower
torque. Use the "HIGH”position for label slitting or rewinding large diameter rolls.
6. Rotate the "SPEED" Control Knob to the minimum position (fully counter-clockwise).
7. Place the CAT-4 "DIRECTION" Switch in the position desired to run left or right.
8. Start the printer and adjust the "SPEED" Control Knob for the desired take-up tension. Use
the minimum "SPEED" setting needed to rewind labels properly. Excessive torque might
pull the labels too hard and cause the printer to lose registration.
EXTERNAL HALT CONTROL:
The CAT-4 can be controlled by the printer. A 3.5mm (mono) connector for an External Control
Input (start/stop) is provided and a matching jack is enclosed. The CAT-4 can react to different
types of signals provided by the printer. The selection of the signal nature is done via 3 jumpers
on the CAT-4 internal PCB. Four modes are selectable: Open Collector High Active, Open
Collector Low Active, Logic Level High Active & Logic Level Low Active.
An optional “Start Delay” is available in order to allow the printer to execute a back feed before
starting the print cycle. The start delay, adjustable from 0-3.5 seconds, will delay the printer
after the command has been received from the printer.
No tension arm option is available.
Voltage External Signal: Max 10VDC