English
English
2 3
Wireless Mouse Utility Program
The utility program uses the normal Mouse Control Panel. This addition adds two sets of tabs to the menus
( Ò Wheel Óand Ò Buttons Ó ).For additional help with all Mouse Control Panel items, use the help buttons located in
the menus.
Scrolling Functions
These controls enable and disable smooth scrolling and the number of lines to scroll at a time. See the Details
button for more information.
Third Button Functionality
These controls support the functions of the middle wheel button.The available controls are outlined here.
See the Help button for more details.
¥ Universal Scroll - Changes the scrolling style and scrolling speed of the mouse wheel.
¥ Zooming - Magnifies a section of the screen for easier viewing of small text and graphics.
¥ Auto Scroll - Programs the screen to scroll by the direction of mouse movement.
¥ Vertical Wheel Cooperate Functions - Provides three types of additional functions to the scroll wheel including
zoom,shift lock, and switch from vertical to horizontal scrolling.
¥ Other Functions - Includes Backspace,F1, and Delete, plus the activation of other special functions ofWindows¨
and Explorer¨ .
Maintenance of Your Mouse
¥ If the mouse does not move smoothly, you should clean the roller ball and the roller bars in the mouse.
¥ Open the cover of the ball by turning it counter-clockwise, remove the ball, and wipe it with a clean cloth.
¥ There are three sets of roller bars. Remove the dust or any other miscellaneous matter by using
a cotton swab. You can dip the cotton swab in alcohol to help remove deposits if necessary.
¥ You may clean the surface of the Mouse with a soft damp cloth.
¥ Do not use any harsh or abrasive cleaners.
¥ Before using any chemical cleaners, please test the results on the bottom of the device.
Installation Configuration and Troubleshooting
If your Wireless Mouse does not function properly, please review the following steps for troubleshooting.
1. Insure that the PS/2 connector of the wireless receiver is properly inserted into the mouse PS/2 socket of
our computer.
2. Re-orient the receiver closer to the mouse.
3. Check the power level of the batteries.
4. Keep the distance between the receiver and the mouse within one meter (1.2 meters maximum).Some objects
may affect the operating distance or completely block the wireless signal.
5. Metallic surfaces will shorten transmissi on distances.
6. Try changing to another lD. Please see the sectionÒ Switching ID Codes Ó
© 2003 Labtec Europe SA All rights reserved.
Important Ergonomic Information
Long periods of repetitive motions using an improperly set-up workspace,incorrect body position,and poor work
habits may be associated with physical discomfort and injury to nerves, tendons, and muscles. If you feel pain,
numbness,weakness, swelling, burning, cramping, or stiffness in these areas,see a qualified health professional.
Introduction to the Wireless Mouse and Receiver
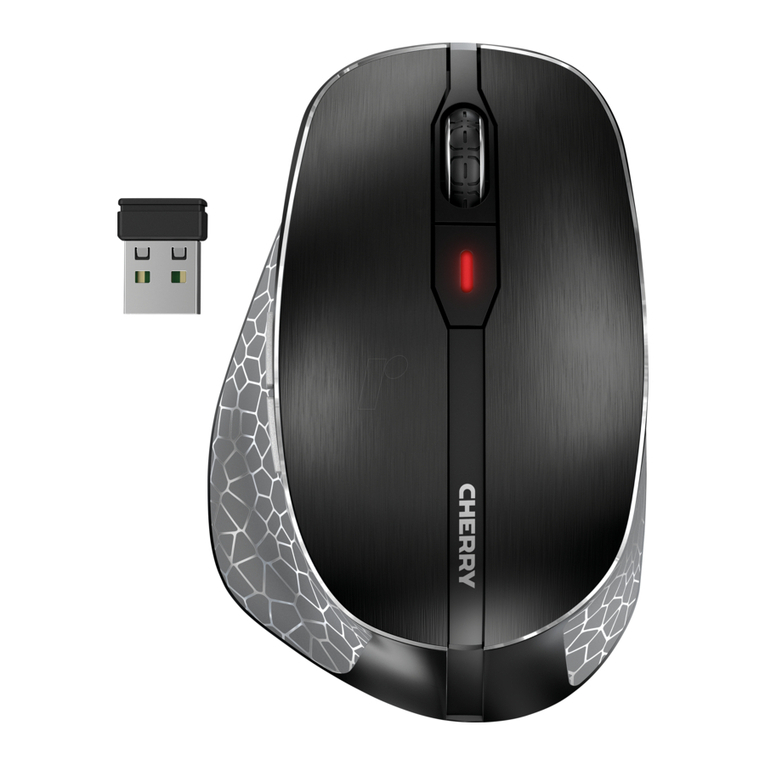
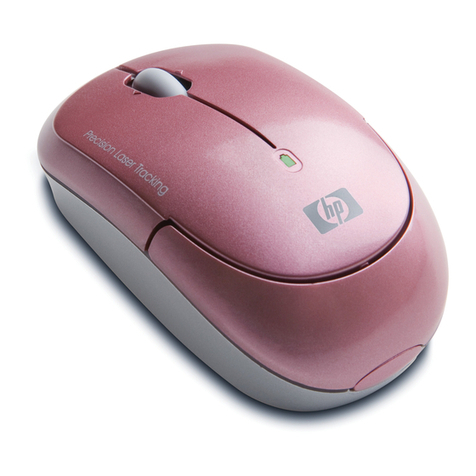
The Wireless mouse is loaded with features. In addition to the two mouse buttons,there is a button in the base
of the wheel for full 3-button mouse support.The MouseWheel is programmable with many options to choose
from.The low battery light comes on as a reminder to replace the batteries. The wireless receiver has a channel
select button, and one LED to verify connection between the mouse and the receiver.
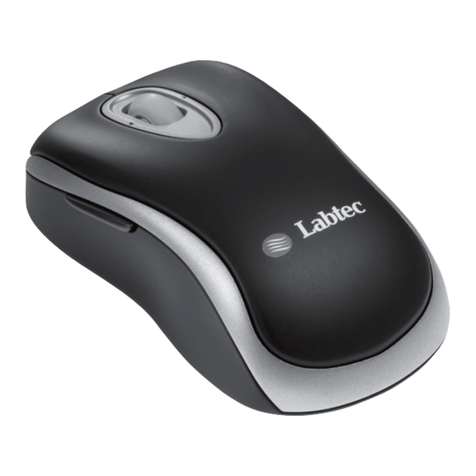
The Wireless Mouse
This two-channel,three-button wheel mouse uses the latest radio frequency technology to bring you
unprecedented performance and value.Using the included mouse driver you may program your mouse wheel
to perform many commonly used functions.
Package Contents
¥ Wireless Mouse ¥ Receiver
¥ Driver Disk ¥ 2 - AAA batteries
¥ PS/2 Cable ¥ Users Guide
Installation of the Mouse
Make sure that your computer is powered off before plugging the receiver into the PS/2 mouse port located in
the rear of your computer. Install the included batteries into the mouse before turning on the system.
Switching ID Codes
An ID code allows more than one of the same
type of device to be attached at the same time. If you find that you are having problems with your mouse (erratic or
no movement) simply select the channel by pressing the reset key on the receiver. When you see the red light on
the receiver flashing rapidly, then press the Ò reset Ókey on the bottom of the mouse.This will automatically switch
the channel and ID code at the same time.
Low Battery Light
If the light in the front of the mouse does not go on when you move the mouse,the voltage of the battery is low.
Please replace your batteries. Expected battery life is two-to-six months depending on usage.
Driver and Utilities Installation
The utilities program can be used to install the mouse customization driver. This driver adds additional
programmability to your mouse buttons.After the proper installation of the mouse, insert the program driver disk
into the floppy disk drive, and double click on the Ò SETUPÓicon to start the installation. Follow the on-screen
prompts to finish the installation, after which you may be asked by your operating system to restart your computer.
© 2003 Labtec Europe SA All rights reserved.
622999-0914 Wireless Mouse.qxd 30/11/01 9:33 Page 2
