Lamona TA52002 User manual

Generic instructions, (To be used in conjunction with User Instructions).
lPlease read this Installation Manual to ensure safe fitting and use of the appliance.
lThe appliance should be fitted by a suitably competent and qualified person.
lPlease keep these instructions in a safe place for future reference.
lDanger of suffocation keep packaging material away from children.
Installation Instructions
TA5200270:30 Integrated Fridge Freezer
ISSUE v2.1 160522

2www.howdens.com
42mm
42mm
Please use brackets with tabs to ensure fridge freezer
install depth is 42mm. (Use front feet adjustment to assist)
If installed deeper than 42mm (at either side) the fridge freezer doors
may not close fully causing issues such as:-
THE LIGHT WILL STAY ON
THE ALARM WILL SOUND (*Frost free models)
THE FRIDGE FREEZER WILL NOT WORK CORRECTLY
(Not cooling, icing-up, water leaking etc.)
Installation overview guide
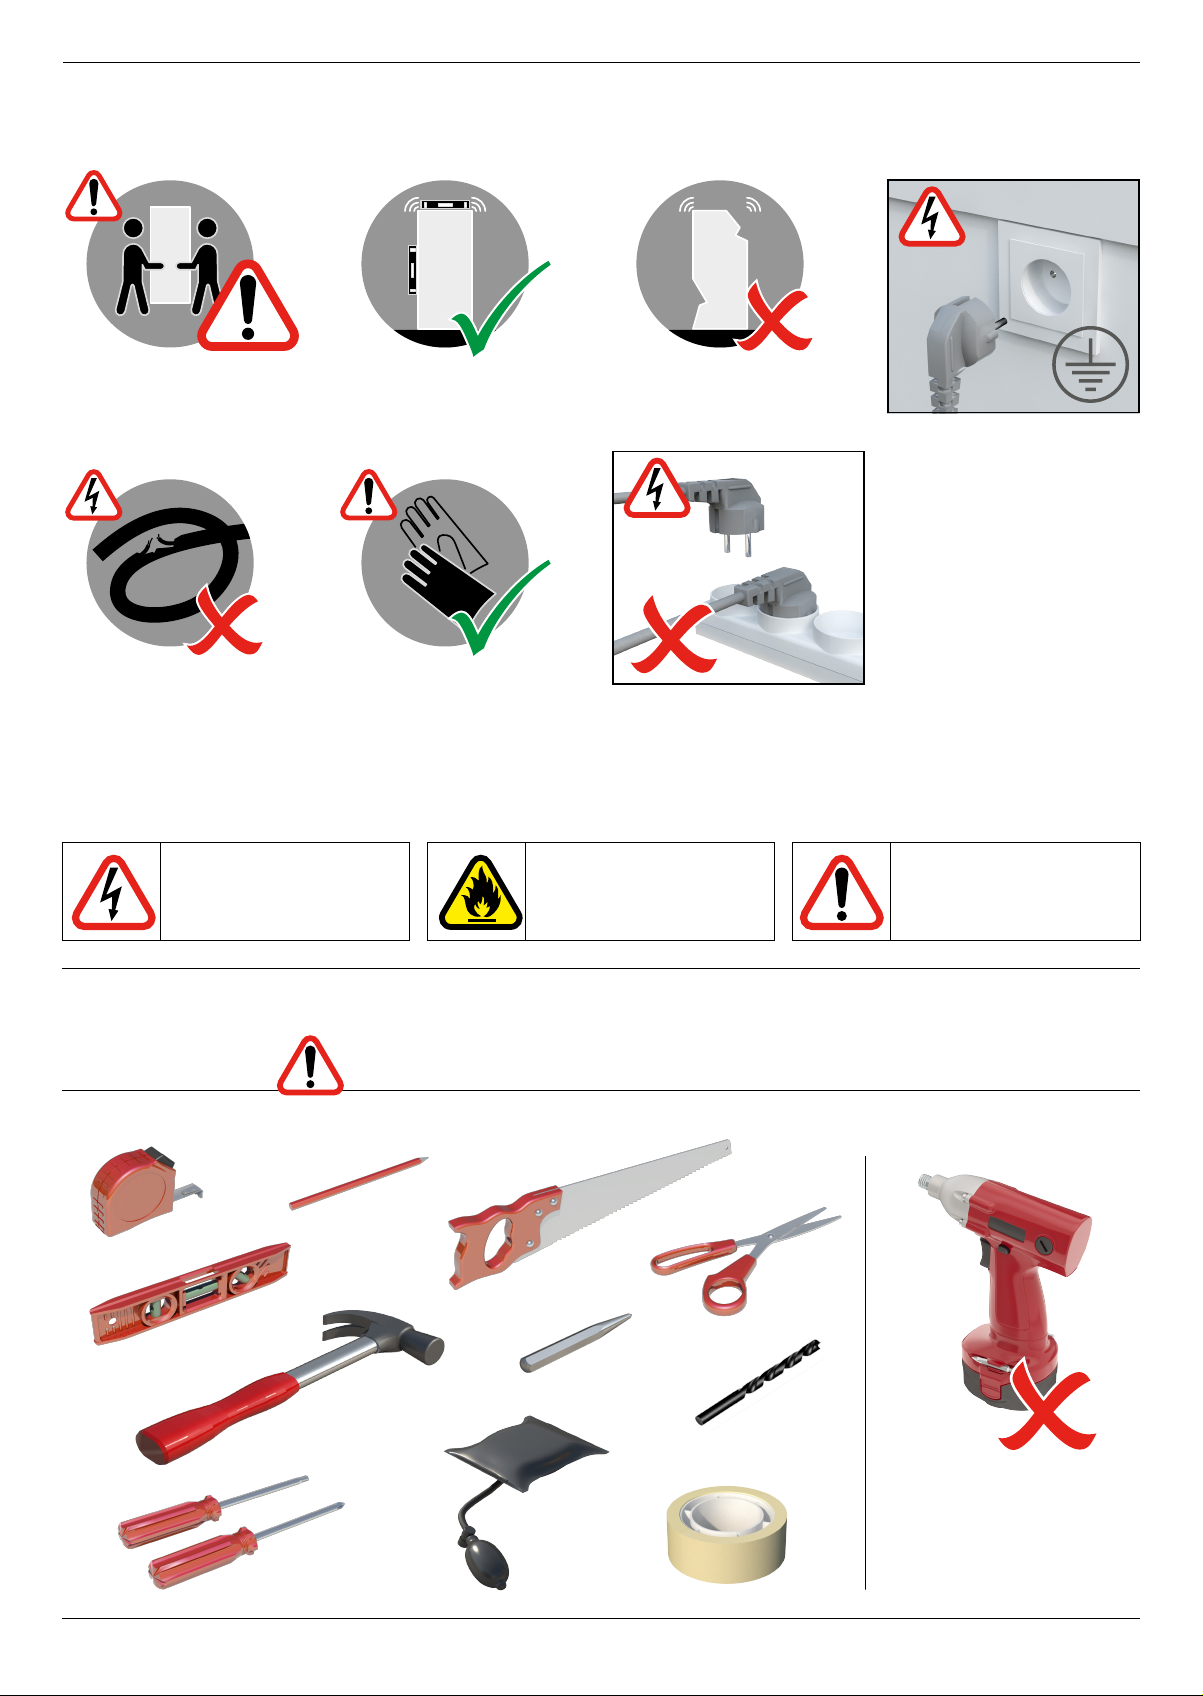
1. Establish power socket location,
(must be accessible after installation)
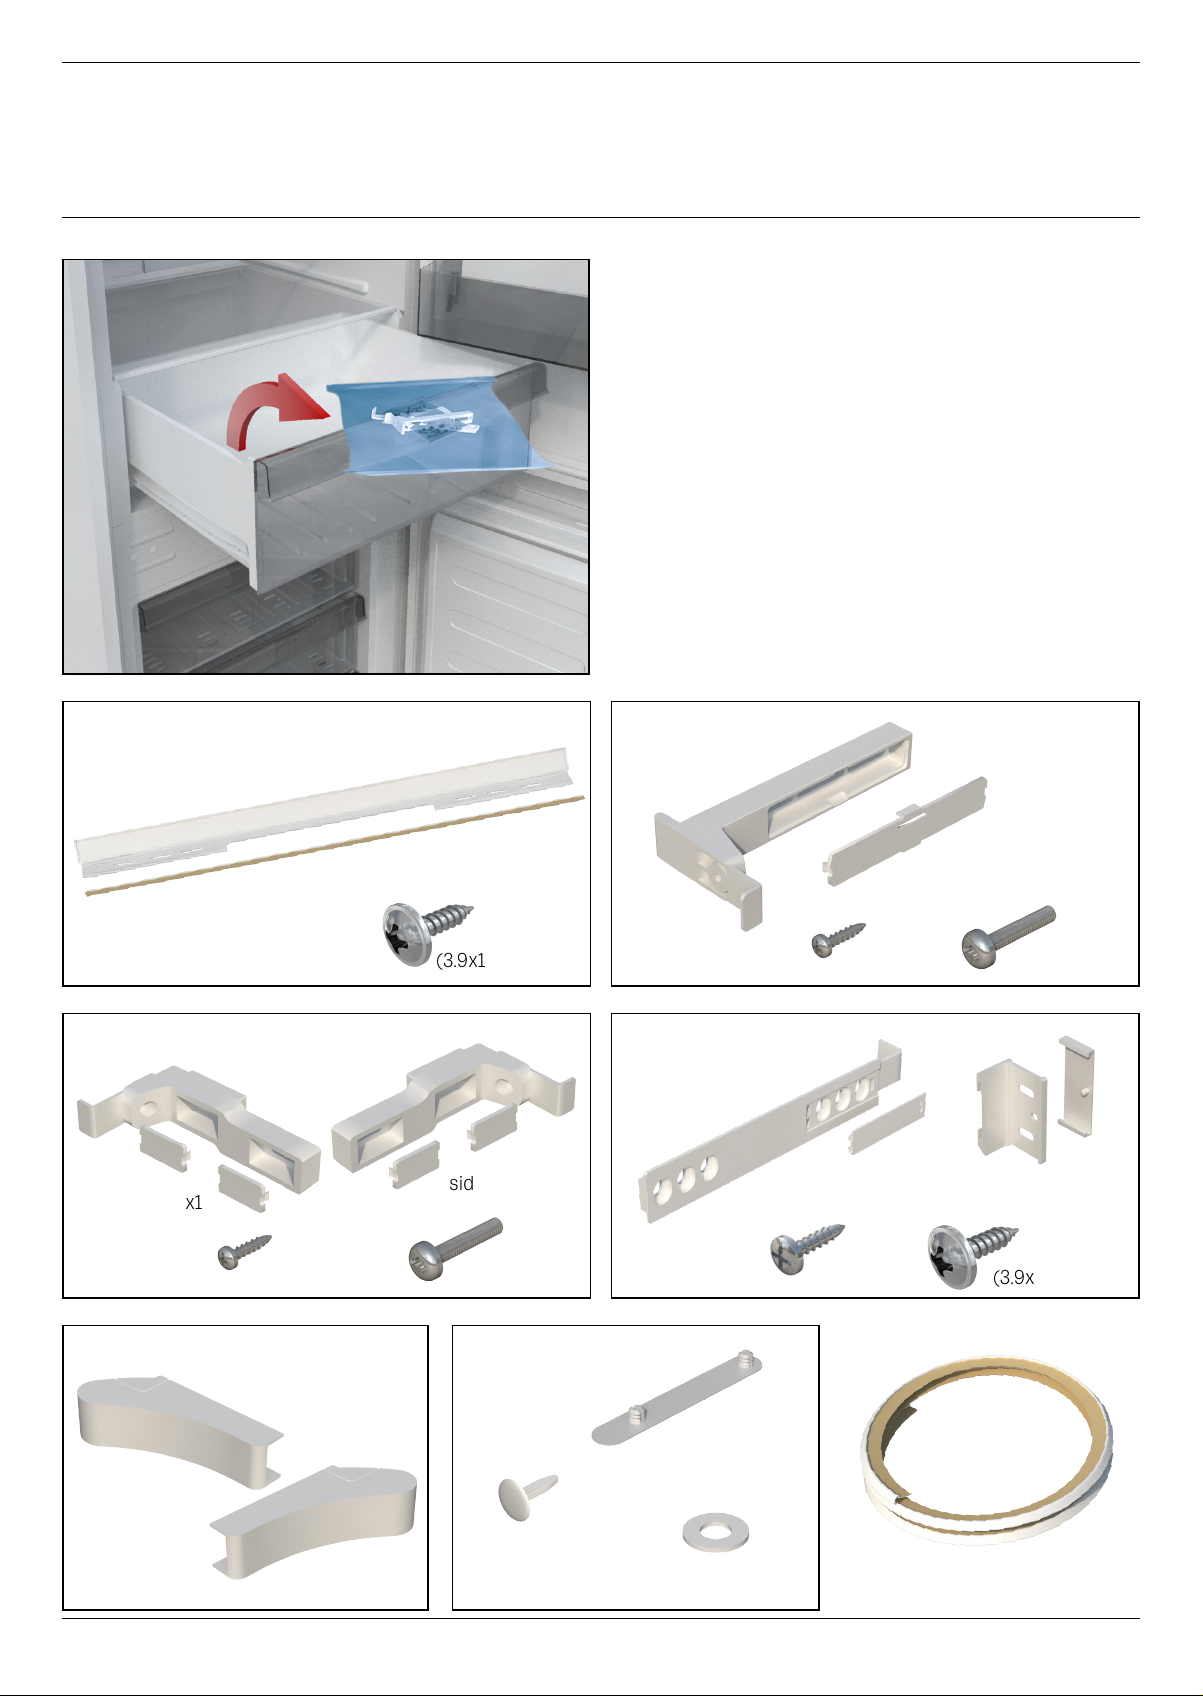
2. Prepare cabinet,
(remove back panels, fit upper shelf, fit plinth vent).............p.5
3. Fit and adjust décor doors .....................................p.5
4. Reverse fridge freezer doors if necessary ......................p.6-7
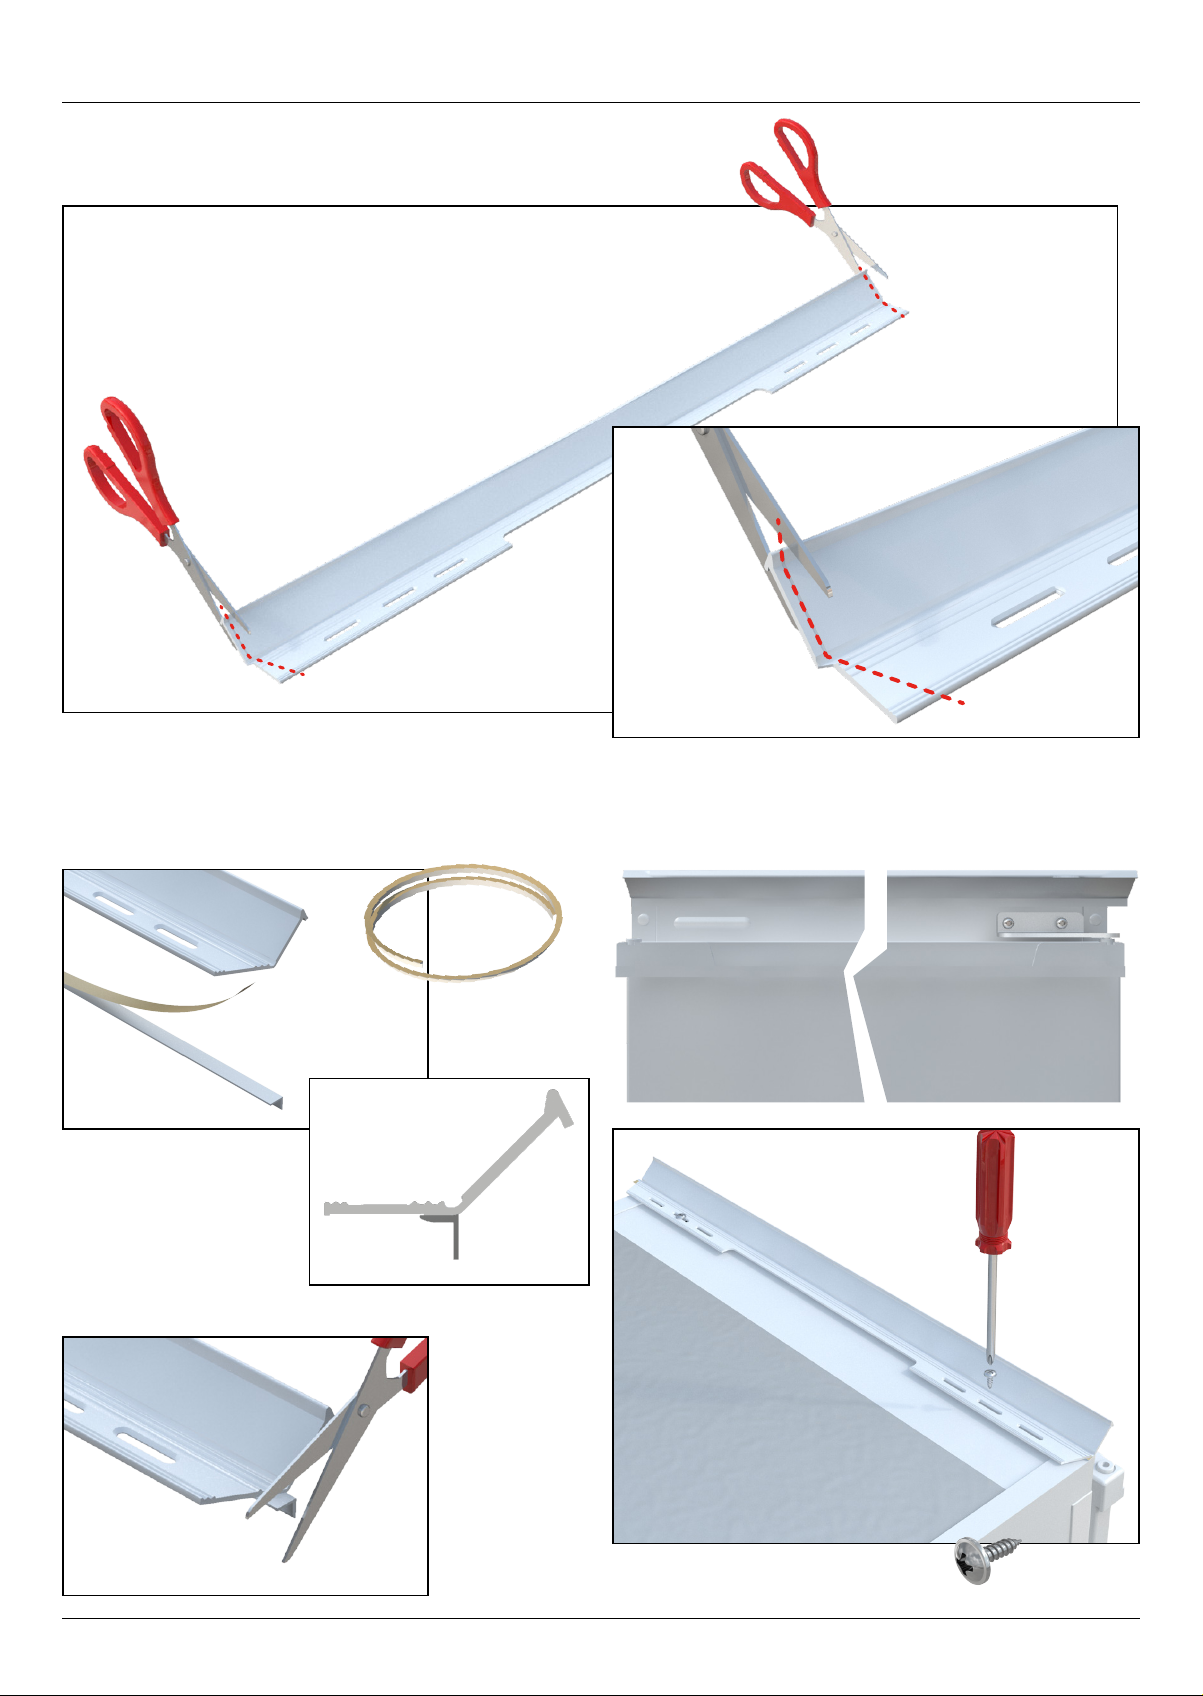
5. Fit top trim to fridge freezer ....................................p.8
6. Fit side seal trim to fridge freezer...............................p.9
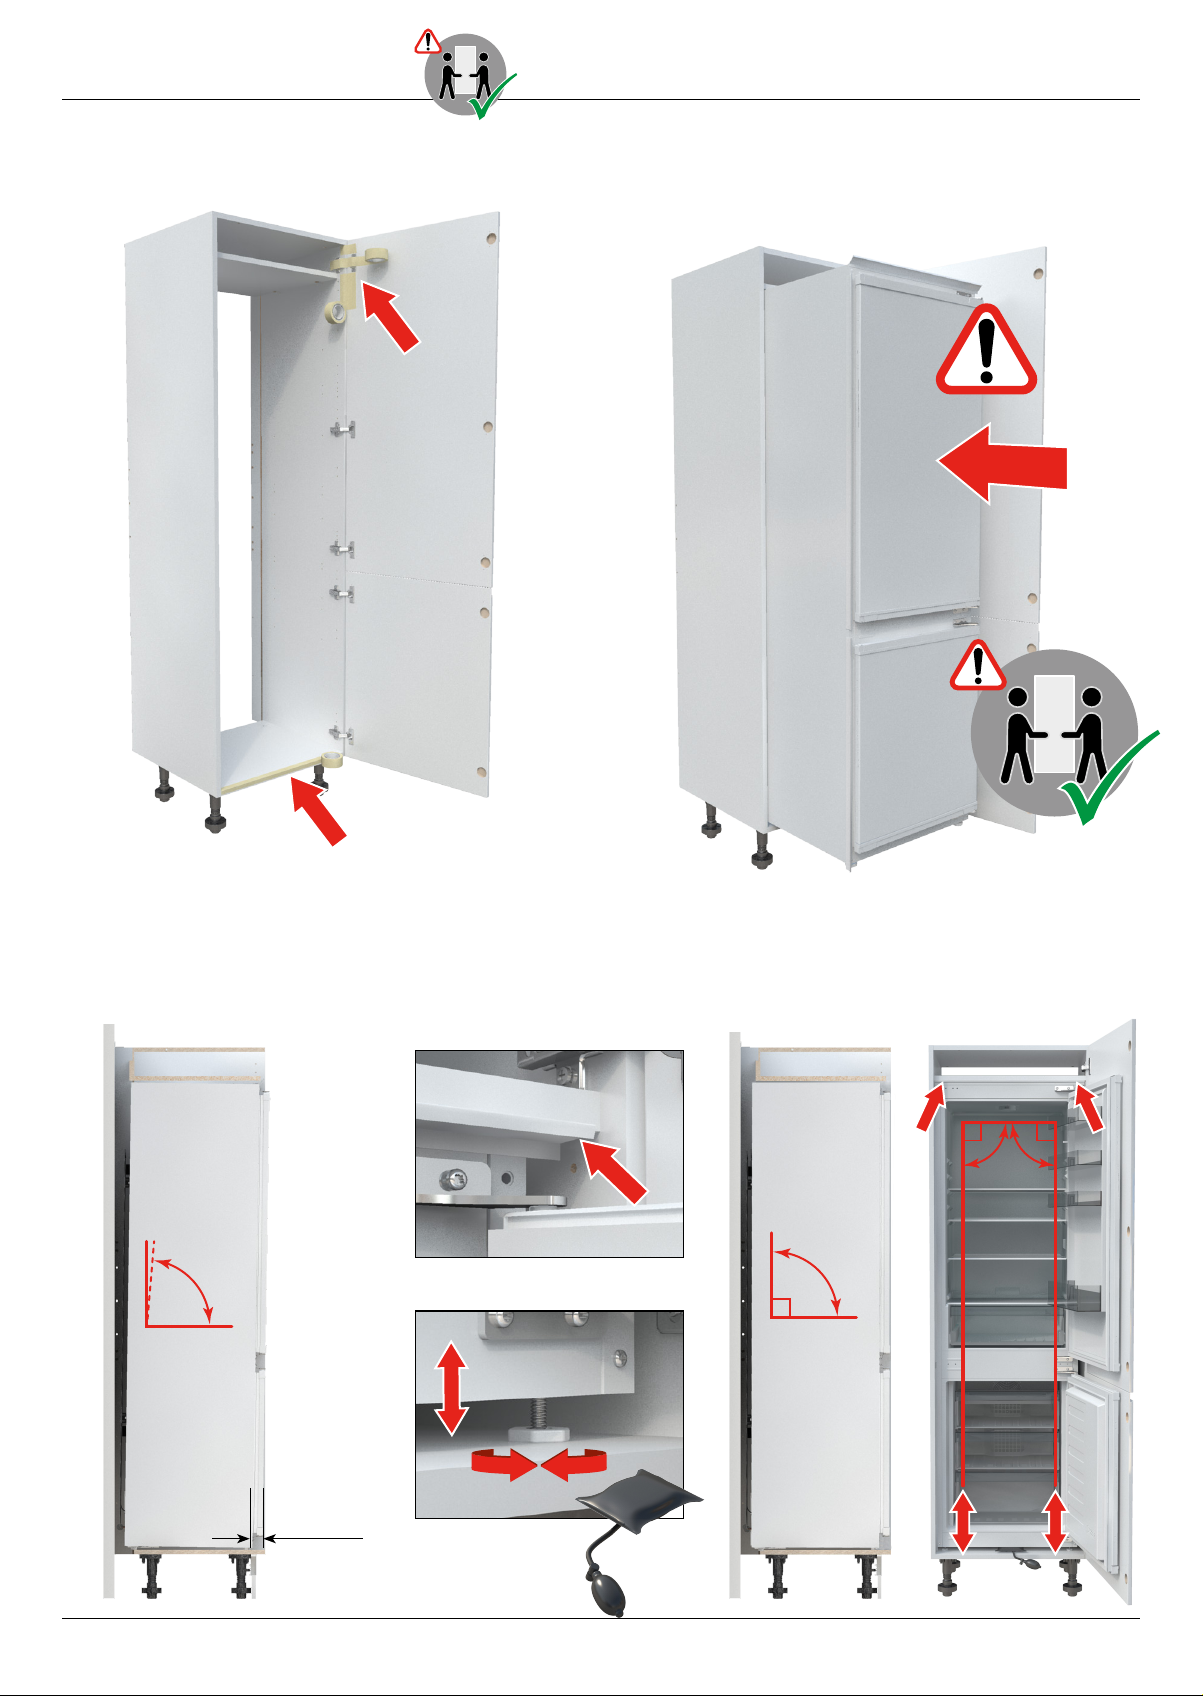
7. Protect cabinet edges with masking tape ......................p.10
8. Lift fridge freezer into cabinet ..................................p.10
9. Level and align fridge freezer using front adjustable feet and
spacer brackets ...............................................p.10
10. Fix spacer brackets to fridge freezer and when in
correct position screw to cabinet sides, (mid brackets then
upper brackets)................................................p.11-12
11. Make any final feet adjustments to align fridge freezer to
brackets and ensure correct spacing depths ...................p.11-12
12. Tighten brackets to fridge freezer, (DO NOT overtighten) ........p.11-12
13. Attach door sliders ............................................p.13
14. Remove bracket spacer tabs, install screw cover caps..........p.14

3
Exclusive to Howdens
TORX25
and
cross head
screw driver
DO NOT use high
speed impact
power tools.
2mm drill bit
Fridge freezer must
be fixed securely
and level.
Do not install a
damaged appliance.
Two person lift.
Risk of injury:
Beware of metal
edges. Use gloves
when handling.
NOTE: If the electricity
cable is damaged it
must be replaced by a
competent person.
WARNING!
Do not use extension
cables / adapters.
WARNING!
This appliance must
be earthed.
The electric socket
must be accessible
after fitting.
Safety Information
Installation
Tools required
Warningforinjuryorproperty
damage risk.
Warning for electric shock. Warning for risk of
fire / flammable materials.
Throughout this manual the following symbols are used.

4www.howdens.com
Side sealing strip x1
(T25x18) x6(3.5x13) x3
Spacer bracket x3
BAG 2
(T25x18) x2(3.5x13) x2
RH hinge
side bracket x1
LH hinge
side bracket x1
BAG 3
RH Hinge
cover x2
LH Hinge
cover x2
BAG 5
Plastic washer x2
BAG 6
Screw hole
plug x4
Screw hole
cover x2
Remove parts bags from salad crisper drawer.
Top trim x1
Top trim adhesive strip x1
BAG 1
(3.9x13 FH) x2
(3.9x13 FH) x8
Door slider x4
BAG 4
(3.9x13) x8
Retainer x4
Parts supplied - PLEASE RETAIN, DO NOT THROW AWAY!
Installation

5
Exclusive to Howdens
c.20mm
FRONT
555mm
min
200cm
2
min
200cm2min
1789mm
540mm
545mm
1783mm
560mm
min
Cabinet pre-build and airflow
Modify existing shelf as shown.
Fit top shelf and rear up stand to the
pre-drilled holes indicated.
IMPORTANT:Goodairflowaroundthefridgefreezeris
essential for optimum performance
and energy saving. Ventilation channels must
be provided.
AIRFLOW
Plinth vent must be fitted
under the cabinet.
THECABINETWILLNEEDMODIFYINGBEFOREINSTALLING
YOUR FRIDGE FREEZER.
1. Remove rear panels. 2. Attach feet.
3. Fit and align doors. 4. Fit upper shelf.
Ensure the cabinet is secure, level
and true.

6www.howdens.com
Remove x4
Keep in safe place
for future use. Plastic
washer x1
Plastic
washer x1
1
2
3
1- Remove plastic
cover caps.
Remove door
fittings,
(liftupwardsand
away).
2- Remove hinge 1, door 2
and lower hinge 3.
4- Remove hinge 4, door 5
and lower hinge 6.
3- Fit hinge 1in new position
and place washer.
5- Fit hinge 4in new position
and place washer.
4
5
6
Reversing door opening If the appliance doors need reversing, DO IT NOW.
WARNING:
Support
door when
removing
hinge 1.
WARNING:
Support
door when
removing
hinge 4.

7
Exclusive to Howdens
Replace x4
Replace door
fittings.
6- Fit door 5.
8 - Fit door 2.
7 - Fit hinge 6in new position.
9 - Fit hinge 3in new position.
WARNING:
Support door
when fitting
hinge 3.
10 - Replace
plastic cover
caps. Replace
door fittings.
5
2
WARNING:
Support door
when fitting
hinge 6.

8www.howdens.com
Top trim
adhesive stripx1
(3.9x13 FH) x2
Fit top trim, (BAG 1)
2- Apply the self adhesive strip to the underside
of the top trim and cut to length.
1- Cut indicated 3mm off each end of the top trim and
chamfer inwards.
3- Align the top trim to the non hinge side of the fridge
freezer and fix.
DO NOT
overtighten.
Do not fit the
top trim adhesive strip
on appliances with a
digital display.

9
Exclusive to Howdens
cover x1 plug x1
plugs
x2
plugs
x2
plug x1
Remove screw
hole cover x1
Remove screw
hole plugs x5
Apply seal,
removing
backing tape
asyouprogress.
Side sealing strip x1
1- Remove the following screw hole covers and plugs
and keep in safe place for future use.
Fit side seal trim
2- Loosely attach two spacer brackets.
4- Remove the spacer brackets3- Do not remove tape backing.
Trim side seal to fit between brackets.

10 www.howdens.com
c.40mm
3-Uponinstallationthefridgefreezershouldbeleaning
slightlyforward,thisisquitenormal.Placethefridge
freezer c.40mm back from front edge.
4- Open doors, turn adjustable feet so that the fridge
freezerstandsverticallytrue inthe cabinetand the
top trim aligns with the upper fascia infill.
2- Carefully lift the fridge freezer into the
cabinet; rear feet onto base, level and
gently slide into position.
Inserting into cabinet
1- Protect areas with masking tape.
*
*
*

11
Exclusive to Howdens
(3.5x13) x2
(3.5x13) x1
Spacer
bracket x2
Spacer
bracket x1
(T25x18) x4
(T25x18) x2
(T25x18) x4
(T25x18) x2
42mm
42mm
42mm
Securing the fridge freezer (Vertically true and level in cabinet.)
3- Once spacing is correct, attach to the
cabinet sides.
1-The fridgefreezershouldbe setback 42mm fromthefront edgeofthecabinet,the
spacerbracketswillsettheappliancetothecorrectdepth.Carefullymoveappliance
and adjust feet to obtain the correct alignment.
2- Fit mid spacer brackets.
DO NOT fully tighten at this stage.
Mid spacer
bracket fitting,
(BAG 2)
5- Once spacing is correct, attach to the
cabinet side.
4- Fit upper spacer bracket.
DO NOT fully tighten at this stage.
Upper spacer
bracket fitting
(non hinge side),
(BAG 2)

12 www.howdens.com
42mm
(3.5x13) x1
RH hinge side
bracket x1
LH hinge side
bracket x1
Selectthecorrecthinge
side bracket.
or
(T25x18) x2
(T25x18) x2
42mm
6- Remove screw and retain.
(RH hinge side bracket illustrated.)
8- Once spacing is correct, attach to the
cabinet side.
7- Fit top hinge side bracket.
DO NOT fully tighten at this stage.
Top hinge
side bracket,
(BAG 3)
Profile Kitchen - Bracket modification:
1 - Position appliance 42mm from
front edge of cabinet.
2- Drill bracket so screw fixing is
angled into cabinet.

13
Exclusive to Howdens
(3.9x13) x8
(3.9x13 FH) x8
21mm
Door slider fitting, (BAG 4)
3- Locate slider into the retainer and align with décor
door edge, (the tab on the slider gives the correct
distance of 21mm).
4- Mark, pilot and fix slider to décor door.
5- Carefully snap off the distance spacing tabs.
6-Open/closedoorscheckingforcorrectfunction,(if
anycabinethingeadjustmentisnecessarysliders
may need to be re-fixed).
Add cover trims.
Note: If refrigerator door doesn’t close fully a
spacer will need to be placed behind the decor door
slider to ensure correct closure.
1-Punchorpilotdrillthepre-markedholesonthefridge
freezer doors.
2- Fix the slider retainers to the fridge freezer doors.

14 www.howdens.com
Cover trims x3
Cover trims x2
Hinge covers RH x2
Hinge covers LH x2
Cut-away for hinge pin
as necessary.
1
2
Fixing bracket trims
1- Carefully snap off the distance spacing tabs,
(if necessary for finish; remove bracket and trim).
2- Insert cover trims over screw holes, (BAG 2).
Clip centre in first then the ends.
3- Insert cover trims over screw holes, (BAG 3).4- Present hinge covers at 45°, then rotate to fit over
the fridge freezer door hinges, (BAG 5).

15
Exclusive to Howdens
Plinth vent
Fit a plinth vent for good airflow around the fridge
freezer, see Kitchen Installation Manual for
fitting instructions.

Product serial number
(Place sticker here)
Product information correct at the time of publication in January 2021.
The company has a policy of continuous product development and
reserves the right to change any products and specifications given in
this manual. Subject to the Terms and Conditions of Trading, a copy of
the Howdens Terms and Conditions is available upon request.
Copyright © 2021 Howden Joinery Ltd. All rights reserved.
Howden Joinery Ltd.
Thorpe Road, Howden, East Yorkshire. DN14 7PA England
Howdens Cuisines SAS. Z.A. du Bois Rigault Nord,
1 Rue Calmette, 62880 Vendin-le-Vieil, Cedex, France
Cet appareil
se recycle
Points de collecte sur www.quefairedemesdechets.fr
Privilégiez la répara�on ou le don de votre appareil!
À DÉPOSER
EN DÉCHÈTERIE
À DÉPOSER
EN MAGASIN
OU
REPRISE
À LA LIVRAISON
OU
Table of contents
Other Lamona Freezer manuals