Menu settings
Record mode setup
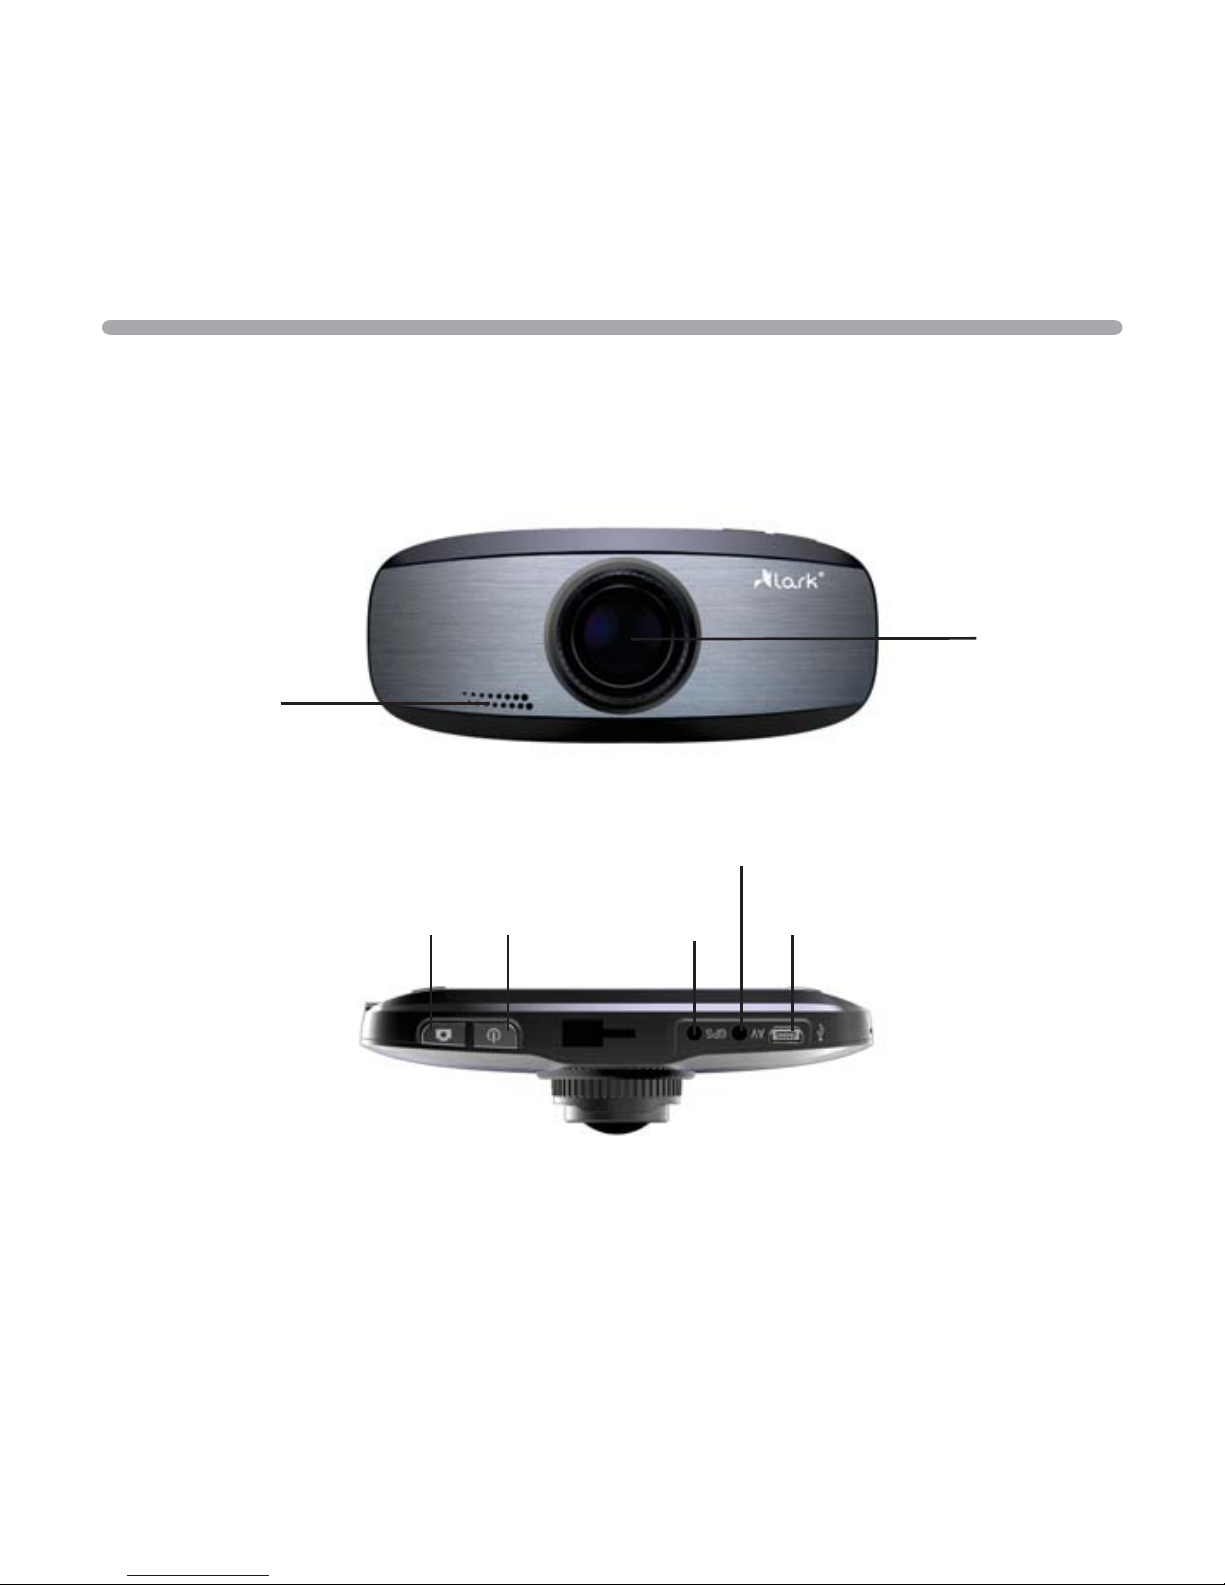
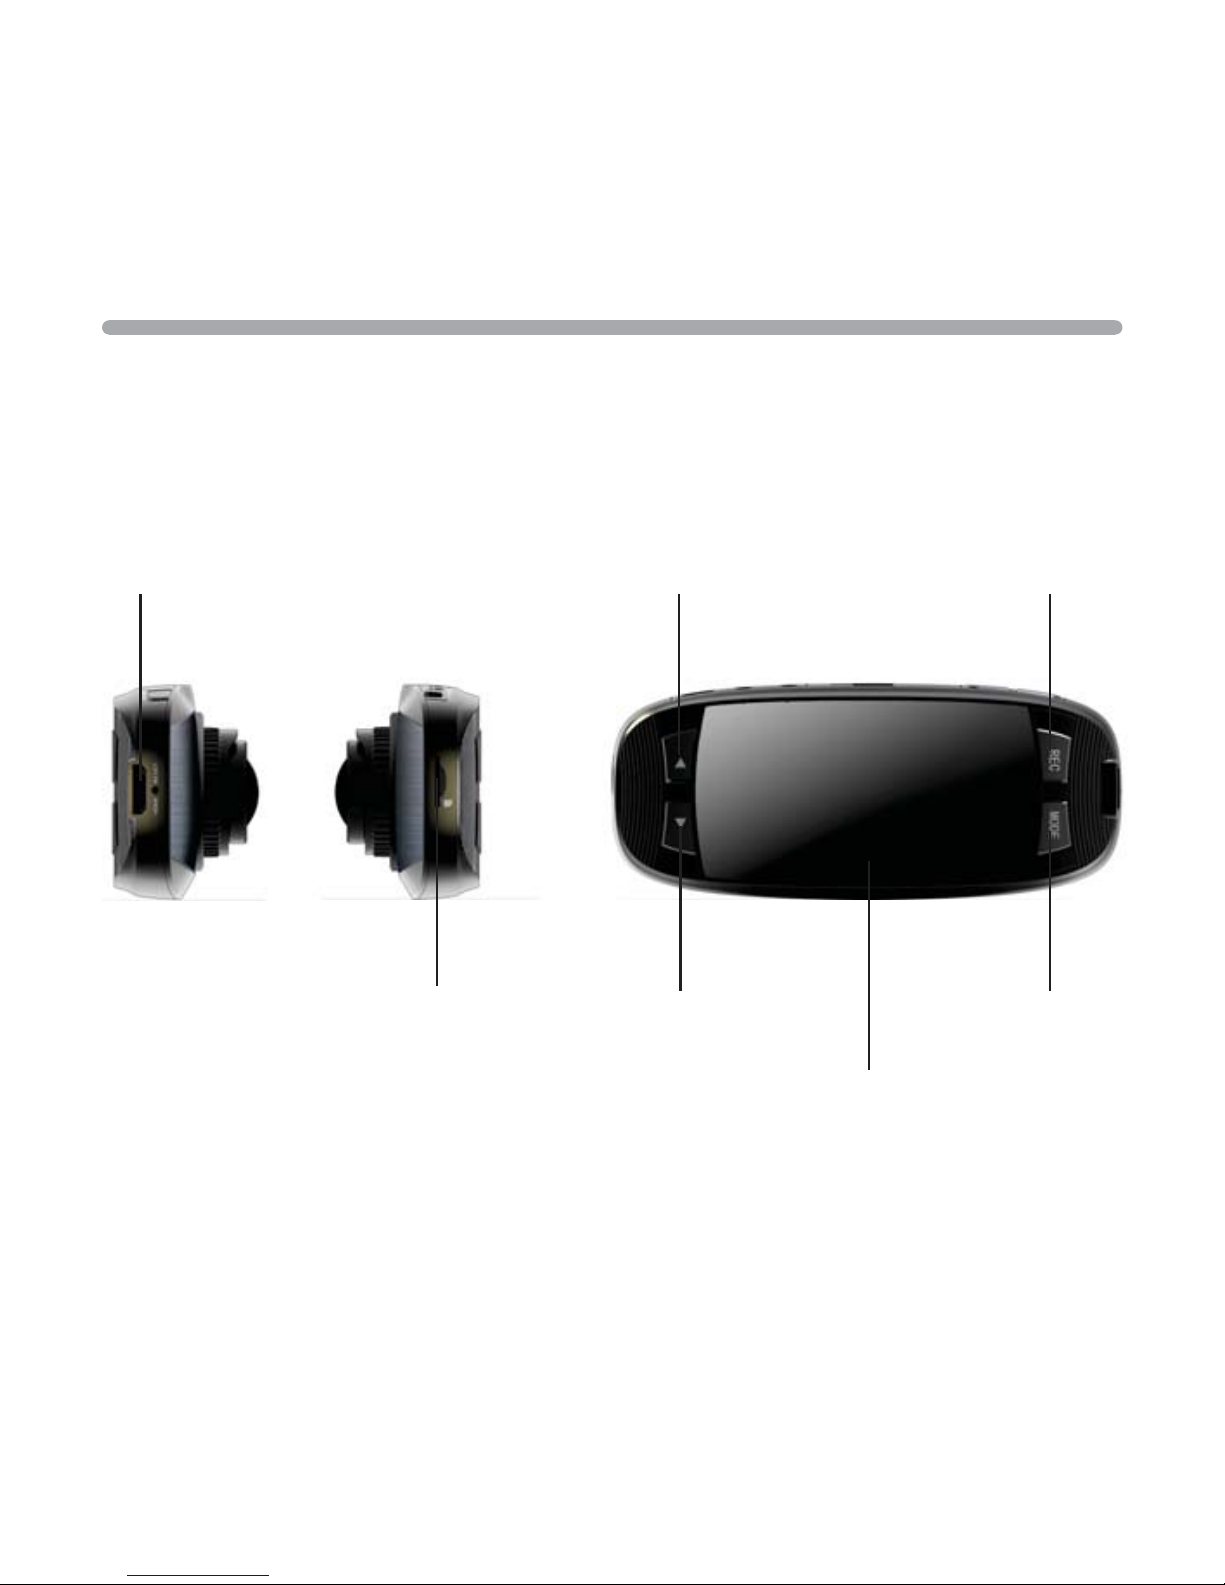
Press the POWER key to power on the device. In the video mode, press the MENU key to enter the menu setup mode
and press the MODE key for (Video Setup/System Setup), press the UP/DOWN key to choose the desired item and
press the REC key to confirm.
1. Resolution: 1920x1080, 1280x720, 848x480 and 640x480 available for choice.
2 Loop recording: you may select the duration as 2min, 3min or 5min to save the video by segments.
3. WDR- full time turn on to make the image effect to be better when it is on/off.
4. Exposure: +2.0, +5/3, +4/3, +1, +2/3, +1/3, 0, -1/3, -2/3, -1, -4/3, -5/3, -2.0
5. Moving detection: On/Off. When On is chosen, if there is an object moving, the device will automatically start
videoing and get one video file every 2 minutes; after 2 minutes, if there is no object moving, the device will
be in the moving detection standby mode; when there is a moving object, it will start working again.
6. Data stamp: choose to set the video with time or without time.
7. Audio: On/Off. Choose to set the video with audio or without audio.
After select the desired settings, press the REC key to confirm and complete the setup, press the MENU to exit.
Photo mode setup
Press the POWER key to power on the device. In the video mode, press the MODE key to enter the picture mode,
choose the MENU key to enter the menu setup mode and press the MODE key to choose the desired item.
1. Size: 5M(2560×1920),3M(2048×1536),2M(1600×1200),1.5M(1280×960),VGA(640×480)
2. Quality: Premium/Standard/Economic.
3. White balance: auto, daylight, cloudy day, tungsten lamp or fluorescent lamp.
4. Color: normal, monochrome or brown
8