67
2. Installation & Operation Guide
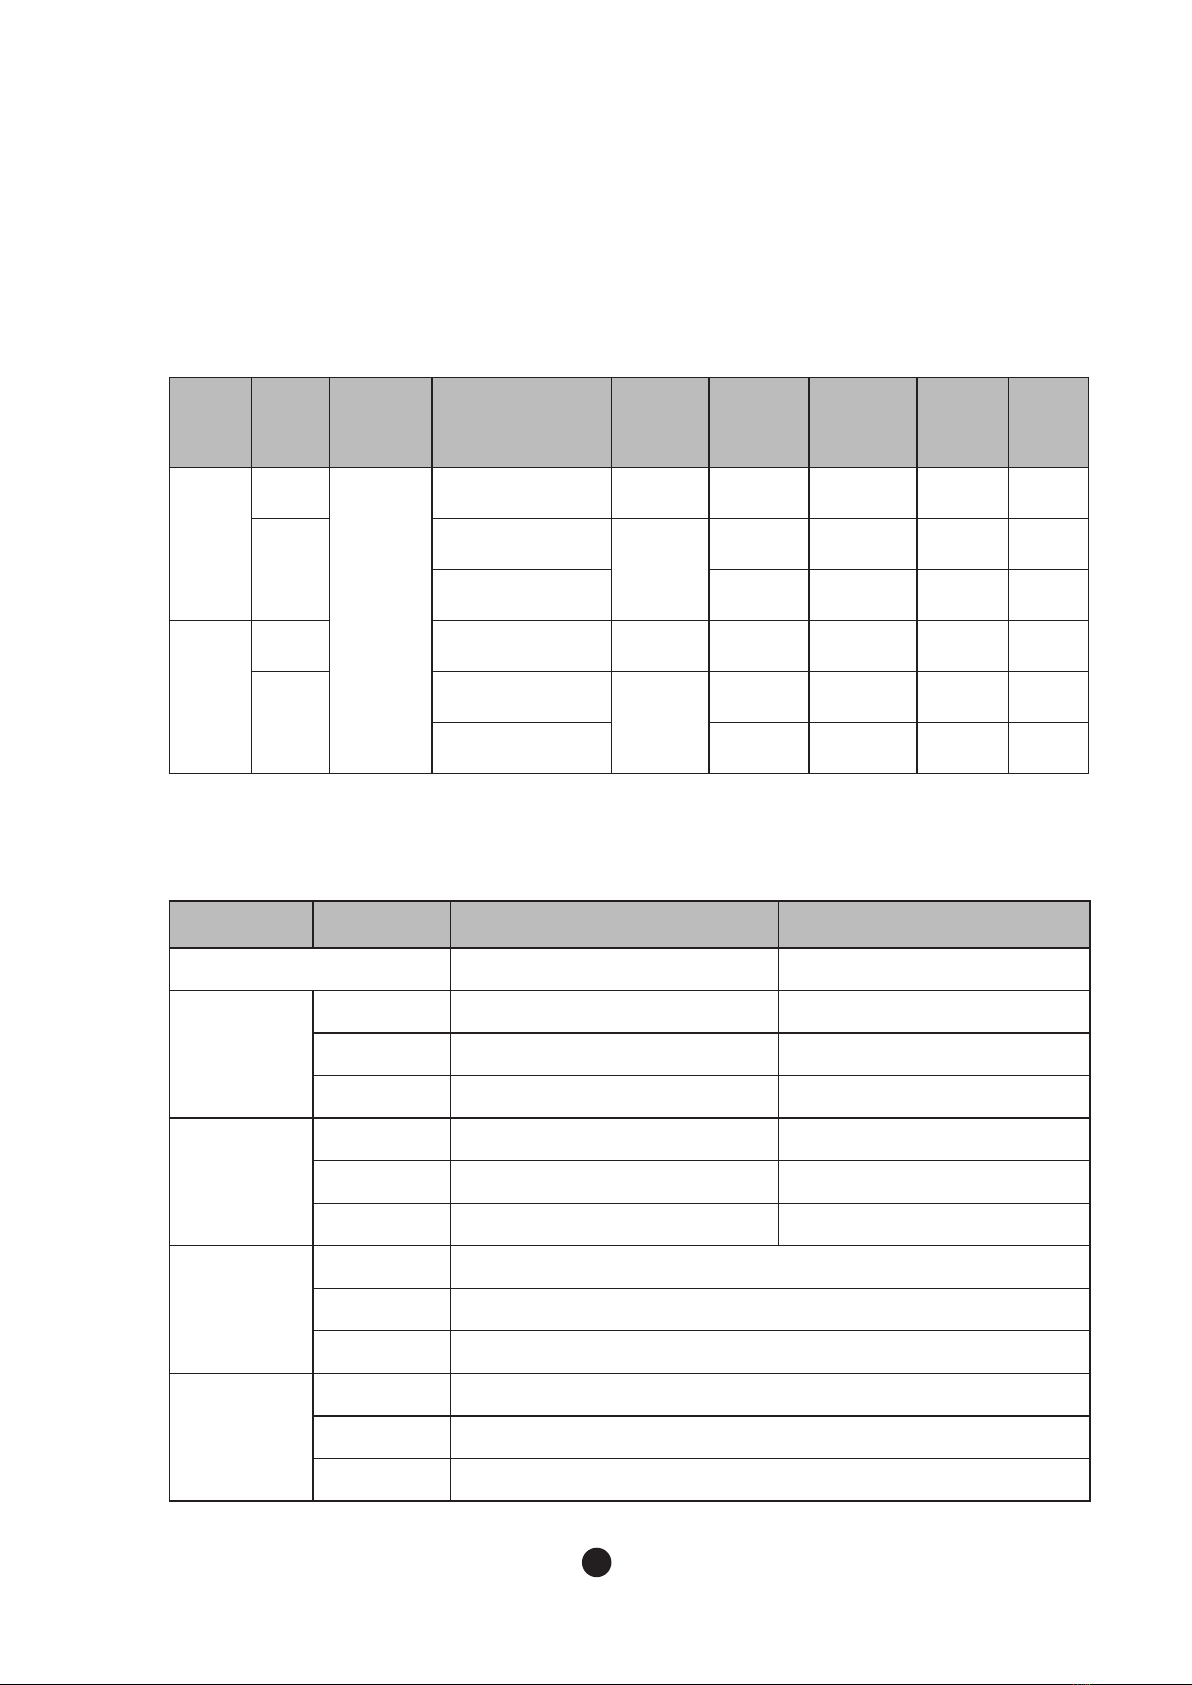
2.1 Location Requirements
2.2 Installation Requirements
The installation of icemaker head should satisfy following conditions. If the place did not
satisfy these conditions, please install it to another place.
- A place should be in a room and have a good ventilation.
- A place should not be with a heat source and direct sunlight.
- An operating temperature is between 45~100°F(7~38°C)
- A place should have enough water supply and drainage and easy connection with wiring.
- A place should not have any obstacles, disturbing air circulation(heat exchange).
- A place should have enough clearance for wiring and plumbing on the rear.
- A place should have no food waste nor food contaminant.
- A place should be capable of sustaining the machine full of ice in it.
-The setup of the machine requires leg.
- In case you install the machine with no legs, a bumper at the bottom of the machine
should be removed beforehand.
-The head and bin should be level.
-The vent of ice maker and drain of bin should be separated.
-The tip of drain of bin should have an air gap.
-The ice maker and bin should be completely cleaned after installed.
-The drain line should be easily separated from the ice maker.
- The room, over 20cm (8 inch), is needed at the upper, side and back for enough air circulation and maintenance.
- Coincide openings of head and bin.
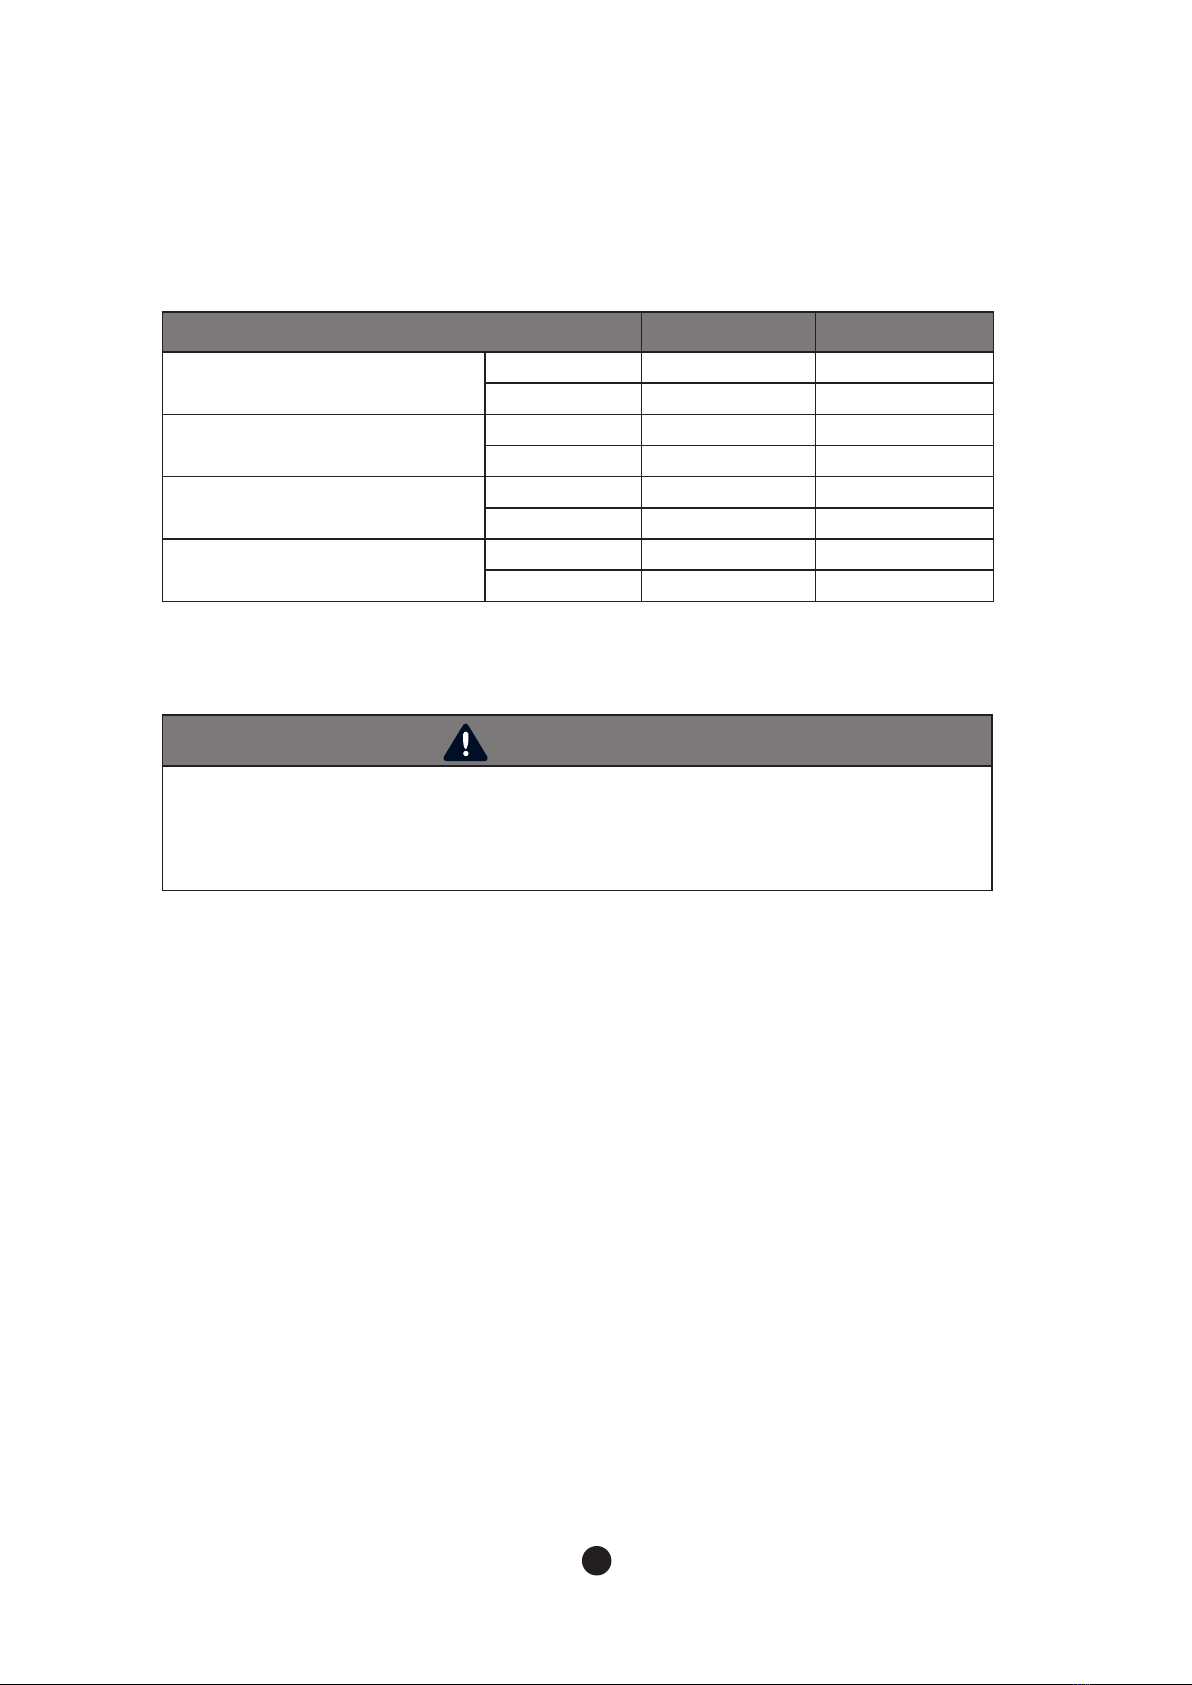
WARNING
-The ice maker should be installed, following regulations of the country, state and region.
- Please install it after fully understanding the manual before installation. It might cause
breakdown, injury and death during installation.
- Please be careful not to drop tools to the bin or floor during installation. It might cause a
danger to the safety of workers.
-The marking “CAUTION or WARNING - Parts. Do Not Operate Unit With Enclosure Removed.”
(When disassembly for cleaning or similar servicing exposes moving parts