SAFETY AND CARE ADVICE
Warning: Please lift with care.
џCheck you have all the components
and tools listed on pages 2 and 3.
џRemove all fittings from the plastic
bags and separate them into their
groups.
џKeep children and animals away
from the work area, small parts could
choke if swallowed.
џMake sure you have enough space
to layout the parts before starting.
џDo not stand or put weight on the
product, this could cause damage.
џAssemble the item as close to its
final position (in the same room) as
possible.
џAssemble on a soft level surface to
avoid damaging the unit or your floor
(use opened out unit carton).
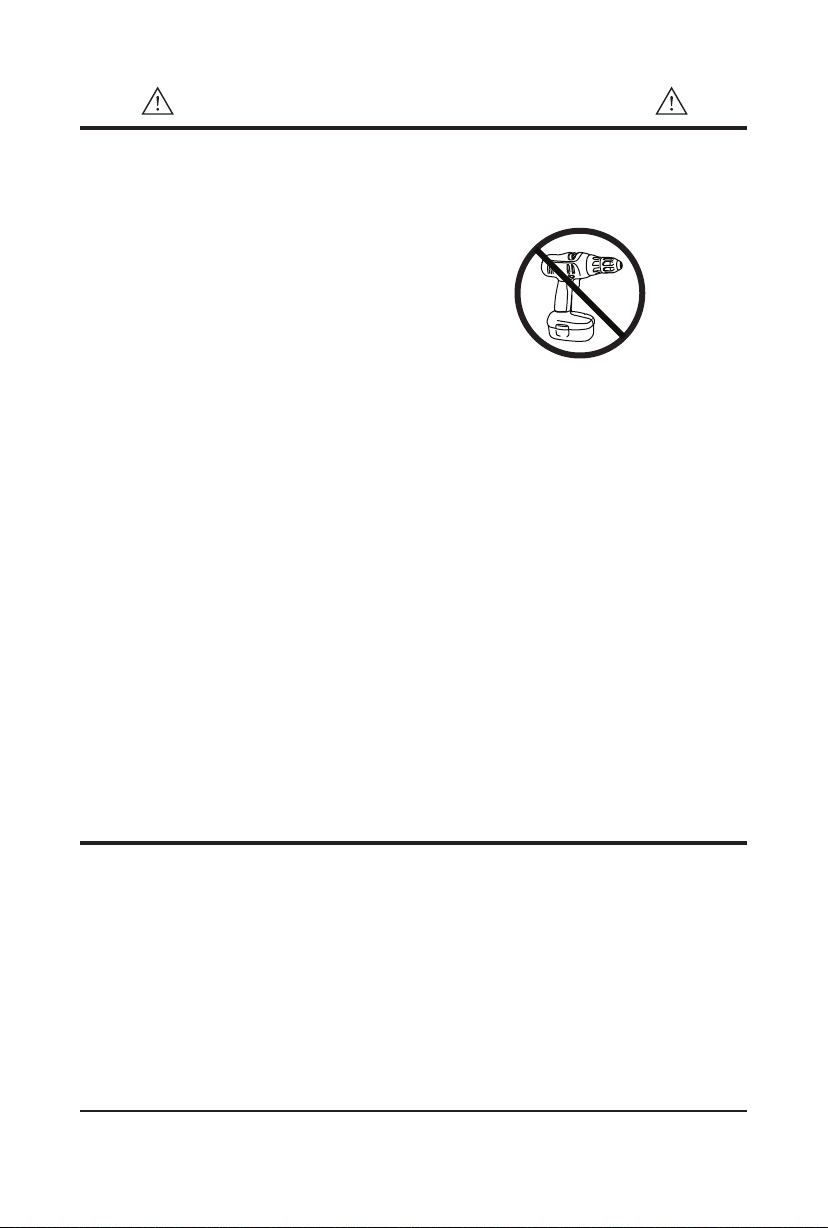
џWe do not recommend the use of
power drill/drivers for inserting
screws, as this could damage the
unit. Only use hand screwdrivers.
џSafety note: If there is any chance
of this unit being pulled over by
children etc. it is recommended that
the unit is secured to a wall using
suitable fixings (not supplied).
џDispose of all packaging carefully
and responsibly.
PLEASE READ THESE INSTRUCTIONS CAREFULLY AND KEEP FOR FUTURE
REFERENCE
CARE AND MAINTENANCE
џOnly clean using a damp cloth and
mild detergent, do no use bleach or
abrasive cleaners.
џFrom time to time check that there
are no loose screws on this unit.
џThis product should not be
discarded with household waste. Take
to your local authority waste disposal
center.
Note: If required the next page can be cut
out and used as reference throughout the
assembly. Keep this page with these
instructions for future reference.
1www.laurajameshome.com
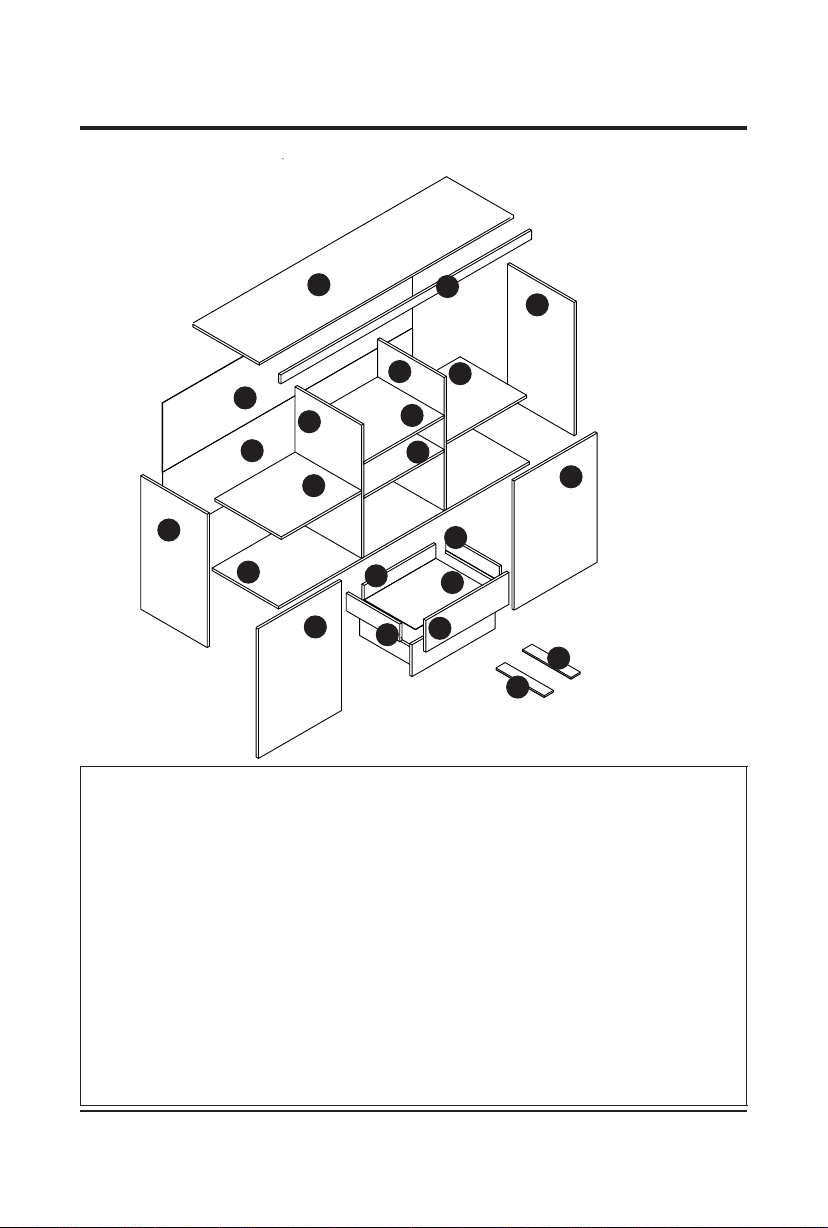
Please check you have all the panels listed below:
COMPONENTS — PANELS
2
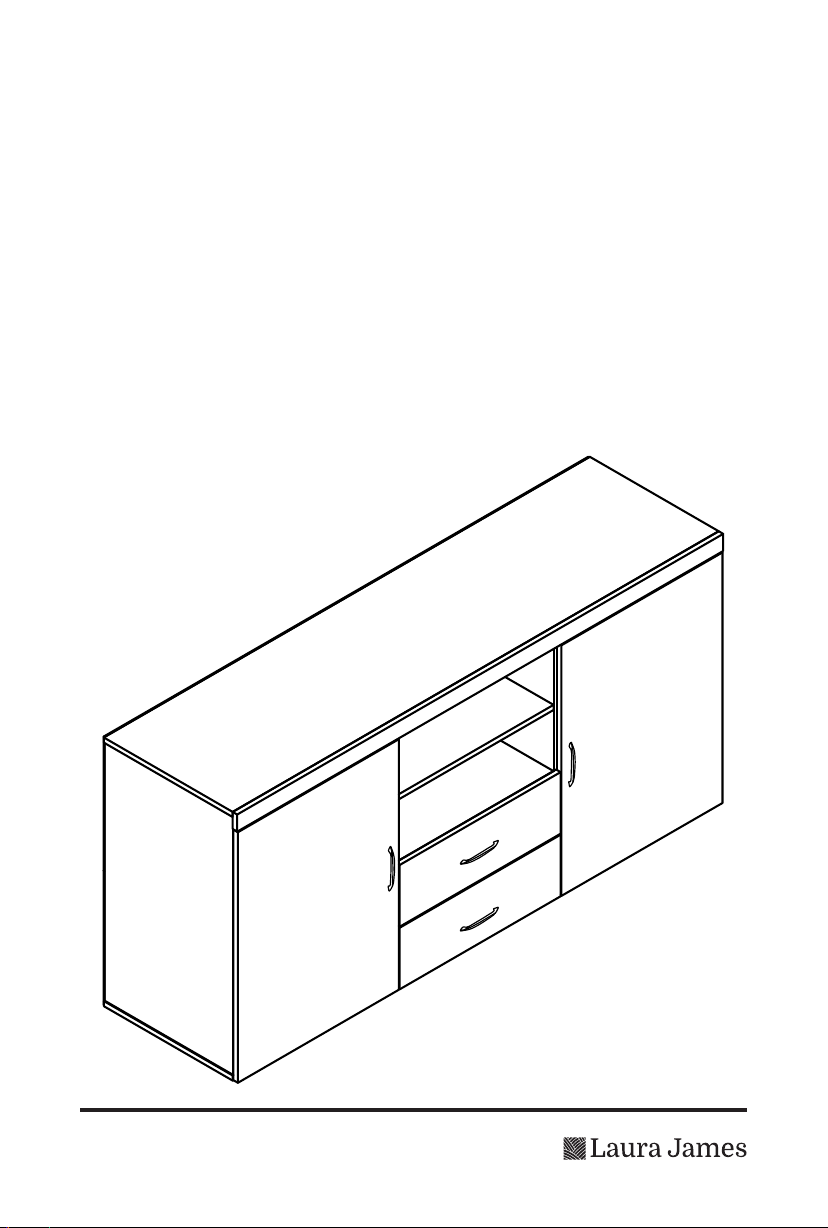
Table Top, 1400 x 385 x 15 (MD012-1)
Drawer Base Panel, 406 x 345 x 15 (MD012-10)
Side Panel, 655 x 385 x 15 (MD012-2)
Drawer Base Panel, 335 x 60 x 15 (MD012-11)
Side Panel, 655 x 385 x 15 (MD012-3)
Door Panel, 632 x 462 x 15 (MD012-12)
Side Panel, 655 x 385 x 15 (MD012-4)
Shelf Plane, 437 x 383 x 15 (MD012-13)
Side Panel, 655 x 385 x 15 (MD012-5)
Shelf Panel, 452 x 384 x 15 (MD012-14)
Back plane, 1394 x 342 x 3 (MD012-6)
Bottom Panel, 1400 x 385 x 15 (MD012-15)
Drawer Left Side Panel, 350 x 100 x 15
(MD012-7)
Hi Front Cross Bar, 1400 x 50 x 15 (MD012-16)
Drawer Right Side Panel, 350 x 100 x 15
(MD012-8)
Drawer Front Panel, 464 x 150 x 15 (MD012-17)
Drawer Back Panel, 396 x 100 x 15 (MD012-
9)
www.laurajameshome.com
1
2
3
4
6
6
16
13
14
14
13
5
15
12
12
9
8
717
11
11
10