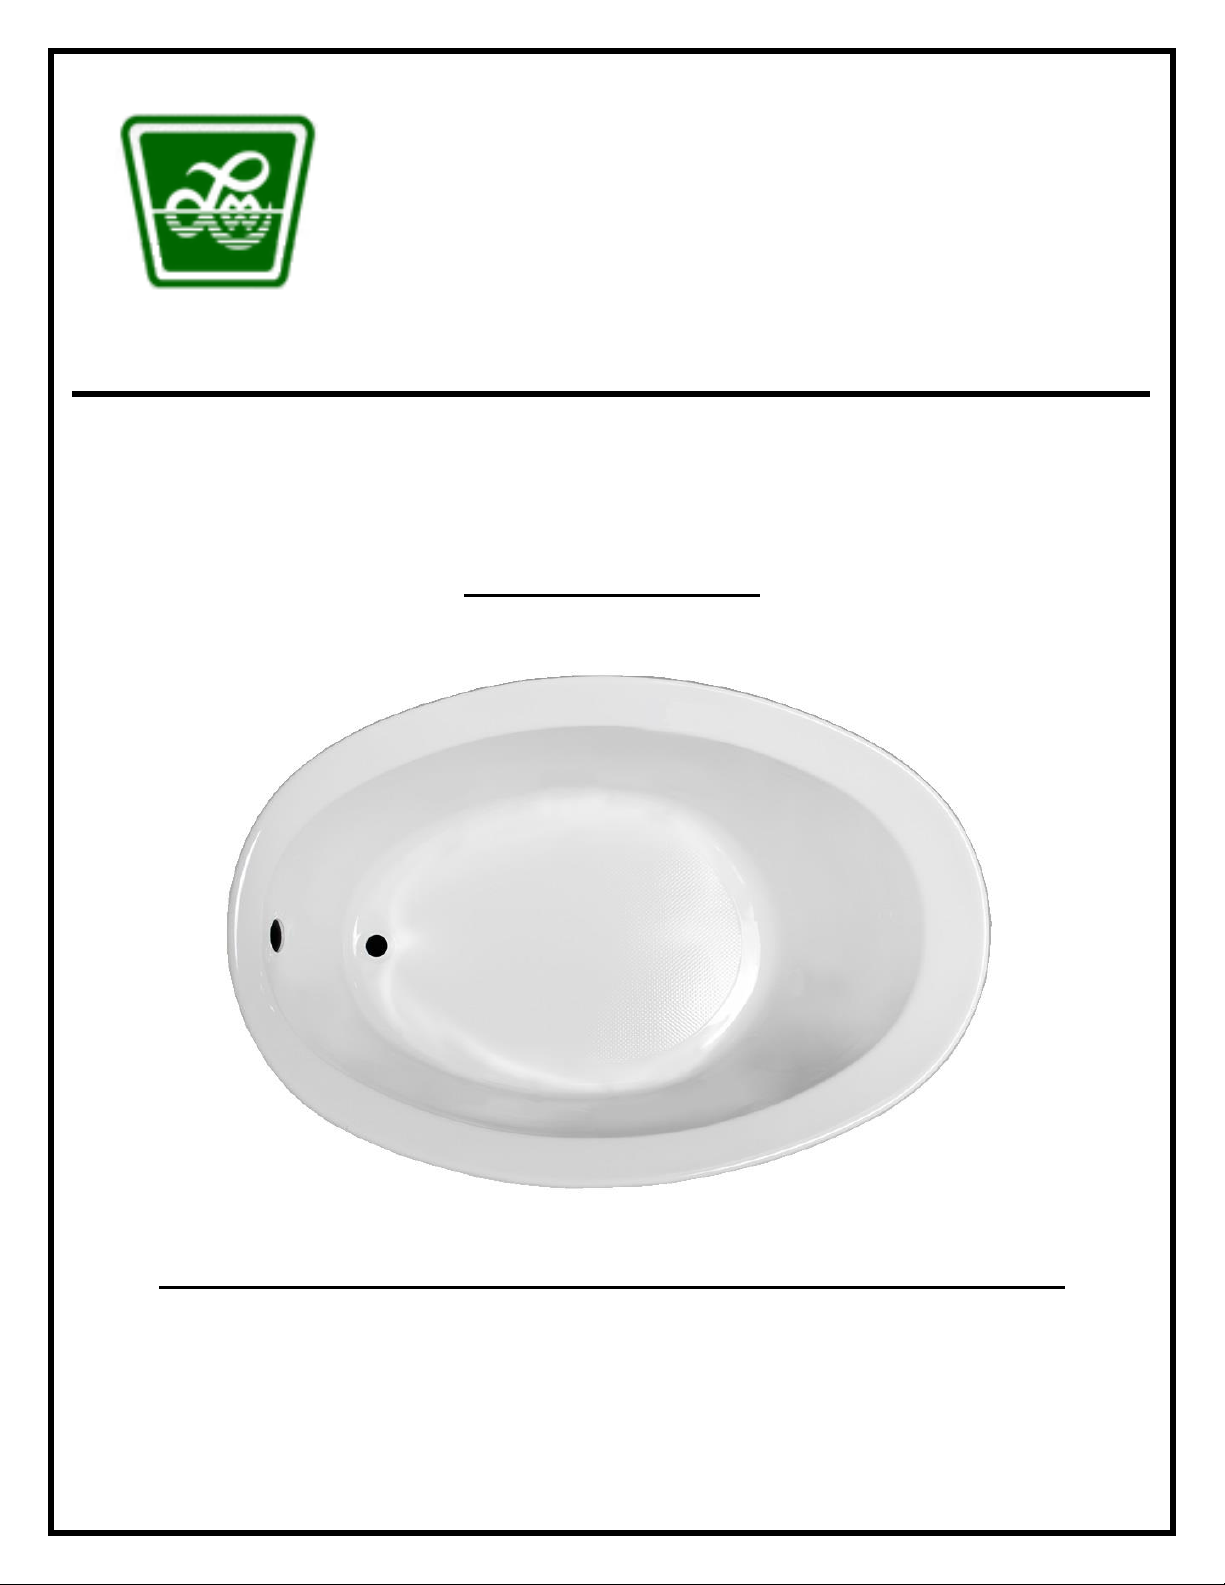
LMW - Colony Collection Owner’s Manual
Water Heater for Soaker Tubs –LM305 - 12.5 Amps, LM306 - 16.0 Amps
The on/off button on the bath tub activates/deactivates the heater. The heater has a built-in 20 minute timer
and is a low flow/high efficiency pump, providing silent operation. The option is equipped with a molded plug
on the end of a power supply cord. Check your local codes. For the LM305 install a 120 VAC 15amp GFCI, and
for the LM306, install a 250 VAC 25amp GFCI. Both water heaters should have a GFCI protected dedicated
circuit wall outlet located within 1.5’ from the heater unit. Plug the cord into the outlet. This heater is
designed to MAINTAIN the temperature in your bath water between 101-104 deg Fahrenheit. These
temperatures are preset and cannot be adjusted.
Chromotherapy Mood Light –LM522
The ColorGlo LED Multi-Color bath light comes pre-programmed with 10 light modes. To change modes,
switch the unit off and then back on within 5 seconds. To resume a lighting mode, leave the unit switched off
to save the last lighting mode displayed in memory. That same lighting mode will display the next time the
unit is switched on. DO NOT attempt to service the electronic components yourself. Any opening, altering or
tampering with this product will void the manufacturer’s warranty. DO NOT submerge the transformer in
water or allow it to get wet. Keep the unit dry at all times. DO NOT allow this unit to freeze.
Install fill valves and spout in the desired locations. Note, due to various possible fill valve and spout locations,
the holes are not drilled at the factory. Make certain that the spout is long enough to clear the interior rim of
the tub. If installing fill valves on the deck of the tub, be sure that you have enough clearance for connections
of valve to tub and water connections before drilling/cutting into tub. Seal the joints under the tub rim and
against the wall with a water resistant seal. Then install a standard 1.5” trap to the drain and overflow.
Complete the installation with desired trim material on the back wall, side walls, and down exposed interior
walls. Laurel Mountain Whirlpools will not be held responsible for water damage of any kind in connection
with the installation and/or operation of one of our bathtubs.
Your bath has an acrylic finish and will retain its high luster for years with proper care. Never use an abrasive
cleaner or pad to clean your bath tub. Always use a soft cloth or sponge along with a spray liquid non-abrasive
bath cleaner/disinfectant.
This Laurel Mountain Whirlpools bath is warranted to the original purchaser to be free from defects in material and
workmanship for the following periods. The bathtub shell carries a lifetime limited warranty. The heater has a limited
10 year warranty. All other parts have a limited 5 year warranty. Proof of purchase is required. This warranty is issued
to the original purchaser and shall be effective from the date of purchase as shown on purchaser’s receipt. Laurel
Mountain Whirlpools will repair or replace (at their choice) any unit which proves to be defective in material or
workmanship under normal use and service, having been properly installed. This warranty is the only express warranty
made by Laurel Mountain Whirlpools and is limited to the duration of this warranty. Any labor charges and/or damage
incurred in installation, repair or replacement as well as incidental and consequential damages connected therewith are
excluded and will not be paid by Laurel Mountain Whirlpools. Some states do not allow the exclusion or limitation of
incidental or consequential damages, so the above limitation or exclusion may not apply to you. This warranty is void
for any damage to the bath due to abuse, misuse, neglect, accident, improper installation, any use violating instructions
furnished by us, or repair not authorized in writing by Laurel Mountain.


 owner's manual")