manuals.online logo
Brands
  1. Home
  2. •
  3. Brands
  4. •
  5. Lavex
  6. •
  7. Dryer
  8. •
  9. Lavex 158LAVHD20 User manual

Lavex 158LAVHD20 User manual

158LAVHD20
Distributed by Lavex Janitorial
2205 Old Philadelphia Pike
Lancaster, PA 17602
AC120V~
1700W
950W
95m/s
10.4kg
Designed in accordance
with human engineering
No touch hand drying ensures complete hygiene
High speed drying technology provides electricity cost savings
Provides cost savings over paper towels and is easily maintained
Auto-stop function causes the hand dryer to cut off after 25 seconds
This machine is equipped with an automatic heating system that adjusts heat according to
external temperature. Provides optimal heat in all situations.
Automatic cutoff timer
Automatic cutoff timer ensures unit power cutoff after 25 seconds of consecutive use.
Remove and re-enter hands after 25 seconds if further drying is needed.
it will influence the service life of motor and main control board.
Please make sure the unit is equipped with HEPA during use, otherwise
Personal injury may be caused by improper use
Do not open front panel during use,
otherwise electric shock can be caused.
Do not allow children to hang from the unit,
or it may fall otherwise.
Do not directly get water on the unit, this can cause
electric shock and unit malfunction
Do not allow the
unit to get wet
Power to the unit must be cut off when performing maintenance
to prevent the risk of electric shock.
Ensure power is cut off during installation process
Ensure all instructions are read and properly followed during
installation in order to avoid potential shock and fire hazards
It may cause electric shock risk when the unit fails or leaks.
Attention during installation
A
O N H
L
O N
O F FP O W E R
O F F
Heating button
Speed button
Usage label demonstrates proper hand dryer usage.
This label can be placed in any visible area near the
hand dryer if necessary.
Drain hole
Air filter
Only use neutral cleaning agents.
Do not use thinner, acidic or alkaline toilet cleaners,
or nylon brush. (Otherwise, they may damage the
smoothness of surface)
Only use disinfectant to clean hand-drying area,
keep away from other areas of the unit.
If using disinfecting wipes, please read instructions
first to avoid unit damage.
Be sure that surfaces remain clean
in order to ensure effectiveness of
antibacterial coating
Pull the cover up with your
fingers in the two corners of
the cover and then remove
the cover completely.
Air filter can directly
be cleaned with water.
Re-use after it is
completely dry.
Heating
fuse
Speed
switch
Heating
switch
Infra-red light
receiving PCB
Infra-red light
start PCB
Switch transformer
Filtering
capacitors
Filtering
capacitors
Common
mode choke
FLTR filter
Reactor
UV start PCB
Checking if the internal
heating fuse is burned?
Turn off the power switch,removing the front
panel and you will see a fuse holder inside .
Unscrew the fuse holder and check if the fuse
is burnt.
If you discover the following circumstances, inspect the unit and take the following actions:
Are the display
indicator lights on?
Switch the power button to the off position, then
remove dirt or foreign objects from sensor after
power light has gone out. Switch power button
back to the on position when finished.
Air blown from the
unit is not hot
77°F
If the above actions do not work, turn off power and ground-fault circuit breaker,
and contact distributor for warranty information.
ON H
L
ON
OF FPO W E R
OF F
Safety screw
Unit
Air filter
Places where temperature is under 14°F or over 104°F.
Places that are directly sprinkled with water.
Places with direct sunlight, or strong light.
Places that can cause condensation buildup.
Places where corrosive, neutral, or reductive gases are present.
Places lower than -20m or higher than 2000m above sea level.
Ensure there are no mirrors or walls near the two sides
Recommended Electrical Installation
).
The unit uses electricity by connecting to power line, please install embedded junction box
without cover; as shown in the figure below.
935
915
410mm
10
40
645
130
5
915-935
915-935
4
410mm
Drilling stickers
Installation panel
Installation screws
Switch box
Drain tank Terminal box
Terminal box
Electric cover
250mm
2.Unscrew the 2 screws on the electric cover
and open the cover
(Not to be used with a power supply exceeding rated voltage±10%.)
Paste the drilling stickers into the wall as
pictured, drilling according to the holes.
Put the expansion pipe into the hole,
and fix the mounting plate as pictured.
Connect power line to unit and secure.
Elevate the unit to a height of about 250mm in
order to bring the wall and unit junctions to the
same height. According to the following steps,
connect power cord to unit terminal blocks.
Ground wire
Terminal box
Electric cover
Unit
Unit
Hook
Drain tank
Air filter
Install the terminal block cover
1.Install the air filter
2.Install the drain tank
Hang the unit
Hang the unit
(1)Secure power lines and place any excess
in terminal box on wall.
Note: If the anti-thief screws are not installed
with the unit, it may be removed from the
wall and stolen.
Ensure that voltage of power supply matches rated voltage of the unit.
Observe during operation Ensure that the unit is installed firmly, and does not vibrate or create
abnormal noises while in use.
6
6
25
10
Mounting plate
User Manual and Packing List

Popular Dryer manuals by other brands

Heylo KT 45 instruction manual

Heylo

Heylo KT 45 instruction manual

Bosch WTM8326SZA Installation and operating instructions

Bosch

Bosch WTM8326SZA Installation and operating instructions

KitchenAid KEHS02RWH0 Use & care guide

KitchenAid

KitchenAid KEHS02RWH0 Use & care guide

Samsung DV22K6800 series user manual

Samsung

Samsung DV22K6800 series user manual

Zanussi TDS 281 W Instruction booklet

Zanussi

Zanussi TDS 281 W Instruction booklet

Bosch WTW87561SG Installation and operating instructions

Bosch

Bosch WTW87561SG Installation and operating instructions

Qilive Q.6467 user manual

Qilive

Qilive Q.6467 user manual

Indesit NIS41V Instruction booklet

Indesit

Indesit NIS41V Instruction booklet

NEFF R8580X3GB Installation and operating instructions

NEFF

NEFF R8580X3GB Installation and operating instructions

Beko DCY 8202 GB5 user manual

Beko

Beko DCY 8202 GB5 user manual

LG SteamDryer DLGX3251V owner's manual

LG

LG SteamDryer DLGX3251V owner's manual

Miele Eco&Steam&9kg TCR 780 WP operating instructions

Miele

Miele Eco&Steam&9kg TCR 780 WP operating instructions

Siemens WTN83201GB Installation and operating instructions

Siemens

Siemens WTN83201GB Installation and operating instructions

Maytag Commercial Laundry MDG17PR installation instructions

Maytag Commercial Laundry

Maytag Commercial Laundry MDG17PR installation instructions

Hanil HyperCOOL HC3055 Operation manual
Hanil

Hanil HyperCOOL HC3055 Operation manual

Hotpoint TVFS 83C instruction manual

Hotpoint

Hotpoint TVFS 83C instruction manual

Gibson GDE336RHS0 operating instructions
Gibson

Gibson GDE336RHS0 operating instructions

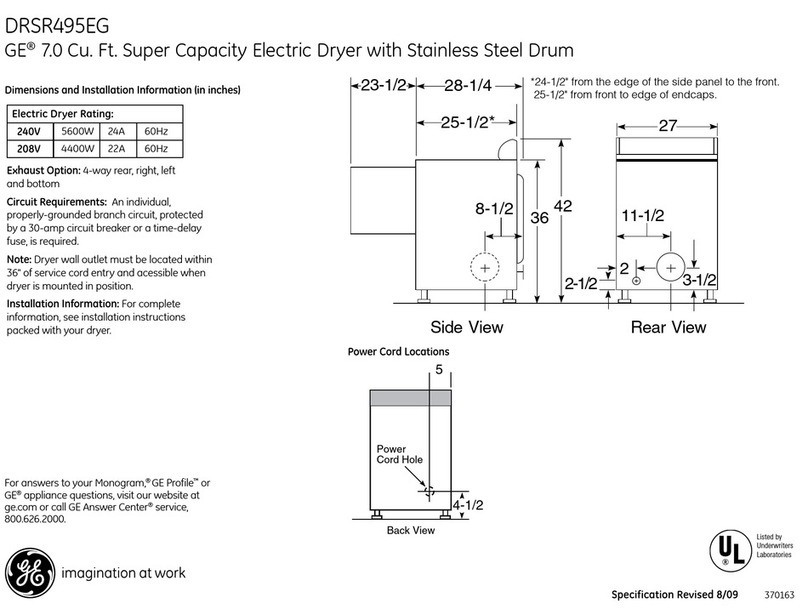
GE DRSR495EG Dimensions and installation information

GE

GE DRSR495EG Dimensions and installation information

manuals.online logo
manuals.online logoBrands
  • About & Mission
  • Contact us
  • Privacy Policy
  • Terms and Conditions

Copyright 2025 Manuals.Online. All Rights Reserved.