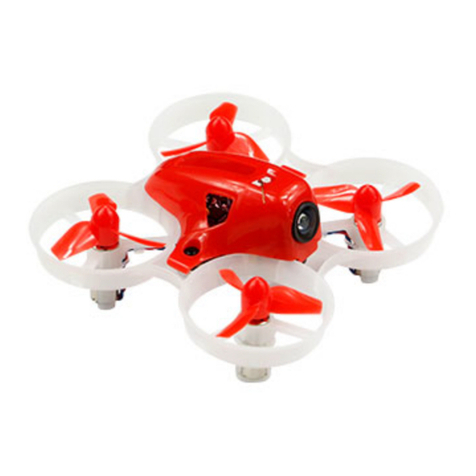
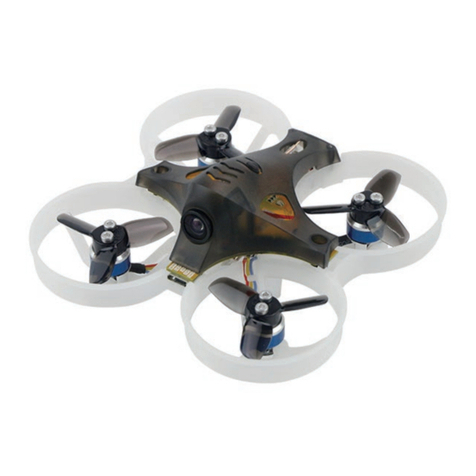
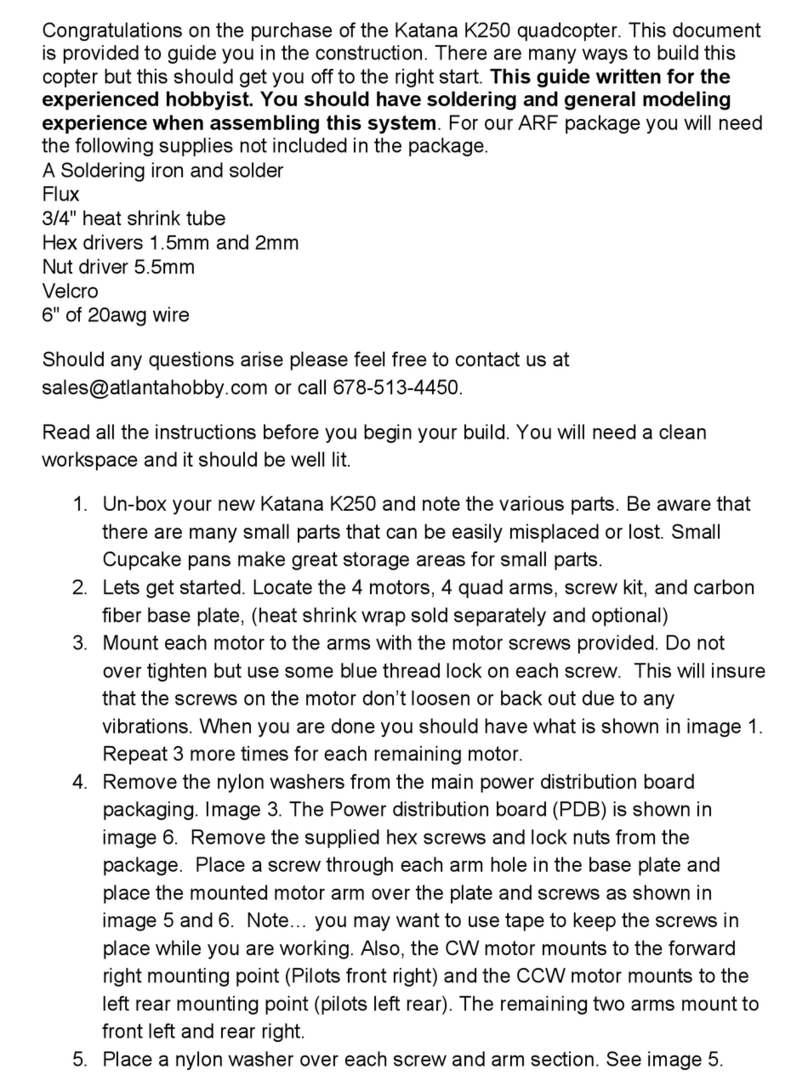
LDARC TINY R7 User manual

TINY R7
* Original BetaFlight SPRACINGF3 firmware
* Support BetaFlight FLIP OVER function
* Texas Instruments DRV8850 brush motor
driver, 5A continuous 8A peak-drive current
each way
User manual and video please visit:WWW.LDARC.COM
Instruction manual
Motor protocol must use DSHOT150
LDARC TINY R7 Instruction Manual 2018-03-05 9 Pages-Page 1

Package List
Wheelbase:75mm
Prop:40mm-4
FC Firmware:Betaflight SPRACINGF3
Motor Driver:Texas Instruments DRV8850 brush
motor driver, 5A continuous 8A peak-drive
current each way
VTX:25mW 16CH
Camera:199C(800TVL 150。)
Motor:820 Brushed(16000KV)
Battery:3.8V 450mAh 50C
Charger(4.2V/4.35V):
Basic combo+RTF(1-WAY 4.2V/4.35V Charger)
Advanced(6-WAY 4.2V/4.35V Charger)
Weight:38.8g(Dual-mode receiver inside FC,
not include battery)
Weight:37.9g(not include battery and receiver)
Receiver options:
①Dual-mode receiver inside FC:S-FHSS+D16
②NO RX ③FM800 ④DSM2 ⑤FS-RX2A
TINY R7 Configuration
LDARC TINY R7 Instruction Manual 2018-03-05 9 Pages-Page 2
Basic combo
Advanced combo
TINY R7*1
TINY R7*1 TINY R7*1
Battery*1 1-WAY 4.2V/4.35V
Charger*1
1-WAY 4.2V/4.35V
Charger*1
Battery*5 TINY Case+
Charger*1
TINY meter 1S*1
TINY meter 1S*1
TINY meter 1S*1
Prop tool*1
Prop tool*1 Wire(PH2.0)*2
Wire(PH2.0)*2 Wire(PH2.0)*2
Prop tool*1
3 Canopies
(yellow/red/pink) 40mm Prop*6Pairs
RTF
Battery*1 Carrying case*1
TINY X8*1

LDARC TINY R7 Instruction Manual 2018-03-05 9 Pages-Page 3
Motor
Charger
M4(CW)
Red&Blue
wire
M2(CCW)
Black&White
wire
M3(CCW)
Black&White
wire
M1(CW)
Red&Blue
wire
Note:Pay attention to the direction of motor and prop
6-WAY 4.2V/4.35V Charger
6-WAY 500mA 4.2V/4.35V Lipo charger
(Default 4.35V)
2~4S(7~18V) XT60 or USB power input
Power by XT60: 1 2 3 4 5 6 WAY
Power by USB: 4 5 6 WAY
LED ON : Charging
LED OFF: Charge finish
Molex 1.25 PH 2.0
XT60
123
456
Absolutely forbidden use 4.35V voltage charge 4.2V battery
Please replace the power plug after 100 flight or
power plug changed black.
Clockwise motor(CW) Clockwise Prop(CW)
Counterclockwise motor(CCW)
Counterclockwise Prop(CCW)

Transmitter
Transmitter firmware:WWW.KINGKONG-RC.COM/TX/X8
A
B
C
D
E
F
J
K
LDARC TINY R7 Instruction Manual 2018-03-05 9 Pages-Page 4
1-WAY 4.2V/4.35V Charger
Molex 1.25
PH 2.0
4.2V/4.35V Switchable
(Default 4.35V)
<E>:Battery power level LED:suggest charged battery when middle power
LED Battery status
keeps on High power (above 70%)
slow flash Middle power (30%~10%)
fast flash + buzzer Low power (less than 10%)
<F>:5 channel position switch indicator(green LED ARM,red LED DISARM).
<J>:RF indicator.
<K>:6 channel position switch indicator(fly mode setting, green,yellow,red LED all ANGLE mode default).
<A>:DISARM
<B>:ARM(ready to fly)
<C>:Click this key run FLIP OVER after carsh.
<D>:Only ANGLE mode default, MANUAL and HORIZON mode need set youself in BetaFlight.
ARM(ready to fly)
DISARM
1 2 3 4 5 6 7 8
T A E R 5 6 7 8
NORM L
REV H

FC
Frequency Table
Frequency button
F3-B2 FC
Firmware:SPRACINGF3,motor protocol must use DSHOT150.
LDARC TINY R7 Instruction Manual 2018-03-05 9 Pages-Page 5
Q25G2H (25mW 16CH, input voltage 3.6~5.0V)
VTX
PPM
S.BUS/DSM2(UART2)
5V
3.3V
GND LED
5V
GND
BOOT
1S BATTERY
LED
- +
VTX

LDARC TINY R7 Instruction Manual 2018-03-05 9 Pages-Page 6
Receiver status LED will blink twice then solid when power on, the meaning as follow.
First blink 【receive mode】 Second blink 【failsafe mode】
Then solid 【signal status】
■FUTABA S-FHSS ■
Failsafe mode 1
■
No signal
■FRSKY D16 ■
Failsafe mode 2
■
Signal received
BIND: check receive mode before bind, the first blink after power on indicate the
setting
■is S-FHSS,■is D16。
FUTABA S-FHSS BIND FRSKY D16
(NO Telemetry) BIND
Turn on the TX then power on receiver
while pressing the key, green LED fast
blink meaning already in bind mode,
user can release the key. Bind procedure
is completed and the receiver is working
normally when green LED is solid.
Power on receiver while pressing the key,
green LED fast blink meaning already in
bind mode, user can release the key, then
set your TX into D16 bind mode. red LED
solid meaning bind finished, exit TX from
bind mode, receiver’s green LED solid
meaning working normally.
FAILSAFE: second blink after power on indicate failsafe setting, please make sure
failsafe is working correctly !
After 1 second when lost transmitter
signal, S.BUS keep output, Throttle will
988us, all other channels will 1500us.
After 1 second when lost transmitter
signal, S.BUS not output, user should
setting related parameters to ensure
flight controller handle failsafe.
■
FAILSAFE MODE 1
■
FAILSAFE MODE 2
FAILSAFE MODE AND RECEIVE MODE SWITCH:
Press the key and hold when receiver working
normally, the LED will go off, after 3 seconds
yellow LED will blink once, release the key
receiver will switch to another failsafe mode
then restart automatic, LED will blink twice
then solid, for definitions of LED please
reference STATUS LED define above.
Press the key and hold when receiver working
normally, the LED will go off, after 3 seconds
yellow LED will blink once, keep hold until
yellow LED solid, release the key receiver will
switch to another receive mode then restart
automatic, LED will blink twice then solid, for
definitions of LED please reference STATUS LED
define above.
FAILSAFE MODE SWITCH
RECEIVE MODE SWITCH
F3-B2RX FC(Dual-mode S-FHSS+D16 receiver inside FC)
Onboard dual-mode receiver use S.BUS connect to FC's UART2 port,default S-FHSS.
LED
4V
GND
- +
Antenna
Receiver key
Receiver status LED
BOOT
please use plastic
tool to click the key
1S BATTERY
LED
VTX

3.2.0-SPRACINGF3-29-10-2017 11:00(stable)
Picture1 Picture2
Picture3
ESC/Motor Features
DSHOT150
DSHOT150
Picture4
UART2
UART1
UART3
Identifier Configuration/MSP Serial RX
115200
115200
115200
Picture5
ARM
ANGLE
LDARC TINY R7 Instruction Manual 2018-03-05 9 Pages-Page 7
Firmware version and setting
1.Software
2.Firmware version(Picture 1)
3.Default 4K(Picture 2)
4.Motor protocol must use DSHOT150(Picture 3)
5.S.BUS and DSM2 receiver must enable UART2 (Picture 4)
6.Default setting ARM function use AUX1 channel(Picture 5)
7.PID Setting(Picture 6)

TINY R7 KIT
TINY 7X Main frame(2 PCS)
820 Motor(CW+CCW)
Q25G2H VTX+199C Camera
199C Camera
Q25G2H VTX
F3-B2 FC
F3-B2RX FC(S-FHSS+D16)
KIT.TINY R7
PART.TINY 7X MAIN FRAME(2 PCS)
MOTOR.820(CW+CCW)
VTX+CAM.Q25G2H+199C
CAM.199C
VTX.Q25G2H
FC.F3-B2
FC.F3-B2RX(S-FHSS+D16)
Name
TINY R7 PNP
Basic combo
TINY R7 PNP
Advanced combo
TINY R7 RTF
Factory Code
PNP.TINY R7 BASIC COMBO
(S-FHSS+D16/FM800/FS-RX2A/DSM2/NO RX)
PNP.TINY R7 ADVANCED COMBO
(S-FHSS+D16/FM800/FS-RX2A/DSM2/NO RX)
RTF.TINY R7
Picture6 40
58
70
40
50
45
30
35
LDARC TINY R7 Instruction Manual 2018-03-05 9 Pages-Page 8
Product and Factory Code
FLIP OVER AFTER CRASH
Setting
Operation
1.Enable FLIP OVER AFTER CRASH mode
2.Setting transmitter 7CH switch is AUX3.
[STEP 1] multicopter DISARM (5CH AUX1=1200, THR need less than 1000)
[STEP 2] enable flip over function (7CH AUX3=1800)
[STEP 3] multicopter run flip over while ARM (5CH AUX1=1800), flip over can repeat
if turn DISARM (5CH AUX1=1200) then ARM (5CH AUX1=1800) again
[STEP 4] shut down flip over function (7CH AUX3=1200) the multicopter can fly.
TINY X8 radio FLIP OVER prog. mix firmware can support one-click automatic flip over
TINY X8 radio firmware download WWW.KINGKONG-RC.COM/TX/X8
FLIP OVER AFTER CRASH AUX3

LDARC TINY R7 Instruction Manual 2018-03-05 9 Pages-Page 9
After sale service
1.Provide free reparation service when find the product defect after purchase.
2.Provide pay-needed reparation service when product damage because improper
operation.
3.China customers please contact with the after-sales service,overseas client please
contact the dealer.
PNP/RTF Test report ID :
Flight test
Transmitter functions properly
Flying in good condition
Camera OK
VTX OK
QC:
Package check
PNP
RTF
Frame
Transmitter
ID is the same
All parts of the installation
Insulating sleeves have been installed manual
Complete accessories,total packages
QC:
40mm-4blade prop(1mm)
1-WAY 4.2V/4.35V Charger
TINY Charger 1S
TINY Case+Charger
Case(TINY 7X RTF)
Battery 3.8V 450mAh 50C
TINY meter
TINY R Canopy(4 color)
Prop tool
FM800 Receiver
FS-RX2A Receiver
DSM2 Receiver
TINY X8 Transmitter
PROP.40MM.4(1MM)
CHARGER.1-WAY 4.2V/4.35V
CHARGER.TINY CHARGER 1S
PART.TINY CASE AND CHARGER
PART.CASE(TINY 7X RTF)
BAT.3.8V 450MAH 50C
CHARGER.TINY METER
PART.TINY R CANOPY(4 COLOR)
PART.PROP TOOL
RX.FM800
RX.FS-RX2A
RX.DSM2
TX.TINY X8
Table of contents
Other LDARC Quadcopter manuals
