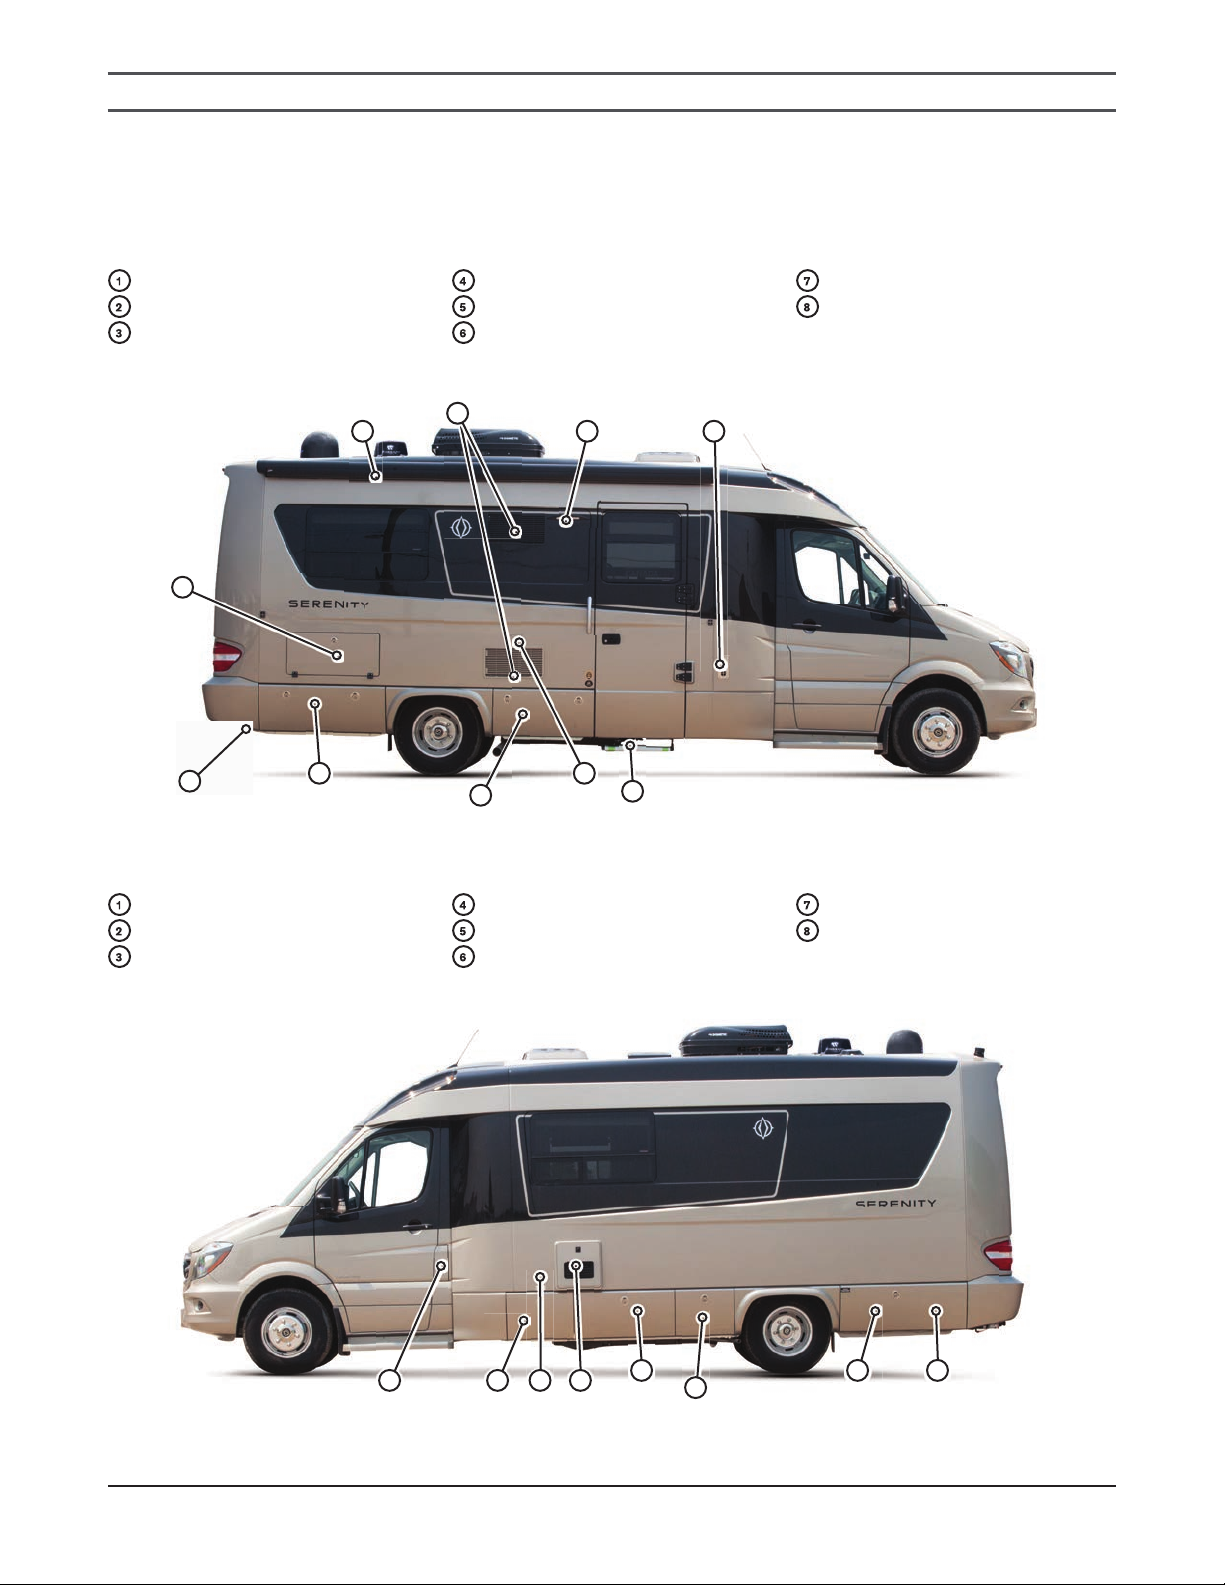
SERENITY MOTORHOME INTRODUCTION
5
INTRODUCTION
Congratulations!Thank youforselecting a Leisure Travel
Vans Motorhome.
Welcome to the exciting world of motorhome travel and
camping, with all the comforts of home with you, while
you travel and enjoy the outdoors.
Yourmotorhome has been designed and manufactured
to enhance your travel and camping experience and
to provide you with safe, efficient and trouble-free
operation.
Before your first drive, become familiar with the
operation of the vehicle chassis and all functions and
operations of the motorhome. Spend adequate time
with your dealer when you take delivery to learn all you
can about your new motorhome.
OWNER’S MANUAL
This manual was prepared to aid the operator and
occupants inthe operation and care ofthe motorhome.
There are many optionsto LeisureTravelVans, so ensure
that you are familiar with your motorhome’s systems
and equipment. All operators and occupants of the
motorhome should read, understand and follow the
instructions in this manual, thevehicle chassis manual &
the information contained inthe Motorhome Information
Kit provided with your new motorhome.
Your motorhome contains a number of systems,
components, equipment and appliances manufactured
by vendors that supply components for Triple E RV.
These vendors are unrelated to Triple E RV.
Before operating the motorhome for the first time –
even if an experienced motorhome operator – read
and become familiar with all of the relevant manuals
to your motorhome, components, equipment and
appliances provided in the Motorhome Information
Kit. Your familiarity with the detailed operation of
your motorhome will assist in your safe, efficient and
trouble-free motorhome operation.
KEEP the Motorhome Information Kit within your
motorhome for readily available reference.
PASS this manual, the Chassis Operation Manual and
the Motorhome Information Kit to any subsequent
operator or owner.
For clarification orfurtherdetails on any ofthe enclosed
information, please contact:
Your Leisure Travel Vans Dealer or Triple E RV Customer
Service at:
Email: info@tripleerv.com
TollFree: 8779929906
Telephone: 2043254361
Fax: 2043255241