CROP FUTURE LED
INSTALLATION INSTRUCTION
4
EN
INSTRUKCJA MONTAŻU
PL MONTAGEANLEITUNG
DE
ИНСТРУКЦИИ ПО УСТАНОВКЕ
RU INSTRUCTIONS DE MONTAGE
FR
ZASTOSOWANIE I FUNKCJE OPRAWY:
PL
1) Lampa posiada pojemną baterię, która jest przyjazna dla środowiska oraz przeznaczona do wielokrotnego ładowania.
2) Produkt ma ciekawy design, jest łatwy w obsłudze, charakteryzuje się długą żywotnością i czasem świecenia.
3) Lampa przeznaczona do pracy wewnątrz oraz na zewnątrz.
4) Funkcje przycisku zasilania: 1 wciśnięcie - włączenie lampy czołowej, 2 wciśnięcie - włączenie lampy bocznej,
3 wciśnięcie - wyłączenie lampy.
ŚRODKI OSTROŻNOŚCI
Proszę nie używać oprawy w najbliższym otoczeniu łatwopalnych materiałów oraz gazów. Upewnij się, że element oświetlenia
nie jest okryty matą izolacyjną lub podobnym materiałem. Używaj wyłącznie ładowarek dołączonych do produktu.
Trzymaj oprawę z dala od nieupoważnionych osób, przede wszystkim dzieci. Nie wolno świecić sobie ani innym osobom prosto
w oczy. Zakaz dotyczy również zwierząt. Zawsze przed ładowaniem sprawdzaj przewód zasilający. Jeżeli jest uszkodzony należy
niezwłocznie wymienić ładowarkę.
DANE TECHNICZNE
źSzczelność: IP54
ź3.7V bateria wielokrotnego ładowania Li-ion 1200mAH
źPanele robocze: 4W COB LED (main light) - 3W SMD LED (front)
źCzas pracy: 10h (światło czołowe); 3,5h (światło główne)
źCzas ładowania 3,5 godziny
źKlasa ochrony: III
źSugerowany zasilacz: wejście 100-240V 50/60Hz / wyjście 5V 1A
źProszę zwrócić uwagę na magnes gdyż może on przyciągać
metalowe, żelazne elementy.
ŁADOWANIE PRZY POMOCY ŁADOWARKI NA 230V:
Umieść odpowiednią wtyczkę do
standardowego kontaktu na 230V.
Następnie podepnij odpowiednią wtyczkę
zasilacza do gniazdka w oprawie (front).
W czasie ładowania będą migały zielone
diody. Gdy bateria się naładuje, wszystkie
diody zielone będą się ciągle świeciły.
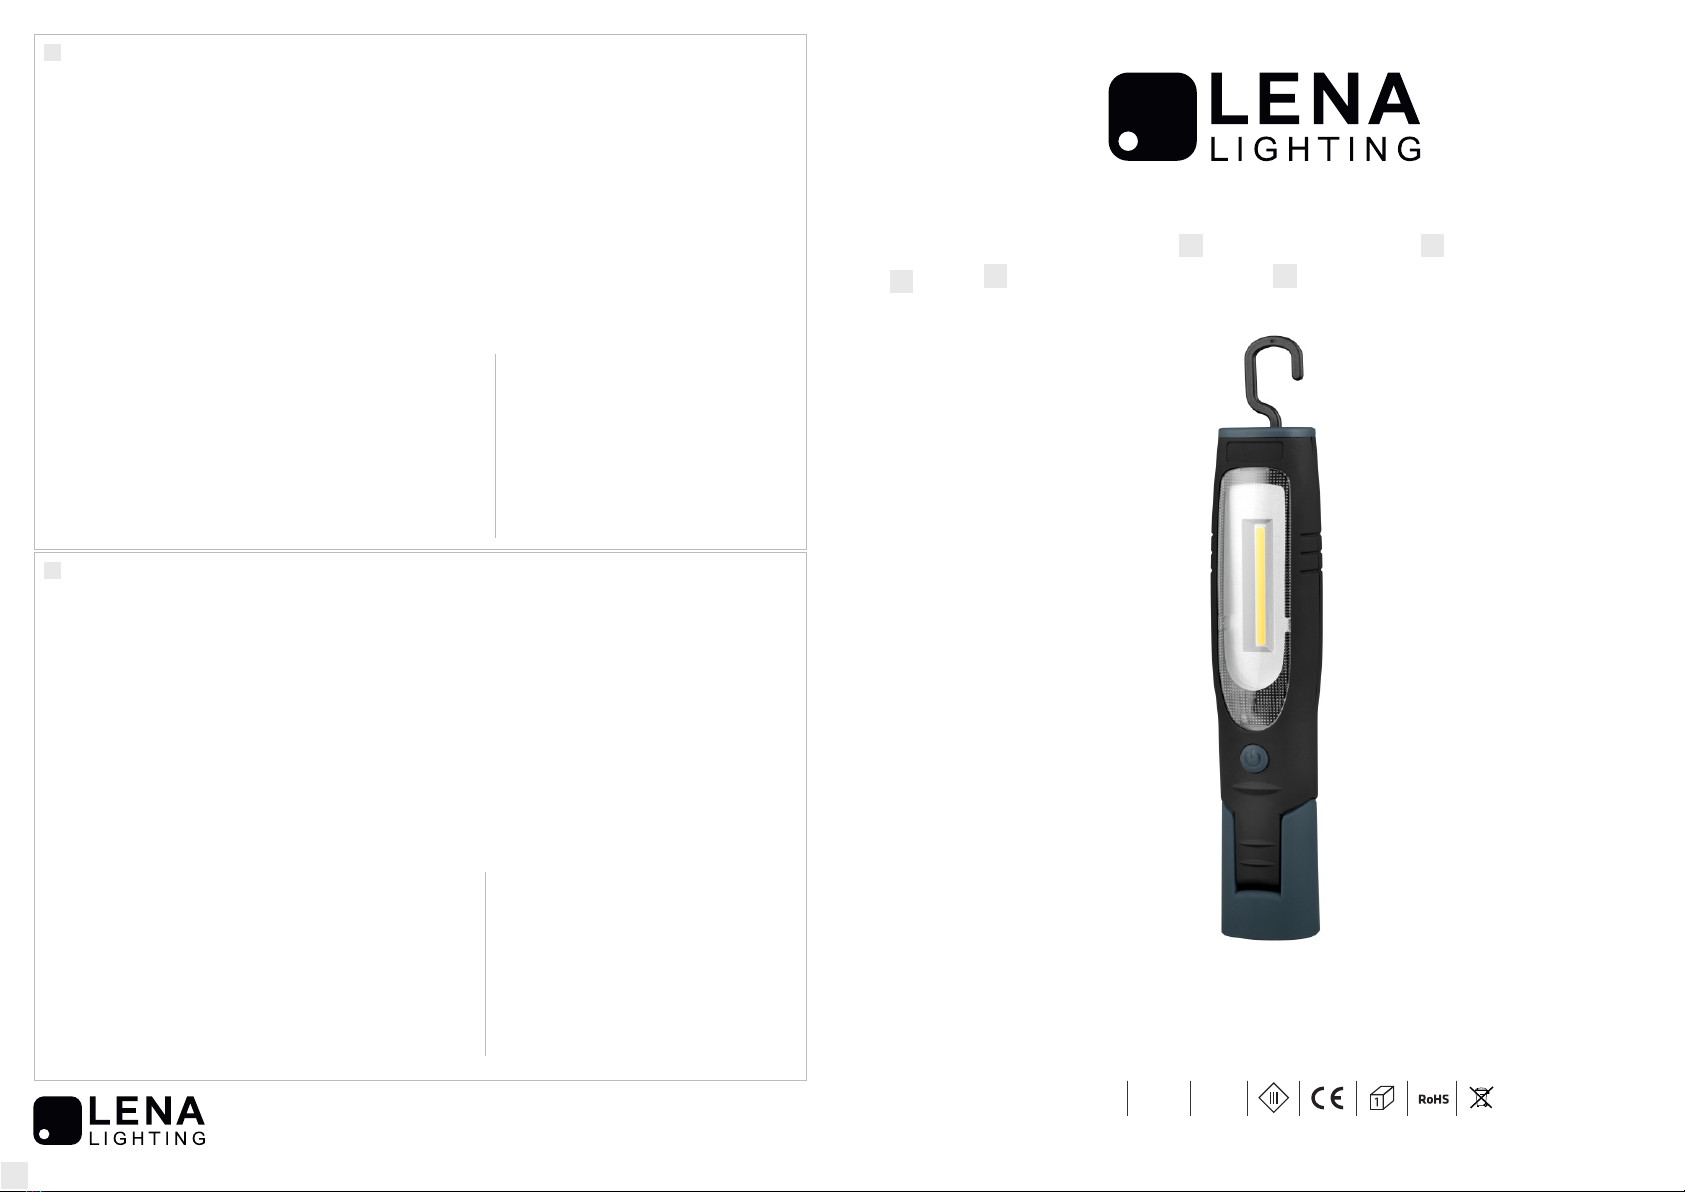
FUNCTION AND USE:
EN
1) This product uses high-powered rechargeable, environment-friendly, non-memory Li-battery.
2) This product has the characteristics of novel design, easy to take, high brightness, long-distance visualization,
long life and long working time.
3) This product is designed for outside and inside use, for, long journey, outside working, field exploration, field searching,
it is the first choice for working at night or camping outdoor.
4) Options of the switch button: 1st push - switch ON flashlight, 2nd push - switch ON mainlight,
3rd push - switch OFF lamp.
SAFETY PRECAUTIONS:
Do not use the lamp in the immediate vicinity of inflammable materials or gases. Make sure that the illuminants are not covered
during use. Only use the accessories included with the product for recharging your rechargeable workshop lamp. Keep the lamp out
of reach of unauthorised persons, especially children. Do not point the light directly in your own or any other person's or animal's
eyes. Always check the mains cable before you use the charger. If the mains cable is damaged, replace the charger.
TECHNICAL DATA
źIngress protection class: IP54
ź3.7V rechargeable battery Li-ion 1200mAH
źWorking panels: 4W COB LED (main light) - 3W SMD LED (front)
źWorking time: 10h (Head Light); 3,5h (Main Light)
źCharging time: 3,5 h
źProtecion class: III
źSuggested power supply: input 100-240V 50/60Hz, output 5V 1A
źPlease pay attention that the magnet inside the lamp can attract
metal / iron objects
CHARGING USING THE 100-240V MAINS UNIT:
Plug the power supply into an ordinary
100-240V AC mains power socket. Plug the
charger cable into the corresponding
socket on the handgrip. The green LEDs
will be blinking while charging batteries.
When are completely charged, the LED
turns stable green colour.
230 V
50 Hz
IP54
COB LED
LENA LIGHTING S.A.
ul.Kornicka 52, 63-000 Sroda Wlkp.
POLAND
tel. +48 61 28 60 300
www.lenalighting.pl


