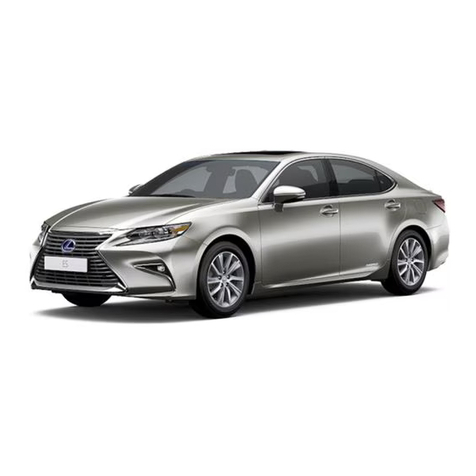
Lexus NX450h+ 2022 User manual

2022
NX450h+
OWNER’S MANUAL QUICK GUIDE

Your Lexus Dealer
Your Lexus dealer will provide quality maintenance and any other assistance you
may require.
If there is not a Lexus dealer near you, please call the following number:
■U.S. OWNERS
●In the U.S. mainland or Canada:
Lexus Roadside Assistance
1-800-25-LEXUS or 1-800-255-3987 (Toll-Free)
●In Hawaii:
Servco Automotive Roadside Assistance/Customer Services
1-800-25-LEXUS or 1-800-255-3987 (Toll-Free)
■CANADIAN OWNERS
●In Canada or the U.S. mainland:
Lexus Roadside Assistance/Customer Service
1-800-26-LEXUS or 1-800-265-3987 (Toll-Free)
Please access our websites for further information.
●The U.S. mainland: www.lexus.com
●Hawaii: www.servcolexus.com
●Canada: www.lexus.ca
© 2021 TOYOTA MOTOR CORPORATION
All rights reserved. This material may not be reproduced or copied, in whole or in
part, without the written permission of Toyota Motor Corporation.

For your information
The "Quick Guide" is not intended as a substitute for your "OWNER'S MAN-
UAL".
We strongly encourage you to review the "OWNER'S MANUAL" and supple-
mentary manuals so you will have a better understanding of your vehicle's capabili-
ties and limitations.
Depending on specifications, the vehicle shown in the illustration may differ from
your vehicle in terms of equipment
For your information
1

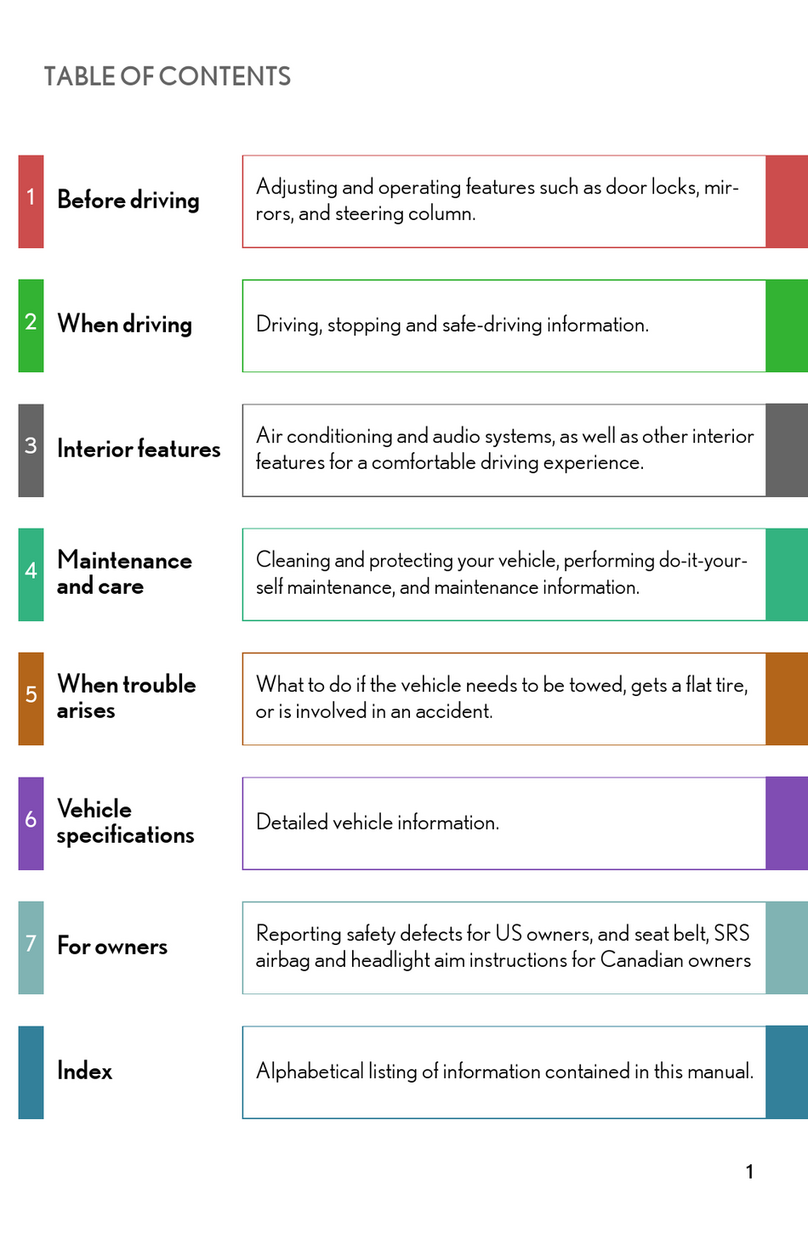
Pictorial index
Pictorial index
Instrument panel
APower switch .....................................................................................................................P.16
Starting the hybrid system/changing the modes............................................................P.16
Emergency stop of the hybrid system................................................................................. P.17
When the hybrid system will not start*1
Warning messages*1
BShift lever ...........................................................................................................................P.18
Changing the shift position .....................................................................................................P.19
Precautions for towing
CMeters*1
Reading the meters/adjusting the instrument panel light*1
Warning lights/indicator lights..............................................................................................P.93
When a warning light turns on*1
DMulti-information display.............................................................................................P.26
Display ............................................................................................................................................P.26
*1 : Refer to the "OWNER’S MANUAL".
Pictorial index
2

Energy monitor............................................................................................................................P.39
When a warning message is displayed*1
ETurn signal lever/Headlight switch .....................................................................P.22,29
Headlights/parking lights/tail lights/license plate lights/daytime running lights......
............................................................................................................................................................P.29
Front fog lights
FWindshield wiper and washer switch................................................................ P.33,34
Usage ...................................................................................................................................... P.33,34
Adding washer fluid*1
Warning messages*1
GEmergency flasher switch*1
HHood lock release lever*1
ITilt and telescopic steering control switch*1
Adjustment*1
Driving position memory*1
JAir conditioning system................................................................................................P.59
Usage ..............................................................................................................................................P.59
Rear window defogger
KAudio system
Pictorial index
3

Switches
AInstrument panel light control switches
BODO/TRIP switch
CAdvanced Park (parking assist system) main switch**2
DCamera switch**3
EFuel filler door opener switch .................................................................................... P.89
FPower back door switch*2........................................................................................... P.86
GDriving position memory switches*2
HOutside rear view mirror switches*2
IDoor lock switches.........................................................................................................P.79
JPower window switches ............................................................................................... P.82
KWindow lock switch*2 .................................................................................................. P.83
*2 : Refer to the "OWNER’S MANUAL".
* : If equipped
*3 : Refer to "MULTIMEDIA OWNER'S MANUAL".
Pictorial index
4

APaddle shift switches..................................................................................................... P.20
BMeter control switches.................................................................................................P.27
CCruise control switch*2
Dynamic radar cruise control*2
DAudio remote control switches*4*2
ELTA (Lane Tracing Assist) switch*2
FTelephone switch*5
GTalk switch*6
HAudio remote control switches/telephone switch/talk switch*7 .....................P.27
ISwitch function change switch ...................................................................................P.27
*4 : Refer to "MULTIMEDIA OWNER'S MANUAL".
*5 : Refer to "MULTIMEDIA OWNER'S MANUAL".
*6 : Refer to "MULTIMEDIA OWNER'S MANUAL".
*7 : Refer to "MULTIMEDIA OWNER'S MANUAL".
Pictorial index
5

ADriving mode select switch..........................................................................................P.36
BP position switch*2...........................................................................................................P.19
CBrake hold switch*2....................................................................................................... P.25
DEV/HV mode selection switch.....................................................................................P.14
EAUTO EV/HV mode switch .........................................................................................P.14
FVSC OFF switch*2
GTrail Mode switch
HParking brake switch ........................................................................................P.19,23,25
Applying/releasing the parking brake..................................................................P.19,23,25
Precautions for winter season*2
Warning buzzer/messages*2
Pictorial index
6

Interior
ASRS airbags*8
BFloor mats ............................................................................................................................P.9
CFront seats*8
DRear seats*8
EHead restraints*8
FSeat belts*8
GConsole box*8
HCup holders*8
IAssist grips*8
*8 : Refer to the "OWNER’S MANUAL".
Pictorial index
7

Ceiling
AInside rear view mirror*9
BSun visors*9
CVanity mirrors*9
DAuxiliary box*9
EMoon roof switches*9................................................................................................... P.84
FInterior light/Personal lights*9
G[SOS] button
HDoor-linked interior light switch*9
IGarage door opener switches................................................................................... P.68
*9 : Refer to the "OWNER’S MANUAL".
Pictorial index
8

Entering and Exiting
Using the dedicated floor mats correctly
Use only floor mats designed specifically for vehicles of the same model and model
year as your vehicle. Fix them securely in place onto the carpet.
Securing the floor mats
1Insert the retaining hooks (clips) into the floor
mat eyelets.
2Turn the upper knob of each retaining hook
(clip) to secure the floor mats in place.
Always align the △ marks .
The shape of the retaining hooks (clips) may differ
from that shown in the illustration.
Entering and Exiting
9

Key types
The following keys are provided with the vehicle.
AElectronic keys
●Operating the smart access system with
push-button start
●Operating the wireless remote control
function
BMechanical keys
CKey number plate
DCard key (electronic key)*
Operating the smart access system with push-
button start
* : If equipped
Entering and Exiting
10

Smart access system with push-button start
Locking/unlocking the doors using smart access system with push-but-
ton start
The driver should always carry an electronic key (or the card key) on their person,
for example in their pocket.
For details on starting the engine, see page .
1Grip the driver’s door handle to unlock the
door. Holding the driver’s door handle for
approximately 2 seconds unlocks all the
doors. Grip any passenger door handle to
unlock all the doors.*1
Make sure to touch the sensor on the back
of the handle.
The doors cannot be unlocked for 3 sec-
onds after the doors are locked.
2Touch the lock sensor (the indentation on
the surface of the door handle) to lock the
doors.
Check that the door is securely locked.
Operating the back door using the smart access system with push-but-
ton start
Lock/unlock the back door using smart access system with push-button start
1Press 1.
All of the doors will unlock. However, the doors
cannot be unlocked within 3 seconds after they
were locked.
2Press 2.
All of the doors will lock. Make sure that the
doors are securely locked.
For details on what to do when the electronic key does not operate properly, see
page .
*1 : The door unlock settings can be changed.
Entering and Exiting
11

When Driving
Hybrid system indicator
ACharge area
Shows regeneration status.
Regenerated energy will be used to charge the
hybrid battery (traction battery).
When used in this manual, "regeneration" refers
to the conversion of energy created by the
movement of the vehicle into electrical energy.
BEco area
Shows that the vehicle is being driven in an Eco-
friendly manner.
By keeping the indicator needle within Eco area,
more Eco-friendly driving can be achieved.
CPower area
Shows that an Eco-friendly driving range is be-
ing exceeded (during full power driving etc.)
DHybrid Eco area (HV mode)
Shows that gasoline engine power is not being
used very often.
The gasoline engine will automatically stop and
restart under various conditions.
EEV driving area (EV mode or AUTO
EV/HV mode)
Shows that the vehicle is driven using only the
electric motor (traction motor).
When Driving
12

Important points for the plug-in hybrid system
Plug-in hybrid system features
The plug-in hybrid system is a system excellent in both economical efficiency
of electric vehicles and practicality of hybrid electric vehicles.EV driving can be
performed using electricity charged from an external power source.If the amount
of electricity remaining in the hybrid battery (traction battery) becomes low, the
vehicle is automatically controlled in such a way that it can be riven as a hybrid
electric vehicle through the joint use of the gasoline engine.*1The hybrid system
combines the use of a gasoline engine and an electric motor (traction motor)
according to driving conditions, improving fuel efficiency and reducing exhaust
emissions.For details, refer to the "OWNER’S MANUAL".
INFORMATION
■Hybrid battery (traction battery) charge
If the shift lever is in N, the hybrid battery (traction battery) will not be charging, even
when the engine is running. Therefore, if the vehicle is left with the shift lever in N, the
hybrid battery (traction battery) will discharge, and this may result in the vehicle not being
able to start.
■Sounds and vibrations specific to a hybrid electric vehicle
Because there is no engine sound or vibration, it is easy to mistake the hybrid electric
vehicle for being off when it is actually still running, as indicated by the "READY"
indicator being illuminated. For safety, make sure to always shift the shift position to P and
apply the parking brake when parked.
The following sounds or vibrations may occur when the hybrid system is operating and
are not a malfunction:
●Motor sounds may be heard from the engine compartment.
●Sounds may be heard from the hybrid battery (traction battery) behind the rear seats
when the hybrid system starts or stops.
●Relay operating sounds such as a snap or soft clank will be emitted from the hybrid
battery (traction battery), behind the rear seats, when the hybrid system is started or
stopped.
●Sounds from the hybrid system may be heard when the back door is open.
●Sounds may be heard from the transmission when the gasoline engine starts or stops,
when driving at low speeds, or during idling.
*1 : The EV driving range will vary in accordance with conditions such as vehicle speed,
the amount of charge remaining in the hybrid battery (traction battery) and the usage
of the air conditioning system. The gasoline engine may also be used simultaneously in
accordance with driving conditions.
When Driving
13

●Engine sounds may be heard when accelerating sharply.
●Sounds may be heard due to regenerative braking when the brake pedal is depressed
or as the accelerator pedal is released.
●Vibration may be felt when the gasoline engine starts or stops.
●Cooling fan sounds may be heard from the air intake vents under the rear seats.
●Sounds may be heard from near the hybrid battery (traction battery) in accordance
with the operation of the air conditioning system or Traction battery cooler.
Switching the plug-in hybrid system operation modes
Press the AUTO EV/HV mode switch or EV/HV mode selection switch to change
modes as the following table shows.
When the operation mode is changed, the illuminated indicator will also change.
In order to make EV mode or AUTO EV/HV mode available, charge the hybrid
battery (traction battery) from an external power source before using the vehicle.
Even if charging the hybrid battery (traction battery) has not been completed, the
vehicle can be driven. However, if there is not enough charge remaining, it is possi-
ble that the vehicle cannot be driven in EV mode or AUTO EV/HV mode or the
EV driving range will become shorter.
Current mode Mode after switching
EV mode AUTO EV/HV mode
AUTO EV/HV mode EV mode
HV mode AUTO EV/HV mode*2
Current mode Mode after switching
EV mode HV mode
AUTO EV/HV mode HV mode
HV mode EV mode*3
▶ AUTO EV/HV mode switch
*2 : If there is not enough charge remaining in the hybrid battery (traction battery) to allow
EV driving, AUTO EV/HV mode will not be selectable.
*3 : If there is not enough charge remaining in the hybrid battery (traction battery) to allow
EV driving, EV mode will not be selectable.
When Driving
14

Switching to the hybrid battery (traction battery) charge mode
Press and hold the EV/HV mode selection
switch.
Take your hand off the switch once the hybrid battery
charge mode indicator starts to blink.
The hybrid battery charge mode indicator illuminates
when the switch to hybrid battery (traction battery)
charge mode is complete.
When the hybrid battery (traction battery) is fully charged*4, the hybrid battery (traction
battery) charge mode is automatically canceled and the operation mode will be switched
to HV mode.
The hybrid battery (traction battery) charge mode will be canceled by pressing AUTO
EV/HV mode switch or EV/HV mode selection switch.
▶ EV/HV mode selection
switch
*4 : The maximum charge amount in the hybrid battery (traction battery) charge mode is
approximately 80% of the fully charged capacity for the charging from an external
power source.
When Driving
15

Starting the hybrid system
Performing the following operations when carrying the electronic key on your
person starts the hybrid system or changes power switch modes.
Starting the hybrid system
1Check that the parking brake is set.
The parking brake indicator will come on.
2Firmly depress the brake pedal.
and a message will be displayed on the multi-information display. If it is not
displayed, the hybrid system cannot be started.
When the shift position is N, the hybrid system cannot start. Shift the shift position to P
when starting the hybrid system.
3Press the power switch shortly and firmly.
When operating the power switch, one short, firm
press is enough. It is not necessary to press and
hold the switch.
If the "READY" indicator turns on, the hybrid sys-
tem will operate normally.
Continue depressing the brake pedal until the
"READY" indicator is illuminated.
The hybrid system can be started from any power switch mode.
4Check that the "READY" indicator is illuminated.
The vehicle will not move when the "READY" indicator is off.
Changing the power switch mode
Modes can be changed by pressing the power switch with brake pedal released.
(The mode changes each time the switch is pressed.)
When Driving
16

1OFF
The emergency flashers can be used.
2ACC*5
Some electrical components such as the
audio system can be used. "ACCESSORY"
will be displayed on the multi-information
display.
3ON
All electrical components can be used.
"IGNITION ON" will be displayed on the
multi-information display.
Stopping the vehicle in an emergency
Stop the vehicle using the following procedure only in an emergency, such as if it
becomes impossible to stop the vehicle in the normal way:
1Steadily step on the brake pedal with both feet and firmly depress it.
Do not pump the brake pedal repeatedly as this will increase the effort required to slow
the vehicle.
2Change the shift position to N.
●If the shift position is changed to N:
After slowing down, stop the vehicle in a safe place by the road.
Stop the hybrid system.
●If the shift position cannnot be changed to N:
Keep depressing the brake pedal with both feet to reduce vehicle speed as much as
possible.
To stop the hybrid system, press and hold the power switch for 2 consecutive
seconds or more, or press it briefly 3 times or more in succession.
3Stop the vehicle in a safe place by the road.
*5 : This can be enabled/disabled through a customize setting.
When Driving
17

Intended use of each shift position
Select the shift position depending on your purpose and situation.
Shift position Objective or function
PParking the vehicle/starting the hybrid sys-
tem
R Reversing
N Neutral
DNormal driving(1)
SS mode driving(2)
(1) To improve fuel efficiency and reduce noise, set the shift position in D for normal
driving. You can choose gear range suitable for your driving situation by operating the
paddle shift switches.
(2) By selecting shift ranges using S mode, you can control accelerating force and engine
braking force.
When Driving
18
Table of contents
Other Lexus Automobile manuals

Lexus
Lexus 2012 LS 600h L User manual

Lexus
Lexus GS300 1998 User manual

Lexus
Lexus RC 350 2019 User manual

Lexus
Lexus 2013 ES350 Operating manual

Lexus
Lexus GS 450h User manual

Lexus
Lexus 2012 LS 600h L User manual

Lexus
Lexus 2015 ES 300h User manual

Lexus
Lexus ES 300(h) User manual

Lexus
Lexus GS430 User manual

Lexus
Lexus RC300h 2017 User manual

Lexus
Lexus RX 350 2010 User manual

Lexus
Lexus RC350 User manual

Lexus
Lexus RX 350 User manual

Lexus
Lexus LS 460 2017 User manual

Lexus
Lexus HYBRID RX400h User manual

Lexus
Lexus SC 430 2006 User manual

Lexus
Lexus LS 460 2011 User manual

Lexus
Lexus OM30727U User manual

Lexus
Lexus RX450h User manual

Lexus
Lexus ES 2015 User manual