8 PARTS AND FEATURES
CONTROL PAN EL
EXTRA DRY EXTRA RINSE DELAY START POWER (i)
SANITARY
Y._/' Y _y' y_<:_
SMART
DIAGNOSIS TM
L *CANCEL _L YrCHILD LOCK J
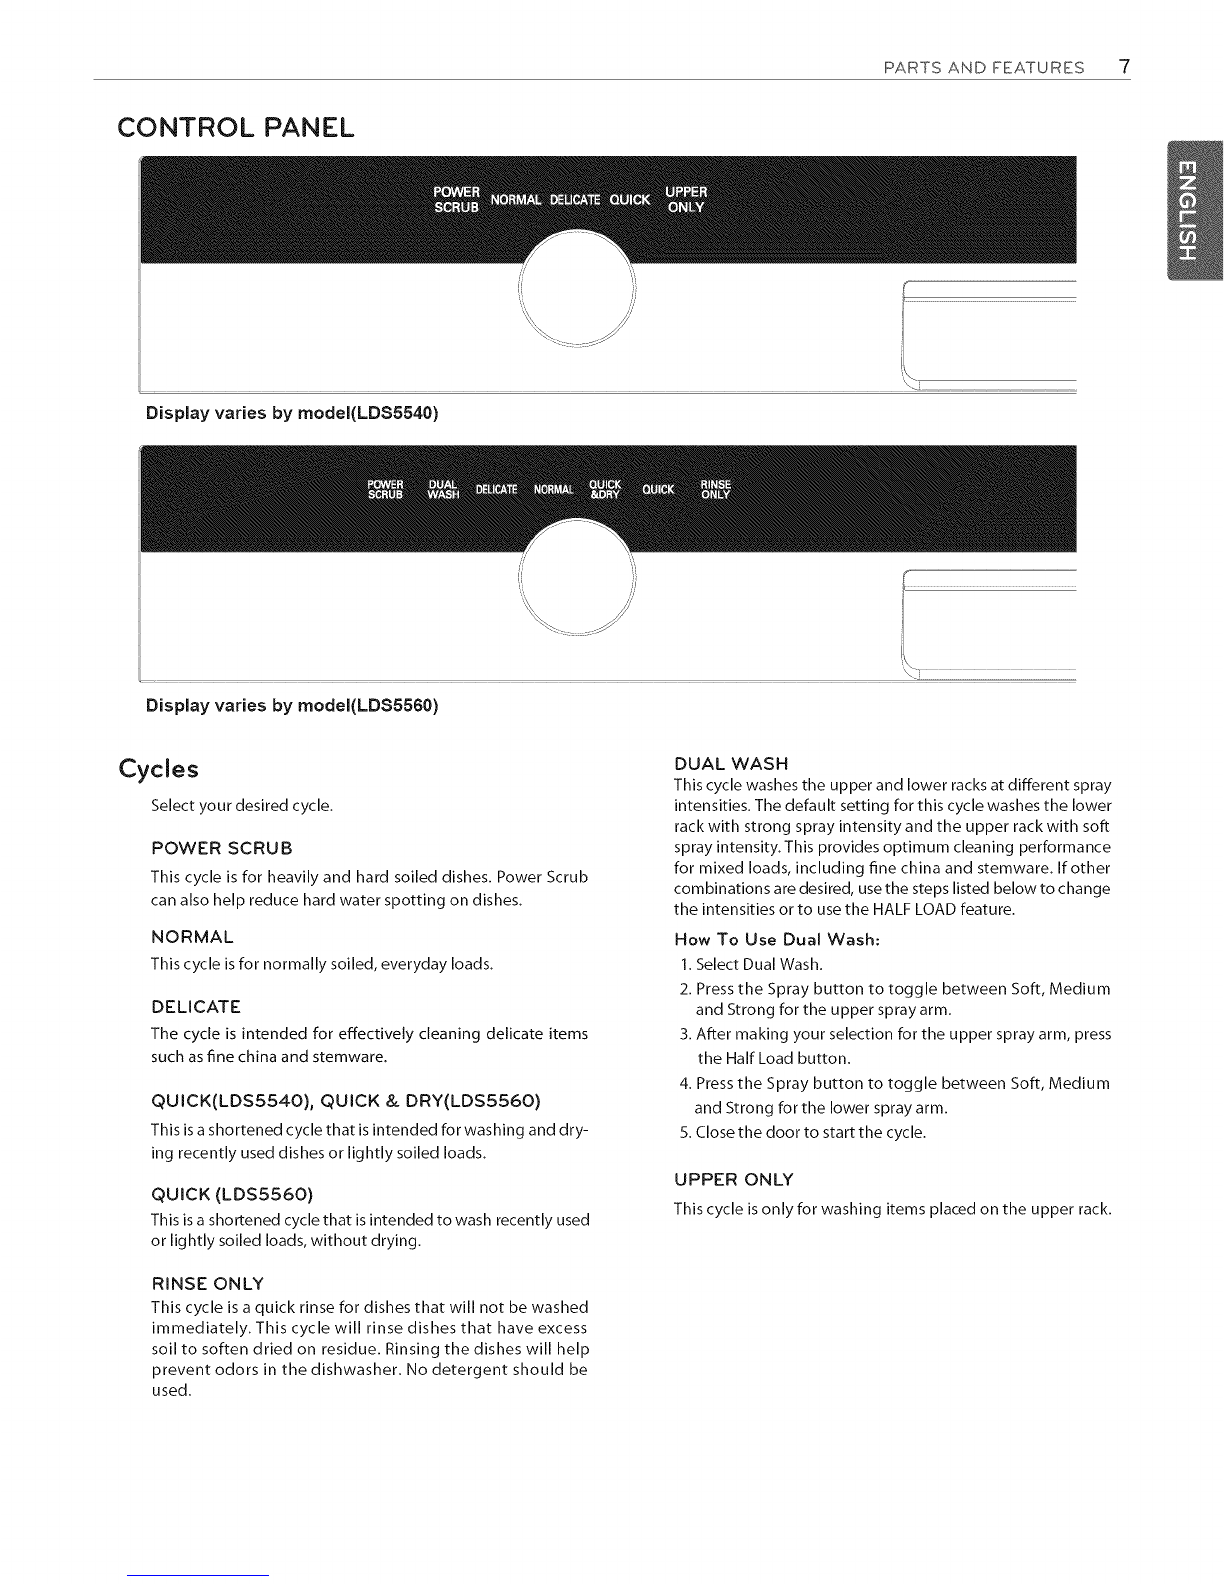
Display varies by model(LDS5540)
Cycle Opfions
Press the desired cycle and then select the options for that
cycle.
SAN ITARY
This high-temperature rinse sanitizes dishes and glassware in
accordance with NSF/ANSI Standard 184 for residential dish-
washers. Certified dishwashers are not intended for licensed
food establishments.
EXTRA DRY
Select the EXTRA DRYoption for better drying performance.
This option adds 60 minutes of extra drying time to the cycle.
EXTRA RINSE
The Extra Rinse symbol indicates that an extra rinse has been
added to the cycle.
DELAY START
The Delay Start feature allows you to delay the start of a se-
lected cycle. Eachtime the Delay Start button ispressed, the
delay time will increase an hour. The delay start time can be
set from 1to 19 hours, in one-hour increments.
POWER
Pressthe Power button to turn on the control panel. If no
cycle is selected within four minutes, the dishwasher will
power off.
After the cycle is complete, the power automatically turns
offfor safety and to reduce energy consumption.
If there is a power surge, power outage, or disruption of
any kind, the PFindicator will display and power will be au-
tomatically turned off for safety. The cycle win need to be
testa rted.
TO CANCEL A CYCLE
To cancel a cycle, open the door and then press and hold
the Extra Dry and Extra Rinse buttons simultaneously for
approximately three seconds. The drain pump win activate
and the cycle will cancel. The display will show "dr" and
the dish-washer win drain the water. After the dishwasher
is drained, the power will turn off.
If power is turned on and no cycle has been selected, the
dishwasher will power offwithin four minutes.
CHIME ON/OFF
To enable or disable the chime, first, turn on the dishwasher.
Press and hold the Extra Dry and Delay Start buttons sim-
ultaneously for approximately three seconds.
CHILD LOCK
The Child Lock feature helps prevent your settings from be-
ing changed during a cycle. Selecting this feature locks all
of the buttons, except for the Power button, on the control
panel. This feature does not lock the door.
To activate the Child Lock:
1. Press the Power button.
2. Select the cycle (and desired options).
3. Pressand hold the Extra Rinseand Delay Start buttons for
three seconds. The Child Lock indicator will illuminate in
the display once the Child Lock is activated.
DIGITAL DISPLAY
The Digital Display on the control panel shows the ESTIMAT-
ED cycle time. When the dishwasher is powered up, the dis-
play will be blank. When the cycle and options are selected,
the display will show the total estimated time to complete
those selections. During operation, the display shows the re-
maining estimated operating time.
NOTE
• The estimated time shown in the display does not include
delay times for heating water, etc.
• If Delay Wash is selected, the display shows the delay time
in hours.
• Time may vary depending on the soil level of your load.
• The RINSE AID symbol 2J_o indicates that the rinse aid
needs to be refilled. +q'_
\__
SMART DIAGNOSIS ....
Should you experience any problems with your dishwasher,
it has the capability of transmitting data to your Smart Phone
using the LGSmart Laundry& DWApplication or via you tele-
phone to the LGcall center.
.@ NOTE
Smart Diagnosis is a troubleshooting feature designed to as
sist, not replace, the traditional method of troubleshootinc _
through service calls. The effectiveness of this feature de
pends upon various factors, including, but not limited to, th(
reception of the cellular phone being used for transmission
any external noise that may be present during the transmis
sion, and the acoustics of the room where the machine isIo
cated. Accordingly, LGdoes not guarantee that Smart Diag
nosis would accurately troubleshoot any given issue.