3
INTRODUCTION
Table
of
Contents
Introduction
SafetyPrecautions.........................2
TableofContents..........................3
BeforeUse..............................4-5
PlayableDiscs...........................4
Precautions.............................5
NotesonDiscs..........................5
AboutSymbols..........................5
FrontPanelandRearPanel..................6
RemoteControl............................7
DisplayWindow............................8
Preparation
Connections............................9-12
Connecting
to
External
Equipment
or
Antenna
. . .
9
ConnectingtoaTV......................10
ConnectingtoOptionalEquipment.
. . . . . . . . .
.11
SpeakerSystemConnection...............12
BeforeOperation.......................13-21
AudioAdjustment........................13
SpeakerPositioning...................13
VolumeAdjustment...................13
MUTE.............................13
SoundQualityAdjustment..............13
SURROUND........................13
XDSS
(Extreme
Dynamic
Sound
System)
. .
13
Mini
Glossary
for
Audio
Stream
&
Surroud
Mode..............................14
SoundMode........................14
SettingtheClock.....................15
SleepTimerFunction..................15
TimerFunction.......................16
GeneralExplanation......................17
On-ScreenDisplay.......................17
InitialSettings........................18-21
Initial
Settings
General
Operation.
. . . . . . . .
18
Language..........................18
Picture.............................18
Others.............................19
ParentalControl......................20
SpeakerSetup.......................21
Operation
OperationwithRADIO...................22-23
Presettingtheradiostations................22
Listeningtotheradio.....................22
RDSFunction-OPTIONAL................23
AboutRDS.........................23
ProgrammeSearch(PTY)..............23
OperationwithTAPE......................24
BasicPlayback/ToStopPlay...............24
TapeCounterReset......................24
ToPlayRewindorFastForward.
. . . . . . . . . .
.24
Recording...............................24
BasicSetting...........................24
Recording
from
Radio,
CD
or
Auxiliary
source
. .
24
CDtoTapeSynchronizedRecording.
. . . . . . .
.24
OperationwithDVDandVideoCD.
. . . . . . .
.25-27
PlayingaDVDandVideoCD...............25
GeneralFeatures........................25
MovingtoanotherTITLE...............25
Moving
to
another
CHAPTER/TRACK
. . . . .
25
Search.............................25
Still
Picture
and
Frame-by-Frame
Playback
.
26
SlowMotion.........................26
Repeat............................26
RepeatA-B.........................26
TimeSearch........................26
LastConditionMemory................26
3DSurround........................26
Zoom..............................27
MarkerSearch.......................27
SpecialDVDFeatures....................27
TitleMenu..........................27
DiscMenu..........................27
CameraAngle.......................27
ChangingtheAudioLanguage.
. . . . . . . . .
.27
ChangingtheAudioChannel.
. . . . . . . . . .
.27
Subtitle............................27
Operation
with
Audio
CD
and
MP3/WMA
Disc
28-29
Playing
an
Audio
CD
and
MP3/WMA
Disc
. . . . .
28
NotesonMP3/WMARecordings.
. . . . . . . . . .
.28
Pause.............................29
MovingtoanotherTrack...............29
RepeatTrack/All/Off..................29
Search.............................29
RepeatA-B.........................29
ChangingtheAudioChannel.
. . . . . . . . . .
.29
OperationwithJPEGDisc...................30
ViewingaJPEGdisc.....................30
MovingtoanotherFile.................30
StillPicture.........................30
Toflipthepicture.....................30
Torotatepicture......................30
NotesonJPEGRecordings.
...........
.30
ProgrammedPlayback.....................31
Programmed
Playback
with
Audio
CD
and
MP3/WMADisc.........................31
ProgrammedPlaybackwithVideoCD.
. . . . . .
.31
RepeatProgrammedTracks
. . . . . . . . . . .
.31
ErasingaTrackfromProgramList.
. . . . . .
.31
ErasingtheCompleteProgramList.
. . . . .
.31
Reference
Troubleshooting..........................32
LanguageCodeList.......................33
CountryCodeList.........................34
Specifications............................35
About
the
symbols
for
instructions
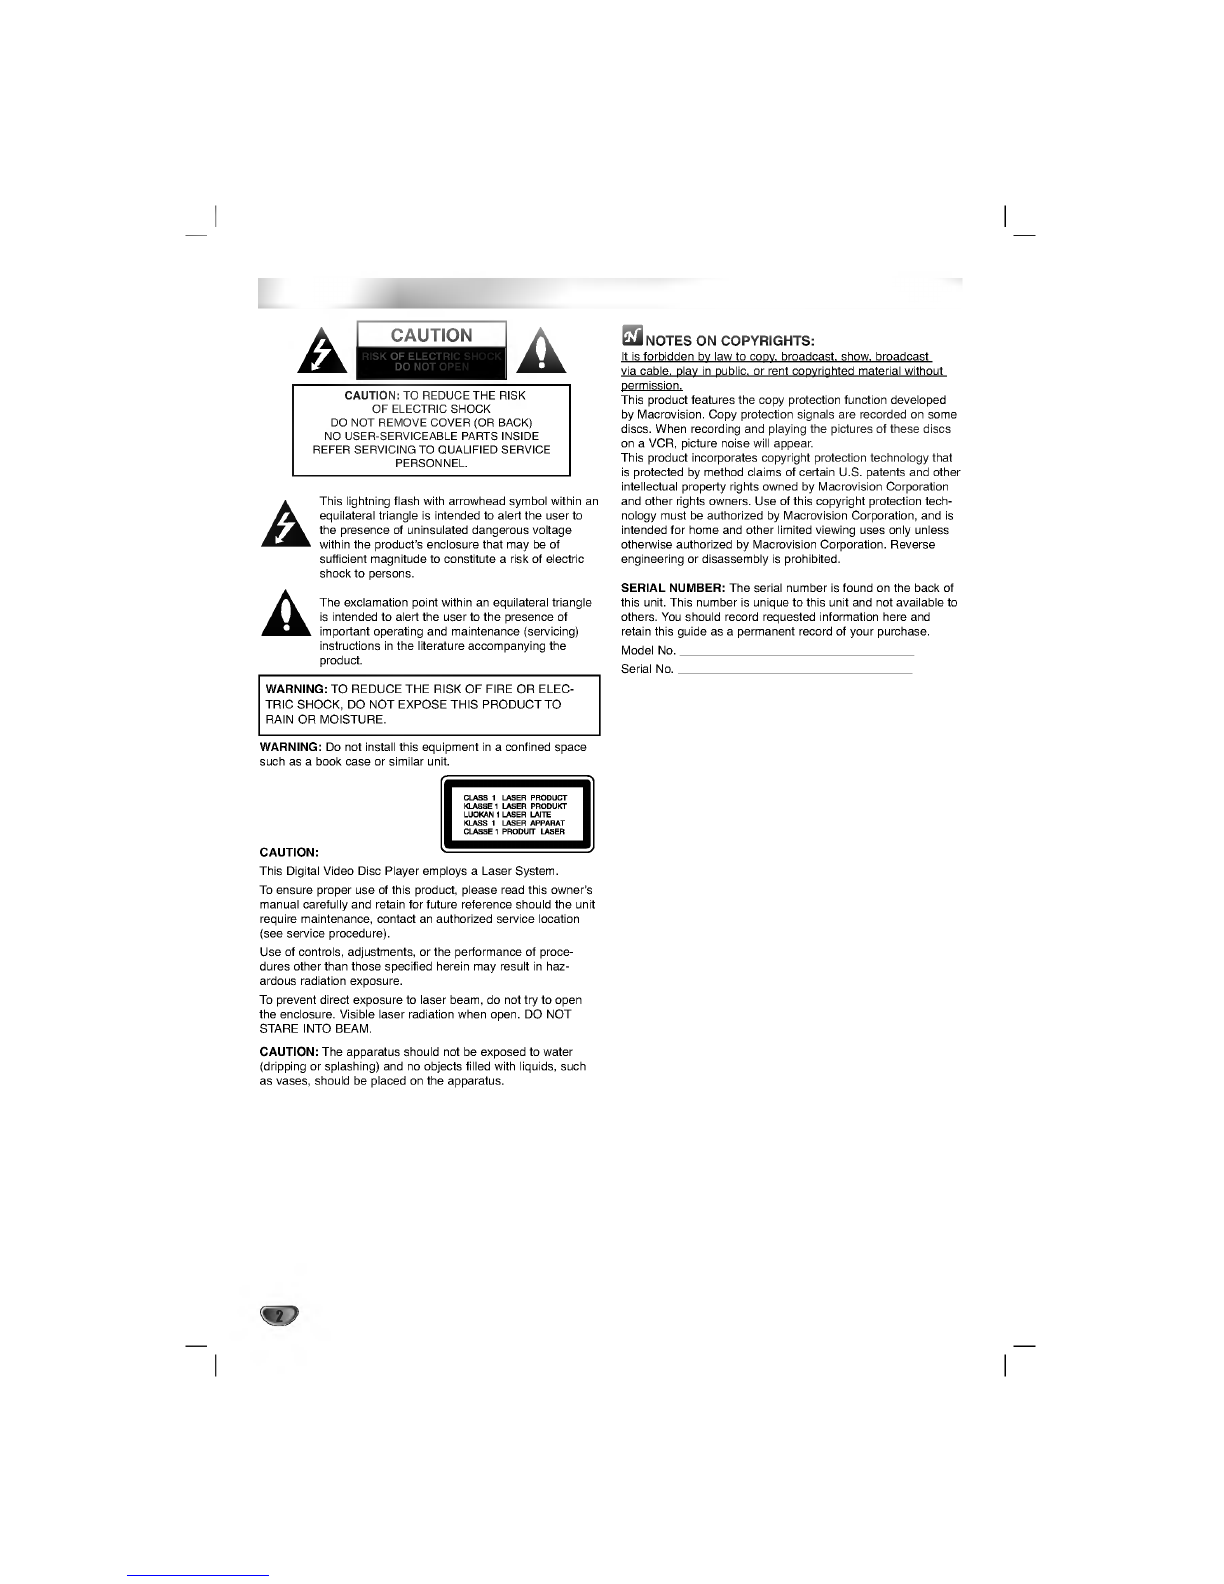
Indicates
hazards
likely
to
cause
harm
to
the
unit
itself
or
other
material
damage.
Indicates
special
operating
features
of this
unit.
Indicates
tips
and
hints
for
making
the
task
easier.