LG LSSC 243ST User manual

ENGLISH FRANÇAIS ESPAÑOL
OWNER’S MANUAL
SXS
REFRIGERATOR
lease read this owner's manual thoroughly before operating
and keep it handy for reference at all times.
LSSC 243ST
P/No. : MFL59475229 www.lg.com

2
Model/Serial record
Basic safety precautions
Identification of parts
Where to install
Door removal
Mount the freezer and refrigerator compartment doors
Water supply installation
Water connection instruction guide
Height adjustment
Dimensions
Starting
djusting the temperatures and functions
djusting the temperatures and display
Operating the dispenser
Setting the functions
Shelf
Egg holder
Nano charcoal deodorizer
Fresh compartment
Push ’N Seal Crisper compartment
Freezer/Refrigerator basket
Dairy corner
How to exchange the water purifier filter
Location of foods
Storing foods
General information
Cleaning
Troubleshooting
It is normal…
Table of contents
Introduction
Installation
Operation
Suggestion on
food storage
Care and
maintenance
3
3
10
11
12
13
13
14
17
19
20
21
22
23
27
27
28
27
29
30
30
31
32
33
34
34
35
40
20
ENGLISH

Model/Serial record
The model and serial numbers are found on the inner case or back of refrigerator
compartment of this unit. These numbers are unique to this unit and not
available to others. You should record requested information here and retain
this guide as a permanent record of your purchase. Staple your receipt here.
Date of purchase :
Dealer purchased from :
Dealer address :
Dealer phone no. :
Model no. :
Serial no. :
Introduction
3
Basic safety precautions
This guide contains many important safety messages.
lways read and obey all safety messages.
This is the safety alert symbol. It alerts you to safety messages that inform you
of hazards that can kill or hurt you or others or cause damage to the product. All
safety messages will be preceded by the safety alert symbol and the hazard signal
word DANGER, WARNING, or CAUTION. These words mean:
All safety messages will identify the hazard, tell you how to reduce the chance of
injury, and tell you what can happen if the instructions are not followed.
DANGER
You may be killed or seriously injured if you don’t follow
instructions.
WARNING
You can be killed or seriously injured if you don’t follow
instructions.
CAUTION
Indicates an imminently hazardous situation which, if not
avoided, may result in minor or moderate injury, or product
damage only.

ENGLISH
4
Introduction
WARNING
To reduce the risk of fire, electric shock, or personal injury when using your
product, basic safety precautions should be followed, including the following.
Read all instructions before using this appliance.
1. When connecting the power
Use a dedicated outlet.
• Using several devices at one outlet may cause a fire.
Prevent the power cord from being squeezed or crushed if the refrigerator is
pushed in after the power plug is extracted during the installation.
When moving your appliance away from the wall, be careful not to roll over the
power cord or to damage it in any way.
It can cause fire or electric shock.
Do not allow the power cord to be bent, crushed, or
damaged. Do not run the power cord under heavy objects
like furniture, other appliances, or in traffic areas.
It may damage the power cord to cause fire or electric shock.
Do not allow the power plug to face upward or to be
squeezed at the back of the refrigerator.
Water may be flown into or the plug may be damaged, which
causes fire or electric shock.
Do not extend or modify the length of the power plug.
Use only an exact factory replacement part to avoid electrical
issues, fire, or shock.
Unplug the power cord when cleaning or moving the
refrigerator.
• It may cause electric shock or injury.

5
Introduction
Remove water or dust from the power plug and insert it
with the ends of the pins securely connected.
Dust, water, a loose connection may cause a fire or electric
shock.
This grounding method is in violation of the NEC(National Electrical Code.)
Do not show this drawing or offer this advice because it will put us under great
liability.
When the power cord or the power plug is damaged or
the holes of the outlet are loosed, do not use them.
It may cause electric shock or short circuit to make fire.
Wait for 5 minutes or longer when reconnecting the plug.
Give the compressor time to cycle before re-starting.
If the supply cord is damaged, it must be replaced by the manufacturer or its
service agent or a similarly qualified person in order to avoid a hazard.
Pull out the power plug not by grasping the cord but the
plug of its end.
It may cause electric shock or short circuit to fire.
Do not pull out the cord or touch the power plug with wet
hands.
It may cause electric shock or injury.

6
ENGLISH
Introduction
2. When using the refrigerator
Do not place the heavy object or the dangerous object
(container with liquid) on the refrigerator.
It may fall and cause injury, fire, electric shock when opening or
closing the door.
Do not install the refrigerator in a damp place or a place
where water drips or splashes, like near a sink or a
downspout.
Deterioration of insulation of electric parts may cause electric
leakage.
Do not allow children to hang on the refrigerator doors or
shelves.
It may cause the refrigerator to tip.
Prevent children from entering the product.
It may endanger the life of a child if the child enters the
refrigerator.
Opening and closing the door of the refrigerator vigorously may cause the
stored food in the door basket to fall, damaging the items and possibly the
user's foot.
Do not use or store flammable materials like ether,
benzene, alcohol, medicine, LP gas, spray,
cosmetics near or in the refrigerator.
It may cause explosion or fire.
Benzene
Ether
Thinner
Do not use a hair drier to dry the inside, nor light a
candle to remove odor.
It may cause explosion or fire.

7
Introduction
If your model is equipped with a home bar, do not store
heavy items on it. They could fall, causing spills, damage,
and injury.
If your refrigerator is submerged or inundated, have it
checked by an authorized servicer before operating it.
It may cause electric shock or fire.
Unplug the refrigerator for extended periods of non-use or
in the event of severe electrical storms.
Install the refrigerator where it is not near gas stoves,
heaters, water heaters, and other sources of ignition
and possible gas leaks.
Do not use (Combustible sprays include cooking sprays,
oils, and other aerosol products. sometimes both the
propellant and the product are flammable. Use caution
with these items.)
It may cause fire.
Do not spray water inside or outside the refrigerator,
do not clean it with benzene or thinner.
Deterioration of insulation of electric parts may cause electric
shock or fire.
ThinnerThinner
When a strange smell or smoke is detected from the
refrigerator, disconnect the power plug immediately
and contact the service center.
It may cause fire.
Service
center

8
ENGLISH
Introduction
Do not use the refrigerator for non-domestic purpose
(storing medicine or testing material, installed in
vehicles, aircraft, or maritime vessels.).
It may cause an unexpected risk such as fire, electric shock,
deterioration of stored material, chemical reaction.
When disposing the refrigerator, remove the packing
materials from the door or take off the doors but leave the
shelves in place so that children may not easily climb
inside.
Child entrapment generally results in death by suffocation.
This appliance is not intended for use by persons (including children) with
reduced physical, sensory, mental capabilities, or lack of experience and
knowledge, unless they have been given supervision or instruction concerning
use of the appliance by a person responsible for their safety.
Children should be supervised to ensure that they do not play with the
appliance.
Install the refrigerator on the solid and level floor.
If the refrigerator tips when opening or closing the door, it
could fall over, causing property damage and personal injury.
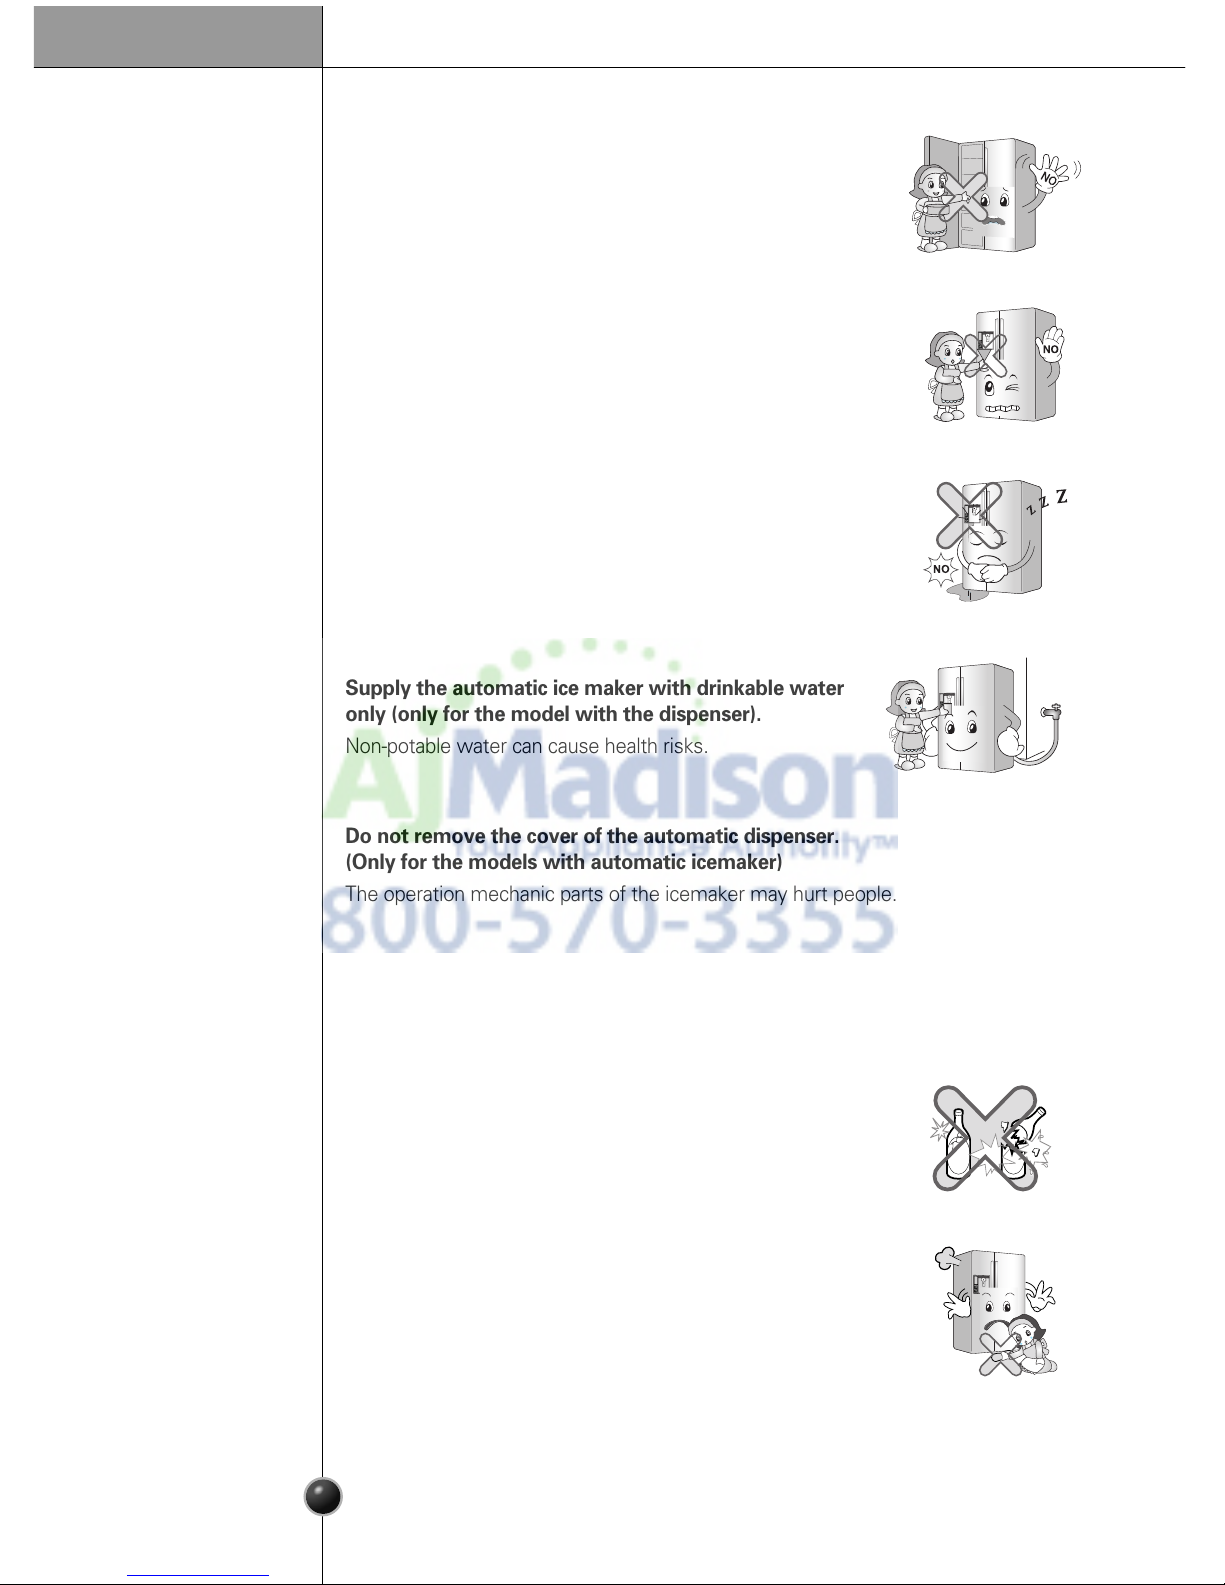
Do not insert the hands or the metal stick into the exit
of cool air, the cover, the bottom of the refrigerator,
or the vent grille on the back.
It may cause electric shock or injury.
Do not allow any person except an authorized servicer
to disassemble, repair, alter the refrigerator.
It may cause injury, electric shock, fire.
CAUTION
Violating this direction may cause personal injury or property damage.
Always be careful, please.
Do not insert the hands into the ice bucket or the ice
dispenser.
Operating the ice maker may cause injury.

9
Introduction
Do not touch food or containers in the freezer with wet
hands.
It may cause frostbite.
Do not put ice in a thin crystal cup or ceramic ware.
The glass may shatter and present a hazard.
When the electricity is off, remove ice from the ice bucket
(only for the model with the dispenser).
If the power is off long enough, the ice will melt and the water
will run onto the floor. In the event of a long-term power
outage, dump the ice to prevent this.
Supply the automatic ice maker with drinkable water
only (only for the model with the dispenser).
Non-potable water can cause health risks.
Do not remove the cover of the automatic dispenser.
(Only for the models with automatic icemaker)
The operation mechanic parts of the icemaker may hurt people.
Place food items and containers carefully on the shelves in the refrigerator.
The food may fall during opening and closing the door of the refrigerator and hurt
people.
Drinkable
water
Do not put glass bottles or containers in the freezer.
It may freeze the contents to break the bottle, causing injury.
Do not stick your hands under the refrigerator.
Sharp edges, fans, and wires may cause an injury.

10
ENGLISH
Introduction
Identification of parts
•
Parts, features, and options vary by model. Your model may not include every option.
NOTE
Freezer
Compartment Refrigerator
Compartment
Dairy Corner
LED Lamp
Automatic
Icemaker
Shelf
Shelf
Door Rack
Drawer (3)
Door Rack
Lower Cover
Shelf
Nano Charcoal Deodorizer
Egg Holder
LED Lamp
Filter
Door Rack
Door Rack
Door Rack
Door Rack
Fresh Compartment
Fresh Compartment
Push ’N Seal Crisper
Compartment
Be careful to avoid opening the doors over a pet or
someone's feet.
It might cause an injury.
Do not put pets into the refrigerator.

11
Installation
Strong
and even floor
A proper
distance from
adjacent items
Where water
supply can be
easily connected
in a dry place
Where it is free
from heat
To ensure proper air circulation around the
refrigerator -freezer, please maintain define
sufficient space on both the sides as well
as top and maintain at least 2 inches (5 cm)
from the rear wall.
Select a place where a water supply can be
easily connected between the automatic
icemaker and dispenser.
Installing the refrigerator in a wet or damp
area may cause rust and may be an electrical
hazard.
If this refrigerator is installed where the
ambient temperature is high, the freezing
capacity is deteriorated and the cost of
electricity used increases.
More than
2"(5 cm)
to back
Where to install
Unstable installation may cause vibration and
noise. If the floor to install the refrigerator on
is not even, make the refrigerator level by
rotating the height adjusting screw.
Carpet or floor covering on which a
refrigerator is installed may be discolored by
heat from the bottom of the refrigerator.
Do not allow carpet or flooring to block
airflow under the refrigerator.
•
Install the refrigerator at a place where the ambient temperature is 41˚F~110˚F
(5˚C ~ 43˚C).
Ambient temperature outside this range may cause product malfunction. Also, the
tube between the dispenser and automatic ice maker may freeze.
NOTE
Bottom Pad
Height

12
ENGLISH
Installation
Door removal
Electric Shock Hazard
Disconnect electrical supply to refrigerator before
installing. Failure to do so could result in death or
serious injury.
If your access door is too narrow for the
refrigerator to pass through, remove the refrigerator door take the refrigerator
through sideways.
Remove 2 screws holding the lower cover in place. Pull up the feed water tube while
pressing area shown in the figure to the right.
Remove lower
cover and
then feed water
tube
Remove the
freezer
compartment
door
Remove the
refrigerator
compartment
door
1) Removing the hinge cover by loosening
the screws. Separate all connection wires
except the ground wire.
2) Remove the keeper by rotating it counter
clockwise () and then lifting the upper
hinge up ().
3) Remove the freezer compartment door by lifting
it. This time, the door should be lifted enough for
the water tube to be pulled out completely.
1) Loosen the hinge cover screws and
remove the cover.
Remove all connections except the
ground wire.
2) Remove keeper by rotating it clockwise
() and then remove the upper hinge
by lifting it up ().
3) Remove the refrigerator compartment
door by lifting it up.
•
If a tube end is deformed or abraded, cut the damaged part away to leave a clean,
square end.
NOTE
•
When removing the upper hinge, be careful that
the door does not fall forwards .
NOTE
•
Move the freezer compartment door passing through the access door and lay it
down, but be careful not to damage the feed water pipe tube.
NOTE
Lower cover
Lower hinge
Lower hinge
Keeper
Feed water tube
Connection
wires
Hinge
cover
Upper hinge
Keeper Upper hinge
Ground Line
Upper hinge
Connection
wires
WARNING

13
Installation
Take the refrigerator sideways through the
access door as shown.
Pass the
refrigerator
1
2
3
4
5
Max
FRZ
TEMPREF
TEMP
Min5
43
2
1Max
Mount the freezer and refrigerator
compartment doors
Water supply installation
Automatic icemaker operation needs water pressure of 21~121 psi
(1.5~8.5 kgf/cm2) (That is, a paper cup (6 oz. or 180 cc) will be fully filled within
3 seconds.)
If water pressure does not reach the rating 21 psi (1.5 kgf/cm2) or below, it is
necessary to purchase a separate pressure pump for normal automatic icemaking
and cool water feed.
Keep the total length of the feed water pipe tube within 26 ft (8 m). Be careful for
the tube to avoid being kinked. If the tube is 26 ft (8 m) or longer it may cause
trouble in water feed.
Install the water supply line where it will not be affected by heat.
Mount them in the reverse sequence of removal after the refrigerator is in the
kitchen.
Before
installation

ENGLISH
14
Installation
Water connection instruction guide
Read all directions carefully before you begin.
Connecting
the refrigerator
to a water source
Connect to a potable water supply only.
•
If operating the refrigerator before installing the water connection, turn icemaker
to the OFF position to prevent operation without water.
•
All installations must be in accordance with local plumbing code requirements.
•
Use copper tubing and check for leaks.
•
Install copper tubing only in areas where temperatures will remain above freezing.
•
It may take up to 24 hours for your icemaker to begin producing ice.
IMPORTANT
We suggest instead of using copper tubing and compression fittings, use a braided,
reinforced vinyl line with threaded fittings crimped onto each end. This eliminates
the need for plumbing skills on the part of the customer and makes a leakproof
installation virtually guaranteed.
The icemaker water valve contains a flow washer which is used as a water
pressure regulator.
The icemaker needs to be connected to a cold water line with water pressure
21 ~ 121 psi (1.5~8.5 kgf/cm2).
Cold water supply
Standard screwdriver
7/16
-inch and
1/2
-inch open-end wrenches or two adjustable wrenches
1/4
-inch nut driver
1/4
-inch drill bit
Hand drill or electric drill (properly grounded)
Tools required
•
Your refrigerator dealer has a kit available with a 1/4-inch saddle-type shut-off valve,
a union, and copper tubing. Before purchasing, make sure a saddle-type valve
complies with your local plumbing codes. Do not use a piercing-type or 3/16-inch
saddle valve which reduces water flow and clogs more easily.
NOTE
WARNING

15
Installation
1. Unplug refrigerator or disconnect power.
2. Turn OFF main water supply. Turn on the nearest faucet to relieve the pressure
on the line. It may help to open an outside faucet to allow the water to drain from
the line in the house.
3. Find a 1/2-inch vertical COLD water pipe near the refrigerator.
Connect
the tubing to
water line
•
Horizontal pipe will work, but the following precaution must be taken: Drill on the top of
the pipe, not the bottom. This will help keep water away from the drill. This also keeps
normal sediment from collecting in the valve.
NOTE
4. To determine length of copper tubing you will need, measure from the
connection on the lower left rear of the refrigerator to the water pipe.
Add 7 feet (2.1 m) to allow for moving refrigerator for cleaning.
Use 1/4-inch O.D. (outside diameter) copper tubing. Be sure both ends of
copper tubing are cut square.
5. Using a drill, drill a 1/4-inch hole in the cold water pipe you have selected.
6. Fasten shut-off valve to cold water pipe with pipe clamp.
Be sure the outlet end is solidly in the 1/4" drilled hole in the water pipe and the
washer is under the pipe clamp. Tighten the packing nut. Tighten the pipe
clamp screws carefully and evenly so the washer makes a watertight seal.
Do not overtighten or you may crush the copper tubing, especially if soft
(coiled) copper tubing is used. Now you are ready to connect the copper
tubing.
7. Slip the compression sleeve and the compression nut onto the copper tubing
as shown. Insert the end of the tubing into the outlet end squarely as far as it
will go. Screw compression nut onto the outlet end with a wrench. A flare nut
wrench works best, but an open end wrench will suffice. Do not overtighten.
8. Place the free end of the tubing into a container or sink, and turn on the main
water supply. Flush out the tubing until the water is clear. Turn off the shutoff
valve on the water pipe. Coil the copper tubing as shown below.
Cold Water Pipe
Pipe Clamp
Coil of Polyethylene or
Copper Tubing
Compression NutCompression Sleeve
Shut Off Valve
Packing Nut

16
ENGLISH
Installation
Before making the connection to the refrigerator, be sure the refrigerator
power cord is not plugged into the wall outlet.
• If your refrigerator does not have a water filter, we recommend installing
one. If your water supply has sand or particles, that could clog the screen of
the refrigerator’s water valve. Install the filter in the water line near the
refrigerator.
1. Remove the plastic flexible cap from the water valve.
2. Place the compression nut and ferrule (sleeve) onto the end of the tubing as
shown.
3. Insert the end of the copper tubing into the connection as far as possible. While
holding the tubing, tighten the fitting.
Connect the tubing to
the refrigerator
Tighten any connections that leak.
Plug In the Refrigerator
Arrange the coil of copper tubing behind the refrigerator so it does not vibrate
against the back of the refrigerator or against the wall. Push the refrigerator
back to the wall.
Start the lcemaker
Set the icemaker switch to the ON position The icemaker will not begin to
operate until it reaches its operating temperature of 15 °F (-9 °C). It will then
begin operation automatically.
Turn the water on at
the shutoff valve
Tubing Clamp
1/4
"
Compression
Nut
Ferrule
(sleeve)
Refrigerator Connection
1/4
"
Tubing

17
Installation
Height adjustment
- To level the door when the floor not level.
When the freezer door is lower –
Use the (-) driver or wrench to turn the groove
or nut of the height adjustment screw on the
left to the clockwise direction to level the
door.
When the refrigerator door is lower –
Use the (-) driver or spanner to turn the
groove or nut of the height adjustment
screw on the right to the clockwise
direction to level the door.
The refrigerator doors will close smoothly by heightening the front side by adjusting
the height adjusting screw. If the doors do not close correctly, performance may be
affected.
When the floor is
not leveled
When the refrigerator door is lower than the freezer door while using the
refrigerator, level the doors.
1. Use the tool for adjustment on
the wide side to turn nut ( )
in the clockwise direction to loosen
the keeper nut.
2. Use the tool for adjustment on
the narrow side to turn the
adjustment hinge pin in
( )clockwise direction or
( ) counterclockwise
direction to adjust the height of
the refrigerator and freezer doors.
3. After aligning the height of the door, turn the
keeper nut counterclockwise tightly.
When the
refrigerator door
is lower than the
freezer door
After leveling the
door height
Next
1. Wipe off all dust accumulated during shipping and clean your appliance thoroughly.
2. Install accessories such as the ice cube box, cover evaporating tray, etc., in their
proper places. They are packed together to prevent possible damage during shipping.
3. Connect the power supply cord (or plug) to the outlet. Don't double up with other
appliances on the same outlet. Use a dedicated outlet and circuit.
Do not force too hard to level the height. The hinge pin can be pulled out.
(Adjustable range of height is a maximum of 2" (5 cm). The period goes between the
parentheses. (Unusual construction))
CAUTION
Wrench Size
Adjust Hinge Pin: 11/32”(8 mm)
Keeper Nut: 3/4” (18 mm)

ENGLISH
18
Installation
To move the refrigerator through a door, it may be necessary to remove the
refrigerator door handles.
Handle removal
Place the handle on the door by aligning handle footprints to fit mounting fasteners
and tighten the set screws with a 3/32" (2.5 mm) Allen wrench.
Handle
reinstallation
•
Handle appearance may vary from illustrations on this page.
NOTE
Loosen the set screws with a 3/32" (2.5 mm)
Allen wrench and remove the handle.
•
If the handle mounting fasteners need to be tightened or removed, use a 1/4"
Allen wrench.
NOTE
•
If the handle mounting fasteners need to be tightened or removed use a 1/4" Allen
wrench
NOTE
Mounting
Fa tener
Set Screw
Allen Wrench
Mounting
Fa tener

19
Installation
Dimensions
A
F G H
DE
B C
Overall Dimensions
A
B
C
D
E
F
G
H
68 7 8”
68 15 16”
70 1 4”
-
35 13 16”
24 1 4”
28 1 8”
31”
LSSC243**
A B
C D
LSSC243**
Model
40 1 4” 44 7 8” 13 7 8”
ABCD
18”
Door Swing Dimension
4 1 4”
(108mm)
1 7 8”
(without handle)
C
B
D
Cabinet Dimensions
36”
(915mm)
LSSC243**
Model
70” 24” 13 7 8”
ABCD
18”

20
ENGLISH
Operation
•Your model may not include every option.
NOTE
Starting
When your refrigerator is first installed, allow it to stabilize at normal operating
temperatures for 2-3 hours prior to filling it with fresh or frozen foods.
If operation is interrupted, wait 5 minutes before restarting.
DISPENSER SELECTION INDICATOR
Shows cubed ice or crushed Ice selection
that will be dispensed when the push
switch is pressed.
FREEZER TEMPERATURE
Indicates the set temperature of the
freezer compartment in Celsius or
Fahrenheit.
REFRIGERATOR TEMPERATURE
Indicates the set temperature of the
refrigerator compartment in Celsius or
Fahrenheit.
ICE PLUS
When the ICE PLUS button is pressed,
the display will indicate the selected
function has been activated.
DISPENSER LIGHT INDICATOR
When the LIGHT button is pressed, the
display will indicate the selected function:
The dispenser light is on, this indicator will
appear on the display panel.
DOOR ALARM INDICATOR
This indicator shows that the door-open
warning alarm is activated.
WATER FILTER STATUS
This indicator shows the current status for
the water filter. See Resetting the Filter
Indicator.
LOCK STATUS
This indicator shows the current status for
the control panel functions is set to
LOCK.
Adjusting the temperatures and functions
Table of contents
Other LG Refrigerator manuals
Popular Refrigerator manuals by other brands

Turboair
Turboair Super Deluxe Series Installation and operation manual

Delta
Delta ERD14 user manual

essentiel b
essentiel b ERDV165-55b2 user guide

Isotherm
Isotherm INOX DR 65 Installation & operating instructions

Universal Blue
Universal Blue BAIKAL 3007X instruction manual

Giostyle
Giostyle BRIO 30/26 L 12-230V CLASS F manual