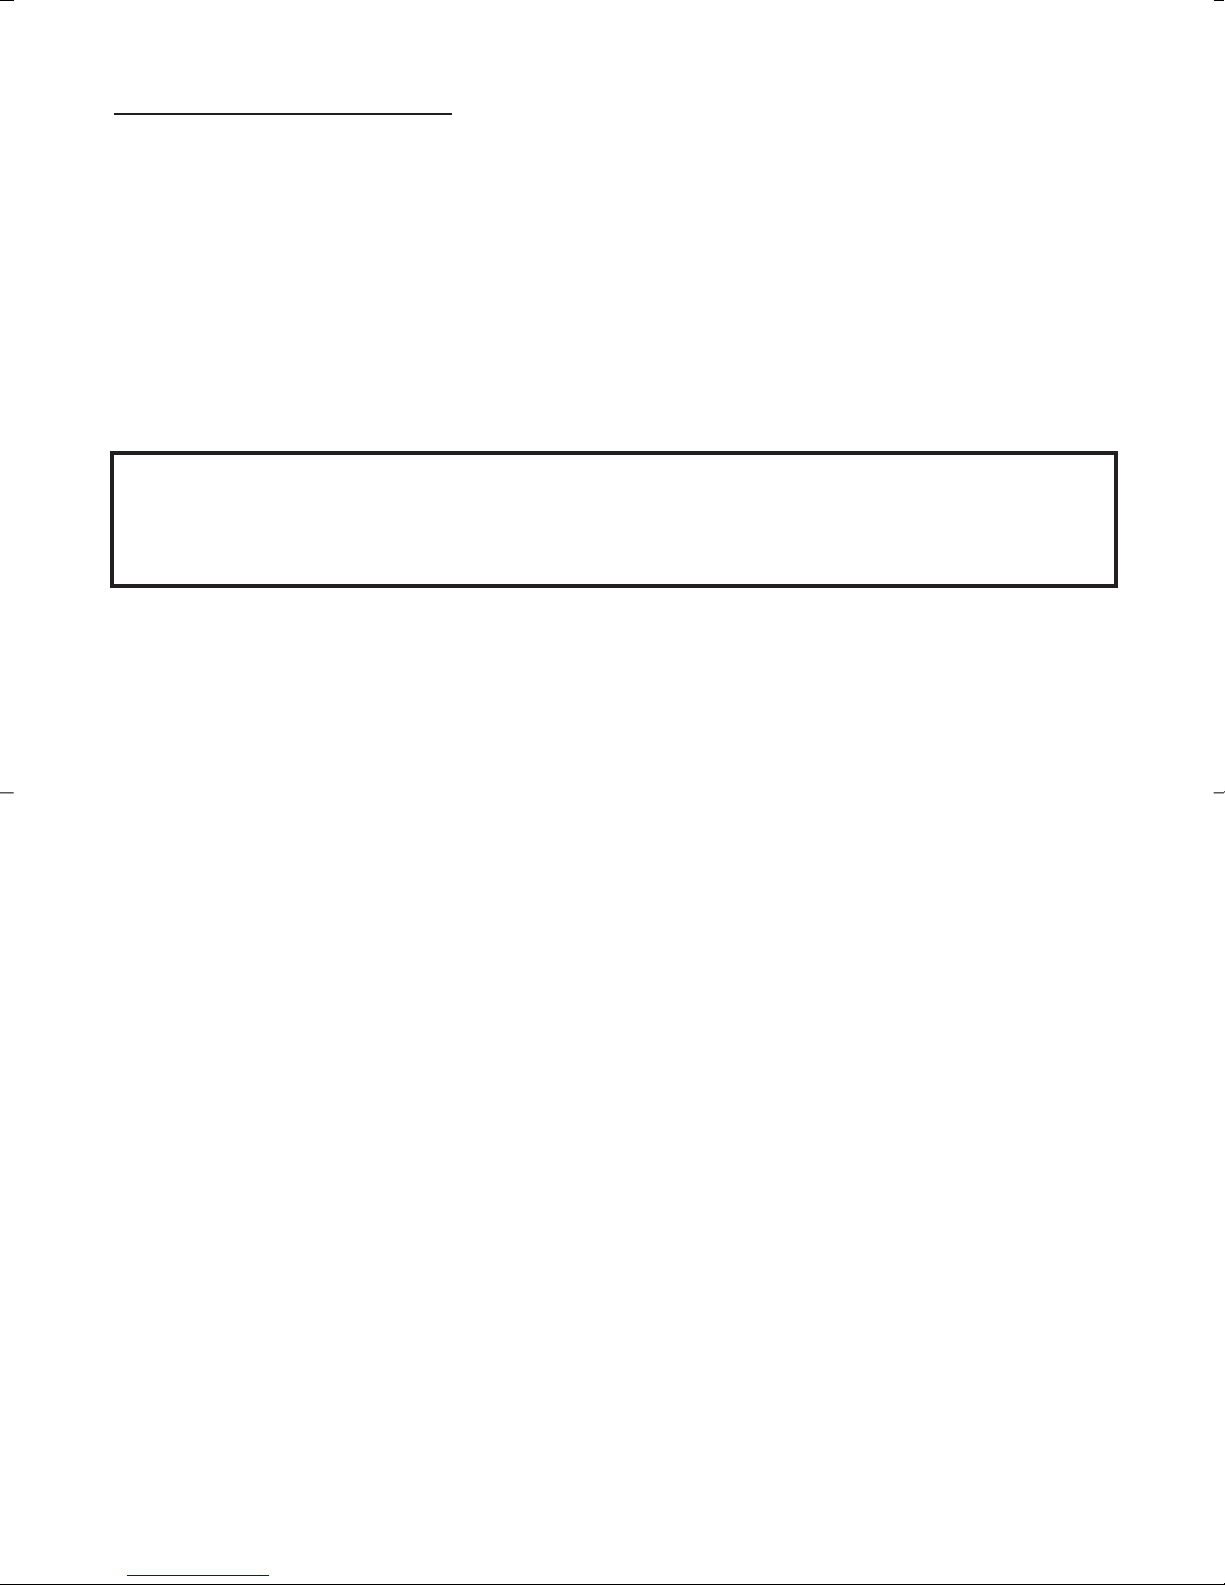
IMPORTANT INFORMATION:
For the most accurate results using the Liberty System:
•Read all instructions before testing.
• Meter displays results as Plasma values.
• Use only iberty Test Strips and iberty Glucose
Control with the iberty Meter.
• Do not use for diagnosis of diabetes or for testing
blood glucose in newborns.
• Perform Control Tests b for performing a blood
glucose test for the first time (see Getting Started).
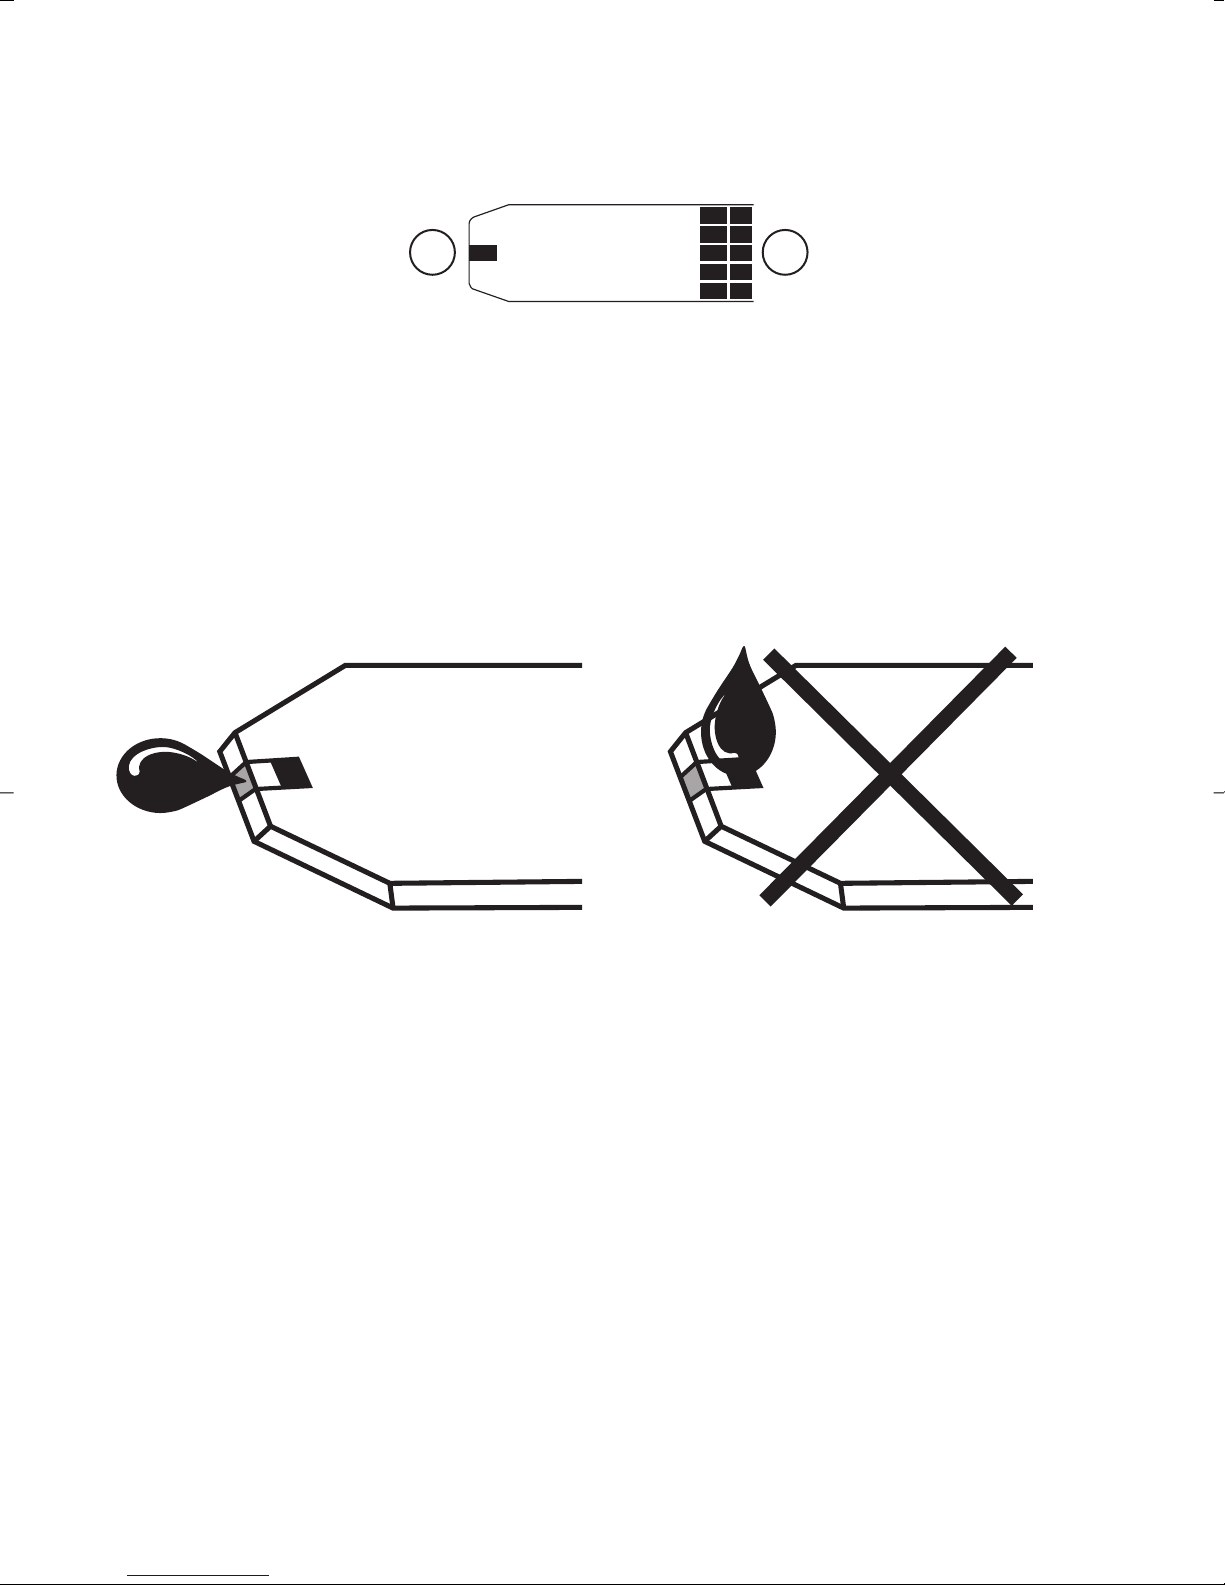
Not :
Two levels of Liberty Glucose Control Solution are
available for Quality Control Testing. Call for
availability using the number located on the cover of
the wner's Booklet for information on obtaining
different levels of Liberty Glucose Control Solution.
• The iberty system is an in vitro (outside body)
quantitative system that is used for self-testing and
point-of-care testing of human whole blood only.
For Healthcare Professionals:
•
The most accurate results come from using fresh, capillary
whole blood from fingertip or forearm. Venous whole blood
drawn in EDTA (purple top tube) or heparin (green top
tube) may be used. Mix tube contents gently before using.
•
If comparing results between the Liberty System and a lab
system, perform a Liberty System blood test within 30
minutes of lab test. Results from the Liberty System are
considered accurate if within + 20% of lab results. If patient
has recently eaten, fingerstick results from the Liberty System
can be up to 70 mg/dL higher than venous lab results.4
4
TR_OB_Gu sENG_E4LBT04.qxd:TT_OB_Gu sENG.qxd 9/30/08 10:29 AM Page 4