4
Getting Started
44 CONTOUR®TS meter CONTOUR®TS test strips
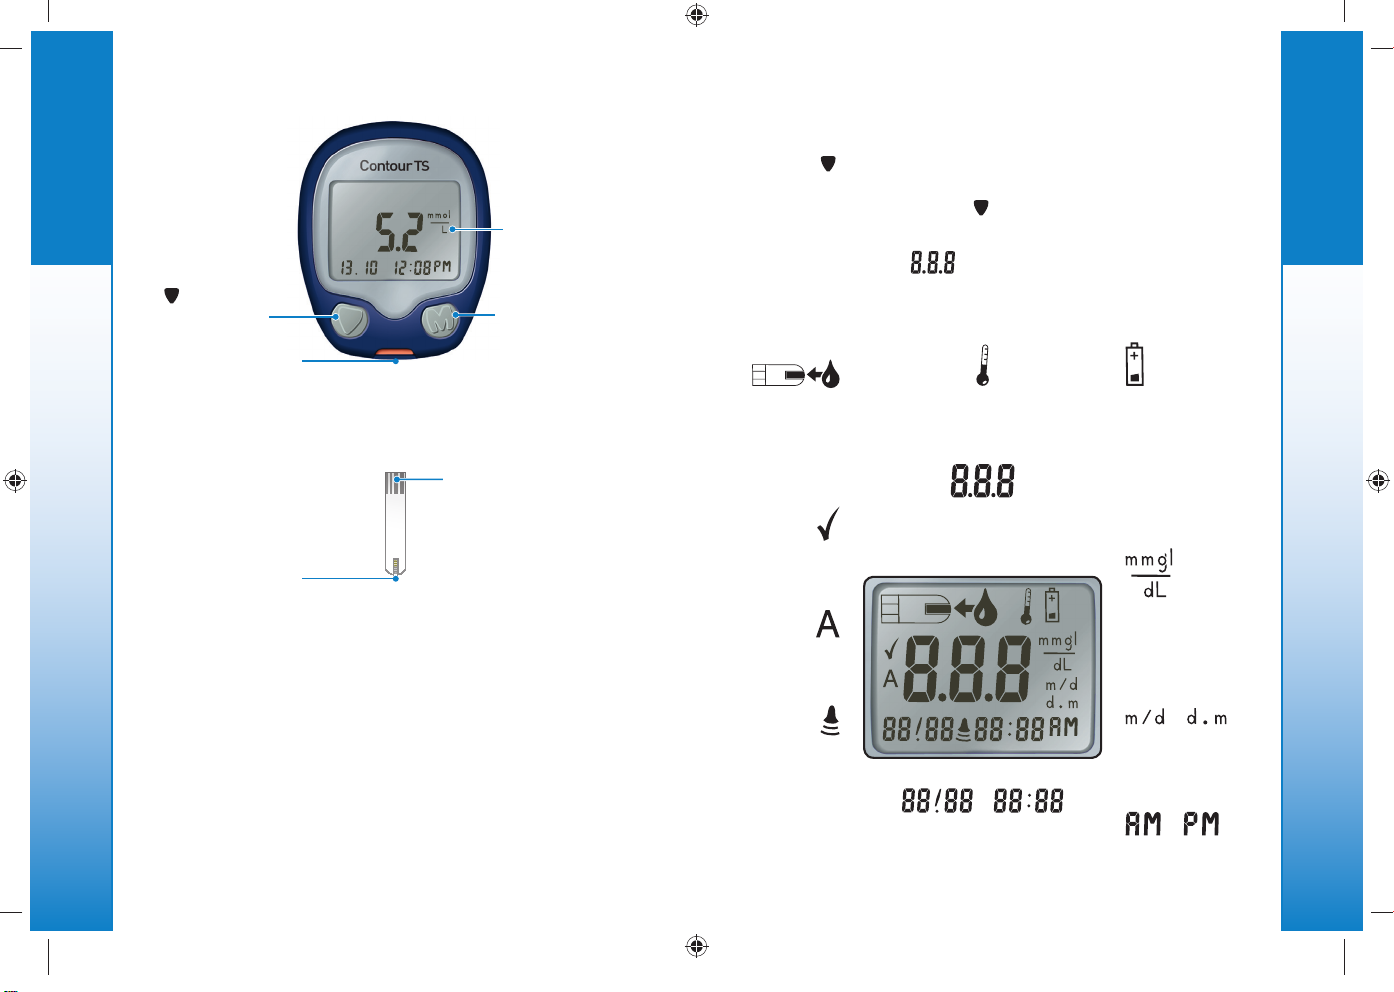
Your Meter Features
Your Meter Features
Easy: The CONTOUR TS blood glucose monitoring system
is about simplicity. You will notice its simple approach the
first time you see it.
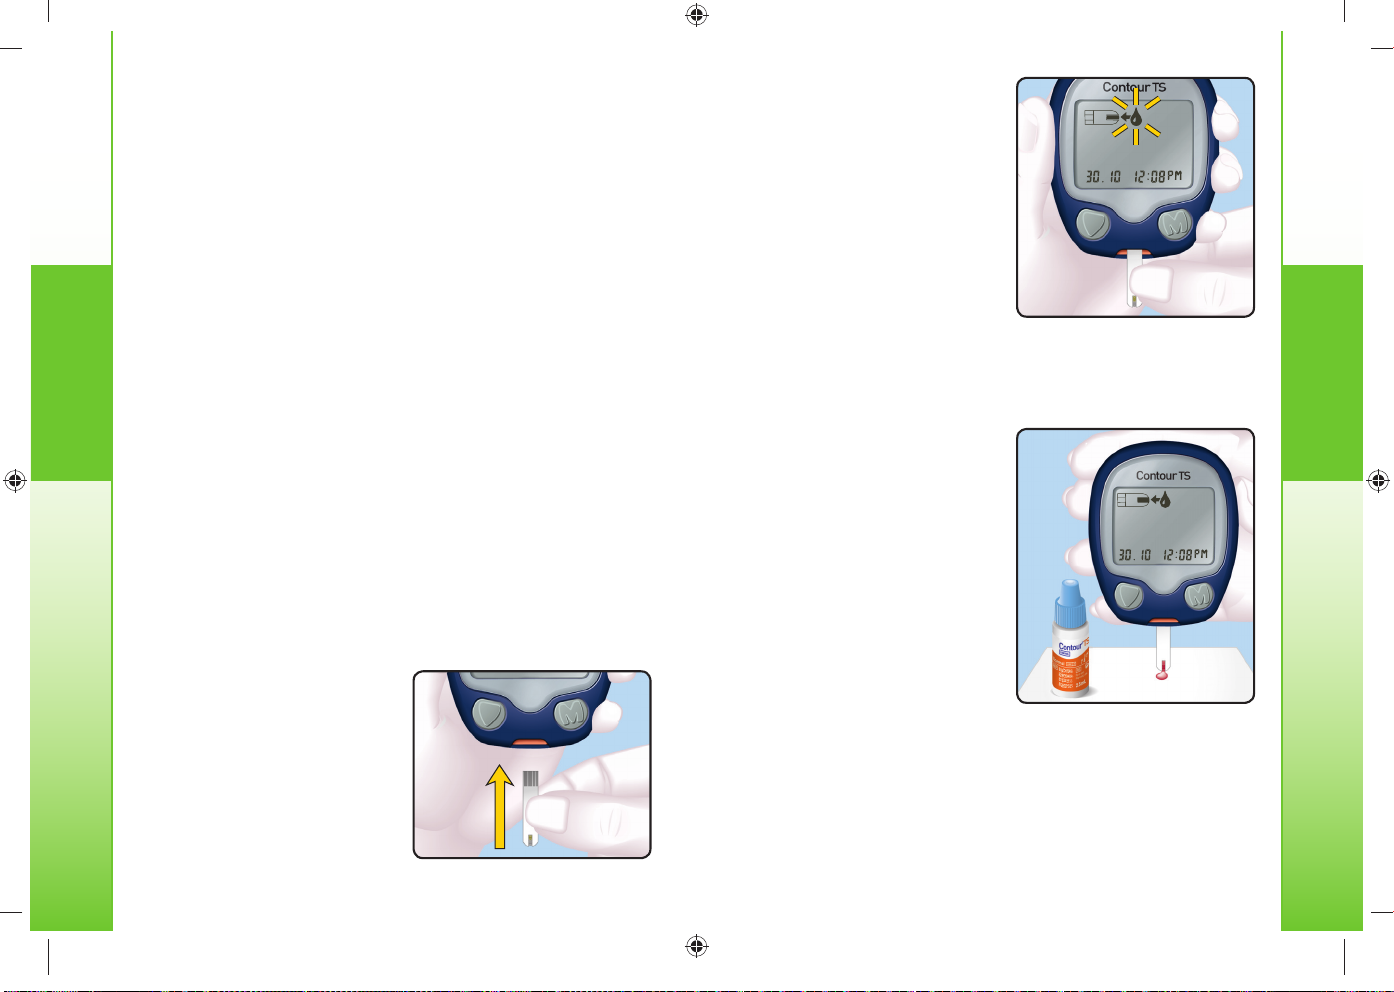
Automatic: Your CONTOUR TS meter is designed with No
Coding technology, to automatically code itself every time
you insert a test strip. It will even tell you when a test strip is
underfilled.
Programmed: Your CONTOUR TS meter has been preset
at the factory with the standard date and time for your
convenience.
•Your meter has been preset and locked to display results
in mmol/L (millimoles of glucose per liter). In some
countries, the meters are preset to display units in mg/dL
(milligrams of glucose per deciliter);
•Results in mmol/L will always have a decimal point;
•Results in mg/dL will never have a decimal point.
Example: or
Check your display to ensure that results are being
displayed in mmol/L. If they are not, contact Customer
Service. See the back cover for contact information.
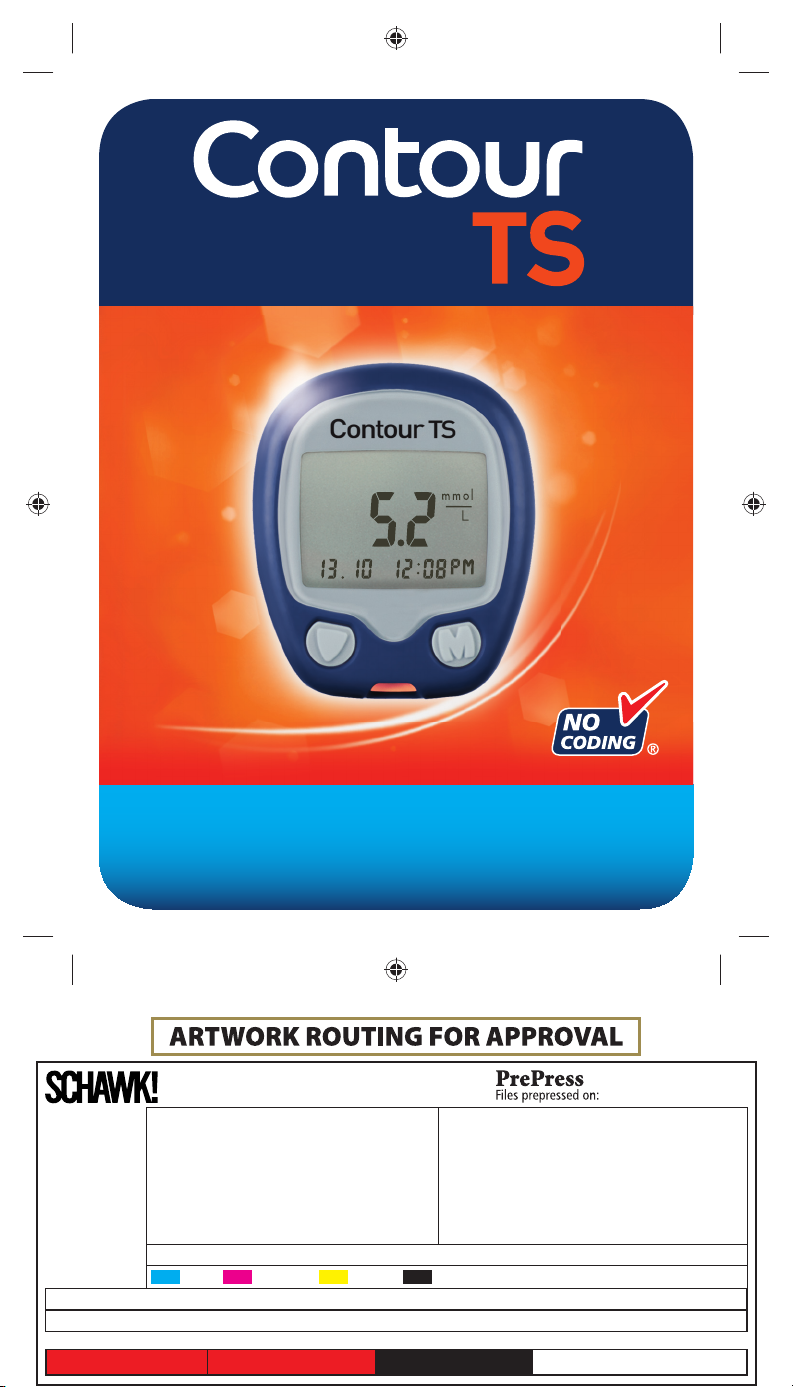
Thank you for choosing the CONTOUR®TS blood
glucose monitoring system. We are proud to be your
partner in helping you manage your diabetes.
5718657_CntrTS_Karajishi_UG_EN_FpBp_v0.indd 4 3/24/17 4:13 AM
5
Getting Started
55
Information For Safety
Information For Safety
•Always keep the test strips in the
original bottle. Tightly close the
bottle immediately after removing
a test strip. The bottle is designed to
keep the test strips dry. Exposure to room
humidity from leaving the bottle open or
not storing them in the original bottle can
damage your test strips. This could lead
to inaccurate test results.
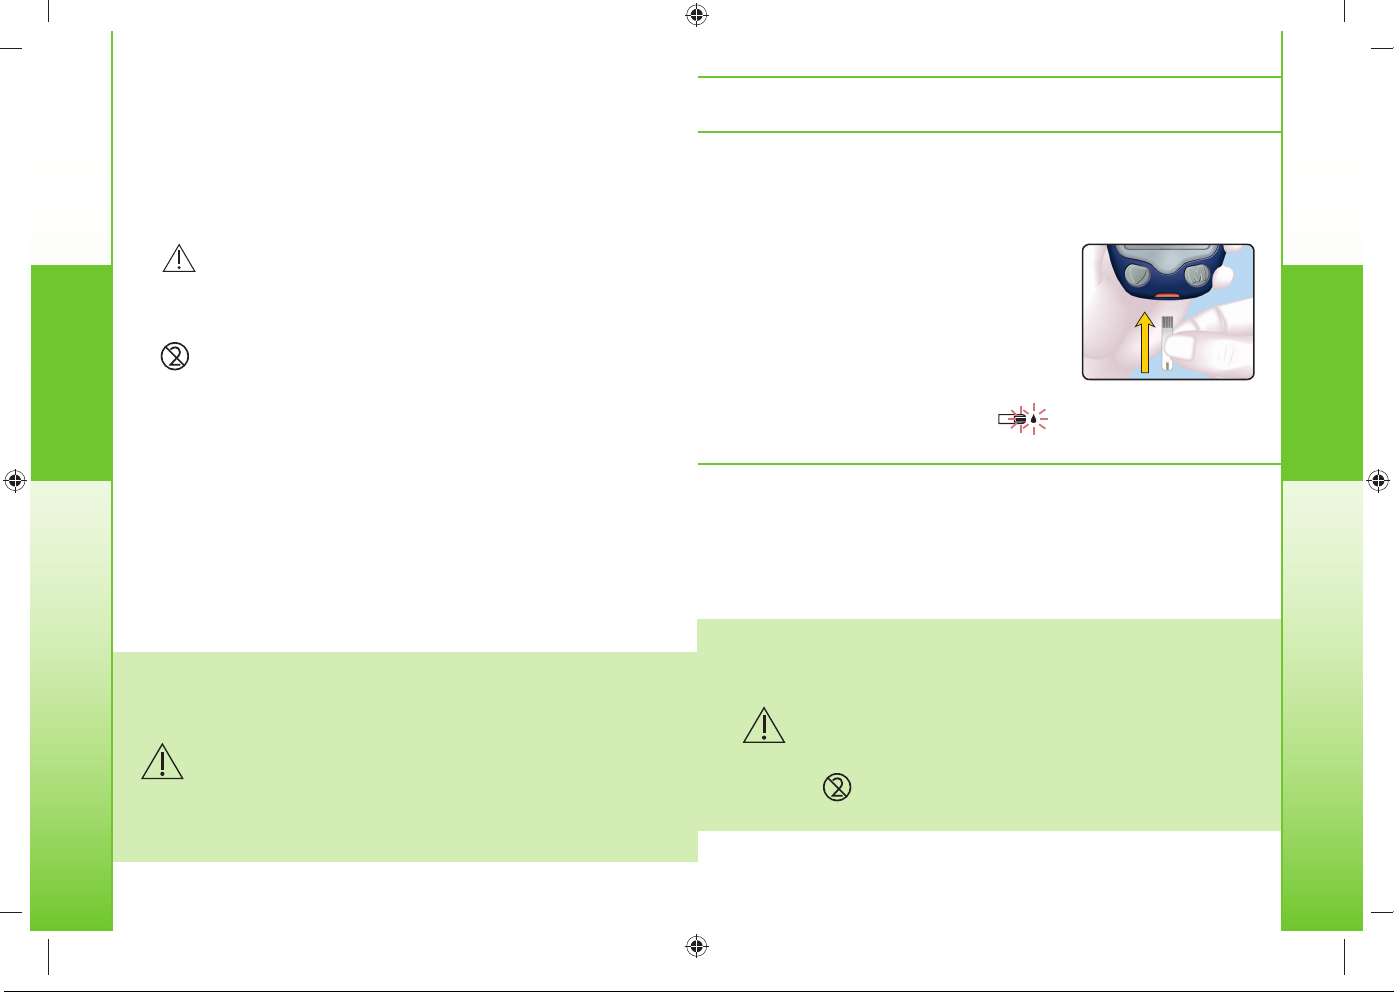
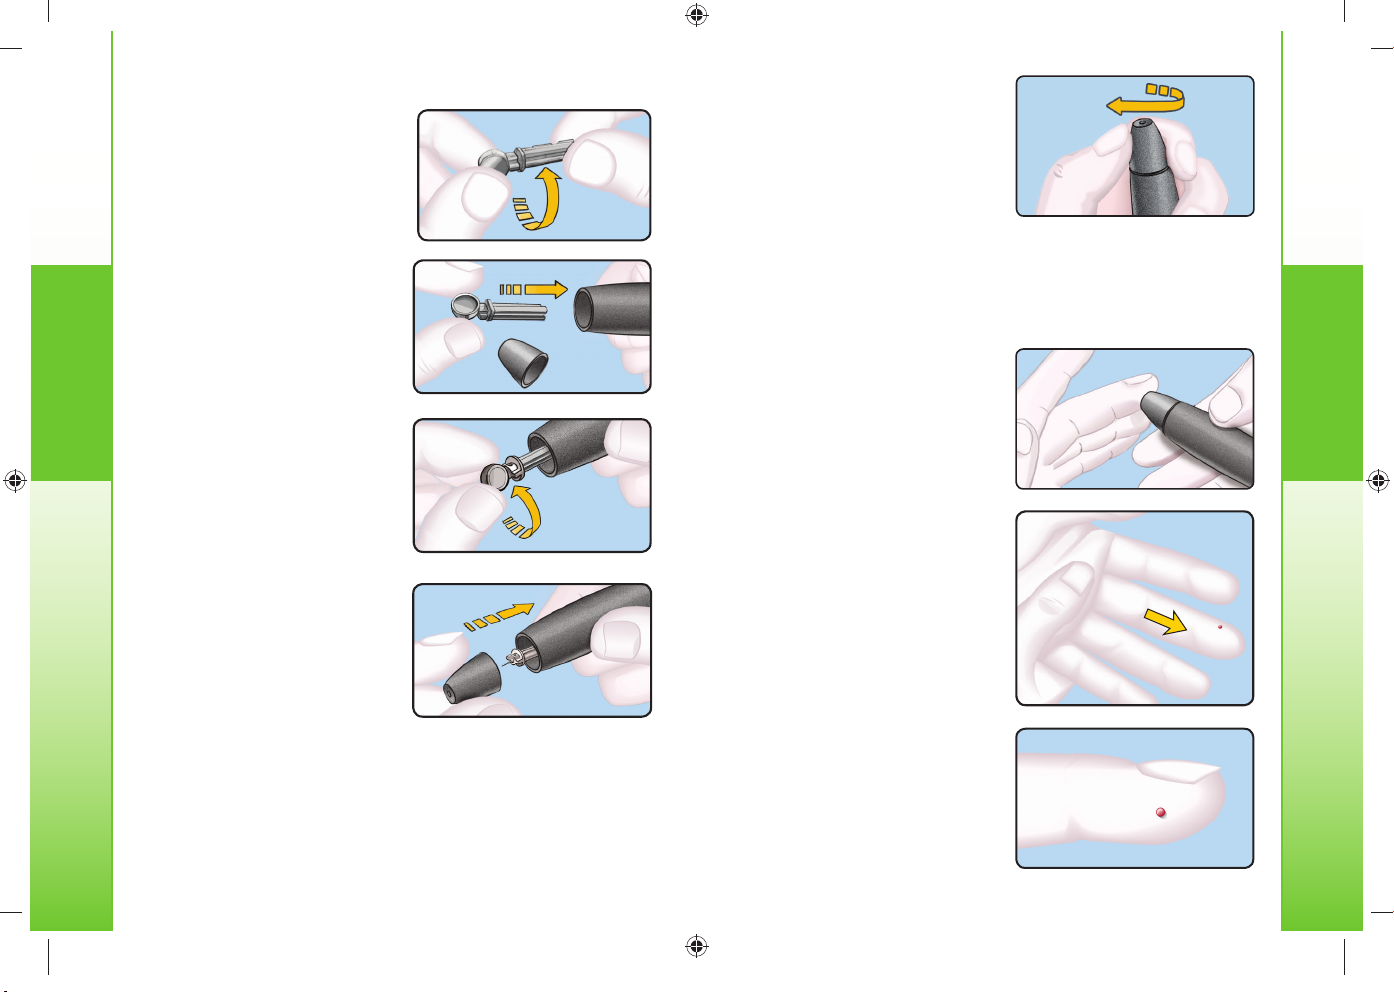
•Wash and dry your hands well before testing.
•Test strips are for single use only. Do not
use a test strip that appears damaged or has
been used.
•Your test strip is designed to easily “sip” the
blood into the sample tip. Do not drop blood directly
on the flat surface of the test strip.
•Do not press the test strip against your finger
when testing. This may block the sample tip.
•Let the meter and test strips adjust to the
temperature where you are testing. Whenever
the meter is moved from one location to another, allow
approximately 20 minutes for the meter to adjust to the
temperature of a new location before performing a blood
glucose test. The meter has been designed to give
accurate results at temperatures between 5°C and 45°C.
•Check the expiry dates on your test strips and
control solution. It is important to not use the test
strips or control solution if the expiry date printed on
the bottle label and carton has passed. For the control
solution do not use if it has been six months since you
first opened the bottle. It will help to write the six month
discard date on the control solution label.
5718657_CntrTS_Karajishi_UG_EN_FpBp_v0.indd 5 3/24/17 4:13 AM
5
Getting Started
55
Information For Safety
Information For Safety
•Always keep the test strips in the
original bottle. Tightly close the
bottle immediately after removing
a test strip. The bottle is designed to
keep the test strips dry. Exposure to room
humidity from leaving the bottle open or
not storing them in the original bottle can
damage your test strips. This could lead
to inaccurate test results.
•Wash and dry your hands well before testing.
•Test strips are for single use only. Do not
use a test strip that appears damaged or has
been used.
•Your test strip is designed to easily “sip” the
blood into the sample tip. Do not drop blood directly
on the flat surface of the test strip.
•Do not press the test strip against your finger
when testing. This may block the sample tip.
•Let the meter and test strips adjust to the
temperature where you are testing. Whenever
the meter is moved from one location to another, allow
approximately 20 minutes for the meter to adjust to the
temperature of a new location before performing a blood
glucose test. The meter has been designed to give
accurate results at temperatures between 5°C and 45°C.
•Check the expiry dates on your test strips and
control solution. It is important to not use the test
strips or control solution if the expiry date printed on
the bottle label and carton has passed. For the control
solution do not use if it has been six months since you
first opened the bottle. It will help to write the six month
discard date on the control solution label.
5718657_CntrTS_Karajishi_UG_EN_FpBp_v0.indd 5 3/24/17 4:13 AM
4
Getting Started
44 CONTOUR®TS meter CONTOUR®TS test strips
Your Meter Features
Your Meter Features
Easy: The CONTOUR TS blood glucose monitoring system
is about simplicity. You will notice its simple approach the
first time you see it.
Automatic: Your CONTOUR TS meter is designed with No
Coding technology, to automatically code itself every time
you insert a test strip. It will even tell you when a test strip is
underfilled.
Programmed: Your CONTOUR TS meter has been preset
at the factory with the standard date and time for your
convenience.
•Your meter has been preset and locked to display results
in mmol/L (millimoles of glucose per liter). In some
countries, the meters are preset to display units in mg/dL
(milligrams of glucose per deciliter);
•Results in mmol/L will always have a decimal point;
•Results in mg/dL will never have a decimal point.
Example: or
Check your display to ensure that results are being
displayed in mmol/L. If they are not, contact Customer
Service. See the back cover for contact information.
Thank you for choosing the CONTOUR®TS blood
glucose monitoring system. We are proud to be your
partner in helping you manage your diabetes.
5718657_CntrTS_Karajishi_UG_EN_FpBp_v0.indd 4 3/24/17 4:13 AM
85718657_CntrTS_Karajishi_UG_EN_FpBp_v4_placed.pdf:6