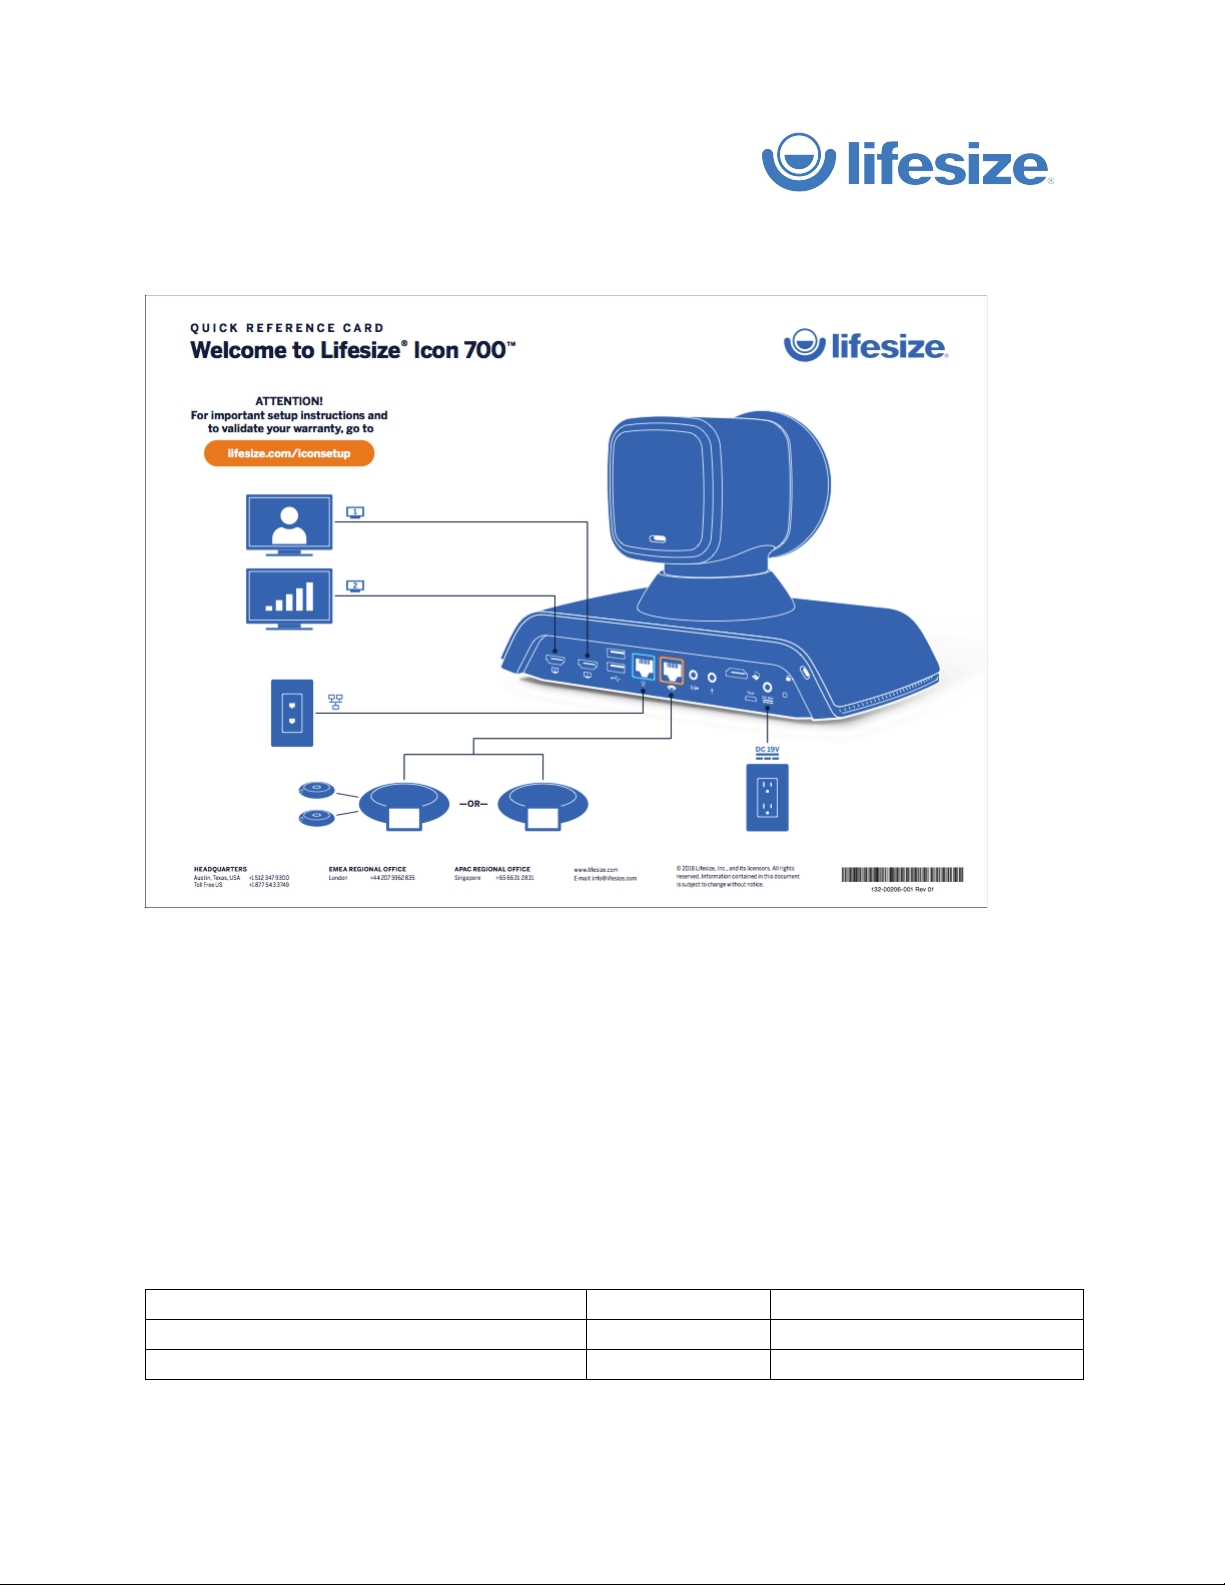
© 2018 Lifesize, Inc. All rights reserved. Confidential.
How to obtain a new cloud account
With its initial release, Lifesize Icon 700 will only work with our new cloud architecture. Please refer to this
as the new Lifesize architecture, not by the internal name (Galaxy) which you may have heard.
This modern, streamlined microservices architecture enables a world class experience:
•
Industry-leading call quality and content sharing
•
Highest service availability and reliability
•
Improved resilience and performance on low bandwidth networks
•
Accelerated feature development
To obtain a new account
1.
Sign up for new trial account via your PURL.
a.
Enter your
Full Name
b.
For
Company Name
, type in ICON700-Your company name
c.
For
Work Email
, you must use a different email address from what you have registered for
your current Lifesize account (i.e. set up a new alias or Gmail email address). NOTE: The
account you use cannot have SSO (Single Sign-on).
d.
Enter
Phone Number
e.
Click
Continue
2.
The next step will instruct you to download the Lifesize app, but you can disregard if you already
have it installed.
3.
Continue to the pairing process in the next section. Be sure you log in with the email you used
above that is connected to your new Lifesize account.