Linea LFO6S User manual

User Manual for your
LFO6S
60 cm Fan Forced Oven
NOTE: This User Instruction Manual contains important
information, including safety & installation points, which will
enable you to get the most out of your appliance. Please keep it
in a safe place so that it is easily available for future reference; for
you or any person not familiar with the operation of the appliance.
JW 17/07/12

2

3
Contents
Environmental note 4
Important safety information 5 - 7
Specifications 8 - 10
Product and aperture dimensions 8
Productspecifications 8
Standardaccessories 8
Electricaldetails 9
Coolingfan 9
Controlpanel 10
Usingtheoven 10-11
Selecting manual operation mode 10
Setting the auto-off timer 11
Selecting a cooking function and temperature 11-15
Beforefirstuse 11-12
Selectinganovenfunction 12
Ovenfunctions 12
Thermostatcontrolknob 13
Oven operating light 13
Cooking guidelines 13-14
Warnings 14
Shelfpositions 15
Cleaning and maintenance 15-17
Replacing the oven bulb 16
Removing the oven door forcleaning 17
Installation 18-20
Electricalconnection 18
Installing the oven into the kitchen cabinet 19
Positioningtheappliance 19
Ventilationrequirements 20
My appliance isn’t working correctly 21–22
Cooking tables 23

Environmental note
anufacturer uses are
oPlease discard all packaging material with due regard for the
environment.
oThe packaging materials that the m
environmentally friendly and can be recycled.
4

5
MPORTANT SAFETY INFORMATIONI
Your safety is of the utmost importance to us. Please
e of any of the information contained in this
booklet, please contact the Retailer where you
purchased your unit from.
p
T
l
m
of the room it is located in, whilst in use.
f vinyl or laminate kitchen furniture are
er operation.
make sure that you read this instruction booklet before
attempting to install or use the appliance. If you are
unsur
General Information
oThis ap
be built
oIMPOR
materia
minimu
liance is designed for domestic household use and can
into a standard kitchen cabinet or housing unit.
ANT: The adjacent furniture or housing and all
s used in the installation must be able to withstand a
temperature of 85°C above the ambient temperature
oCertain types o
particularly prone to heat damage or discolouration at
temperatures below the guidelines given above.
oAny damage caused by the appliance being installed in
contravention of this temperature limit, or by placing adjacent
cabinet materials closer than 4mm to the appliance, will be the
liability of the owner.
oThe use of this appliance for any other purpose or in any other
environment without the express agreement of the manufacturer
will invalidate any warranty or liability claim.
oYour new appliance is guaranteed against electrical or
mechanical defects, subject to certain exclusions that are noted
in the Conditions Of Guarantee. The foregoing does not affect
your statutory rights.
oRepairs may only be carried out by authorised service
agents.
arning and safety instructionsW
oThis appliance complies with all current Australian safety
legislation. We do wish to emphasise that this compliance does
not remove the fact that the appliance surfaces will become
hot during use and retain heat aft

6
hild Safety
oWe strongly recommend that babies and young children are
be in the
kitchen, please ensure that they are kept under close supervision
at all times.
eneral Safety
can cause damage to the oven
door hinges.
rectly on the base of the
or line it with aluminium foil.
appliance.
oCleaning of the oven should be carried out on a regular basis.
oGreat care should be taken whilst using this appliance and when
d from the
mains before following the cleaning procedure.
C
prevented from being near to the appliance and not allowed to
touch the appliance at any time.
oIf it is necessary for younger family members to
G
oDo not place heavy objects on the oven door or lean on the
oven door when it is open, as this
oDo not leave heated oil or fat unattended, as this is a fire risk.
oDo not place pans or baking trays di
oven cavity,
oDo not allow electrical fittings or cables to come into contact
with areas on the appliance that get hot.
oDo not use the appliance to heat the room it is located in or to
dry clothing.
oDo not install the appliance next to curtains or soft furnishings.
oDo not attempt to lift or move cooking appliances by using the
oven door or handle, as this may cause damage to the appliance
or result in injury to the person lifting the
Cleaning
following the cleaning procedure.
oIMPORTANT: The appliance must be disconnecte

7
nstallation
This appliance must be correctly installed by a
suitably qualified person, strictly in accordance
with the manufacturer’s instructions.
nufacturer declines any responsibility for injury or
damage, to person or property, as a result of improper
use or installation
t
c
te y ventilated. If the appliance is going to be used for
prolonged periods of time, then additional ventilation may be
required.
will require.
I
oThe ma
of this appliance.
eam and moisture will be created during use of the
e, take care to avoid injury and ensure that the room is
oHeat, s
applian
adequa l
oPlease consult with your qualified installer if you are in any doubt
about the amount of ventilation that you

8
pecificationsS
Product Dimensions
eight: m
idth:
epth: (min)
roduct
o4 oven functions
oOven gross capacity: 59 litres
0 m ute im r
oOven light
Standard accessories
dle
oBPS2 Pizza Stone
Dimensions Aperture
590 mm 580 mm – 583 m
595 mm 560 mm
550 mm 550 mm
specifications
H
W
D
P
oEnergy efficiency class: A
o12 in auto-off t e
oCooling fan
oDouble-glazed removable door
oSafety shelf
oEnamelled baking tray with han
oTray insert
Optional Extra

9
220-240 Vac 50 Hz
ply Connection: 15A (double pole switched fused
outlet with 3mm contact gap)
ax Rated Inputs: 2.35 kW
3 x 1.5mm²
Oven Light Bulb: 25 W/300°C screw type pygmy
ooling fan
s fitt
the internal temperature of ernal
r.
e finished cooking and switched off the oven, the
cooling fan will continue to run for a period of time afterwards.
The length of time will depend on how long the oven has been
on for and at how high a temperature.
ation which can
e found on the rating plate and the date of purchase which can be
und on your sales invoice. The rating plate for your oven can be
cated by opening the oven door and looking around the outer edge of
e oven chassis.
odel Number ……………………………….
……………………………….
Electrical details
Rated Voltage:
upS
M
Mains Supply Lead:
C
oA tangential cooling fan i ed inside of this appliance, to make
the oven stable and the ext
surface temperature lowe
oAfter you hav
switched
For future reference please record the following inform
b
fo
lo
th
M
Serial Number ……………………………….
Date of Purchase

10
ontrol Panel
) Thermostat control knob
) Power indicator light
C
1) Oven function selector knob
2) Auto-off timer / manual operation control knob
3
4
5) Oven operating light
Using the oven
Selecting manual operation mode
ect a cooking function or set a temperature,
ou must set the appliance into manual operation mode.
oTurn the manual o (3) anti-clockwise, so
that it poin
Before you can sel
y
peration control knob
ts at the word ON.

11
etting the 120 minute auto-off timer
ou are able to set the auto-off timer at any time, regardless of
hether an oven function has been selected. You can set a period of
an alarm will sound when
is period of time has elapsed.
oTo set the timer, turn the timer control knob (3) clockwise to
oDO NOT turn the timer control knob (3) past the 120 minute
oDO NOT turn the timer control knob (3) anti-clockwise past the
oThe time period that has been set will expire when the control
ntrol knob (3) anti-clockwise, so that it
points at the word ON. Otherwise the oven will not
ork.
g
S
Y
w
time using the auto-off timer function and
th
oThe timer can be used independently of an oven cooking function
for a time period of up to 120 minutes.
the required countdown time.
marking.
word ON.
knob reaches zero, a brief audible signal will sound and the oven
will switch off.
Before you next use the oven, you MUST turn the
timer co
w
a cooking function and temperature
Selectin
I
MPORTANT: Make sure that you have sent your
s
It is perfectly normal for a smell to be produced during this
process.
oYou should make sure that any windows in the room are left
oIt is advisable for you not to remain in the room whilst the
oven into manual operation mode before selecting
an oven function and temperature.
t useBefore fir
o
open during this process.
burning off process is taking place.
oYou should leave the oven on maximum setting for 30 – 40
minutes.
12
py water, using either a sponge or soft cloth. No
abrasive cleaners should be used.
ft cloth. No abrasive cleaners
should be used.
larly used on the stainless steel surfaces of this
appliance.
he oven function selector knob should be used to select the particular
uire. The appliance will utilise different
lements within the oven cavity, depending on the oven function that
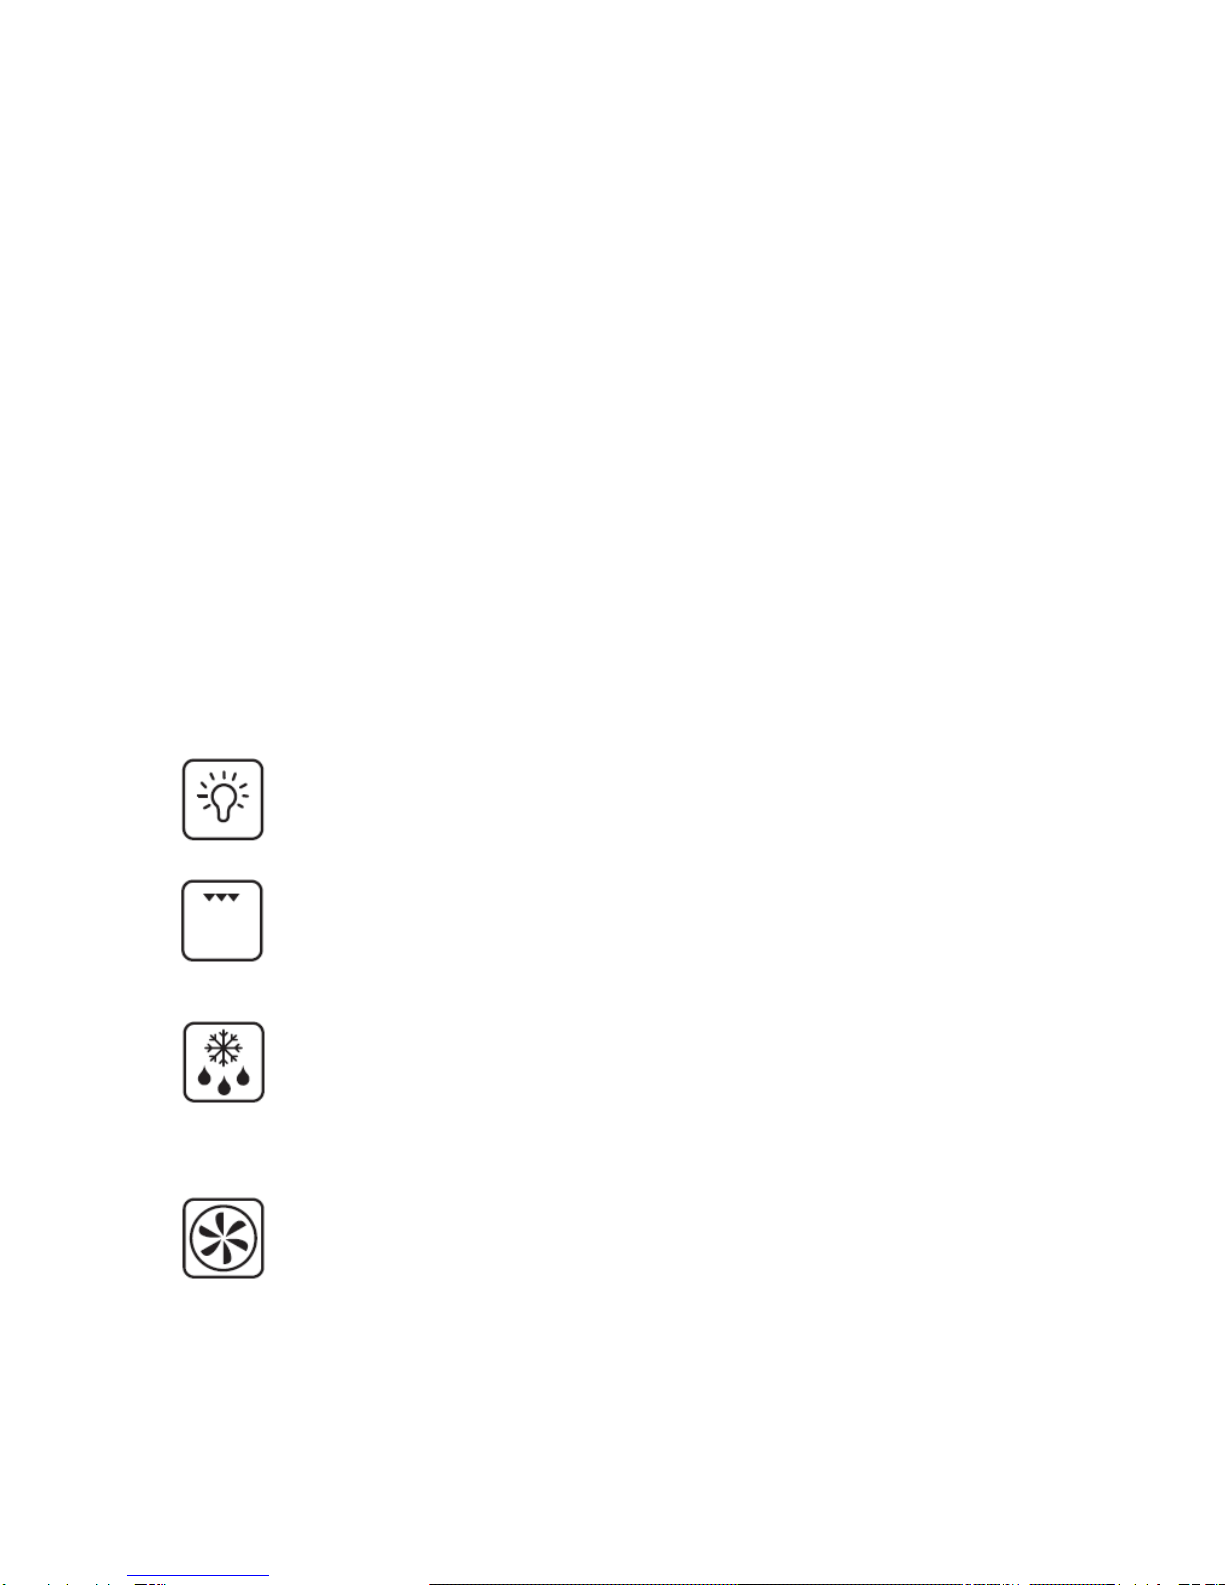
OVEN LIGHT: Separate light control which allows the light to
ed on, even when the oven is not cooking.
rt only of
e top element, which directs heat downwards onto the food.
This function is suitable for grilling small portions of bacon,
ozen foods. The time required to defrost
the food will depend on the room temperature, the quantity
t
ted by the fan. This results in a faster
and more economical cooking process. The fan oven allows
oAfter the oven cavity has cooled, it should then be cleaned with
warm soa
oOuter parts of the oven should be cleaned with warm soapy
water, using either a sponge or so
oWe would recommend that an appropriate stainless steel cleaner
and polish is regu
Selecting an oven function
T
mode of cooking that you req
e
you select. When a function is selected, the power indicator light will
come on.
Oven functions
be switch
GRILL: This method of cooking utilises the inner pa
th
toast and meat etc.
DEFROST MODE: The fan runs without heat to reduce the
defrosting time of fr
and type of food. Always check food packaging for the
defrosting instructions.
FAN OVEN: This method of cooking uses the circular elemen
while the heat is distribu
food to be cooked simultaneously on different shelves,
preventing the transmission of smells and tastes from one dish
onto another.

13
hermostat control knob
oThe oven thermostat control
knob sets the required
temperature of the oven. It is
oThis light will come on to
that the oven’s
heating elements are in
ace food inside the cavity, until the
orrect cooking temperature has been reached.
guidelines
oPlease refer to the information given on food packaging for
king temperatures and times. Once familiar with
the performance of your appliance, temperatures and times can
ckaging for this particular
mode of cooking.
light has gone off. You can choose not to pre-
heat when using the fan oven mode; however you should extend
T
possible to regulate the
temperature within a range of
50 - 250°C.
oTurn the control knob
clockwise.
Oven operating light
indicate
operation. The light will turn
off when the temperature set
on the thermostat control
knob has been reached. It will
cycle on and off throughout
the cooking time.
You should not pl
c
Cooking
guidance on coo
be varied to suit personal preference.
oIf you are using the fan oven function, then you should follow
the information given on the food pa
oYou should pre-heat the oven and not place food inside of it until
the oven operating
the cooking time given on the food packaging by at least ten
minutes.

14
ing in fan oven mode, you can generally reduce the
cooking time and temperature by 10% from the information
the food packaging advise
that you can “cook from frozen”.
rculate.
oThe oven light will remain on during cooking.
nings
oKeep the oven door closed when using ALL oven
ions, including the grill function. The oven door must
also be left shut whilst the oven is cooling after use.
high
reflectivity of the foil could potentially damage the grill element.
m of your oven. They should always be placed on the shelf
provided.
avoid touching it inadvertently when handling the
food which you are grilling.
oIMPORTANT: You should ALWAYS pre-heat the oven if you are
baking.
oIf there is no guidance given on the food packaging specifically
for cook
given for conventional oven cooking.
oMake sure that frozen foods are thoroughly thawed before
cooking, unless the instructions on
oBefore cooking, check that any accessories that are not required
are removed from the oven.
oPlace cooking trays in the centre of the oven and leave gaps
between the trays to allow air to ci
oTry to open the door as little as possible to view the dishes.
aW r
funct
oDo not use aluminium foil to cover the enamelled baking tray or
heat items wrapped in aluminium foil under the grill. The
oYou should also never line the base of your oven with aluminium
foil.
oDuring cooking, never place pans or cookware directly onto the
botto
oThe grill heating element becomes extremely hot during
operation,
oImportant: Be careful when opening the door, to avoid contact
with hot parts and steam.

15
helf positions
Your oven will come supplied with
he following oven furniture:
indicate the different shelf positions that you
ferences.
S
t
(A) Safety shelf
(B) Enamelled baking tray
oThe numbers 1 – 4,
can utilise within the oven.
oYou should use the shelf position(s) that you find are best suited
to your personal cooking pre
Cleaning and maintenance
Cleaning operations must only
when the oven is c be carried out
ool.
commencing any cleaning
rocess.
n e thoroughly cleaned before it is operated for
the first time and after each use. This will avoid residual food
stuffs becoming baked on the oven cavity. After residues have
oThe oven cavity should only be cleaned with warm soapy water,
aners should
be used.
from food splashes or spilt food, these splashes occur
during the cooking process. These could possibly be a result of
The appliance should be disconnected from your
mains supply before
p
oThe ove should b
been baked on several times, they are far more difficult to
remove.
oNever clean the oven surfaces by steam cleaning.
using either a sponge or soft cloth. No abrasive cle
oAny stains that may appear on the bottom of the oven will have
originated
the food being cooked at an excessively high temperature or
being placed in cookware that is too small.

16
ou are cooking. You
should also ensure that the food is placed in an adequately sized
ners
should be used.
larly used on the stainless steel surfaces of this
appliance.
with the manufacturer of the cleaner that it is
suitable for use on your appliance.
he manufacturer free of
charge, even if the appliance is within the guarantee
he oven must be disconnected from
your mains supply before you attempt to either
emove or replace the oven bulb.
drip tray and the side
rack that is on the same side as the oven light.
Replace the bulb with a 25 W/300°C, screw type pygmy.
ose any other type of bulb.
oPlace the lamp cover back into position.
oYou should make sure that the cooking temperature that is
selected is appropriate for the food that y
dish and use the enamelled baking tray where appropriate.
oOuter parts of the oven should only be cleaned with warm soapy
water, using either a sponge or soft cloth. No abrasive clea
oWe would recommend that an appropriate stainless steel cleaner
and polish is regu
oIf you use any form of oven cleaner on your appliance, then you
must check
oAny damage that is caused to the appliance by a cleaning
product will not be fixed by t
period.
Replacing the oven bulb
IMPORTANT: T
r
oRemove all oven shelves, the
oRemove the light cover by turning it anti-
clockwise.
oUnscrew the bulb clockwise and remove it from its
holder.
o
Do not u

17
emoving the oven door for cleaning
o facilitate the cleaning de of the oven and the outer frame
f the oven, the door ca :-
oIf you raise both of the movable bolts (B), then the hinges (A)
vity and then pull the door
gently away from the oven cavity.
the door on some padded
material whilst cleaning it.
ount of detergent. The cloth MUST
NOT have come into contact with any form of cleaning product
fore closing the door.
locking system when removing the door,
as the hinge mechanism has a strong
R
T of the insi
n be removed as followso
oThe hinges (A) have two movable bolts on them (B).
are released from the oven housing.
oYou should grip the sides of the door at the centre and then
incline it slightly towards the oven ca
oIMPORTANT: You should make sure that the door is supported
at all times and that you place
oThe oven door and door glass should only be cleaned using a
damp cloth and a small am
or chemical previously.
oTo refit the door you should slide the hinges back into their slots
and open the door fully.
oIMPORTANT: The movable bolts (B) must be closed back into
their original positions be
oTake care not to dislodge the hinge
spring.
oDo not immerse the door in water at any
time.

18
NSTALLATIONI
The installation must be
qualified carried out by a suitably
person, in accordance with the current
version of the following.
/
1 tions
Before connecting the appliance, make sure that the supply voltage
plate corresponds with your mains supply
oltage.
oThis appliance should be wired into a 15A double pole switched
n and placed in
an easily accessible position adjacent to the appliance. The spur
hange the oven power cord, the earthing
(yellow/green) conductor must always be 10 mm longer than the
en to ensure that the temperature of the mains
supply cable does not exceed 50°C.
d, then it must be replaced
by an appropriate replacement which can be obtained from the
NZS 3000: 2007 Wiring Regulations
0 Electricity Safety Regula
oAS
o20
Electrical connection
marked on the rating
v
WARNING: THIS APPLIANCE MUST BE EARTHED.
fused spur outlet, having 3 mm contact separatio
outlet must still be accessible even when your oven is located in
its housing.
oTo connect the oven power cord, loosen and remove the cover
on the terminal block, in order to gain access to the contacts
inside. Make the connection, securing the cord in place with the
cable clamp provided and then immediately close the terminal
block cover again.
oIf you have to c
line conductors.
oCare must be tak
oIf the mains supply cable is damage
Spares Department.

19
nstalling the oven into the kitchen cabinetI
ositioning the appliance
e that you will be fitting the oven into is
of the size given in the above diagram.
using with the ventilation
cut-outs shown in the “Ventilation requirements” section on the
the rear panel of the furniture housing unit has been
removed.
P
oEnsure that the apertur
oThe oven must be fitted into an oven ho
next page.
oEnsure that

20
entilation requirements
ts for the
installatio
igure shows the
entilation and cut-
oEnsure that the oven has been
securely fixed into the housing
V
(Figure shows the ventilation and cut-out requiremen
n of the appliance into a standard kitchen unit).
(F
v
out requirements for
the installation of the
appliance into a tall
housing unit).
unit. The fixing of the oven into
the housing is made by using
four screws. These should be
screwed through the oven
cabinet and into the housing
unit.
Other manuals for LFO6S
1
Table of contents
Other Linea Oven manuals

Popular Oven manuals by other brands

GE
GE 169104 instruction manual

Bosch
Bosch CBG675B 3 Series instructions

Bosch
Bosch HSG7364 1 SSeries User manual and installation instructions

Hotpoint Ariston
Hotpoint Ariston CISHB 10 A.1 operating instructions

TurboTronic
TurboTronic TurboWave TT-EV35 instruction manual

Bella
Bella KITCHENSMITH 12028 instruction manual


Doyon
Doyon E1420 user guide

Proline
Proline PCC56SL-F Operating and installation instructions

Frigidaire
Frigidaire FGB24L2EC - 24" Gas Wall Oven Product specifications

Zanussi
Zanussi FM56 Use and care instructions

Electrolux
Electrolux EKM10460X Instruction booklet

Drija
Drija Latino 60 Electrico user manual