manuals.online logo
Brands
  1. Home
  2. •
  3. Brands
  4. •
  5. Linear
  6. •
  7. Remote Starter
  8. •
  9. Linear M13-631 User manual

Linear M13-631 User manual

•
•
•
•
•
To prevent possible SERIOUS INJURY or DEATH from a moving gate or garage door:
Install Wireless Keyless Entry System within sight of the garage door, out of reach of
children at a minimum height of 5 feet (1.5m) and away from ALL moving parts of the door.
ALWAYS keep remote controls out of reach of children. NEVER permit children to
operate, or play with remote controls.
Activate gate or door ONLY when it can be seen clearly, is properly adjusted, and
there are no obstructions to door travel.
ALWAYS keep gate or garage door in sight until completely closed. NEVER permit
anyone to cross path of moving gate or door.
The Wireless Keyless Entry System offers you the convenience of opening and
closing your garage door by entering your own 4-digit Personal Identification Number
(PIN) via the keypad. The WKE can be programmed wireless to control up to 4 garage
door operators that each work on a different code, or to control one garage door
operator with up to 4 different PINs. You can also program it to allow a temporary PIN
of your choice to be stored, to provide temporary access to authorized visitors or service
persons. Check the box content to familiarize yourself with parts shown in Fig.1 and 2.
Other Features Include:
Wireless Installation, Wireless Programming, Low Battery Indication, One-Button-to-Close
Operation, Backlit Keypad, Code Security,Anti-Tampering, and Weather-Resistant Design.
NOTE: To program the
WKE to more than one
garage door operator
(maximum 4), repeat the
steps above using a new
PIN for each additional
garage door operator.
Press and hold button
for at least 3 seconds to
activate programming mode,
LED’s light up for 10
seconds.
LED’s and keypad buttons
will light up for 2 seconds
signaling programming
is completed.
Hold transmitter very close
to keypad buttons and
Press and hold transmitter
button you use to open and
close your garage door.
Release transmitter
button when LED’s on
keypad flash.
PROGRAM PIN AND TRANSFER TRANSMITTER CODE
WIRELESS KEYLESS ENTRY MODEL M13-631
1 2 Enter a 4-digit personal
identification number
(PIN) of your choice # # # #.
Enter the programmed PIN
that you want to change.
Press the ENTER button.
LED’s will flash rapidly.
Press button for at least
3 seconds, LED’s will flash
slowly. Release button.
Enter the new 4-digit PIN of
your choice # # # # then
press the ENTER button.
LED’s and keypad light up
for 2 seconds.
To test WKE, enter the new PIN
then press the ENTER button.
The garage door opener
will activate.
3
1 3 4
CHANGE AN EXISTING PIN
Press and release the ENTER button.
4Test WKE by entering
the PIN, then press
ENTER button.
LW
Limited
Warranty
1 Year
2
5
Install batteries provided, see Fig. 2.
For more information, please visit www.devancocanada.com or call toll free at 855-931-3334
PROGRAM A TEMPORARY PIN
INSTALLATION
CLEARING WKE Memory
A temporary 4-digit PIN can be programmed to
allow access to visitors. Each programmed PIN
can program one temporary PIN. The temporary
PIN can be set for a number of door openings
(max 99). The temporary PIN cannot be the
same as any previously programmed PIN.
Select a location to mount the Keyless Entry at a minimum
height of 5 feet (1.5m) out of the reach of children.
Use mounting plate as template, mark hole location and
then drill two 1/8 inch (3.2mm) pilot holes.
Secure plate to the mounting surface with the (2) screws
provided. Do not over-tighten screws to avoid cracking the
plastic.
Cover batteries with battery cover.
Snap WKE into the mounting plate and secure with screw
provided. See Fig. 1.
Install slide-up protective cover. Align cover slides with slide
grooves on WKE and slide cover down until it locks.
Remove Wireless Keyless from wall mounting plate.
Remove batteries from Wireless Keyless.
Press and hold ENTER button.
Install batteries back. Match polarity designation.
Release ENTER button, LED flash rapidly
approximately 5 seconds.
Enter any programmed
PIN, then press
ENTER button.
LED’s will flash
rapidly.
1 2 Enter the temporary 4-digit PIN of
your choice # # # # then press the
ENTER button.
LED’s will flash very rapidly.
3
Press the number of openings the temporary PIN will work (up to 99).
Then press the ENTER button.
LED’s and key pad buttons light up for 2 seconds then
system goes in stand-by mode.
4
1
1
2
3
4
5
2
3
To test, enter the temporary PIN,
then press the ENTER button.
The garage door operator will
activate. If the temporary PIN
was set for a number of
openings, the test will use up
one opening programmed PIN.
NOTE: To clear the temporary PIN, repeat steps 1-3
above, setting the number of openings to “0” in step 4.
NOTE: To successfully
establish a temporary pin,
steps 2-4 must be completed
within 10 seconds after
programming activation.
4
5
6
Fig. 1
Fig. 2
OPERATION
BATTERY
REPLACEMENT PARTS
Low Battery Indicator:
Replace the batteries when all the keypad buttons start to flash
(10 seconds) upon raising the Wireless Keyless protective cover.
Low Battery Indicator:
Replace the batteries when all the keypad buttons start to flash
(10 seconds) upon raising the Wireless Keyless protective cover.
FCC and IC Certified: This device complies with Part 15 of the FCC rules and IC RSS-210. Operation is subject to the following two conditions: (1) this device may not cause harmful interference, and (2) this device must accept any
interference received, including interference that may cause undesired operation. Changes or modifications not expressly approved by the party responsible for compliance could void the user´s authority to operate the equipment.
Battery - AAA (Qty 2)
Keypad cover - (Call customer service)
To prevent possible SERIOUS INJURY or DEATH:
NEVER allow small children near batteries.
If battery is swallowed, immediately notify doctor.
Press button for
at least 3 seconds.
LED’s will flash slowly
for 10 seconds.
Press the button for 3 seconds. LED on keypad
flash slowly.
Press the ENTER button.
The keypad LED’s light up for 2 seconds indicating that the
one button close feature has been deactivated.
The garage door operator activates when the PIN and ENTER
button are pressed. The keypad will blink for 28 seconds, during
that time the ENTER button can be used to stop, start, reverse
the door.
If the wrong number is accidentally pressed, press the correct PIN
then the ENTER button. The Keyless Entry will transmit only the
last four digits.
ONE-BUTTON-TO-CLOSE: The Keyless Entry has a feature that
allows the door to be closed using the ENTER button instead of a PIN.
NOTE: Factory setting-active.
To activate the one button close feature:
To deactivate the one button close feature:
1
2
3
1
2
3
Press the button for 3 seconds. LED on keypad
flash slowly.
Press the ENTER button.
The keypad LED’s light up for 2 seconds indicating that the
one button close feature has been activated.
HOW TO ORDER REPAIR PARTS
DEVANCO CANADA
19192 HAY ROAD, UNIT Q
SUMMERSTOWN, ON K0C 2E0
TOLL FREE: 855-931-3334
www.devancocanada.com
WHEN ORDERING REPAIR PARTS
PLEASE SUPPLY THE FOLLOWING INFORMATION:
3PART NUMBER
3DESCRIPTION
3MODEL NUMBER

Other Linear Remote Starter manuals

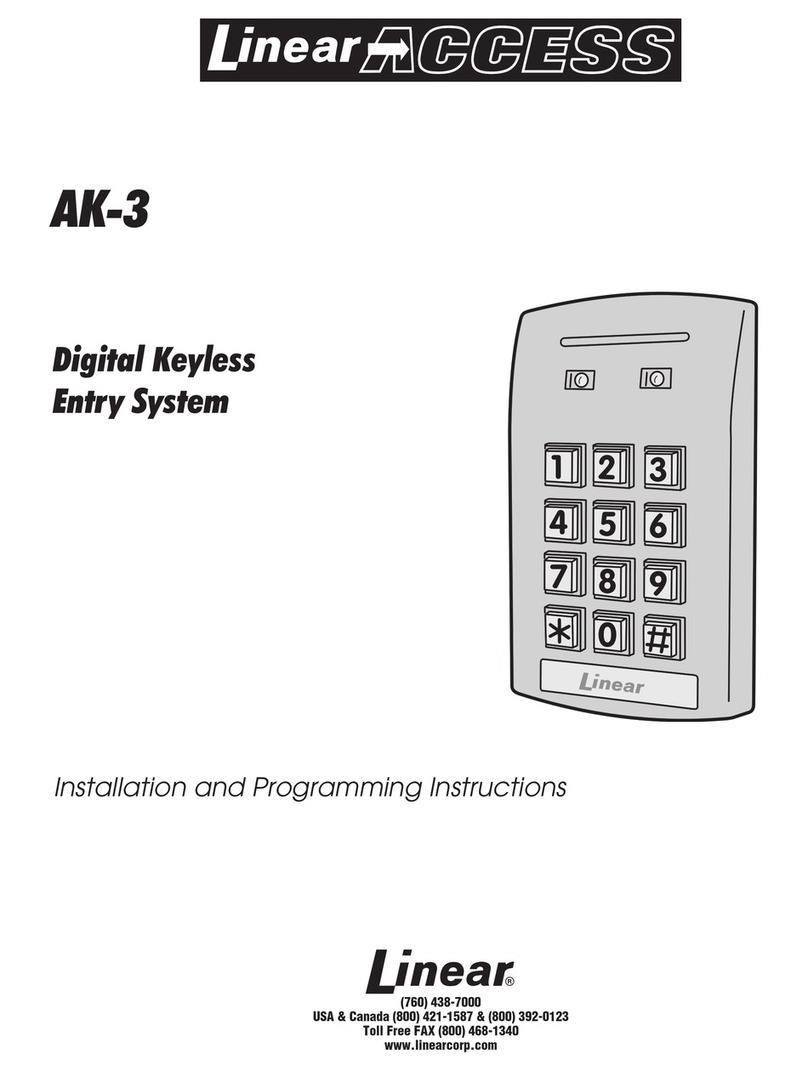
Linear Digital Keyless Entry System AK-3 Technical specifications

Linear

Linear Digital Keyless Entry System AK-3 Technical specifications

Linear Digital Keyless Entry System Technical specifications

Linear

Linear Digital Keyless Entry System Technical specifications

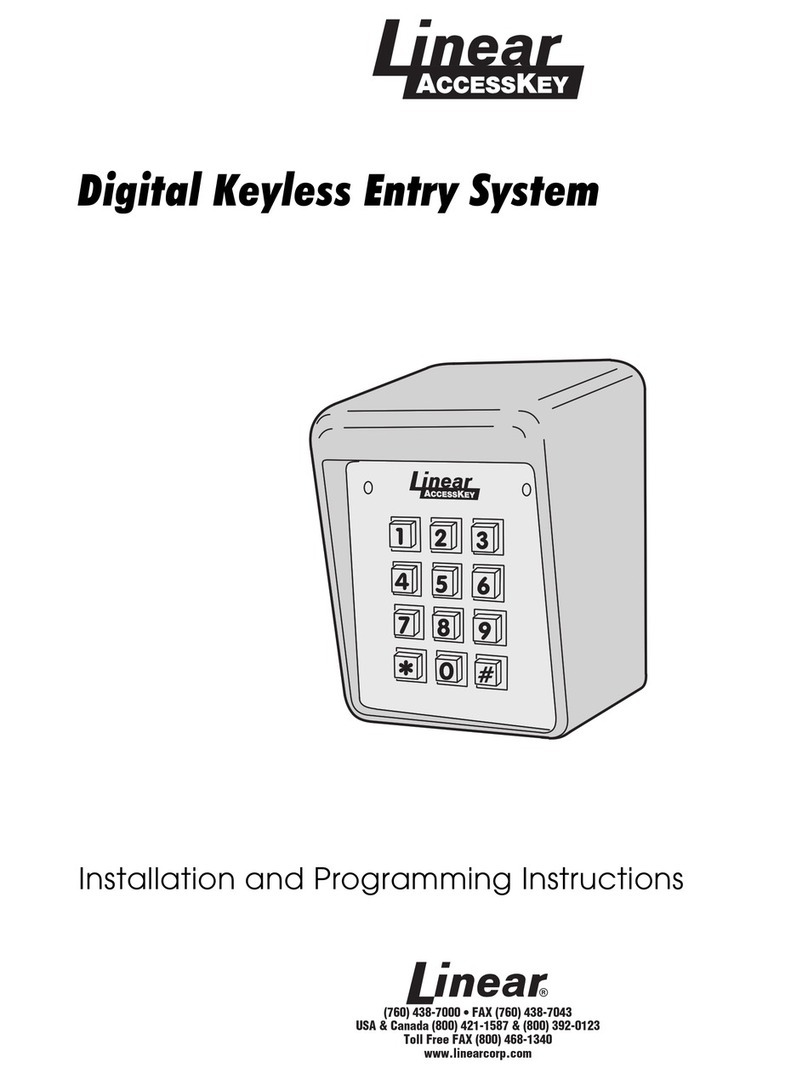
Linear AccessKey Technical specifications

Linear

Linear AccessKey Technical specifications

Linear MULTI-CODE 4200 User manual

Linear

Linear MULTI-CODE 4200 User manual

Linear ACCESS AK-21 Technical specifications

Linear

Linear ACCESS AK-21 Technical specifications

Linear AE2000PLUS User manual

Linear

Linear AE2000PLUS User manual

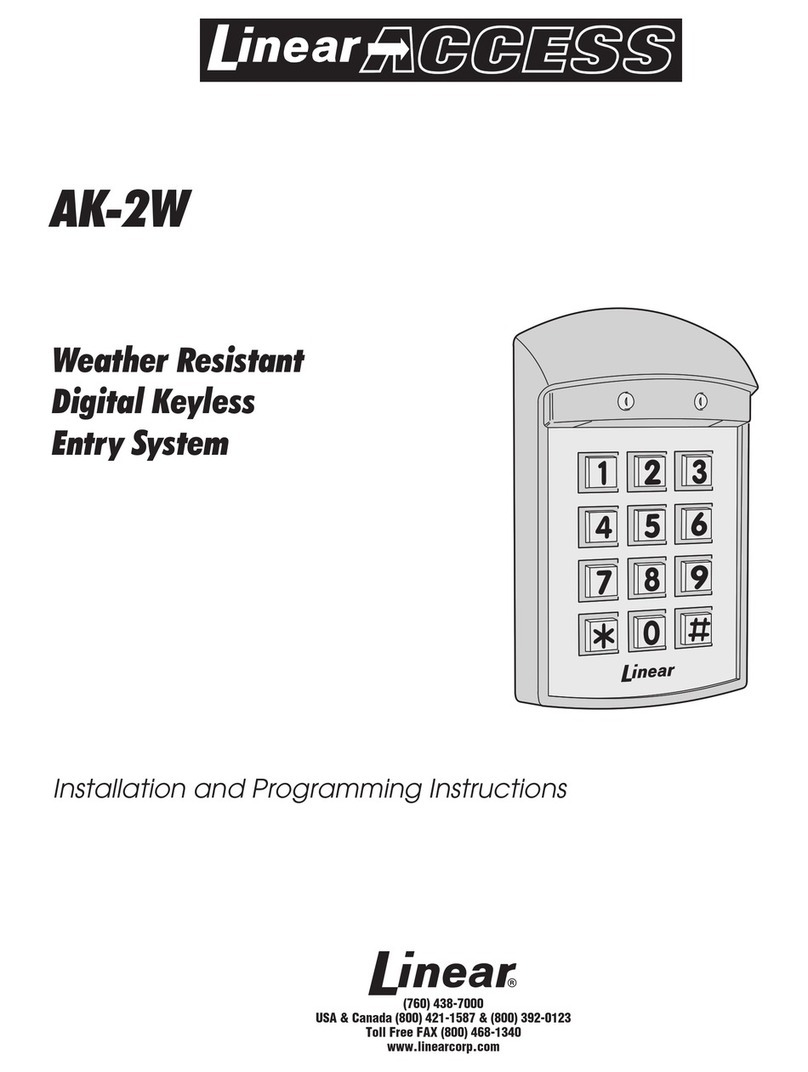
Linear WEATHER RESISTANT KEYLESS ENTRY SYSTEM AK-2W Technical specifications

Linear

Linear WEATHER RESISTANT KEYLESS ENTRY SYSTEM AK-2W Technical specifications

Linear AKR-1 Technical specifications

Linear

Linear AKR-1 Technical specifications

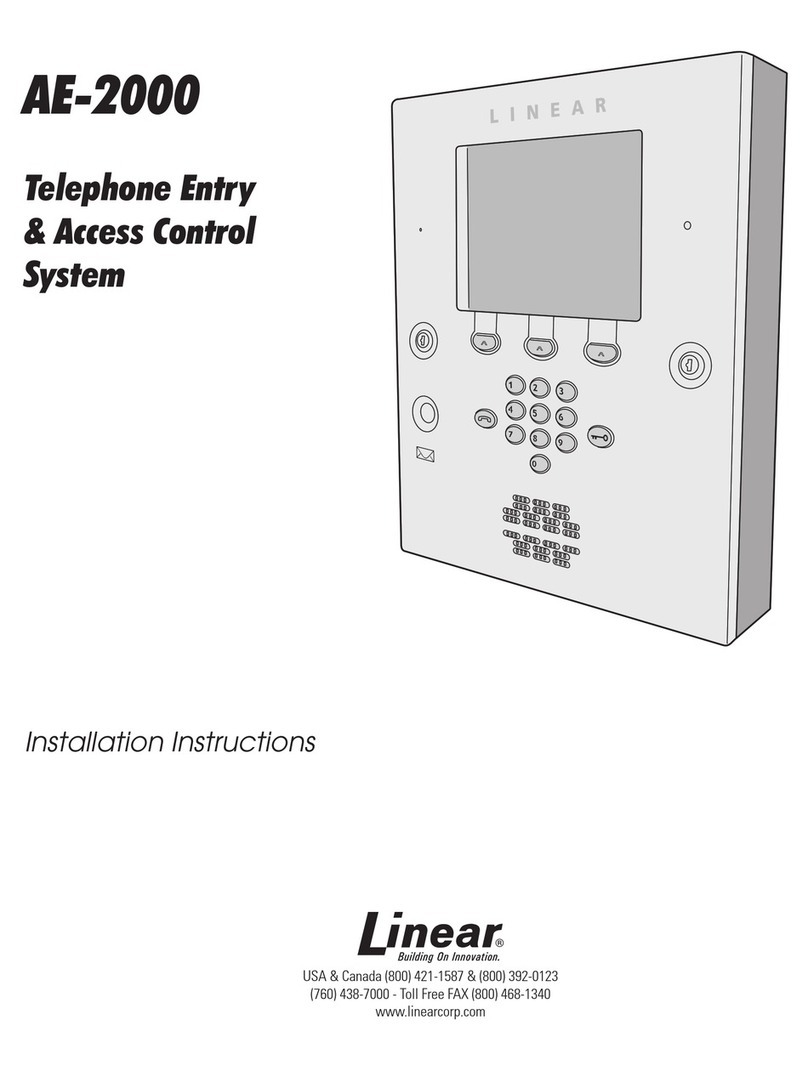
Linear AE-2000 User manual

Linear

Linear AE-2000 User manual

Popular Remote Starter manuals by other brands

NOCO Genius Boost Sport GB20 User guide & warranty

NOCO Genius

NOCO Genius Boost Sport GB20 User guide & warranty

Encore E-5 manual

Encore

Encore E-5 manual

Chamberlain 940EV user manual

Chamberlain

Chamberlain 940EV user manual

Directed Electronics Valet 561T owner's guide

Directed Electronics

Directed Electronics Valet 561T owner's guide

Lexus RES+ owner's guide

Lexus

Lexus RES+ owner's guide

Schumacher BE01255 owner's manual

Schumacher

Schumacher BE01255 owner's manual

Excalibur AL-2020-EDP Operation guide

Excalibur

Excalibur AL-2020-EDP Operation guide

Directed Electronics Smart start user guide

Directed Electronics

Directed Electronics Smart start user guide

Chamberlain LiftMaster 379LM quick start guide

Chamberlain

Chamberlain LiftMaster 379LM quick start guide

Deca Fast 10k instruction manual

Deca

Deca Fast 10k instruction manual

ProStart CT-3471 TW user guide

ProStart

ProStart CT-3471 TW user guide

Directed Electronics PS-4661TWE-FM user guide

Directed Electronics

Directed Electronics PS-4661TWE-FM user guide

Wagan 2412 user manual

Wagan

Wagan 2412 user manual

CrimeStopper Cool Start RS-840 operating instructions

CrimeStopper

CrimeStopper Cool Start RS-840 operating instructions

PURSUIT PRO9776Z Quick installation guide

PURSUIT

PURSUIT PRO9776Z Quick installation guide

MEGATRONIX Viking VS 200 installation manual

MEGATRONIX

MEGATRONIX Viking VS 200 installation manual

BFT espas20 I user manual

BFT

BFT espas20 I user manual

Audiovox Electronics Pursuit PRO9056C owner's manual

Audiovox Electronics

Audiovox Electronics Pursuit PRO9056C owner's manual

manuals.online logo
manuals.online logoBrands
  • About & Mission
  • Contact us
  • Privacy Policy
  • Terms and Conditions

Copyright 2025 Manuals.Online. All Rights Reserved.