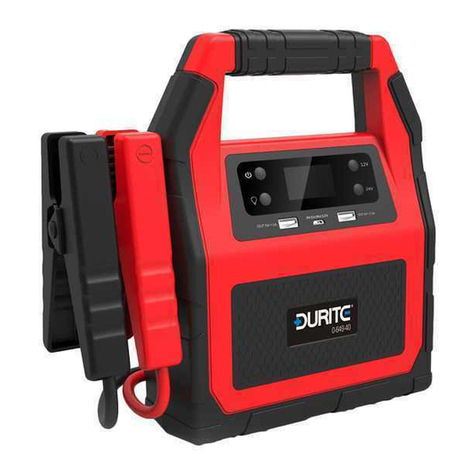
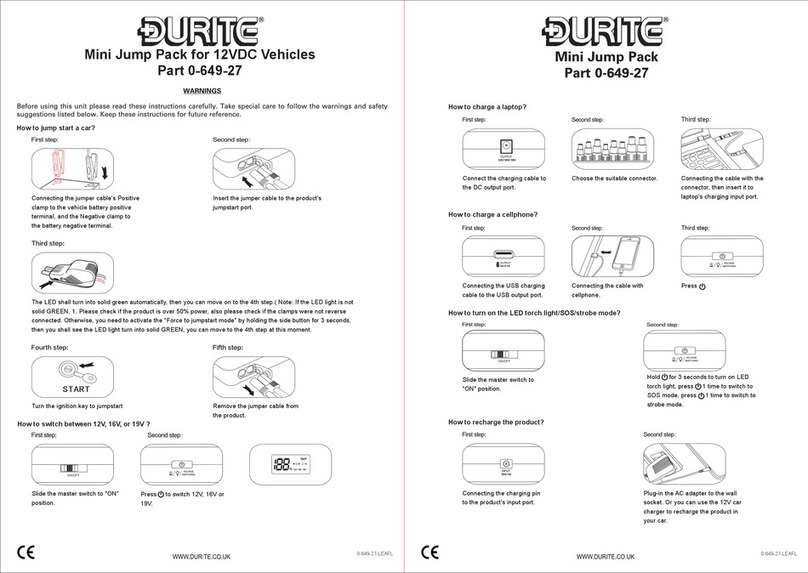
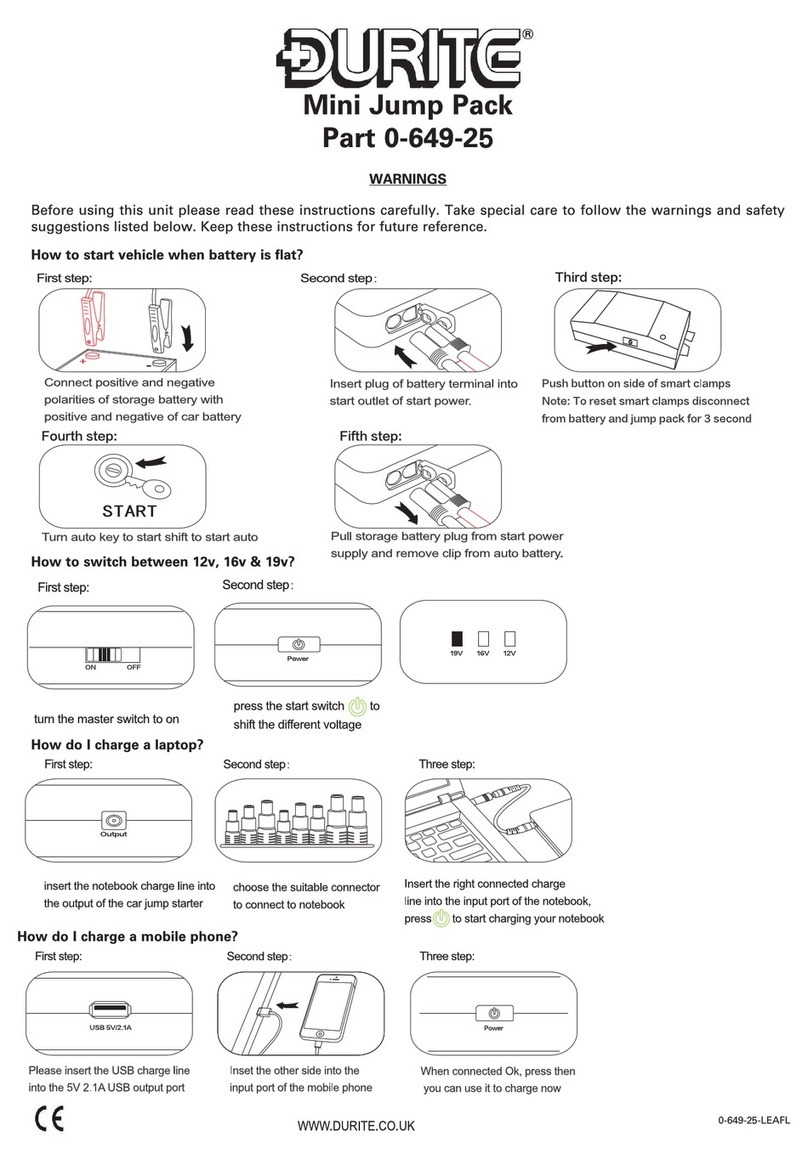
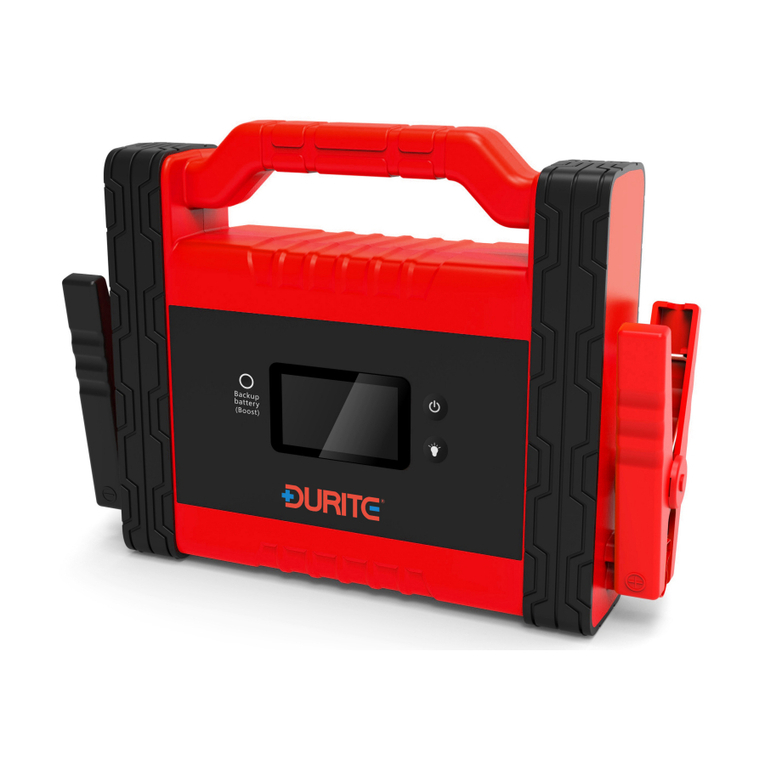
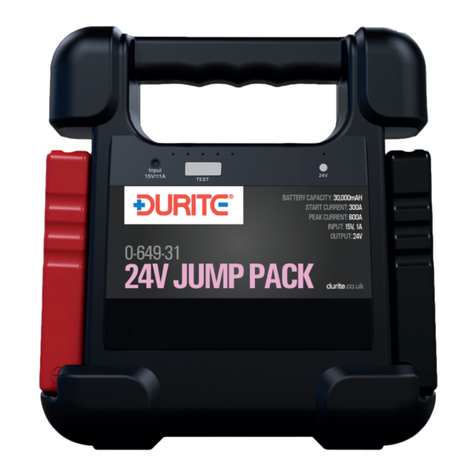
Durite 0-648-35 User manual

Intelli ent Battery Char er and Jump Starter
Part 0-648-35
Before using this unit please read these instructions carefully. Take special care to follow the warnings indicated on the unit itself as
well as the safety suggestions listed below. Keep these instructions for future reference.
IMPORTANT SAFETY INSTRUCTIONS
1. This appliance is not intended for use by persons (including children) with reduced physical, sensory or mental capabilities, or
lack of experience and knowledge, unless they have been given supervision or instruction concerning use of the appliance by a
person responsible for their safety. Children should be supervised to ensure that they do not play with the appliance.
2. Working in vicinity of a lead-acid battery is dangerous. Batteries generate explosive gases during normal battery operation. For
this reason, it is of utmost important that each time before using your charger, you read this manual and follow the instruction ex-
actly.
3. To reduce risk of battery explosion, follow these instructions and those published by the battery manufacturer and manufac-
turer of any equipment you intend to use in vicinity of battery. Review cautionary markings on these products and on engine
4.Use the charger in door only, do not expose it to rain.
www.durite.co.uk 0-648-35-LEAF

GENERAL SAFETY
GENERAL
Before using the device, study the instruction sheet. Always disconnect the mains supply before making or breaking the DC connections.
GASES
When the battery is being charged you may notice bubbling in the fluid caused by the release of gas. As the gas is flammable, avoid naked
flames, glowing or electrostatically charged material and sparks in the vicinity of the battery. Provide adequate ventilation.Because of this
risk of explosive gas, only connect and disconnect the battery leads when the mains supply is disconnected.
TYPE OF BATTERIES
This charger is suitable for lead acid batteries only and should not be used to recharge any other type of battery.
POINTS OF NOTE
• Protect the charger against rain, damp and heat. Do not cover the ventilation holes. When not in use, store the charger in a dry area to
avoid moisture
• Do not charge faulty batteries.
• Attend to instructions of the battery manufacturer and the vehicle manufacturer concerning battery charging.
REPAIR
• There are no user-serviceable parts inside the device. Any attempt at modification or repair by the user will entail the loss of your guar-
antee.
• The mains supply cord of this device can only be repaired at specialised workshops; Do not use the charger if one of the cords have been
damaged.
DANGER!
• Never charge a frozen battery. If battery fluid (electrolyte) becomes frozen, bring the battery to a warm area to allow battery to thaw
before you begin charging. Never put a battery on top of the charger or vice versa.
• Do not touch the battery clamps together when the charger is on.
• Never use the charger when it has received a hard blow, been dropped, or otherwise been damaged. Take it to a qualified professional
for inspection and repair.
• Prevent the power cord from being stepped on, tripped over, or being damaged.
• Never pull out the plug by the cord when unplugging the charger. Pulling on the cord may cause damage to the cord or the plug.
• We recommend to remove the battery from the car before charging. When charging the battery while installed in the car please understand
that we cannot take any responsibility for harm to your electronic or car itself.
PRECAUTIONS W EN WORKING WIT BATTERIES
• Avoid getting electrolyte on your skin or clothes. It is acidic and can cause burns. If battery acid contacts skin or clothing, wash immediately
with soap and water. If acid enters eyes, immediately flood eye with running cold water for at least 20 minutes and get medical attention
immediately. Eye protection is therefore recommended. Baking soda neutralises lead acid battery electrolyte
• Never smoke or allow a spark or flame in vicinity of battery or Engine.
• Do not drop a metal tool on the battery. The resulting spark or short-circuit on the battery of other electrical part may cause an explosion.
• Remove personal metal items such as rings, bracelets, necklaces, and watches when working with a lead-acid battery.A lead-acid battery
can produce a short-circuit current high enough to weld a ring or the like to metal, causing severe burns.
www.durite.co.uk 0-648-35-LEAF

LED INDICATORS
Repair
This function is for 12V battery only. If the battery is sulphated, the charger automatically tries to recover it. If the LED is illuminated for
more than 120 minutes ,the battery is broken and the fault LED turns on.
Charging
The battery is being charged.
Fault
This indicator turns on when a fault occurs.
See the table “DISPLAY CODES” for the fault codes F01 - F04.
Full
The battery is fully charged and the charger can be disconnected: Disconnect the charger from the mains. Disconnect the black and red
clips from the terminals of the battery.
www.durite.co.uk 0-648-35-LEAF

DISPLAY CODES
www.durite.co.uk 0-648-35-LEAF

OPERATION - HOW TO CHARGE
ATTENTION
Suitable for all type of 12V/24V Lead Acid-, Gel-, AGM- and Deep Cycle batteries
1. Turn the control dial to “OFF”
2. Preparing the battery
Firstly remove the caps from each cell and check that the level of the liquid is sufficient in each cell. If it is below the recommended
level, top up with de-ionized or distilled water.
NOTE: Under no circumstances should tap water be used.The cell caps should not be replaced until charging is complete. This allows
any gases formed during charging to escape. It is inevitable that some minor escape of acid will occur during charging.
For permanently sealed battery, it is not necessary to carry out the following checks. Don´t try to open a sealed or maintenance-free bat-
tery.
3. Connection
Please make sure that the charger is not connected to AC power.
First connect the positive charging lead (red) to the positive terminal post of the battery (marked P or +). After that connect the negative
charging lead (black) to the negative terminal post of the battery (marked N or -) or the vehicle frame. It is important to ensure that both
DC clamps are making a good contact with their respective terminal posts.
At last connect the charger’s AC power cable to the mains with an adequate ground.
4. Charging
Turn the control dial to the appropriate charging setting and take note of the LED indicators and display codes.
C ARGE RECOMMENDATION:
Control Dial Setting Recommended application
12V 10A 12V batteries , 50-300A
12V 30A 12V batteries , 150-600A
24V 8A 24V batteries , 50-200A
24V 15A 24V batteries , 60-300A
The current indicator will display the charge supplied to the battery in Amps.
The charger is charging with up to 9 steps depending on the status of the battery and the LED “charging” is turned on while charging.
When the LED “full” illuminates, the battery is completely charged. Disconnect the charger from the mains. Disconnect the black and
red clips from the terminals of the battery. Inspect the liquid levels in each cell and top up if necessary, using the correct fluid. Any sur-
plus fluid around the cell tops should be wiped off (this should be done with extreme care as it may be acidic/corrosive). Replace the
caps.
www.durite.co.uk 0-648-35-LEAF

OPERATION - HOW TO JUMPSTART
www.durite.co.uk 0-648-35-LEAF
1. Turn the control dial to “OFF”
2. Connection
• Make sure that the charger is not connected to the AC power.
• Connect the positive charging lead (red) to the positive terminal post of the battery (marked P or +). Connect the negative charging
lead (black) to the negative terminal post of the battery (marked N or -) or the vehicle frame. It is important to ensure that both DC
clamps are making a good contact with their respective terminal posts.
• Connect the charger’s AC power cable to the mains with an adequate ground.
3. Jumpstarting
• Turn the control dial to “Boost 12V only”: The battery will be charged with up to 30A for 4 minutes, the display counts down from 240
to 0.
• After this a beep alarm is signalizing the boost period for about 5 seconds. The charger gives a maximum current to the battery dur-
ing this time. Please start the vehicle engine in this period.
• Disconnect the charger from the mains and disconnect the black and red clips from the terminals of the battery.
• If the attempt fails, turn the control dial to “OFF” and repeat the process.
NOTE
If the vehicle engine can’t be started after several attempts, the battery may be dead and has to be replaced.
ATTENTION
For 12V wet cell or AGM battery only. The car´s engine must not be running.
NOTE
If the battery has just been charged, put on the the car´s dimmed headlights for 6 minutes in order to have a more precise indication
of the battery´s condition.
1. Turn the control dial to “OFF”
2. Connection
• Connect the positive charging lead (red) to the positive terminal post of the battery (marked P or +). Connect the negative charging
lead (black) to the negative terminal post of the battery (marked N or -) or the vehicle frame. It is important to ensure that both DC
clamps are making a good contact with their respective terminal posts.
• Connect the charger’s AC power cable to the mains with an adequate ground.
3. Battery Test
• Turn the control dial to „Test 12V/24
• Press the “Battery Test”-button for about 2 seconds. The Charger starts to discharge the battery for 10 seconds while the digital dis-
play shows the battery´s voltage.
• Compare the final battery voltage with the below specifications.
• The Charger will stay in “Battery Test”-Mode for 2 Minutes.
Final voltage STATE OF C ARGE
10,3-11,9 <20%
12,1 25%
12,3 50%
12,5 75%
12,7 100%
ATTENTION: The next test is only allowed when the display shows “STb”
4. Disconnect
Disconnect the charger from the mains. Disconnect the black and red clips from the terminals of the battery.
OPERATION - HOW TO TEST THE BATTERY

www.durite.co.uk 0-648-35-LEAF
OPERATION - HOW TO TEST THE ALTERNATOR
ATTENTION
For 12V and 24V batteries. The car´s engine must not be running at the beginning.
1. Turn the control dial to “OFF”
2. Connection
• Connect the positive charging lead (red) to the positive terminal post of the battery (marked P or +). Connect the negative charging
lead (black) to the negative terminal post of the battery (marked N or -) or the vehicle frame. It is important to ensure that both DC
clamps are making a good contact with their respective terminal posts.
• Connect the charger’s AC power cable to the mains with an adequate ground.
3. Alternator Test
• Turn the control dial to „Test 12V/24V“
• Press the “Alternator Test”-button for about 2 seconds.
• Start the engine of the vehicle.
• old the engine at 2000rpm for 1 minute.
• The charger will record and display the highest measured voltage. The result is displayed for 1 minute. Compare the final battery volt-
age with the following table:
• The Charger will stay in “Alternator Test”-Mode for 2 Minutes.
12V vehicle 24V vehicle Alternator Status
<14.0 <28.00 LOW
14.1-15 28.1-30 OK
>15 >30 IG
4. Disconnect
Disconnect the charger from the mains. Disconnect the black and red clips from the terminals of the battery.
NOTE
Voltage may differ from vehicle type , consult your vehicle´s manufacturer in doubt.
CARE AND MAINTENANCE
C ARGER
With only minimal maintenance, this Charger will deliver years of dependable service. Follow these simple steps to maintain the
charger in optimum condition: After each use, clean the battery charger clamps - be sure to remove any battery fluid that will cause cor-
rosion of the clamps. Clean the outside case of the charger with a soft cloth and, if necessary, mild soap solution. Keep the charger
cords loosely coiled during storage to prevent damage to the cords. Do not use the charger if cords or clamps have been damaged in
any way.
If the power supply cord is damaged, it must be replaced by the manufacturer, it’s service agent or qualified person in order to avoid a
hazard.
ELPFUL INTS
It is essential to keep your battery regularly charged throughout the year, especially during the winter months. In the winter the effec-
tiveness of your car battery is reduced by the cold. Oil is thick. Engines are difficult to start and the heater, windscreen wipers and lights
are all draining power. It is at this time that batteries have to be at peak power. If your battery is not regularly maintained and kept fully
charged, it can cause problems and a possible breakdown.
Listed are some helpful hints on how to keep your battery healthy in conjunction with your Battery Charger.
FAULTY CELLS
Batteries are usually made with six cells. One of these cells can deteriorate or get damaged. If, after several hours charging your battery
is still flat, you should test the battery. Take hydrometer readings from each cell in the battery. If one reading is lower than the others,
this could indicate a faulty cell. If necessary, get an Auto-Electrician to check your battery. One faulty cell is enough to ruin your battery.
It is pointless to continue using it and you would be better getting a new one.
CARE
Sometimes the battery may appear flat, but this could simply be dirty or loose connections on your battery terminals. It is important to
maintain the leads on a regular basis. Do this by removing the leads from the battery, clean the inside of each connector and terminal
posts on the battery, smear the terminal posts and connectors with Vaseline, refit in there correct positions and tighten firmly.
It is essential to keep the electrolyte level above the plates.
Note, however, that you should not overfill it, as the electrolyte is strongly acidic. When topping up do not use tap water. Always use dis-
tilled or de-ionized water. It is important to keep the acid level up. If necessary have it checked by your garage.
C ECKING T E CONDITION OF YOUR BATTERY
Using a hydrometer, you can check the specific gravity of the electrolyte in each cell. The hydrometer is use to suck up a quantity of fluid
from the cell. The weighted float inside the hydrometer will register the condition of that cell. Put the fluid back into the cell after testing,
taking care not to splash the fluid about.

CHARGING TIME
www.durite.co.uk 0-648-35-LEAF
Divide the battery capacity by the select charging rate is the approximate charging time. The actual charging time is depend on the bat-
tery status.
SPECIFICATION
Input.....................................................................................AC 220V-240V 50 z
Rated Current.......................................................................2.5A
Output..................................................................................DC 12V 10-30A / DC24V 8-15A
Boost Function....................................................................<150A
Starting Current..................................................................75A @ 12V
Battery Type.........................................................................Lead Acid
Charger Type........................................................................9 Step Full Automatic Charging Cycle
IP Rating...............................................................................N/A
LED Display..........................................................................Yes
Digital Diagnostics..............................................................Yes
Over Charge Protection......................................................Yes
Fault Protection...................................................................Yes
Alternator Tester..................................................................Yes
Weight..................................................................................3.95Kg
Approval..............................................................................CE
Table of contents
Other Durite Remote Starter manuals
Popular Remote Starter manuals by other brands

CompuSTAR
CompuSTAR 2W901R-SS Quick start card

Icop
Icop Vortex86DX-MSJK Getting started guide

CrimeStopper
CrimeStopper RS-999.FM installation instructions

Polarstart
Polarstart PS-2600 installation manual

Directed Electronics
Directed Electronics Python 1401 installation guide

Audiovox
Audiovox Pursuit PRO-9275T owner's manual