Linksys WPSM54G - Wireless-G PrintServer With Multifunction Printer Support Print... Original operating instructions
Other Linksys Print Server manuals

Linksys
Linksys PSUS4 - PrintServer For USB User manual

Linksys
Linksys WPSM54G - Wireless-G PrintServer With Multifunction Printer Support Print... User manual

Linksys
Linksys Instant EtherFast EPSX3 User manual

Linksys
Linksys PSUS4 - PrintServer For USB User manual

Linksys
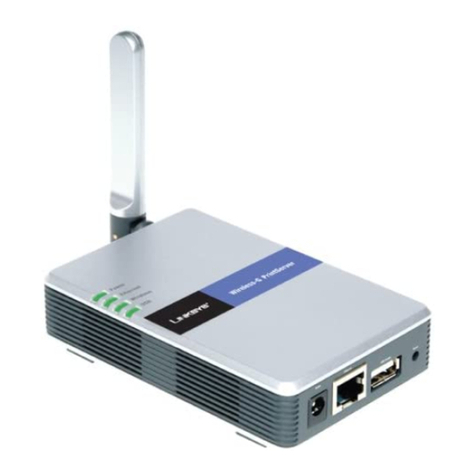
Linksys PPS1UW - EtherFast Wireless-Ready USB PrintServer Print... User manual
Linksys
Linksys WPS54G - Wireless-G PrintServer Print Server Original operating instructions

Linksys
Linksys WPS54G - Wireless-G PrintServer Print Server User manual

Linksys
Linksys EFSP42 ver. 2 Original operating instructions
Linksys
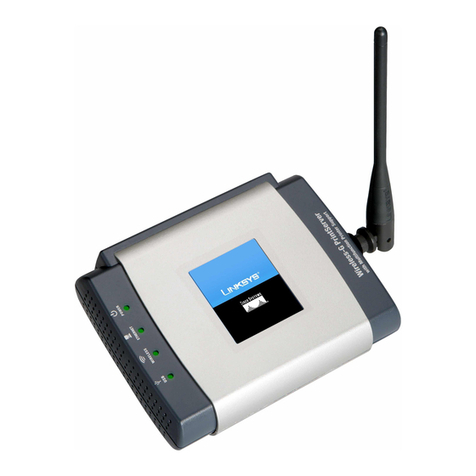
Linksys WPSM54G V1.1 User manual

Linksys
Linksys PSUS4 - PrintServer For USB User manual

Linksys
Linksys WPSM54G - Wireless-G PrintServer With Multifunction Printer Support Print... User manual

Linksys
Linksys WPSM54G - Wireless-G PrintServer With Multifunction Printer Support Print... User manual

Linksys
Linksys WPSM54G - Wireless-G PrintServer With Multifunction Printer Support Print... User manual

Linksys
Linksys WPS54G - Wireless-G PrintServer Print Server User manual

Linksys
Linksys WPS54GU2 - Wireless-G PrintServer For USB 2.0 Print... Operation manual

Linksys
Linksys WPS11 ver. 3 User manual

Linksys
Linksys PPS1UW - EtherFast Wireless-Ready USB PrintServer Print... Original operating instructions

Linksys
Linksys EFSP42 ver. 2 User manual

Linksys
Linksys WPS54GU2 - Wireless-G PrintServer For USB 2.0 Print... User manual

Linksys
Linksys WPS54G - Wireless-G PrintServer Print Server Operation manual

Linksys
Linksys WPS54GU2 - Wireless-G PrintServer For USB 2.0 Print... User manual

Linksys
Linksys WPS54GU2 - Wireless-G PrintServer For USB 2.0 Print... Original operating instructions

Linksys
Linksys WPS54GU2 - Wireless-G PrintServer For USB 2.0 Print... User manual
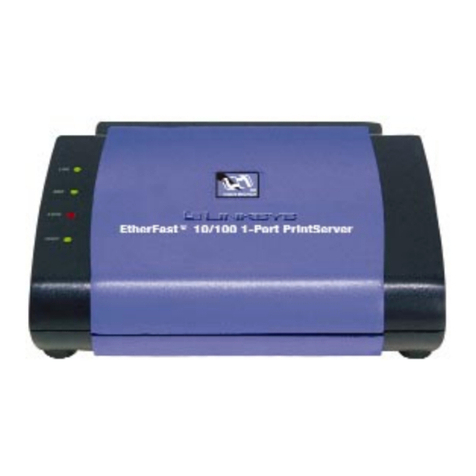
Linksys
Linksys Instant EtherFast EPSX3 User manual
