6 | UNPACK AND PREPARE
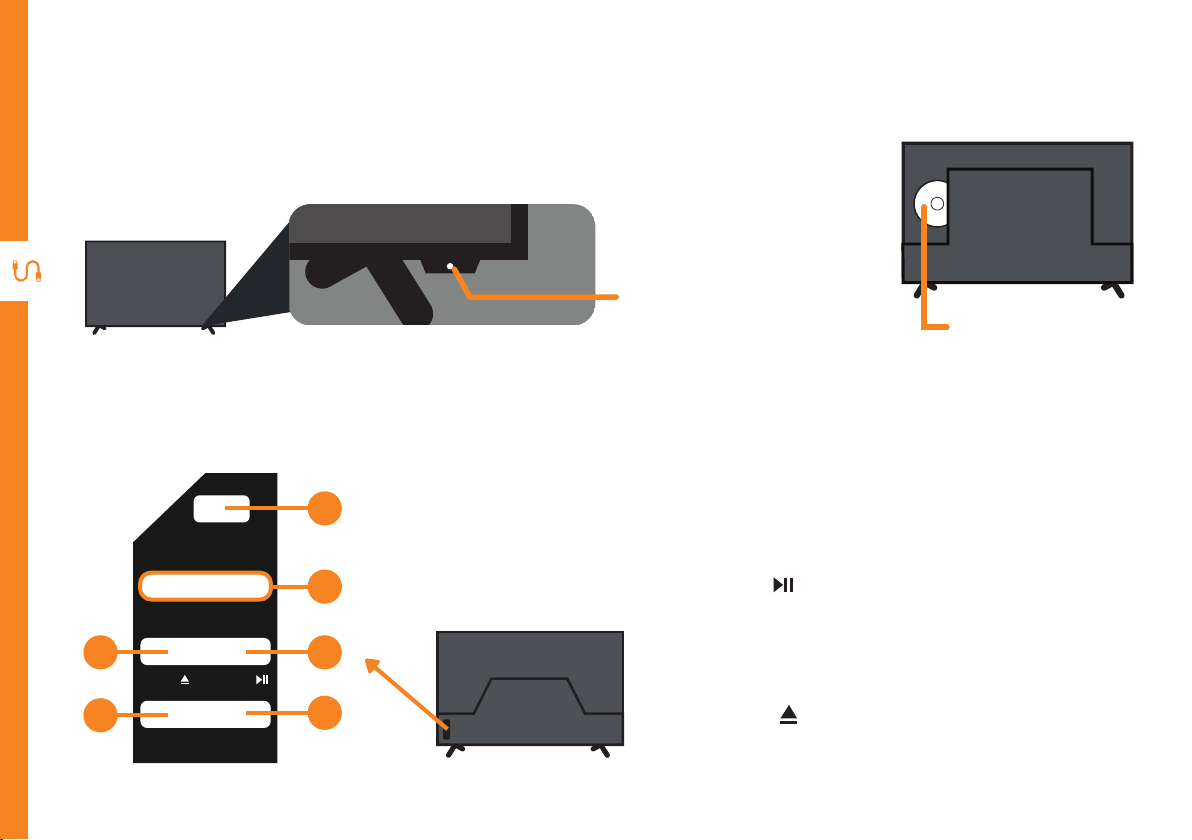
Unless you are wall-mounting the TV, you will need to
attach its stand/legs.
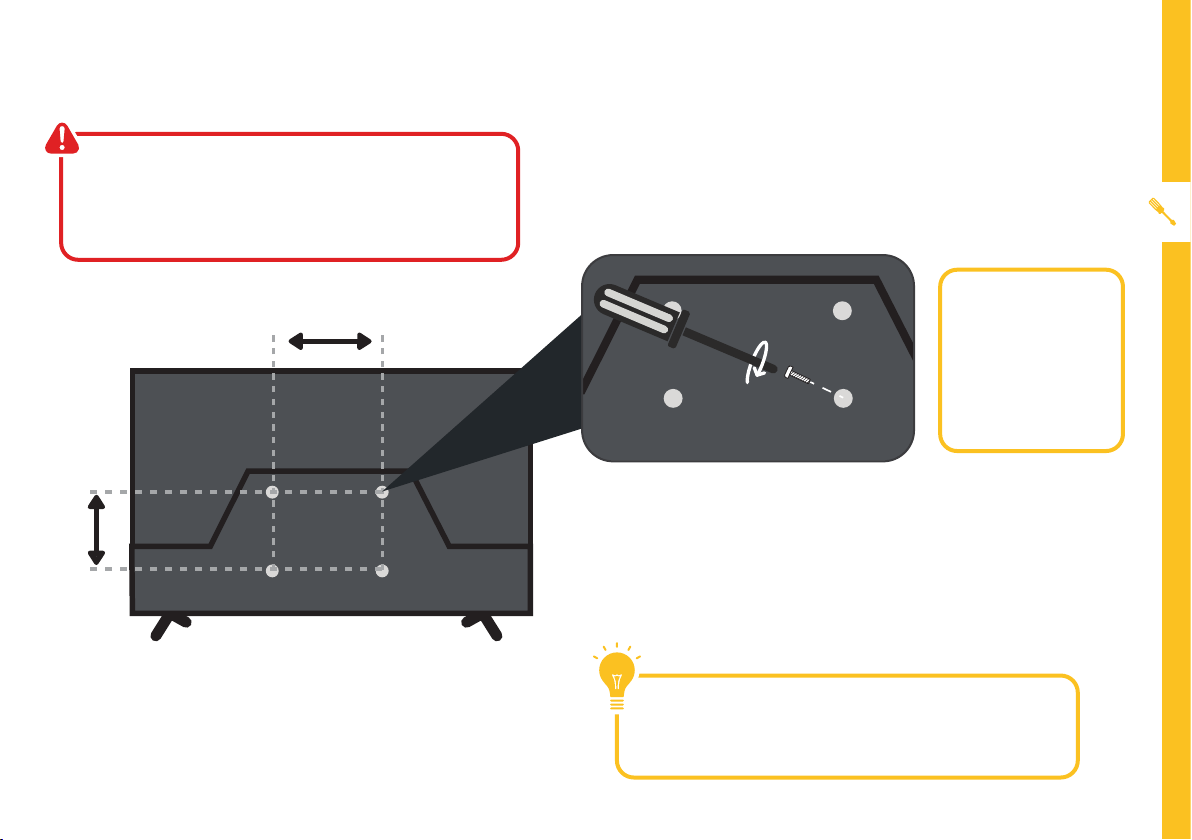
• Lay the TV face-down on a soft, flat surface (like the
sofa, or a towel on a table) larger than the TV itself.
• Match the legs to the installation points on the
underside of the TV.
• Attach the stands to the TV at the installation points
using the screws provided. (Grab a screwdriver for
this bit).
Attaching the stand
• This TV is heavy! We recommend asking
someone to help you lift it.
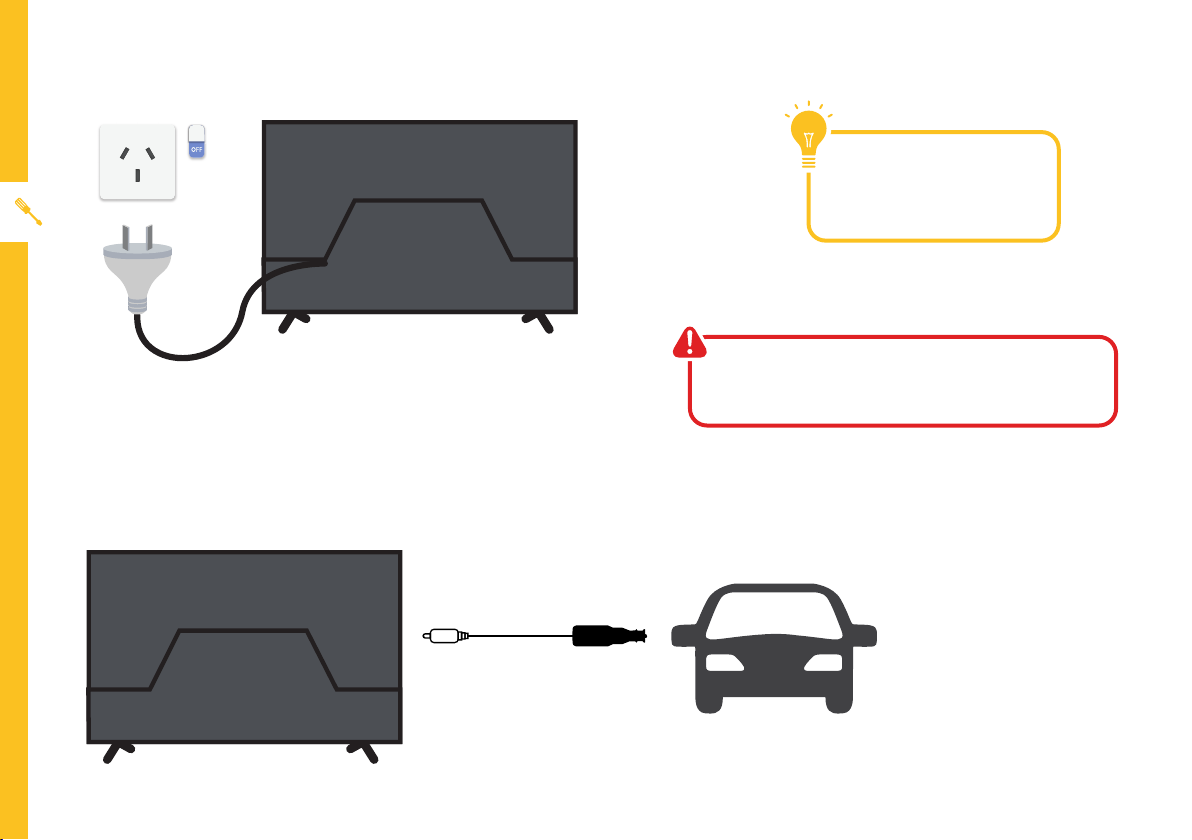
• Unplug the TV from the power outlet before
installing or removing the stand.
• Only touch the frame, not the screen.
• It is highly recommended to use safety straps for
securing the TV.
CAUTION!
Do not apply
excessive force as
you might damage
the screw holes.
1
2
3