1
Table of contents
1. Introduction
2. Information
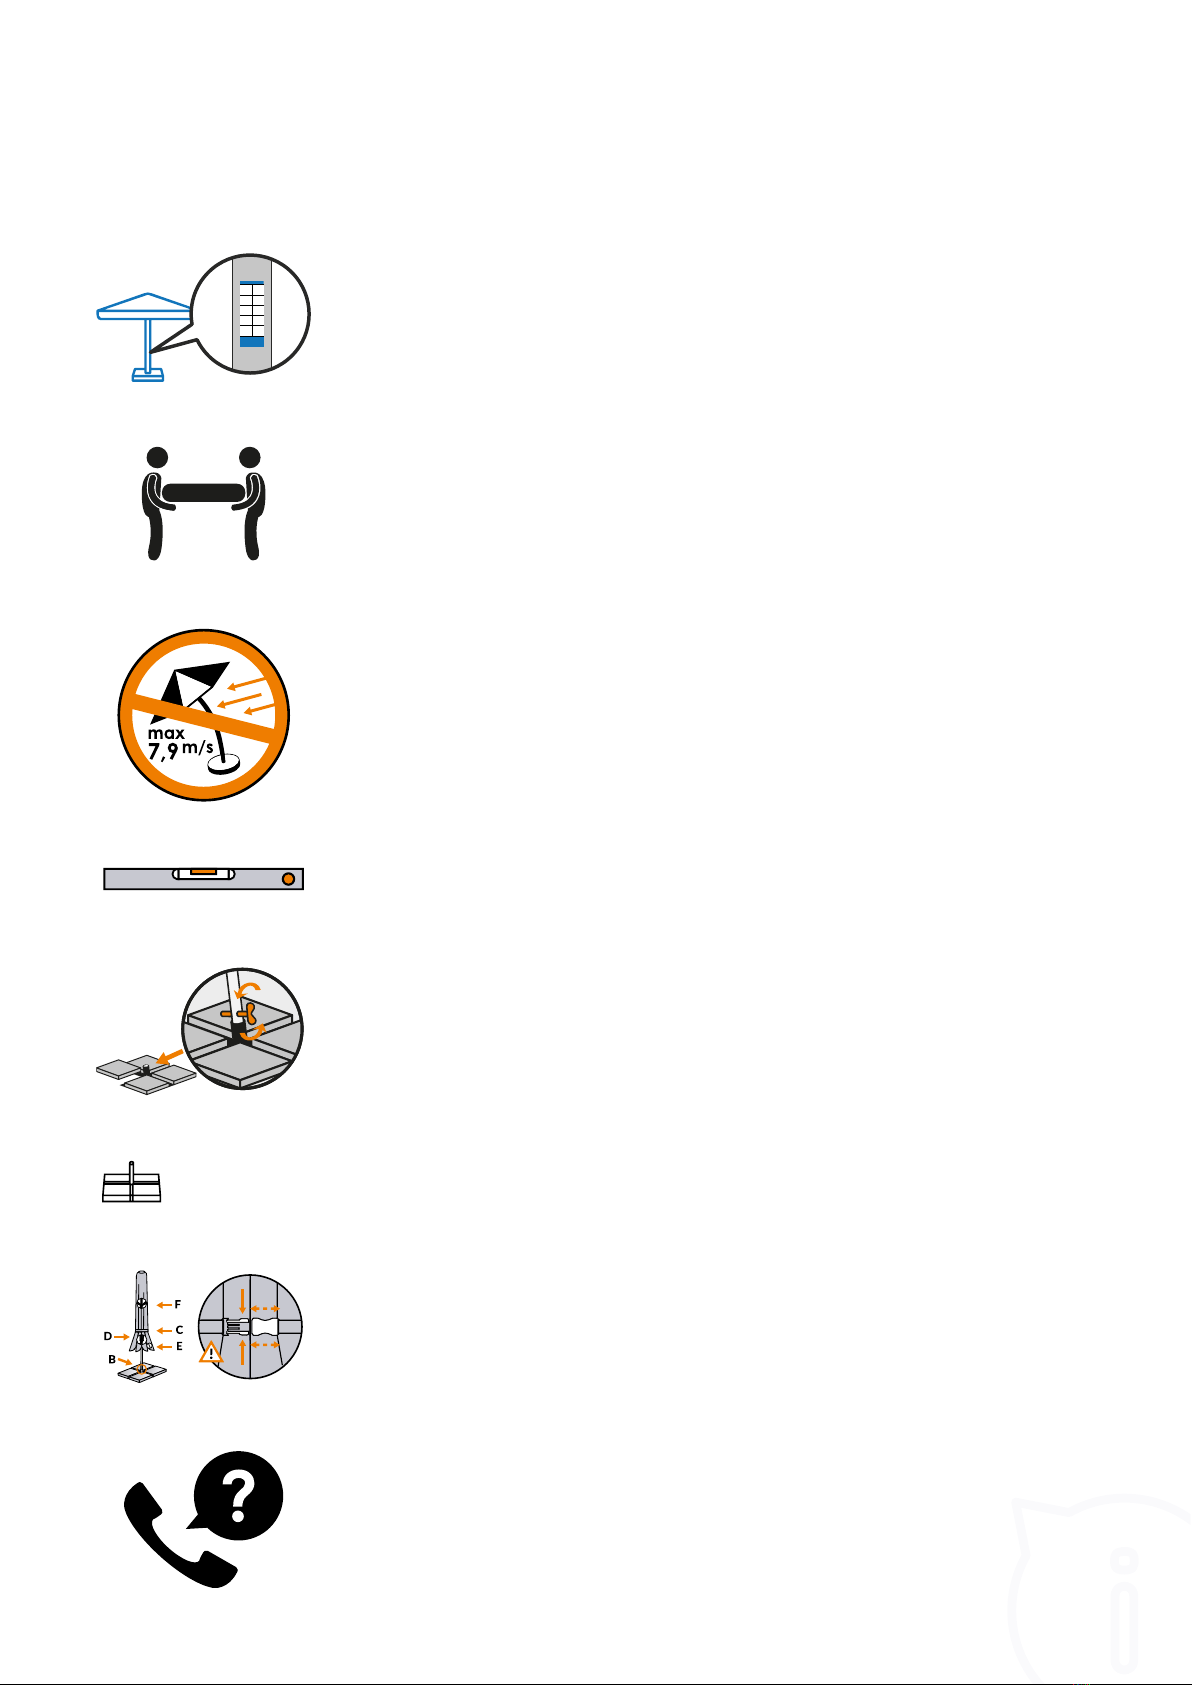
2.1. Important symbols
2.2. Safety information
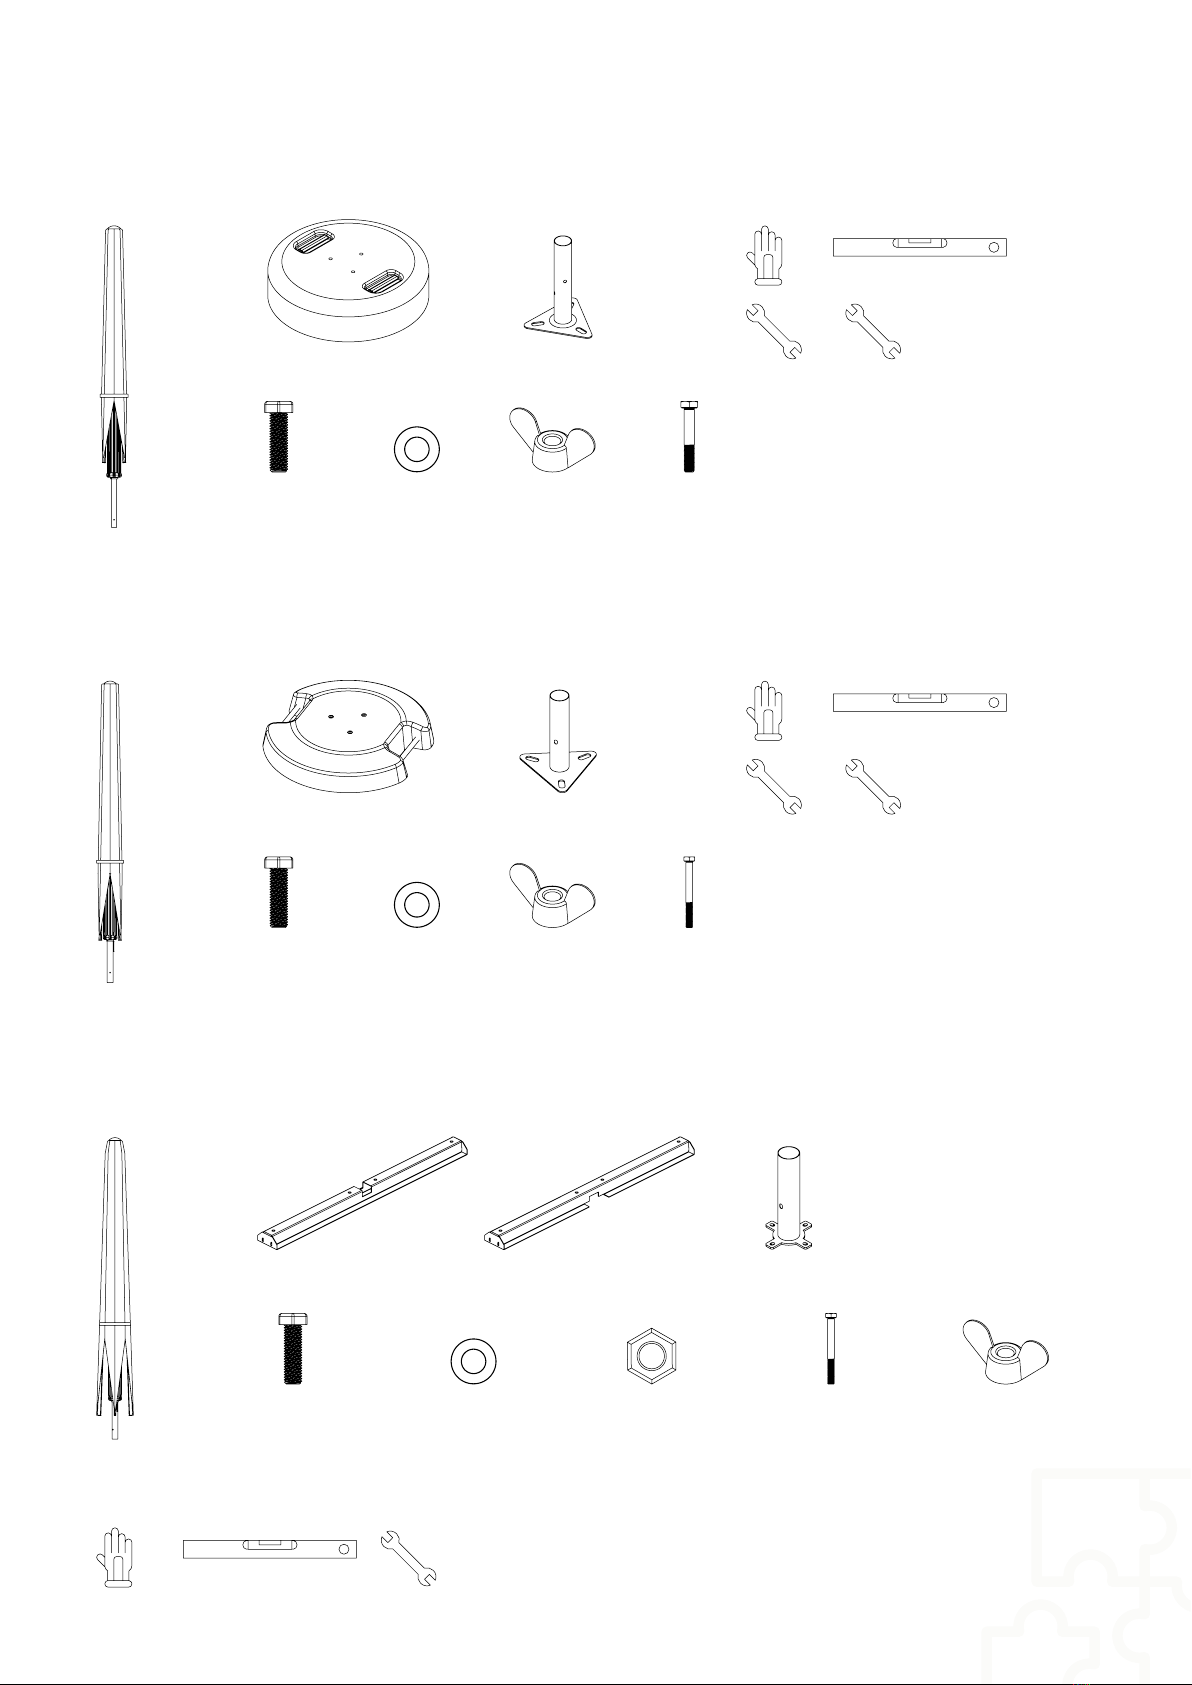
3. Content + Necessary tools
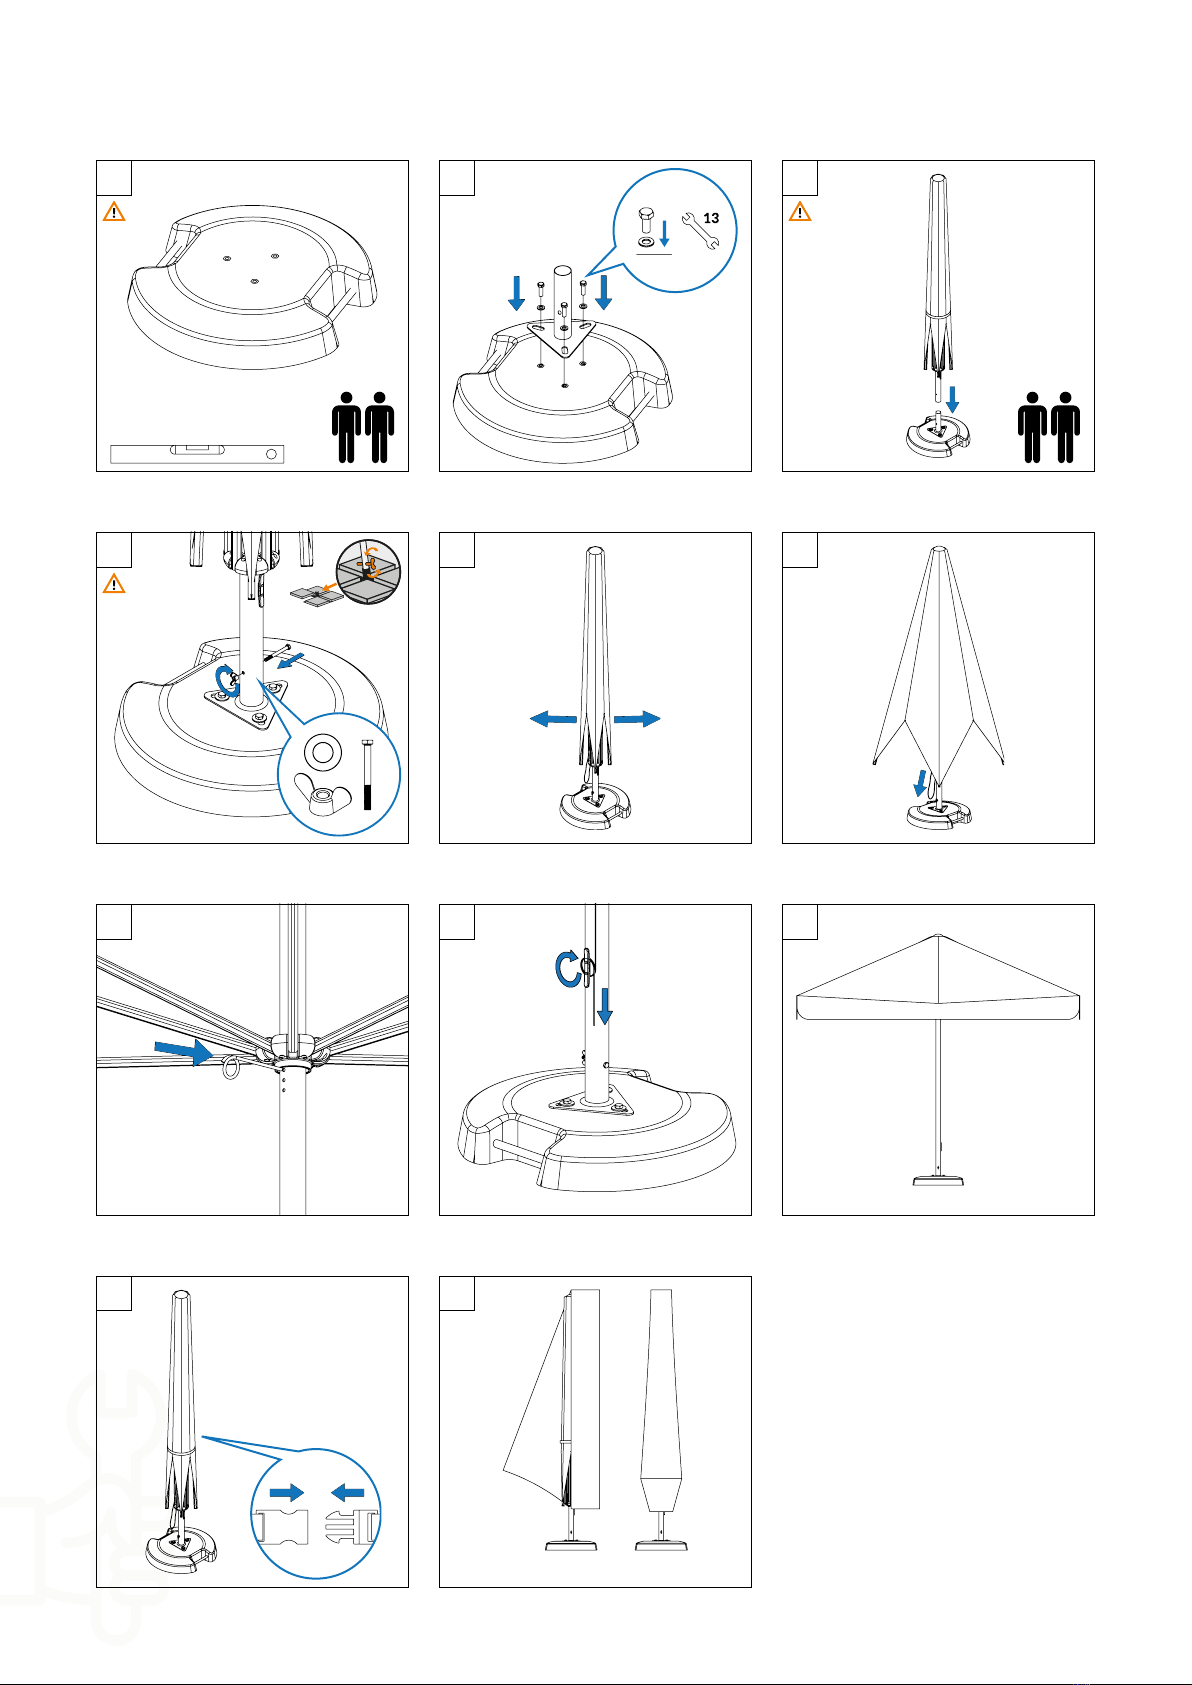
4. Construction
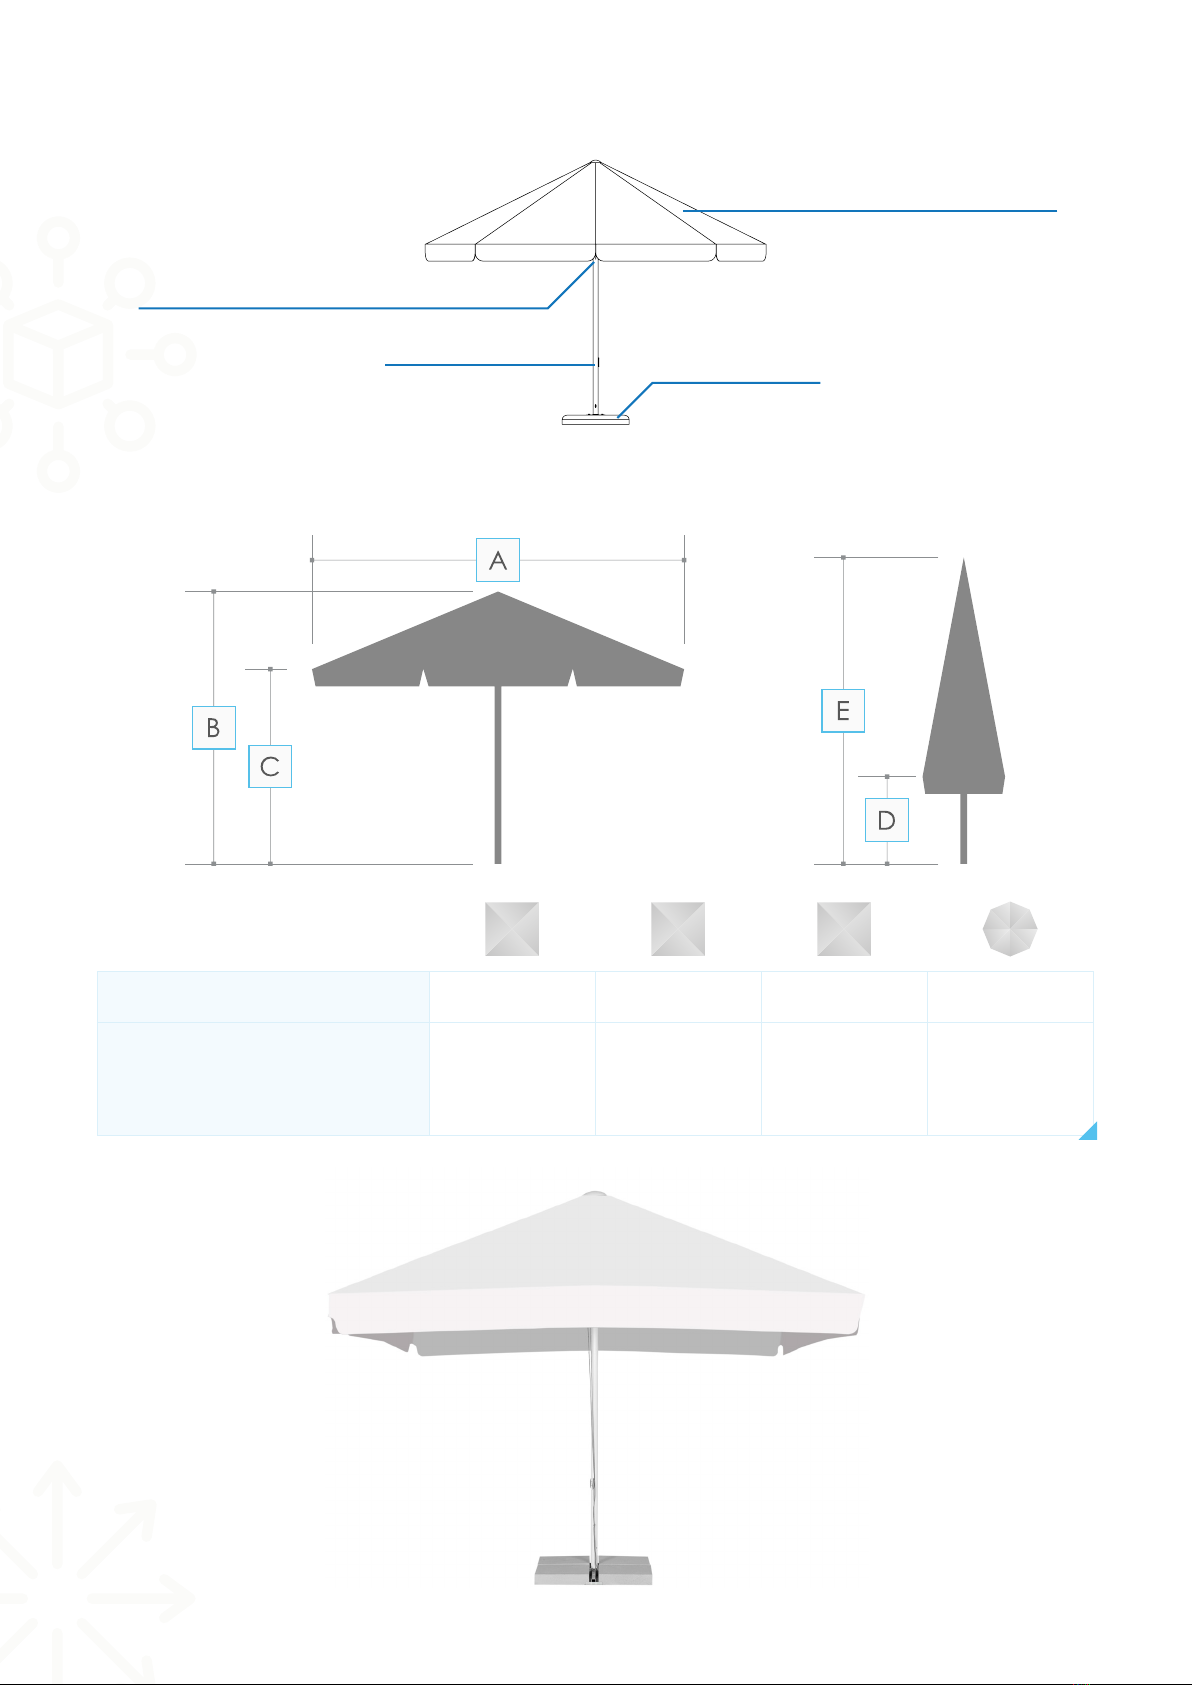
5. Space requirements
6. Mounting of the parasol + Protective covers
6.1. PD600RS: 3 x 3 m
6.2. PD700MR: 3,5 x 3,5 m, 4 m / 8
6.3. PDU-B40: 4 x 4 m
7. Exploitation of the parasol
7.1. Opening the parasol
7.2. Closing the parasol
8. Maintenance and care
9. Sto rage
10. Service and parts
11. S u p p o r t
12. Diagram of dismantling the parasol
................................................................................................................................................................................................................................................... 2
..................................................................................................................................................................................................................................................... 3
............................................................................................................................................................................................................. 3
............................................................................................................................................................................................................. 4
............................................................................................................................................................................................................... 5
................................................................................................................................................................................................................................................. 6
............................................................................................................................................................................................................................... 6
................................................................................................................................................................... 7
................................................................................................................................................................................................................. 7
.................................................................................................................................................................................. 8
................................................................................................................................................................................................................. 9
............................................................................................................................................................................................................. 10
..................................................................................................................................................................................................... 10
........................................................................................................................................................................................................ 10
................................................................................................................................................................................................................... 11
............................................................................................................................................................................................................................................................ 12
.................................................................................................................................................................................................................................. 12
............................................................................................................................................................................................................................................................ 12
..................................................................................................................................................................................... 13