5
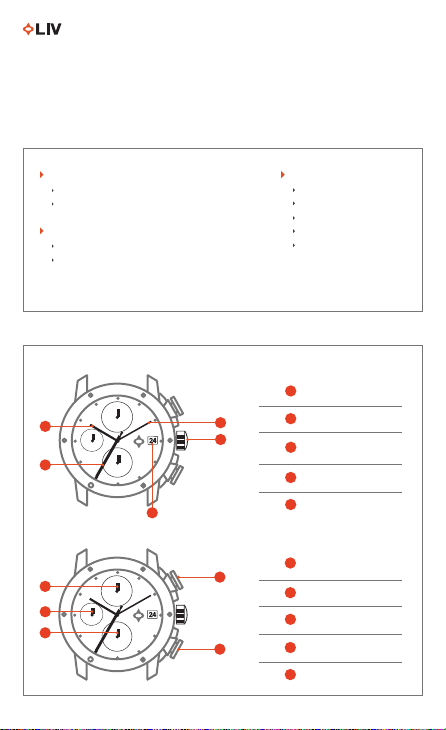
POSITION 1 - Normal position
POSITION 2 - Winding your watch
POSITION 3 - Setting the date
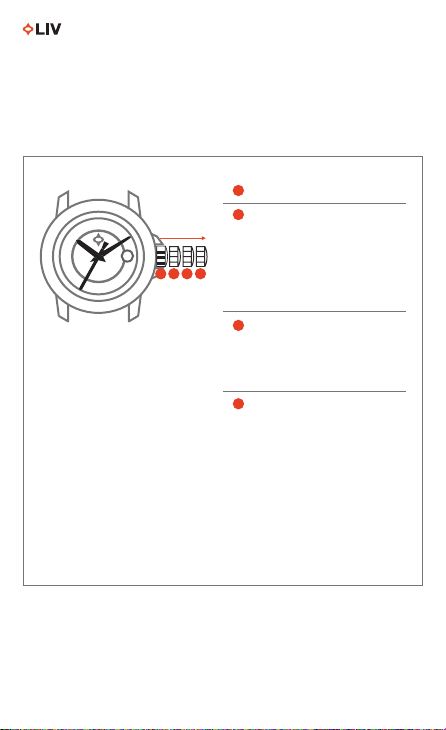
Unscrew crown and pull to position 2.
With the crown in position 2, wind the
watch about 30 times. This will power
the mainspring of your watch. The
rotor will continue to wind the watch
as you wear it and keep the watch
going. The watch has a power reserve
of 38 hours.
Turn crown clockwise to set the date.
Warning: Only change date between
2am and 10pm. Rapid date correction
outside this period could damage the
calendar mechanism.
SETTING YOUR WATCH
4
POSITION 4 - Setting the time
Turn crown to desired time.
Important: To preserve your watch’s
water-resistance, always push or
screw down the crown to position 1
when done.
* When a mechanical self-winding
watch is not worn for a certain amount
of time, its power reserve (in this case,
38 hours) is exhausted and the watch
stops. To restart it, unscrew the crown
to position II and wind the movement
manually by turning the crown 30- 40
times. This will give it a sucient
power reserve to function normally.
4
User’s Manual
CONTINUED
Caliber 11 User’s Manual