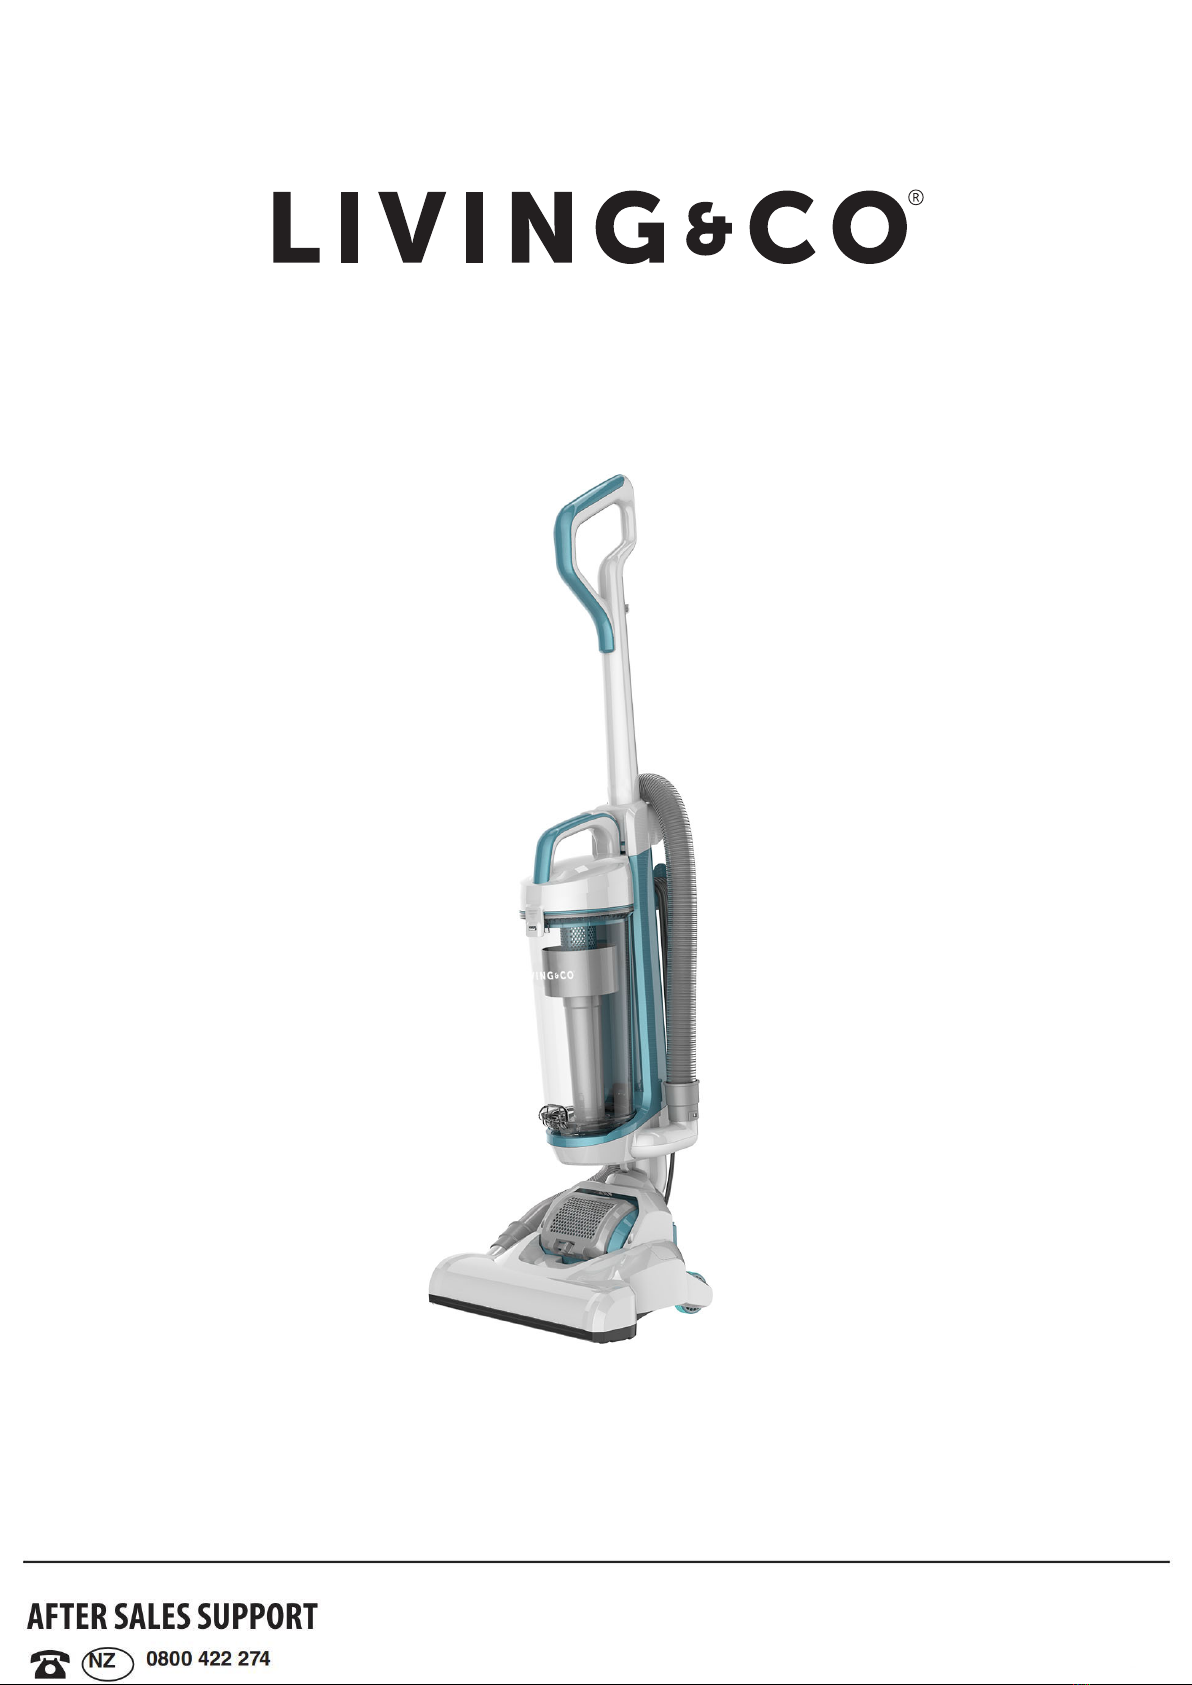
Living & Co LUVC700R User manual

VACUUM CLEANER
Instruction Manual
LUVC700R

2
Contents
03 Important Safety Instruction
05 Product Overview
06 INSTRUCTIONS
08 CLEANING AND MAINTENANCE
10 Other Useful Information
11 TROUBLESHOOTING
11 Changing the Drive Belt

3
Important Safety Instruction
IMPORTANT SAFETY INSTRUCTIONS
READ CAREFULLY AND KEEP FOR FUTURE REFERENCE
Read this manual thoroughly before first use, even if you are familiar with this type of product. The safety
precautions enclosed reduce the risk of fire, electric shock and injury when correctly adhered to. Keep the
manual in a safe place for future reference, along with the completed warranty card, purchase receipt and
carton.
Always follow basic safety precautions and accident prevention measures when using an electrical appliance,
including the following:
READ ALL INSTRUCTIONS
1. Before turning on, ensure the electrical voltage and frequency of the circuit corresponds to those
indicated on the rating label.
2. Do not leave the vacuum cleaner when plugged in. Unplug from outlet when not in use and before
cleaning or servicing.
3. Do not use outdoors or on wet surfaces.
4. Young children should be supervised to ensure they do not play with the appliance.
5. Do not insert any objects into the appliance.
6. Use only as described in this manual, use only manufacturers recommended attachments.
7. Do not operate any appliance with a damaged cord or plug or after the appliance malfunctions, or has
been damaged in any manner.
8. Do not pull or carry by cord, use cord as a handle, close a door on cord or pull cord around sharp edges
or corners. Do not run the vacuum cleaner over cord.
9. Keep cord away from heated surfaces.
10. Do not unplug by pulling on cord. To unplug, grasp the plug, not the cord.
11. To reduce the risk of electrocution never operate the product with wet hands, submerge in water or spill
liquids into the product.
12. Do not use with any opening blocked; keep free of dust, lint, hair, and anything that may reduce airflow.
13. Turn off all controls before unplugging.
14. Do not use to vacuum flammable or combustible liquids, such as gasoline, matches, or use in areas
where they may be present.
15. Do not vacuum anything that is burning or smoking, such as cigarettes, matches, or hot ashes.

4
16. Do not use without the filter in place.
17. This appliance is intended for normal household use only.
18. If the supply cord is damaged, it must be replaced by the manufacturer or its service agent or a similarly
qualified person in order to avoid a hazard.
19. This appliance is not intended for use by persons (including children) with reduced physical, sensory or
mental capabilities, or lack of experience and knowledge, unless they have been given supervision or
instruction concerning use of the appliance by a person responsible for their safety;
20. Children should be supervised to ensure that they do not play with the appliance.
21. This Appliance should not be used by children or people who are physically challenged.
22. This appliance is not a toy, and if not used in the correct manner, can lead to unnecessary damage or
failure to perform.
WARNING!
Do not run the appliance over the power cable.
Do not use the appliance to pick up burning or hot objects (e.g. coal, ash, cigarettes etc) of any kind.
Do not use the appliance to pick up any liquids or use on wet surfaces.
Do not cover the appliance or restrict air vents.
Do not use the appliance to pick up sharp objects (e.g. pins, nails, tacks, staples etc) or string.

5
Product Overview
1 Handle 8 Wheel
2 Dust cup release button 9 Brush hose
3 Dust cup 10 3 in 1 brush
4 Handle hose 11 Power cord
5 Switch pedal 12 Power cord holder
6 Brush assembly 13 Turbo brush
7 Air outlet plate
13

6
INSTRUCTIONS
Assembling your upright
How to use
Twist the quick release cord
hook to release the power cord
Hold down the brush cover with
your foot and push back on the
handle.
Do not over fill the dirt
container to avoid clogging
your filter.
Insert the handle into the
body, fasten the screw into
body through the handle.
Place the dust container onto
the machine and push until it
clicks into place.
Insert the handle hose end into the
connector hose and rotate the joint
clockwise. Then insert the handle
onto the other hose of the body.
Insert the crevice tool
onto the machine.
Plug in your machine and push
ON/OFF button to switch on.

7
Using the Turbo brush
Using the Hard Floor Adaptor
Apply the Hard Floor Adaptor for optimum results on hard floors. The Hard Floor Adaptor can be used on any
floor setting.
Remove hose handle
and 3 in 1 brush from
the machine.
The handle hose can be used directly
from the machine
Or you can insert the 3 in 1 brush or the turbo
brush into the hose handle.
1. Place the vacuum cleaner on its back exposing
the brush bar.
2. Align the Hard Floor Adaptor with the base of
the vacuum cleaner, push until its clicks into place

8
CLEANING AND MAINTENANCE
Always switch off the appliance and unplug from the mains socket before carrying out any maintenance or
cleaning. Clean the outside of the appliance with a slightly damp cloth. Dry thoroughly before use.
Emptying and cleaning the dust cup
Cleaning the Dust Filter (1)
Remove the dust cup as per above before the following instructions
Pull the dust handle lock to
open the filter cover.
Turn the dust handle to remove. Tap the filter to remove the dust
cup.
Press the dust container release
button to remove the dust container.
Hold the dust container over a bin and
press the lock on the bottom of the dirt
container, allowing the dust to fall out.
Close the base of the dust container,
align the dust container base back
onto the machine and push until it
clicks back into place.

9
Leave to fully dry for a least 24 hours
before placing back in the machine
Tap the filter over a bin to
release any dirt and dust. Note
this should be performed in a
ventilated area.
Wash the filter and the filter
holder under running water(40°C
max)
Tap the filter Holder to remove
the inner filter.

10
Cleaning the Dust Filter (2)
Remove the dust cup as per instructions before this step:
Other Useful Information
Note:
The filter cannot be cleaned in the washing machine.It will reduce the suction power and damage the motor if you
use a wet filter.
Power cord rewinding
When not in use, unplug the appliance from the mains socket and wind the power cord around the power cord
caddy at the rear of the machine.
Leave to fully dry for a least
24hours before placing back
into the machine
Wash the dust filter
under running water.
Turn the dust filter
and hold, then tap it to
remove.
Empty the dust container over
a bin to remove the contents.

11
TROUBLESHOOTING
Please check the following details before you have your appliance repaired by an authorised servicing agent.
Problem Possible Cause Possible Solution
Vacuum
cleaner does
not work.
1. Check if the power plug is firmly
inserted into the power outlet.
2. Check if the power switch of the
appliance is on.
1. Insert the plug back into the
power outlet and ensure it is
switched on.
2. Then turn the vacuum
cleaner power switch on.
Suction
power
becomes
weak
1. Check if the hose, floor brush or
tube is clogged or damaged
2. Check if the dust cup is full.
3. Check if the filter is clogged and
if the tube is correctly attached.
1. Immediately remove the
obstruction.
2. Empty the dust cup.
3. Clean the filter or reassemble
the tubes
No suction
power
regulation
The suction power regulation
device may be faulty
Restart the appliance several
times. If it still does not work,
contact an authorised servicing
agent.
Changing the Drive Belt
Sluggish speed and loss of suction may be caused by a worn or slack belt. A spare belt is provided.
DO NOT replace this components yourself unless you are confident that you can carry out this procedure
satisfactorily.
Make sure the cleaner is switched off and unplugged from the mains before you start work. Protect the work
surface if necessary.
You need a No2 Phillips screwdriver to carry out this procedure.
Stage 1. Remove the Cover Plate
Remove the Dust Cup.
Angle the cleaner fully back.
Turn the cleaner over and place it on a stout work bench
The cover plate is attached to the cleaner with six screws.
There are identified below (you can only access the centre
screw by first lifting up the deflection plate).
1: Remove all six screws and keep them safe
2: Ease the cover plate off to expose the brush and roller
1
2

12
Stage 2. Remove the Brush
Ease the Right end of the brush out of its bearing.
Repeat for the Left edge.
Now lift out the brush with both hands. Be careful as the belt is still under tension.
Pull out the brush from the belt.
Stage 3. Remove the Belt
Inspect the belt for wear. If the inside of the belt is very shiny but otherwise
unworn and free from nicks or tears, you may be able to extend its useful
life by turning it inside out.
If you are not replacing the belt, clean it carefully with a dry cloth to remove
any residue but do not remove the belt..
When you are removing or replacing the belt, twist the belt on its side and
slide the edge of the belt around the end of the spindle.
(You may find it easier to cut the belt off with a pair of sharp scissors.
Stage 4. Replace the belt
Manoeuvre the belt over the spindle, straighten it
out and lay the belt flat on the spindle.
Thread the brush through the belt.
Position the belt over the convex section of the
brush . Make sure the belt is not twisted
Stage 5. Replace the brush
Insert the brush into the belt.
A: Hold the brush in both hands. Pull the brush towards you and partially insert the left hand side bearing of the
brush into its socket with your thumb. (This will place the belt under tension, so you may have to use moderate
pulling force.)
B: Align the Right Hand side of the Brush over the Bearing and pressthe brush into place.
Press sides of the brush fully home.
Finally, rotate the brush by hand to ensure that the mechanism moves freely and that the belt does not foul the
guides and is central on the motor spindle.

13
Stage 6. Re-assembly
Rotate the brush by hand to ensure that the mechanism moves freely and that the belt does not foul the guides and
is central on the motor spindle.
Now replace the cover plate .
Place the cover plate into position and press the plate to the cleaner body all round to ensure a good fit.
Screw the plate to the cleaner body. Remember the screw under the deflection plate.
Before using the cleaner, switch it on and confirm that the brush rotates freely and that the brush height mechanism
operates properly
!

1ϰ
Technical Specifications
220-240V 50/60Hz 900W
Dust canister capacity: 2L
Customer Service Number: 0800 422 274
MON – FRI: 8AM – 5PM
SAT – SUN: 9AM – 4PM
Responsible disposal
At the end of its working life, do not throw this appliance out with your household rubbish. Electrical and electronic
products contain substances that can have a detrimental effect on the environment and human health if disposed
of inappropriately. Observe any local regulations regarding the disposal of electrical consumer goods and dispose
of it appropriately for recycling. Contact your local authorities for advice on recycling facilities in your area.

1ϱ
Warranty
We pride ourselves on producing a range
of quality home appliances that are both packed with features
and completely reliable. We are so confident in our products,
we back them up with a 1 year warranty.
Now you too can relax knowing that you are covered.
Customer Helpline NZ: 0800 422 274
This Product is covered by 1 year warranty when
accompanied by proof of purchase.
IM Version 1.0 - September 2017
Table of contents
Other Living & Co Vacuum Cleaner manuals
Popular Vacuum Cleaner manuals by other brands

Silvercrest
Silvercrest SHS 12.0 B2 operating instructions

WaterTech
WaterTech Pool Blaster iVac 150 Operator's manual

BLACK DECKER
BLACK DECKER PV1820LAVC Original instructions

Silvercrest
Silvercrest SAS 7.4 LI B1 operating instructions

easymaxx
easymaxx 08320 instructions

Easy@Home
Easy@Home VC 2016 user manual