Arbor Wall Mounting | Loftwall 4
Step 3
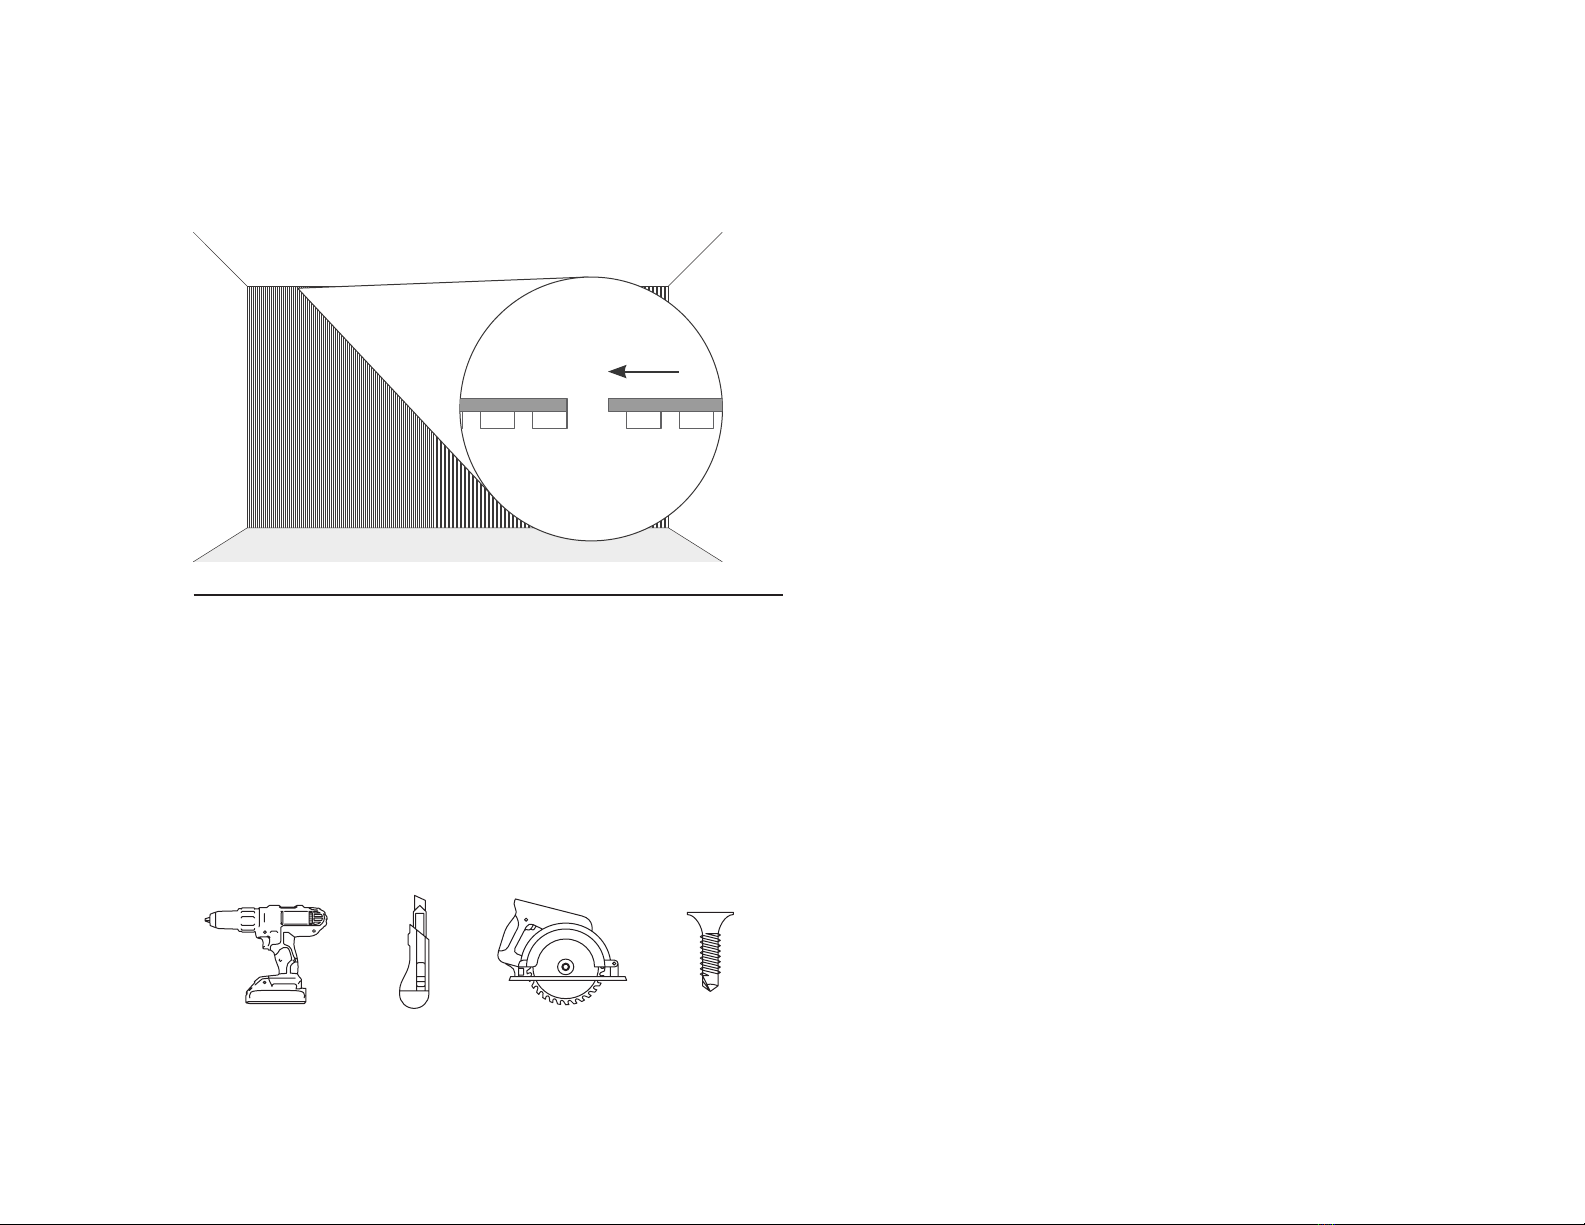
Cutting
Arbor
Repeat step two, making sure that each Arbor panel is oriented the
same way vertically; i.e. if the acoustic felt backer is on the left then
each panel following should have acoustic felt backer on the left.
Arbor will often need to be cut to t a chosen wall/space. Here is a
list of best practices when cutting Arbor:
• Use a Box Cutter to cut through the acoustic felt backer and a
Circular Saw when cutting through the wood veneer.
• To prevent the wood veneer from splintering use Masking Tape.
• Reattach wooden slats to the acoustic felt backer backing with
0.5” Screws from the back of the panel after making cuts.
direct wall mounting, screws
Box Cutter
(Not Included)
Circular Saw
(Not Included)
0.5” Screw
(Not Included)
Power Drill
(Not Included)
Notes: _____________________________________________
_____________________________________________
_____________________________________________
_____________________________________________
_____________________________________________
_____________________________________________
_____________________________________________
_____________________________________________
_____________________________________________
_____________________________________________
_____________________________________________
_____________________________________________
_____________________________________________
_____________________________________________
_____________________________________________
_____________________________________________
_____________________________________________
_____________________________________________
_____________________________________________
_____________________________________________
_____________________________________________
_____________________________________________
_____________________________________________
_____________________________________________
_____________________________________________
_____________________________________________
_____________________________________________
_____________________________________________
_____________________________________________
_____________________________________________
_____________________________________________