1 Loftwall | Thin Assembly Guide Thin Assembly Guide | Loftwall 2
Parts
List
Step 1
Step 3
Step 5
Step 4
Step 6Step 2Using a bolt and nut, attach an adjustable clamp to the Thin bafe
using the precut holes. Repeat this process one more time to
complete step 1.
Using the cut wire, slide one end through the top of the clamp. To
adjust the wire push down on the top of the clamp and pull the
wire to its desired length. Do not cut any wire at this point in the
process.
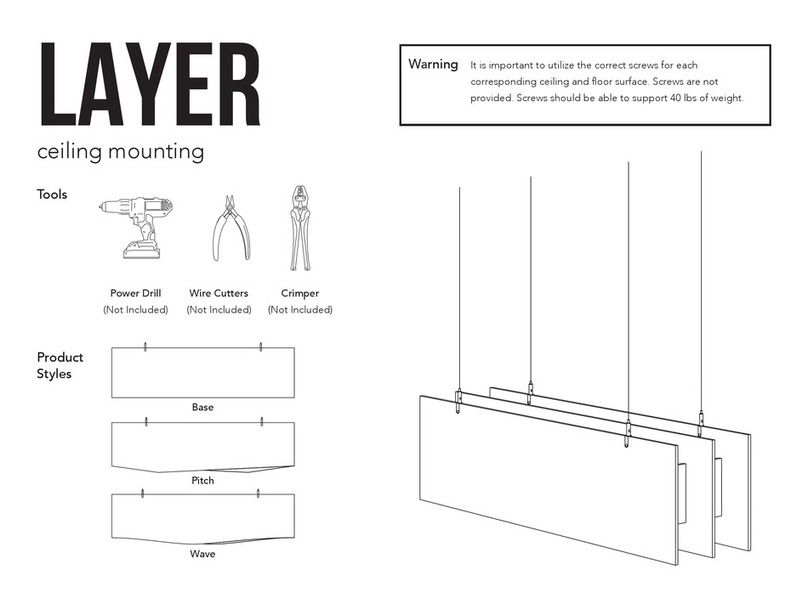
Using a drill attach the upper half of the ceiling coupler to the
ceiling using appropriate screws for your ceiling. There is 31.5”
between each clamp.
Before cutting wire, determine the desired length and add 2-3
more inches; this will allow wiggle room for hanging. Cut the wire
to the desired length making sure the wire lengths match.
Slide the bottom half of the ceiling coupler onto the wire, making
sure the threaded side is facing away from the panel. Crimp the
wire coupler to the end of the wire. Repeat
Raise the bafe and all attached parts to the ceiling and screw the
bottom half of the ceiling coupler into the top half.
Thin ceiling coupler assembly
Bafe Adjustable
Clamp
Wire Wire
Coupler
Ceiling
Coupler
Bolt Nut
Ceiling Coupler Assembly Ceiling Coupler Assembly


