8
Puissance DC 5V +/- 10%
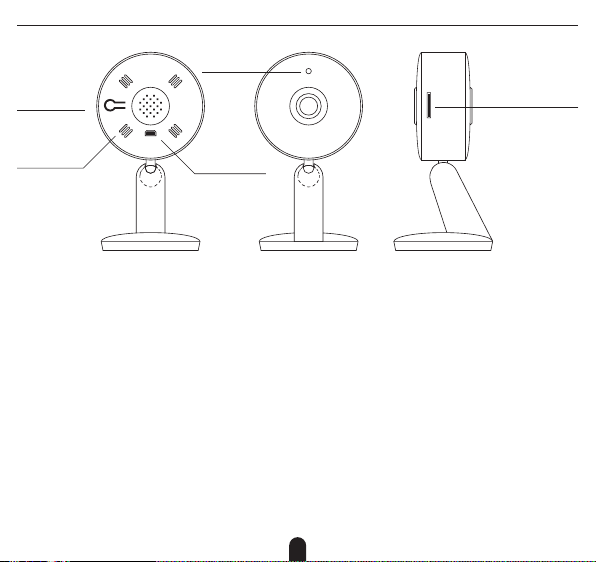
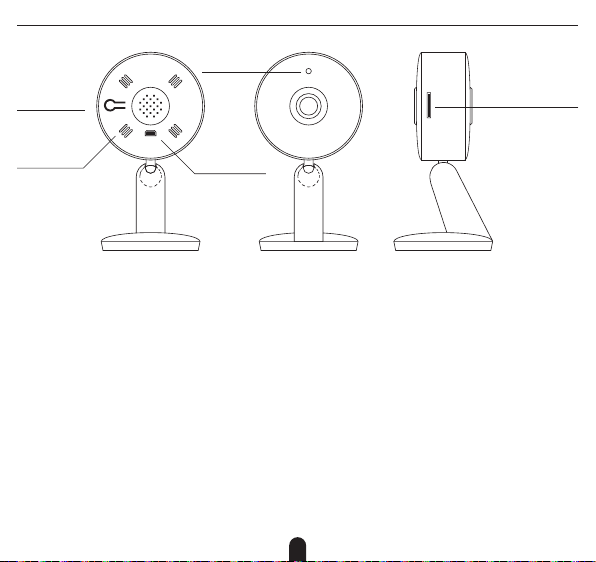
Voyant de Lumière rouge allumée en continu : le réseau
statut de caméras est atypique
Lumière rouge clignotante : en attente de la
connexion WiFi
Lumière bleue allumée en continu : la caméra
fonctionne correctement
Lumièrebleueclignotante:en train deconnexion
Microphone Capte des sons pour la vidéo
Carte SD Supporte le stockage d’une carte SD locale
(Max.128GB)
Réinitialiser Appuyez sur « Réinitialiser » et tenez-le en-
foncé pendant 5 secondes pour réinitialiser
l’appareil (sivous modifiez les paramètres, ils
retournent aux paramètres d’usine)
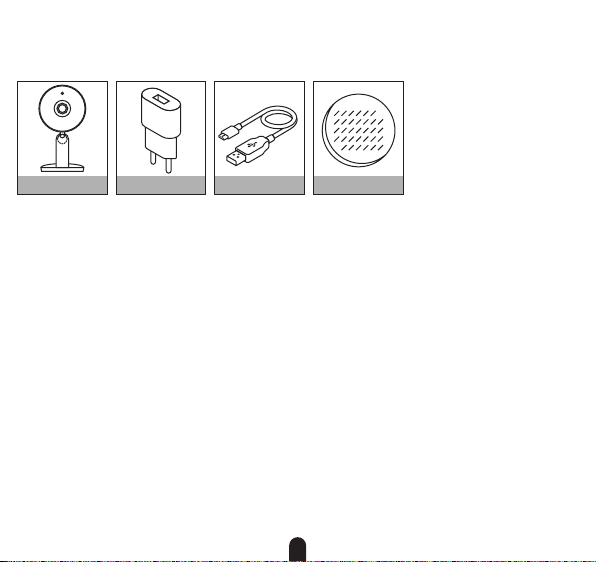
Avant de commencer l’installation, vous aurez besoin de no-
ter le nom de votre réseau Wifi et son mot de passe, pensez à
bien respecter les espaces et majuscules.
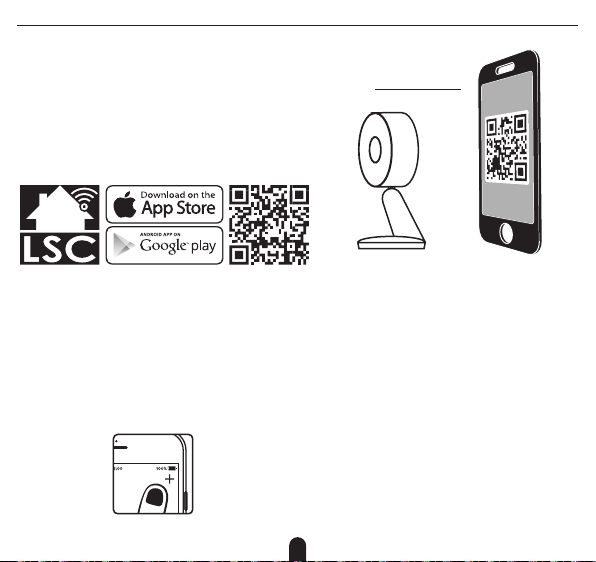
Remarque: le dispositif Smart que vous venez d’acquérir
ne fonctionne que sur un réseau Wifi à 2.4GHz, pas sur un
réseau WiFi à 5GHz. Veuillez consulter le manuel de votre
routeur pour les réglages.
FR DÉMARRAGE
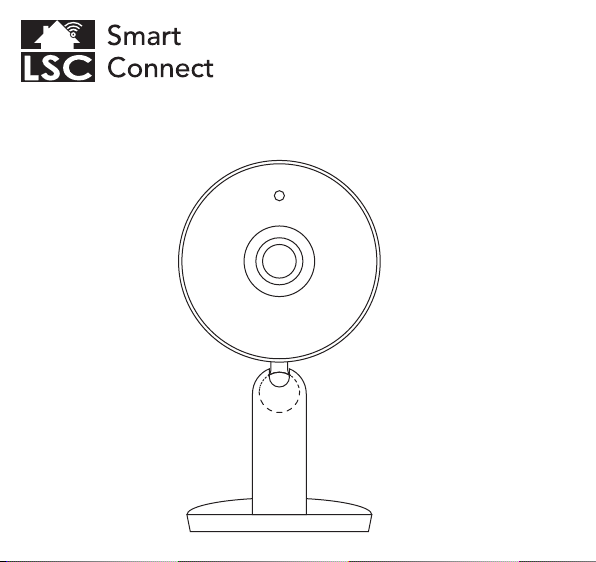
DESCRIPTION
Voyant de
statut
Haut-parleur
Réinitialiser
Microphone
Emplacement pour
carte SD
Puissance
RESET