LTH Squareled User manual

User Manual: Squareled Hi-Precision 300W Dualcolor

USER MANUAL
SquareLED
Hi-Precision 300W LED Profile
DUALCOLOR

CONTENT
1 TECHNICALPARAMETERS.......................................................................1
1.1
ELECTRICAL PARAMETERS........................................................................................
1
1.2
OPTICAL PARAMETERS.............................................................1
1.3
MECHANICAL AND PHYSICAL PARAMETERS .........................1
2 ILLUMINATIONCHART...............................................................................2
3
SAFETYWARNING.............................................................................3
4 INSTALLATION ................................................................................................ 3
4.1
D
EVICE....................................................................................................................
3
4.2
C
ONNECTION OF POWER SUPPLY.....................................................................
5
4.3
SETTINGS AND CONNECT OF DMX512 CONSOLE.................5
5 OPERATION .............................................................................................6
5.1
DISPLAY INTERFACE.........................................................................7
5.2
MENU...........................................................................................7
5.3
DMX512 ADDR SETTING.........................................................7
5.4
LIGHT SETTINGS................................................................................8
6
DMX512CONTROLCHANNELCHART................................................8

1
TECHNICALPARAMETERS
1.1 ElectricalParameters
Input Voltage
:
100-240AC 50/60HZ
Power Consumption
:
320W
Control Signal
:
DMX512
Control Channel
:
3 channels
DMX input/output interface:XLR 3/5PIN
Power port
:
Aviation head
Ethernet interface
:
Optional
Display window
:
2.4inch colorfull LCD display
1.2Opticalparameters
Light source
:
300W COB Light
Color(Light source): White
Color Temperature
:
2800K~6500K adjustable
Color Rendering Index
:
≥90
Beam Angle:5°、10°、14°、19°、26°、36°、50°optional
15°-30°adjustable
Luminum
:
13000LM
Dimmer
:
0-100%
Strobe
:
0-20Hz
1.3
Mechanicalandphysicalparameters
Case Material
:
Die-casting aluminum/aluminum/Plastic
Protection Grade
:
IP22
Working Temperature
:
-20~40°C Noise
:<
36db
Net Weight
:
11.5KG
Dimmension
:
1187*361*560mm
(
5°
)

887*296*525mm(10°)
837*285*525mm(14°)
768*285*525mm(19°、26°、36°、50°)
2
I
ll
u
m
i
n
a
t
i
o
n
C
h
a
r
t
3
SafetyWarning
N
o
t
i
c
e
:
●
Professional technical people required to install and maintain this
equipment.
●
This equipment has passed strict inspection before delivery.
●
Users have to obey the safety and notice guide.
●
The manufacturer will notresponsible for any not according to the
instruction normal operation and without permission
Since the change of equipment and damages caused by any accident.
I
m
po
rt
a
n
t
N
o
t
i
c
e
:
●
Make sure the power supply within the standard data range
●
T
he
f
ix
t
u
r
e
’
s
po
we
r
s
u
pp
l
y
co
nne
ct
i
o
n
li
ne
c
an
no
t
co
nne
ct
to
an
y

Hanging handle
other fixtures.
●
The fixture’s DMX512 signal line cannot connect to any other
DMX512 signal line.
●
Make sure the fixture is appropriately earthed before use this fixture
safely.
●
Yellow-green line is earthed line, select the eligible power socket to
make sure the safety and operation; Or cut off the plug and connect the
switch directly.
●
Toavoid the hard collision when installation, using or moving the fixture.
4
Installation
4.1
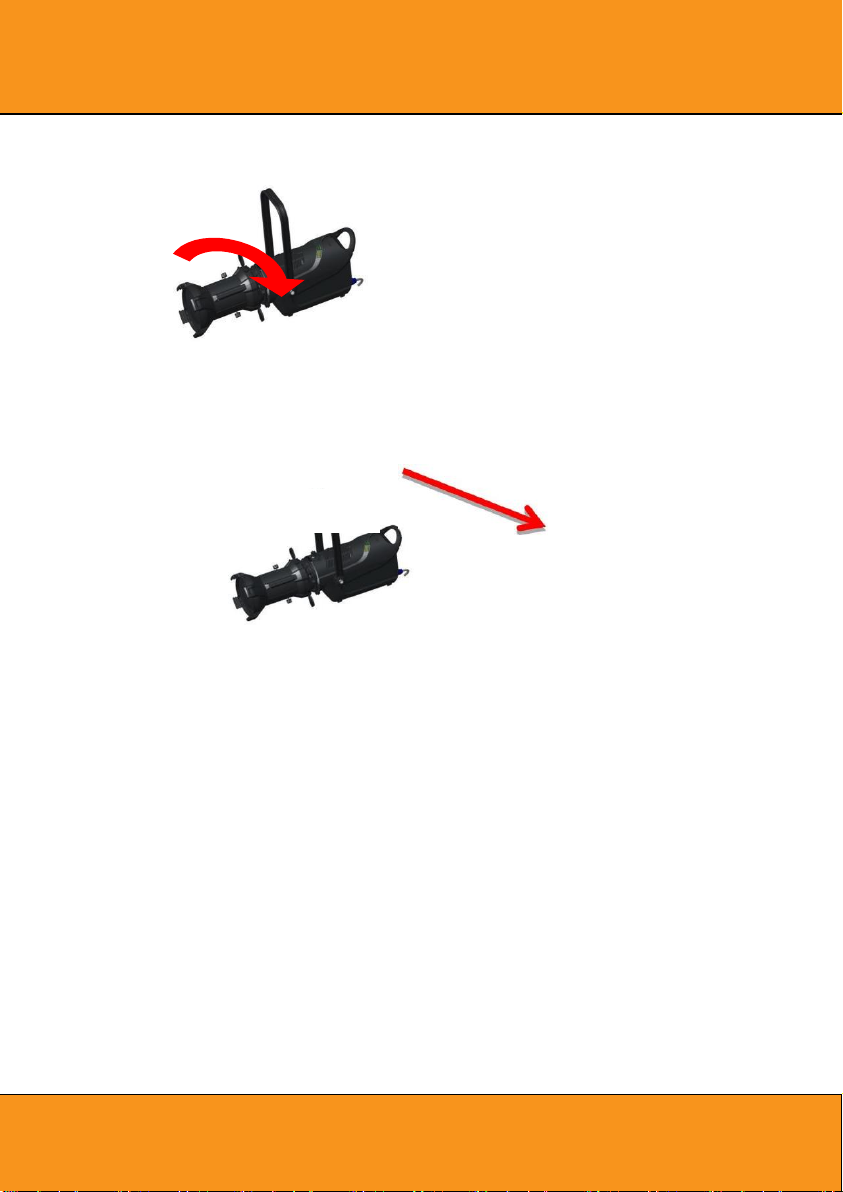
InstallationandMethod
H
o
r
i
z
o
n
t
a
l
p
l
a
c
e
:
▲
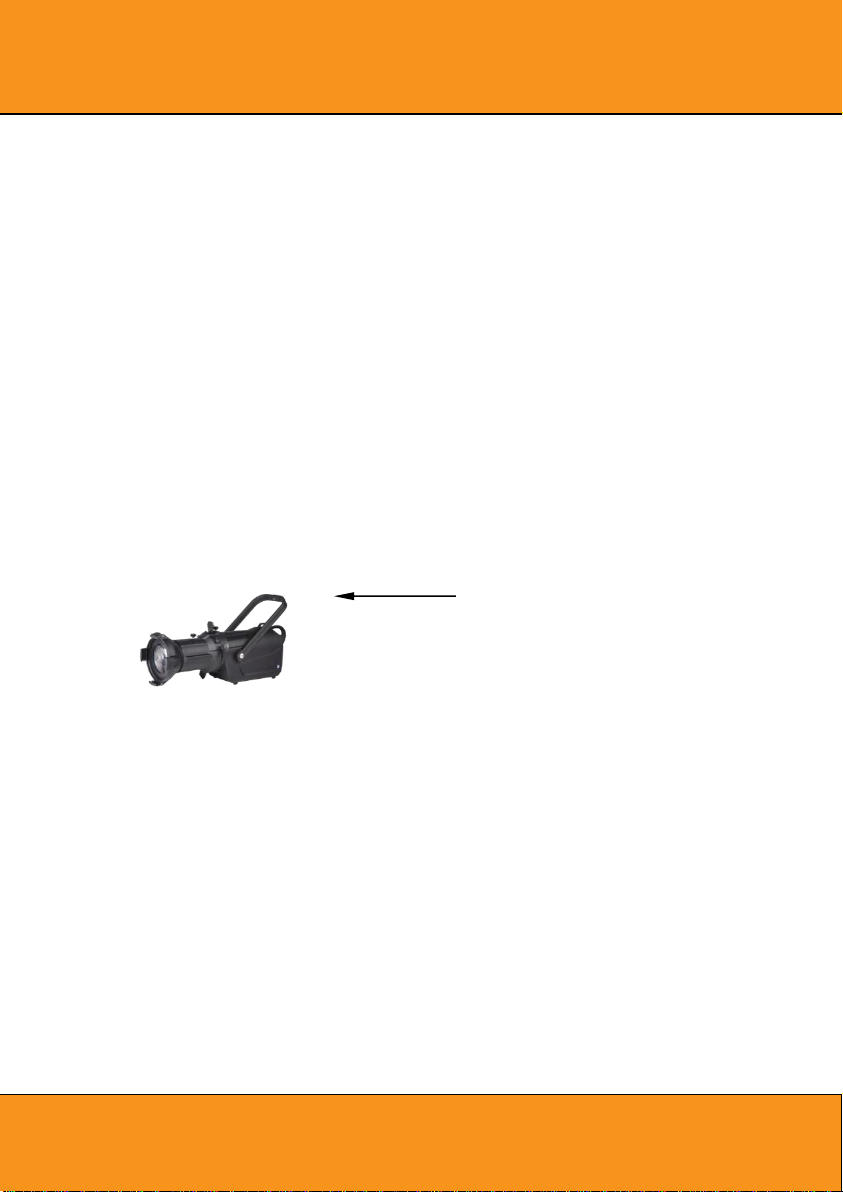
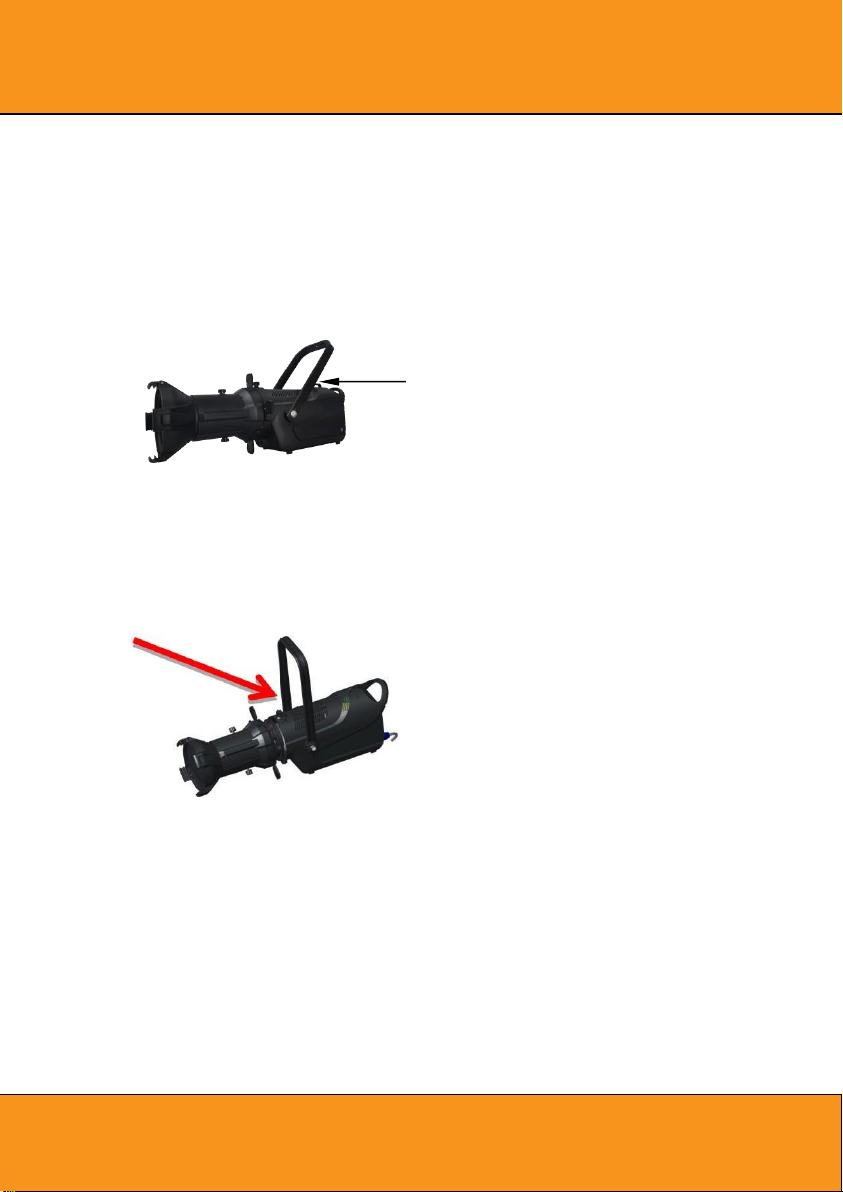
Hanging handle can adjust Angle , in order to install the right lamp
bracket , as shown in the figure below.
H
a
n
g
i
n
g
p
l
a
c
e
:
Notice: ensure the installation position is completely suitable for this
product to ensure safe and reliable installation location.
▲
Use and install the equipment, must be far away from flammable
items, to ensure to keep a distance of 0.3 meters and flammable materials.
▲
Use the right tools to fix the lighting equipment in the proper
installation location
▲
Device of install lamps must be able to withstand the weight of more
than ten times of lamps itself, and ensure the suspension location with no
obvious deformation within an hour

Safety rope round the back
handle
▲
Use rope to hang the lamps , the rope used must be able to sustain
the weight of more than ten times of lamps itself. And insure rope must
with safety clasp . Approach is to build the insurance rope around fixtures
are handle or other fixed objects , after the insurance rope end plug tight
buckle and the screw , as shown in the figure below.
Horizontalplace:
▲Lens install as shown in the figure below
:
1
、
Arrow and knob aligned in a straight line;
Arrow and knob aligned in a straight line
2
、
Put lens cone to the box and rotate clockwise
;

Clockwise rotation
3.Clockwise to stop after the knob on the lens cone and keep in the same
line, and makes the knob body
fasten.
4.2
Powerconnection
□
Power cable use 2.5 mm2 copper core. Power in series, the 220V
AC
po
we
r
is
n
o
m
o
r
e
t
han
8
l
am
p
,
U
si
n
g
a
110
V
A
C
po
we
r
c
an
’
t
m
o
r
e
t
han
4 lamps;
□
DMX512 signal cable connect 20pcs fixtures Max; When the distance
between console and fixture, or distance between two fixtures, longer than
50M then ad d a signal amplifier is very necessary.
□
Recommend to plug a terminal in signal output socket of the last fixture,
which connected in the end of each signal transmission line. To weld a
120Ω / 1W resistor between the male plug 2 and 3 feet to make a terminal
plug. The usage is to reduce the reflected wave interference caused by the
end of control signal cable's circuit open.
4.3
DMX512ConsoleConnect
◇
Serial connect the DMX512 console and signal cable.
◇
DMX512 address code is reusable.

DMX
Addr1
DMX
Addr8
◇
DMX512 address code can be any number between 001 to 512.
S
e
r
i
e
s
c
o
nn
ec
t
i
o
n
t
h
ec
o
n
s
o
l
ew
i
t
h
li
g
h
t
i
n
g
,
S
e
r
i
e
s
c
o
nn
ec
t
i
o
n
t
h
e
li
g
h
t
i
n
g
w
i
t
h
li
g
h
t
i
n
g
(
c
o
n
s
o
l
e
)
5
Operation
5.1
DisplayWindow
D
ot
i
co
n
f
o
r
DM
X
si
g
na
l i
n
s
t
r
u
ct
i
o
n
s
,
do
n
ot
d
is
p
l
a
y
when
n
o
si
g
na
l

5.2
MENU
□
ENTER
:
Function to the next level submenu
and save or confirmation setted fuction data
;
□
UP
:
Select function sub menu,up cycle
adjustment data
;
. ■ DOWN
:
Choose function submenu,circulate
down to adjust the data values
;
□
MENU
:
Return to a layer on the menu, or
switch to the main menu

5.3
DMX512AddresscodesettingADDR
◇
Press [UP]/[DOWN] or Rolling hand wheel to [ADDR]
◇
Press
[
ENTER
]
to edit state,address code appears red
words,Press[UP]/[DOWN]to choose the address codebetween
[001-512]
;
◇
Press [ESC] or [ENTER] to back to main menu
5.4 LightSET
◇
Press[ENTER] in menu [SETTING] to Light set operation
◇
Press [UP]/[DOWN] to choose setting Manuel
◇
Press[ENTER] in menu [MODE] to [DMX] for signal choose mode
◇
Press[DIMMING] to setting mode for linear

6
DMX512 Console channel chart
ChannelMode
Name
Value
Functiondetails
Reduced
Standar
d
1
1
Dimming
000-255
dimming 0-100%
2
2
Fine Tuning
000-255
Fine Tuning
3
3
CCT
000-255
CCT 3200-5600K
4
4
Strobe
000-002
Steady lighting
003-127
strobe 0-20Hz
128-252
Random strobe
253-255
Steady lighting
\
\
Null
\
\
\
6
Dimming
curve
000-063
Linear dimming
curve
064-127
Square dimming
curve
128-191
Inverse dimming
curve
191-255
S-shaped dimming
curve
\
7
Dimming
speed
000-127
Tungsten lamp
dimming effect
128-255
LED light dimming
effect
\
8
Cooling fan
000-127
Automatic mode
128-255
Manual control

Das Lichttechnikhaus Vertriebs GmbH
Rudolf-Diesel-Str. 3, D-89312 Günzburg
Telefon +49 (0) 82 21 207 98-0
Fax +49 (0) 82 21 207 98-69
Web www.lth-gmbh.de
Table of contents
Other LTH Dj Equipment manuals