9/9
9
25 lbs. /
11.3 kg.
30 lbs. /
13.6 kg.
35 lbs. /
15.9 kg.
40 lbs. /
18.1 kg.
45 lbs. /
20.4 kg.
Furniture Care Instructions:
Dust with clean, lint-free cloth.
Use furniture spray polish as needed.
Customer Service:
877.436.7290
PRINTED IN: China
!WARNING
Serious or fatal crushing injuries can occur
from furniture tip-over. To help prevent
tip-over:
• Install tip-over restraint provided.
• Place heaviest items in the lowest drawers.
• Do not set TV’s or other heavy objects on top
of this product, unless the product is
specifically designed to accommodate them.
• Never allow children to climb or hang on drawers,
doors, or shelves.
• Never open more than one drawer at a time.
(OR)
• Do not defeat or remove the drawer interlock
system.
Use of tip-over restraints may only reduce,
but not eliminate, the risk of tip-over.
This is a permanent label. Do not remove.
• Your complete satisfaction is our number 1 priority. Our product is designed and manufactured to
meet the highest quality of standards. In the event that you have assembly questions, or parts are
missing or damaged, our customer service department would appreciate the opportunity to assist
you.
• Warranty available to original purchaser only . Proof of purchase is required . This warranty is your
sole remedy for product defect and does not cover damage due to mishandling, misuse or abuse.
The manufacturer is not responsible for incidental or consequential damages. Please contact our
Customer Service at 1-877-436-7290 to obtain information on warranty performance. This
warranty gives you specic legal rights and you may also have other rights which vary from State
to State.
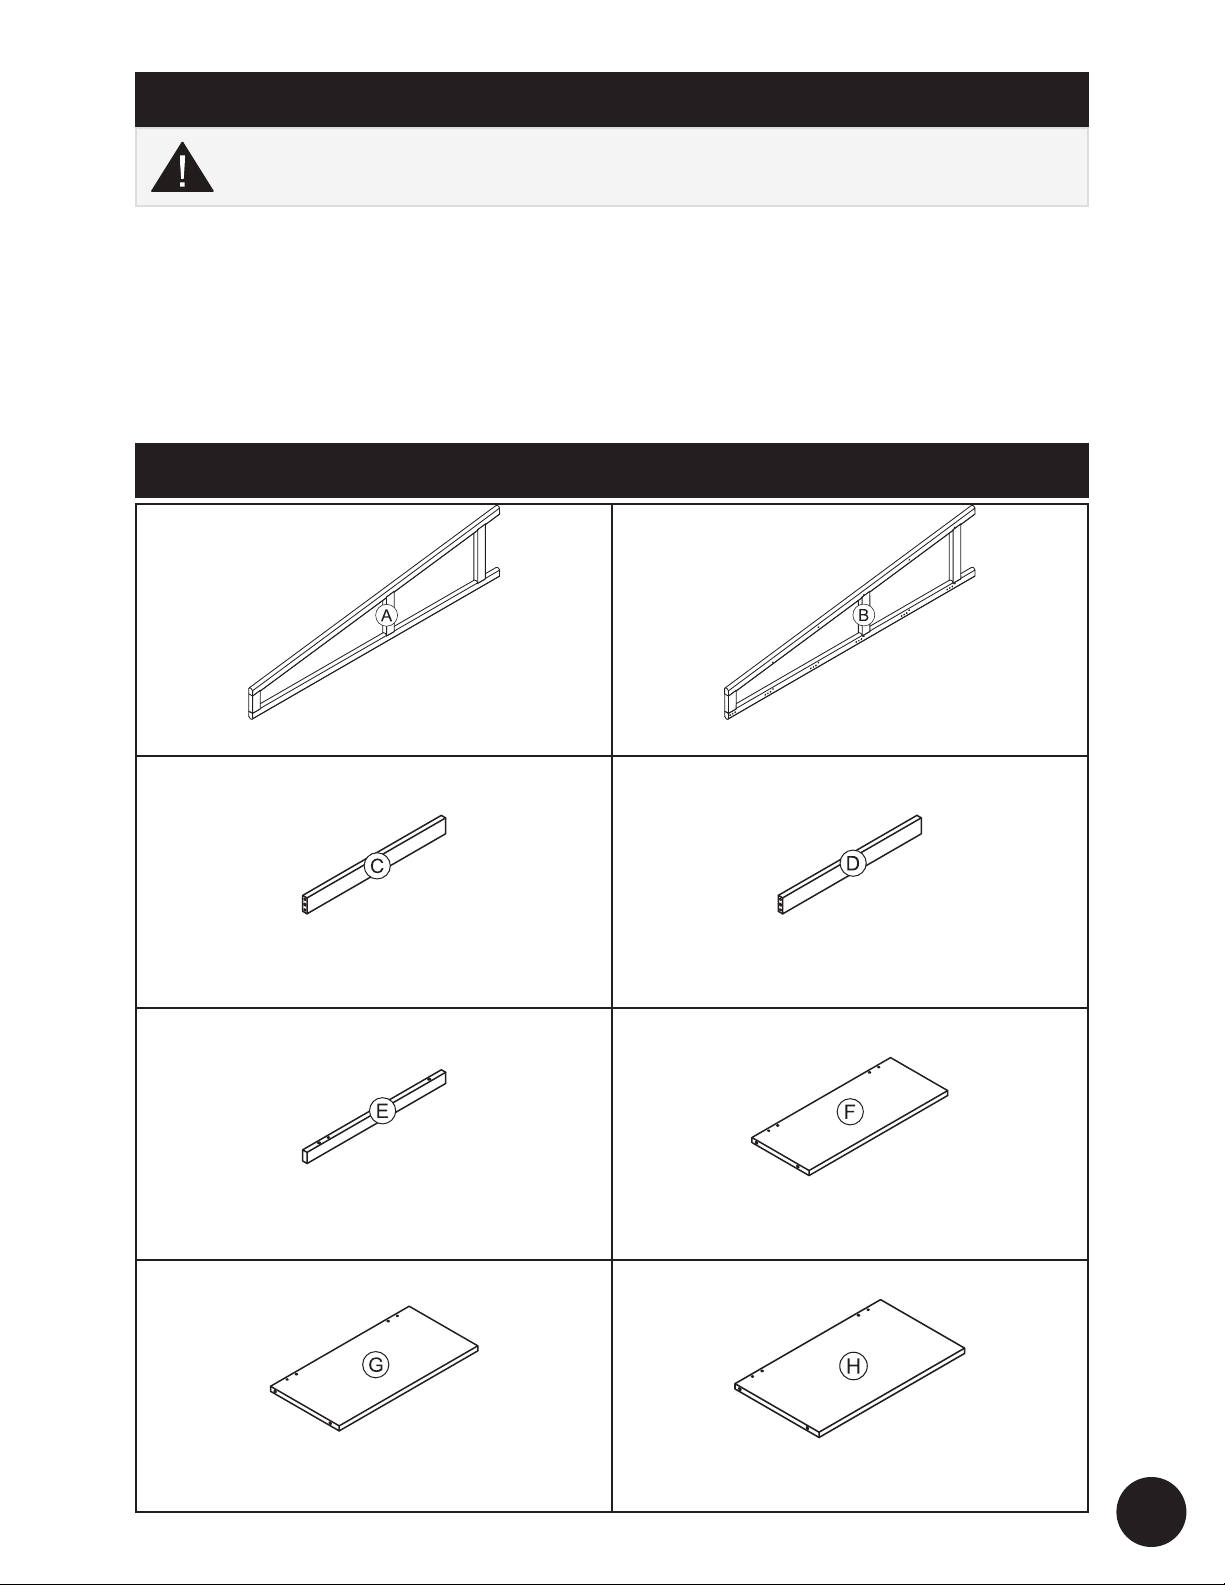
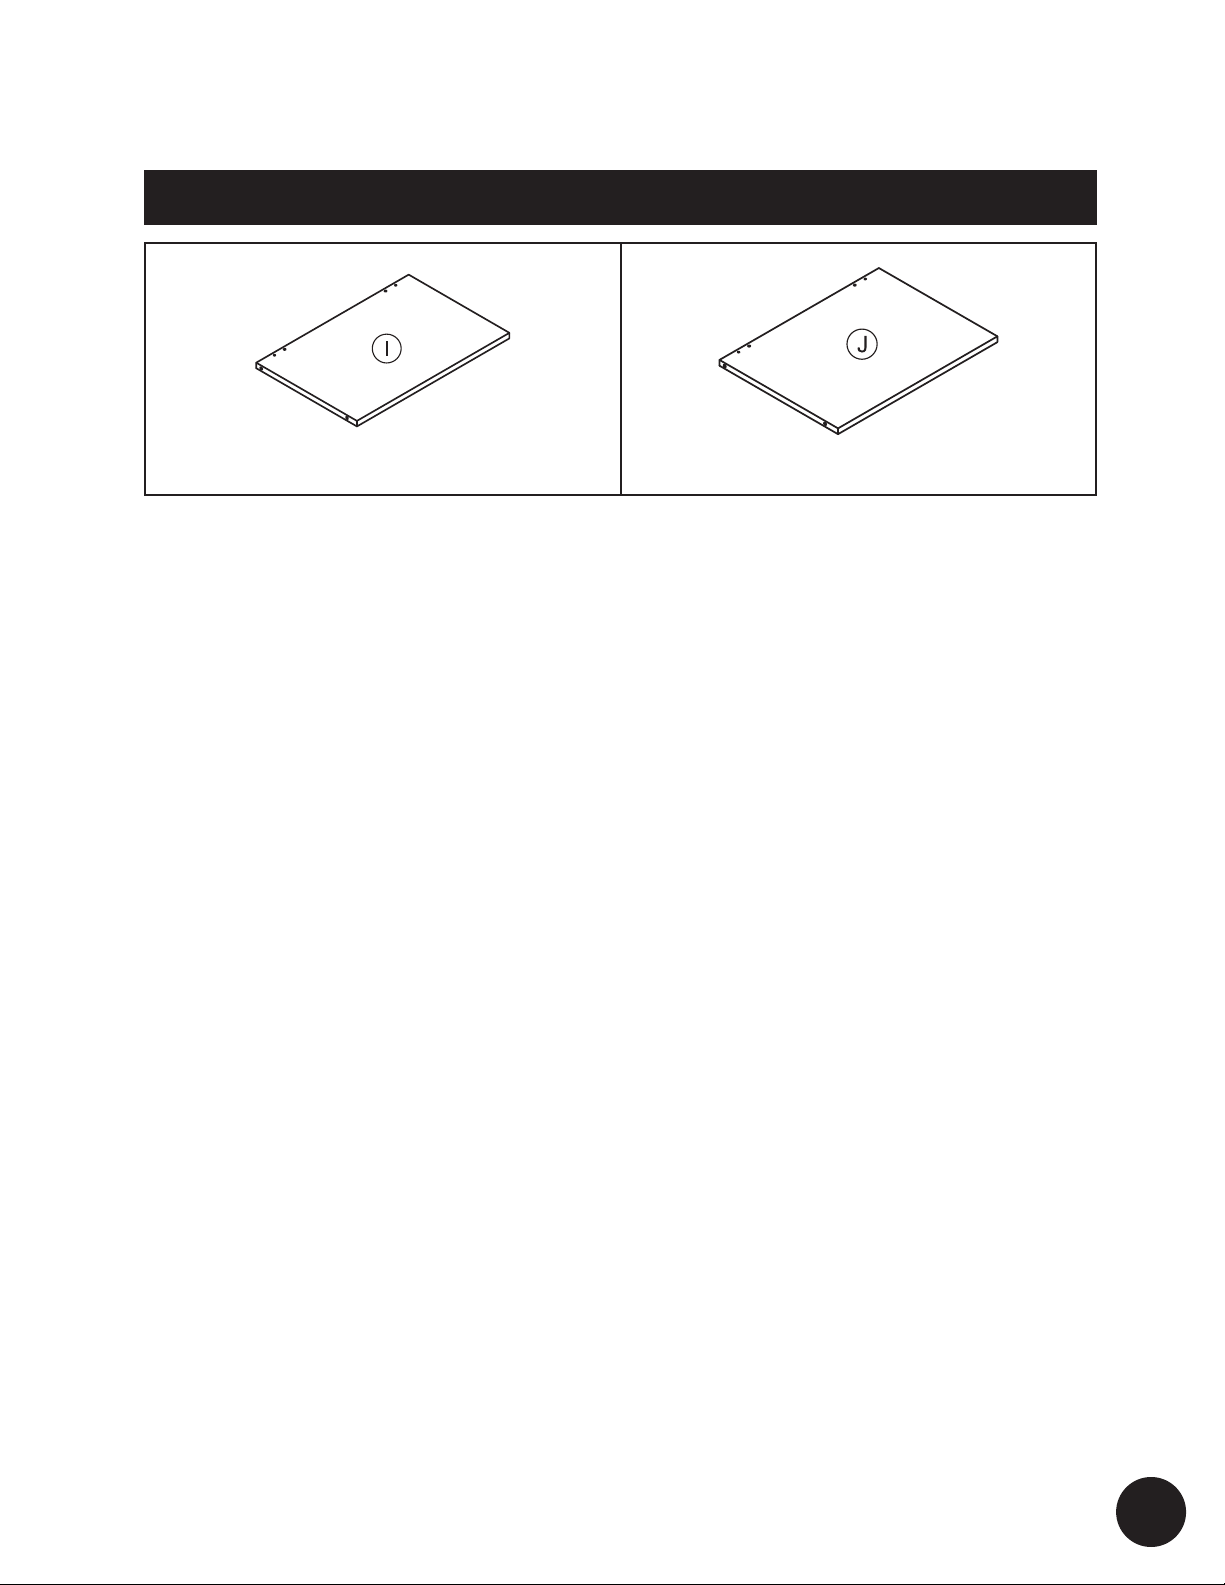
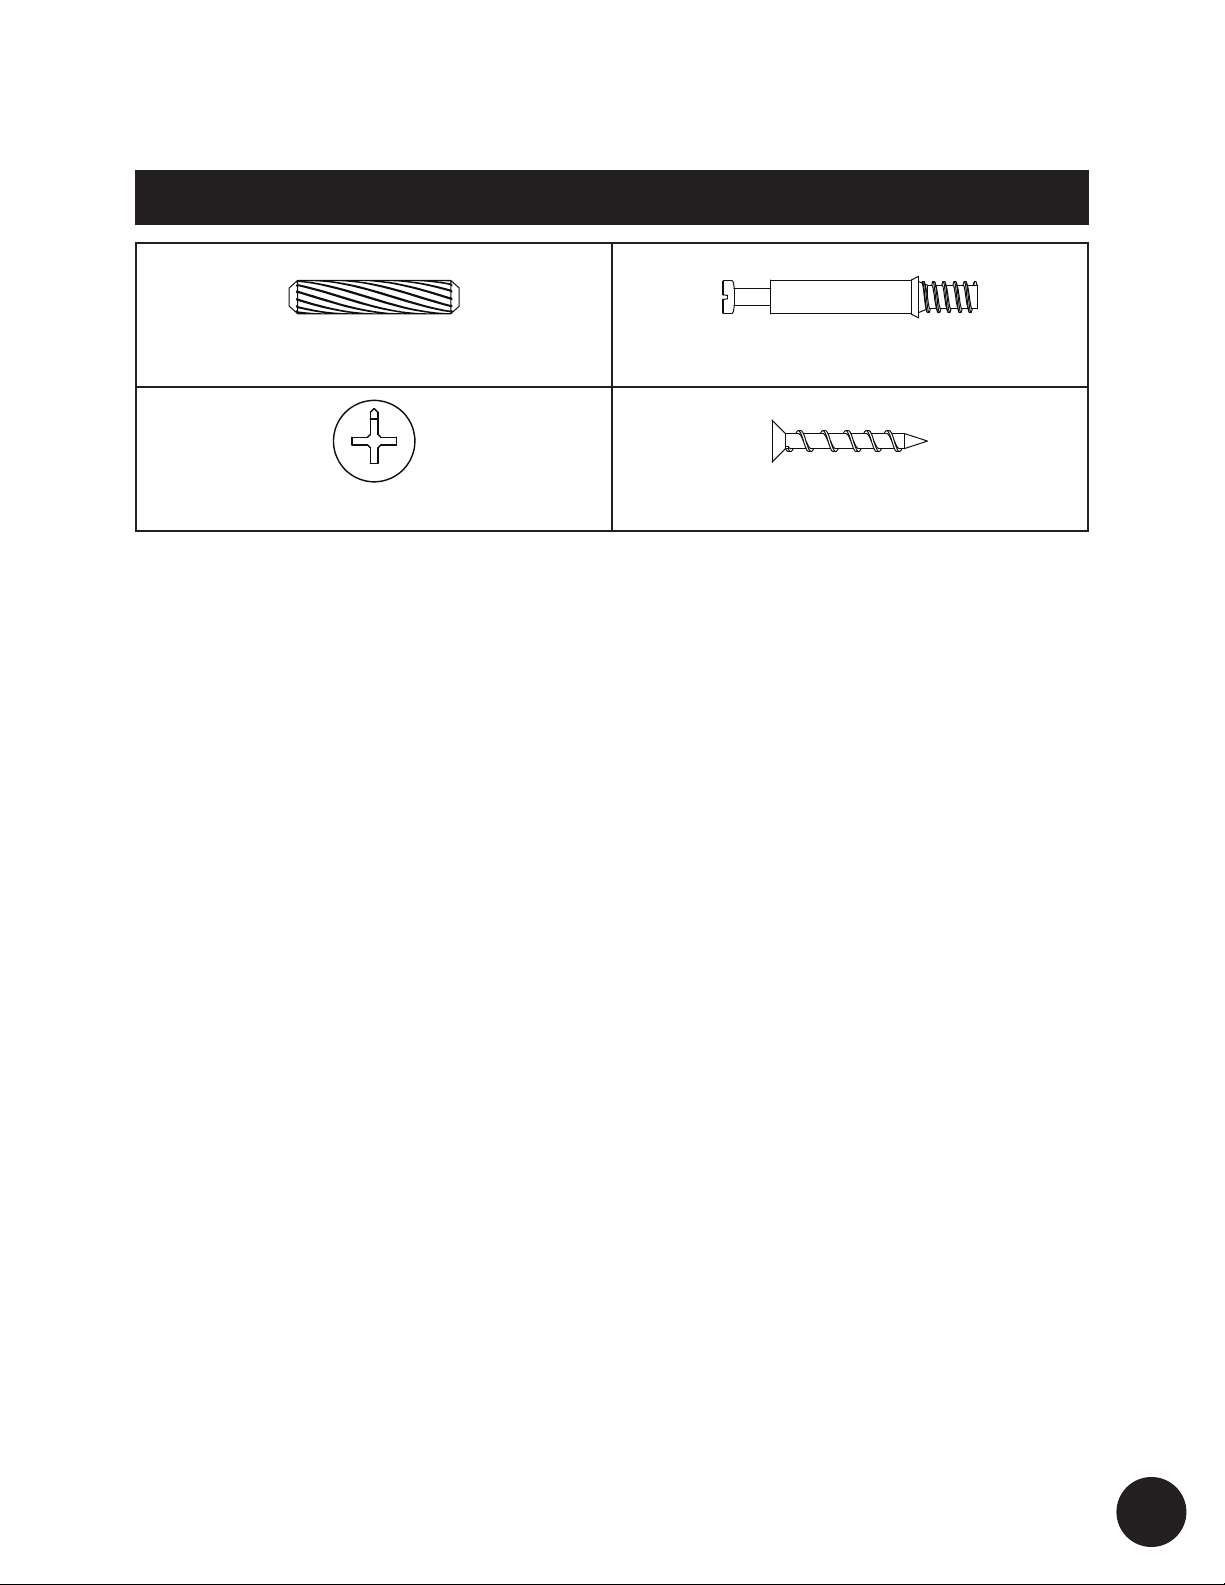
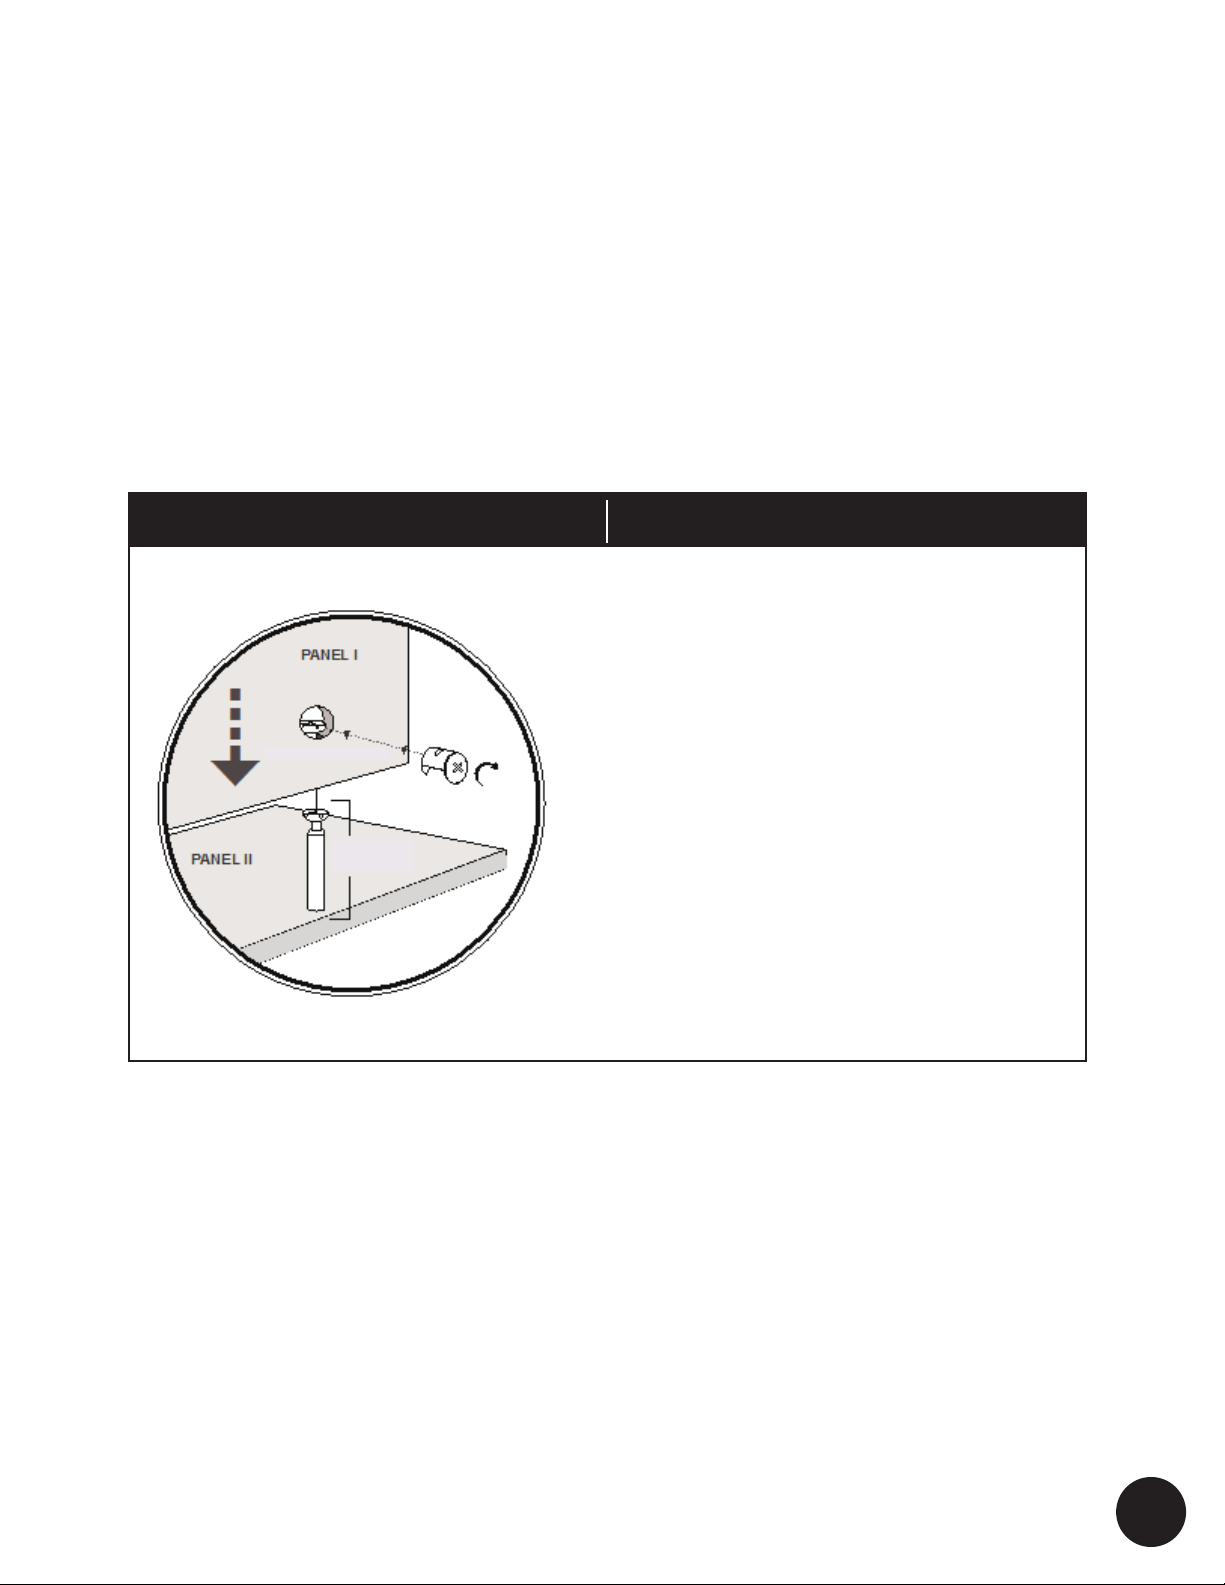
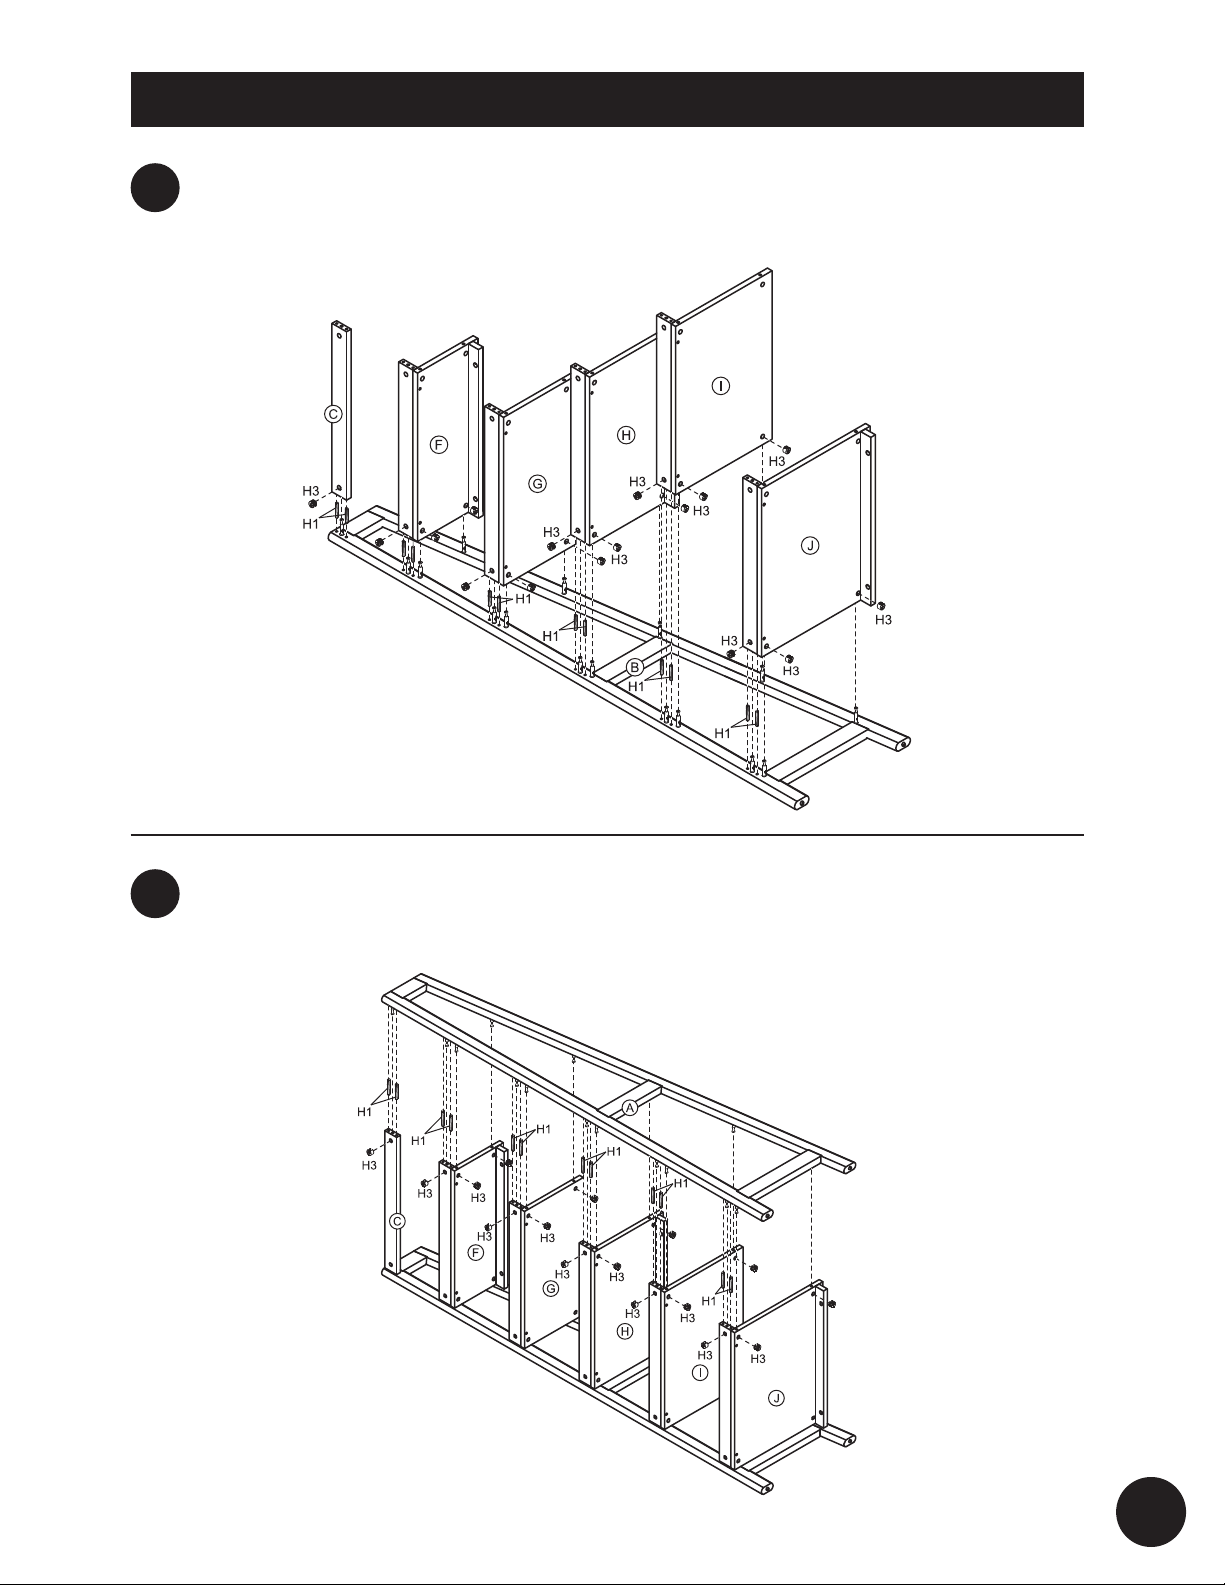
PRE-ASSEMBLY PREPARATION:
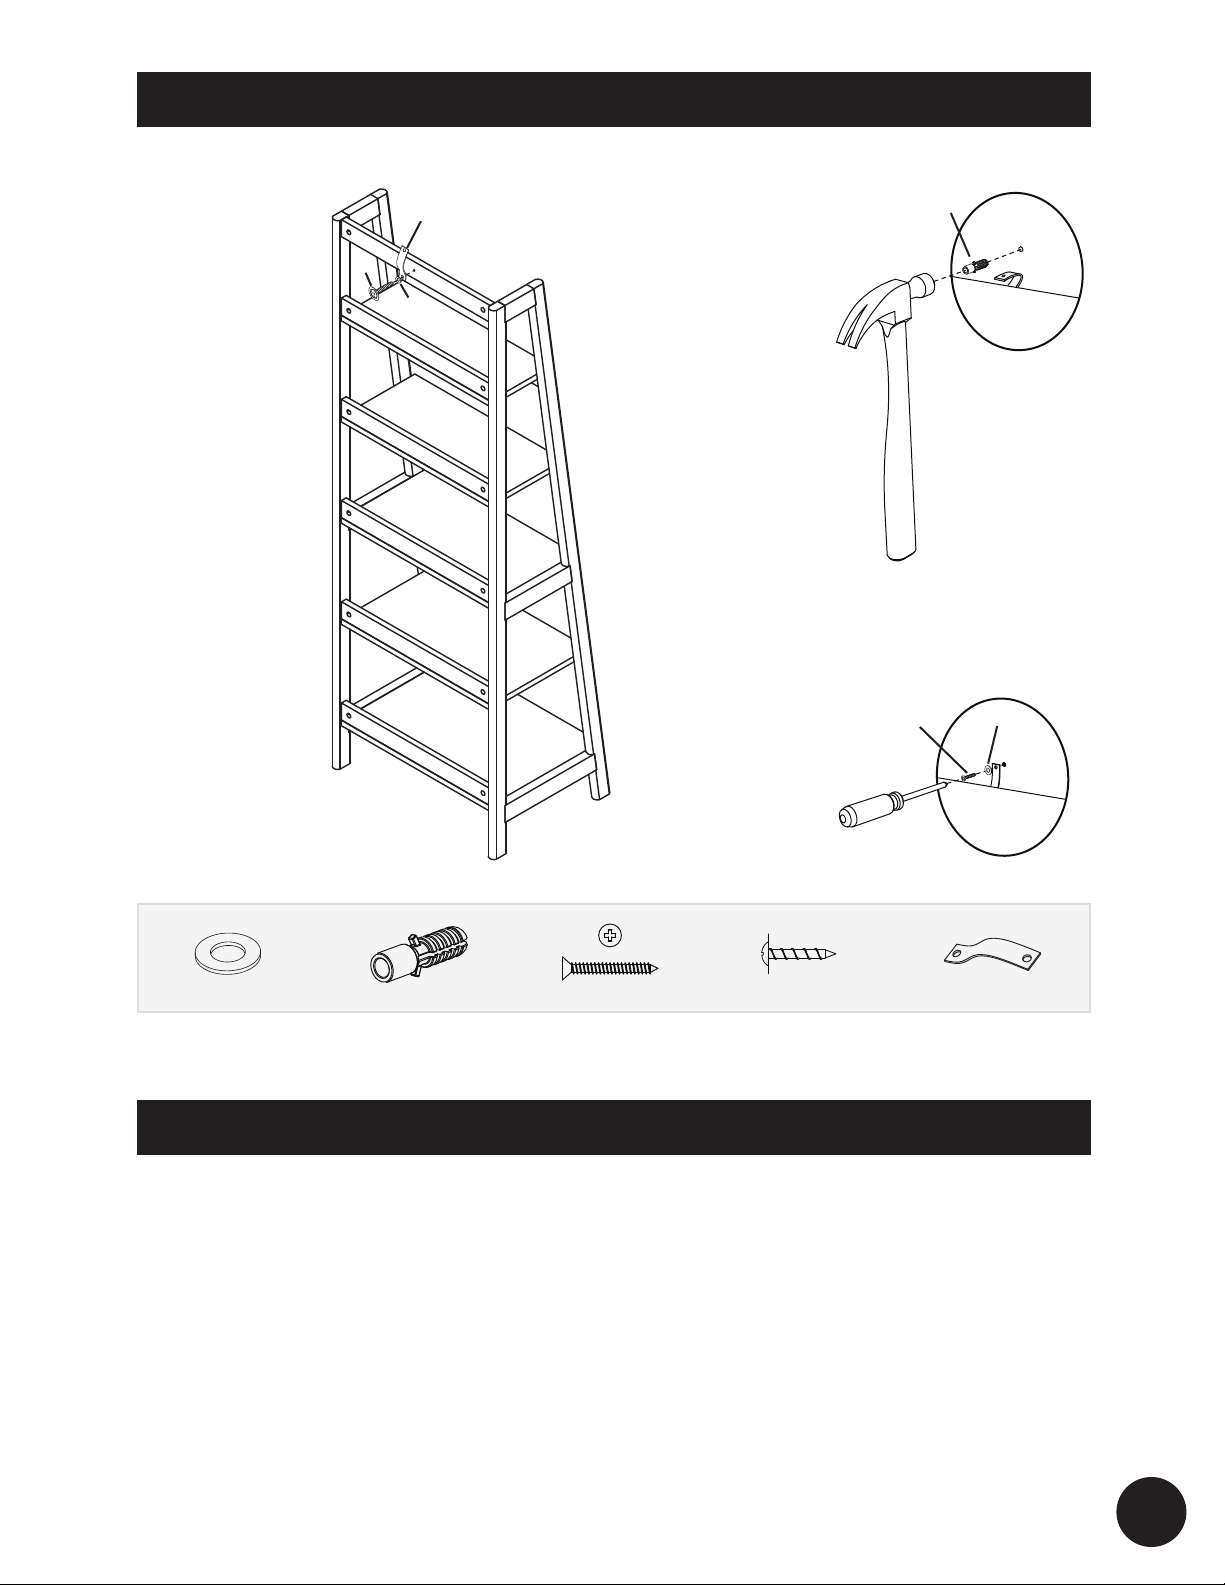
WARNING: Do not exceed the maximum load capacity. Exceeding
the maximum load capacity may result in collapse and possible injury.