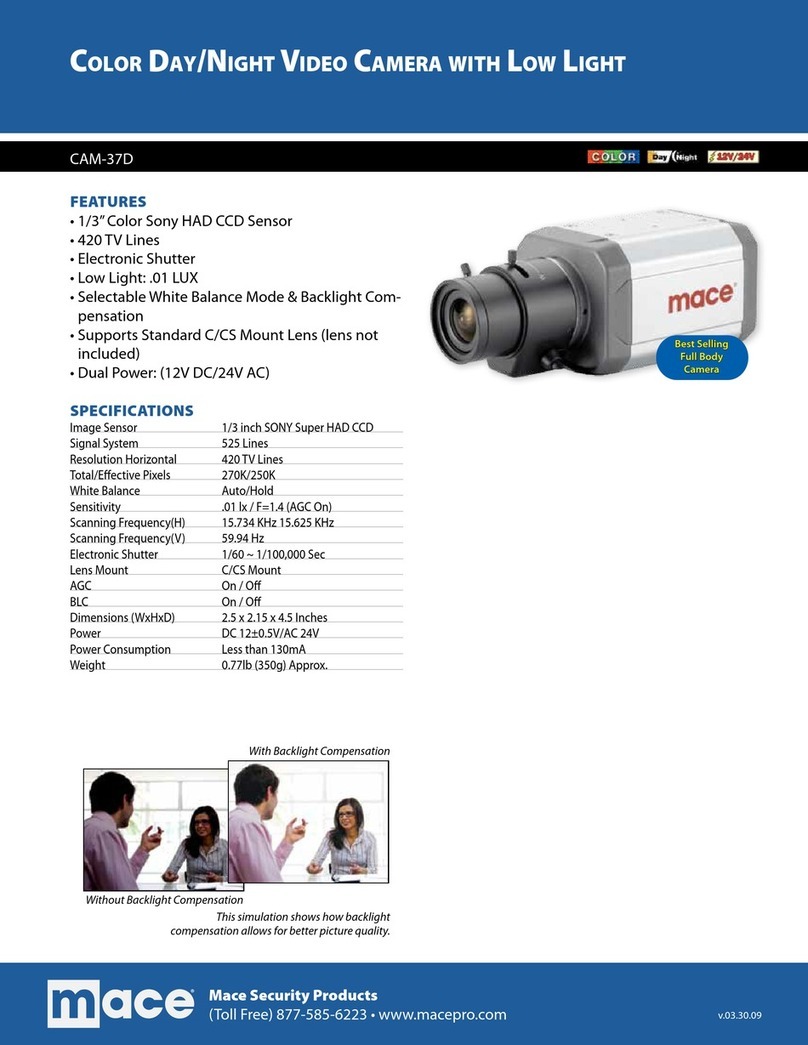
Mace Easy Watch EWIP-DOM-WIFI User manual

HD Megapixel Wireless Network
Pan/Tilt Surveillance Camera
EWIP-DOM-WIFI
Product Manual

2
Preface
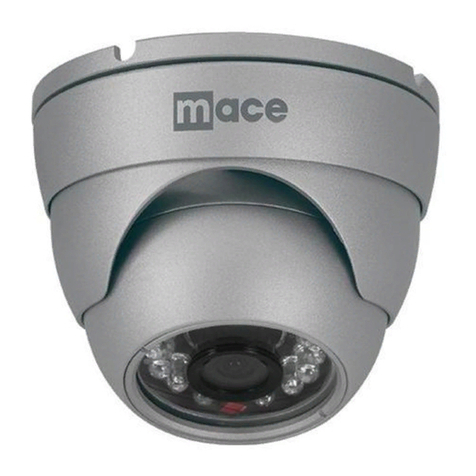
Thank you for purchasing a Mace® Easy Watch™
HD Megapixel Wireless Network Pan/Tilt
Surveillance Camera.
Your new camera is a standalone system that can be connected wirelessly
or wired to an ethernet or fast ethernet network.
Equipped with a megapixel CMOS sensor, the camera allows you to
With infrared LEDs and light sensors, you can capture clear images even
in a dark environment. Monitor everything remotely using the camera’s
purposes through the GPIO connectors.
synchronously for monitoring. The camera can also be managed remotely
via a web browser to access and control it from any desktop/notebook
computer over your intranet or the internet.
supported, this HD Megapixel Wireless Network Surveillance Camera is a
video images.
5101 NW 21st Ave, Suite 210 • Fort Lauderdale, FL 33309
www.mace.com • (888) 530-6223

3
how to use your camera, including:
Chapter 1
Introducon to your Camera
Chapter 2
Hardware Installaon
Easily install the camera at your home or workplace.
Chapter 3
Accessing the Camera
Learn how easy it is to start using your camera. Get set up and work within
your network environment instantly.
Chapter 4
Conguring the Camera
Chapter 5
Appendix
for use and care.
NOTE: Theillustraonsandconguraonvaluesinthisguidearefor
referenceonly.Theactualsengsdependonyourpraccal
applicaonofthecamera.

Contents
Preface /2
Chapter 1 — Introducon to Your Camera /5
/5
/6
/9
/11
Chapter 2 — Hardware Installaon /12
/12
/13
/15
Chapter 3 — Accessing the Camera /16
/16
/17
/21
Chapter 4 — Conguring the Camera /22
/22
/23
/27
/30
/39
/40
/45
/50
/51
/55
/57
/58
Appendix /59
/59
/62
/63

Chapter 1
Introducon to Your Camera
1.1 Checking the Package Contents
Check the items contained in the package carefully. You should have the
following:
Pan/Tilt Surveillance Camera
NOTE: Ifanyoftheitemsaredamagedormissing,contactMaceTech
Supportat888-530-MACE(6223).

6
a
g f
a. Infrared LEDs (x7)
environment
b. Light Sensor
c. Lens Assembly
d. USB Port
b
d
h
1.2 Getting to know your Camera
e
c

e. Internal Microphone
f. Link LED
g. Power LED
amber light.
h. External Antenna
i j k l mn o p

i. USB Unmount Button
NOTE: AerlongpressingtheUnmountbuonforfourseconds,the
PowerLEDstartsashing.WhenthePowerLEDresumesthe
steadyamberlight,youcanremovetheUSBdevicesafely.
j. DC Power Connector
the camera.
k.WPS Button
TIP: FormoreinformaonontheWPSbuonsee:
Network»Wireless»WPSSengs
l. GPIO Connectors
m. Reset Button
tarts the camera when it is pressed quickly
nds
n.Wireless Antenna Connector
o.Ethernet Cable Connector
protocol so that the camera can detect network speed
p.Audio-out Connector

1.3 Features & Benefits
• H.264/MPEG4/MJPEG Multi-codec supported
quality, and bit rate according to the networking environment.
• High Resolution Surveillance
Equipped with a megapixel CMOS sensor, the high performance camera is
• Day & Night Surveillance Supported
The seven infrared LEDs around the standard lens assembly enable the
camera to capture crystal clear images in a dark environment or at night.
When the Light Sensor detects the environmental light level becomes low,
LEDs.
• Optimal Viewing
the camera, enabling you to quickly move the camera lens to the desired
• Remote Control Supported
monitor the image and take snapshots via the network.
• Multiple Profiles Supported
3GPP.
• Flexible Audio Capability

• Supports RTSP
technology that allows you to view streaming media via the network. You can
MPEG4 stream: rtsp://(IPaddressofthecamera)
H.264 stream: rtsp://(IPaddressofthecamera)
• Mobile Device Viewing Supported
• I/O Connectors Provided
provide the physical interface to send and receive digital signals to a variety
of external alarm devices. You can connect a special featured device, and
• Multiple Platforms Supported
• Multiple Applications Supported
Through the remote access technology, you can use the cameras to monitor

1.4 System Requirements
Networking
LAN:
WLAN:
Accessing the Camera using a Web Browser
Plaorm:
CPU:
RAM:
Resoluon:
User Interface:
Accessing the Camera using Easy Watch IP software
Plaorm:
Resoluon:
Hardware Requirements
1 to 8 cameras:
9 to 32 cameras:
NOTE: Ifyouconnectmulplecamerastomonitorvariousplaces
simultaneously,itisrecommendedtouseacomputerwithmore
performance.

100.9
110.7 116.7
149.1
110.7
Screw
Screw Screw
Wall Mount Kit
Chapter 2
Hardware Installaon
2.1 Installing the Wall Mount Kit

100.9
110.7 116.7
149.1
110.7
Connecting the Ethernet Cable
2.2 Connecting the Camera to your
LAN/WLAN
front panel of the camera.
standby and ready for use.

Attaching the external antenna
any access point with an SSID of “default”.

2.3 Applications of the Camera
• Monitoring local and remote places and objects via the
Internet or your Intranet
• Capture still images and video clips remotely
• Upload images or send email messages with still images
attached
camera and provides a basic example for installing the camera.
Home Applications
*NOTE:Enclosethecamerainawaterproofhousingwhenusingoutdoors.

Display for the connected
link the camera.
Click AboutIPFinder.
Click Link to connect the selected camera.
Click Change IP to modify the IP address of the selected camera.
Click Search
Click Exit
Chapter 3
Accessing the Camera
3.1 Using IPFinder
IPFinder
you to easily search for the camera on your network.
1. Insert the installation CD into your computer’s CD-ROM
drive to initiate the autorun program.
2. Click “IPFinder” to launch the utility. The control panel will
appear as below.
3. Once you see the IP address of the camera, launch the web
browser or Easy Watch IP software to access your camera.

3.2 Accessing the Camera
1. Since the default mode for the camera is DHCP enabled,
it is recommended to launch IPFinder to search for the IP
address that is assigned to the camera by the DHCP server—
then click “Link” to access the camera via the web browser.
2. If the camera is unable to attain an IP address using DHCP,
the default IP address will be 192.168.0.30.
3. When the login window appears, enter the default User
Name (admin) and password (admin). Press OK.
NOTE: Ifyouareaccessingthecamerafortherstme,youwillbeasked
toinstallanewplug-in.ClickYestoproceed.
Enter the IP address of
the camera here.
and Password here.

k
l
m
kLive View/Setup Switch
to return to the Main screen to view the live view
image.
lCompression Buttons
Select to transmit and record the video using H.264, MPEG4 or MJPEG
compression.
mPan/Tilt Buttons
p
o
n

Home
Down
Le/Right/Up/Down/Home
Home
Auto Patrol
Number buons
Le/
Right/Up/Down
Apply
nFunction Buttons
Manual Record
Snapshot
Browse
Talk
Listen
Trigger Out

o Live View Area
Compression Mode
Zoom Buons
Click the
p Language and Camera Information
Language
the system.
Camera Informaon
NOTE: Ifyouhavetroublendingtherecordedlesthataresavedby
SnapshotorManualRecordinMicrosoVista,youmayneed
tomodifythesecuritysengsforInternetExplorerthroughthe
followingsteps:
3. Click Security.
Table of contents
Other Mace Security Camera manuals

Mace
Mace CAM-77 Manual

Mace
Mace CAM-53CIR User manual

Mace
Mace CAM-85PIR Owner's manual

Mace
Mace MVC-IPVD-0313 User manual

Mace
Mace MaceView MVC-IRVB-49 User manual

Mace
Mace MaceView User manual

Mace
Mace CAM-68CIR User manual

Mace
Mace MaceView Covert Series User manual

Mace
Mace CAM-71 User manual

Mace
Mace MVC-PTZ-23X User manual