j) Set the case switch to « Power ».
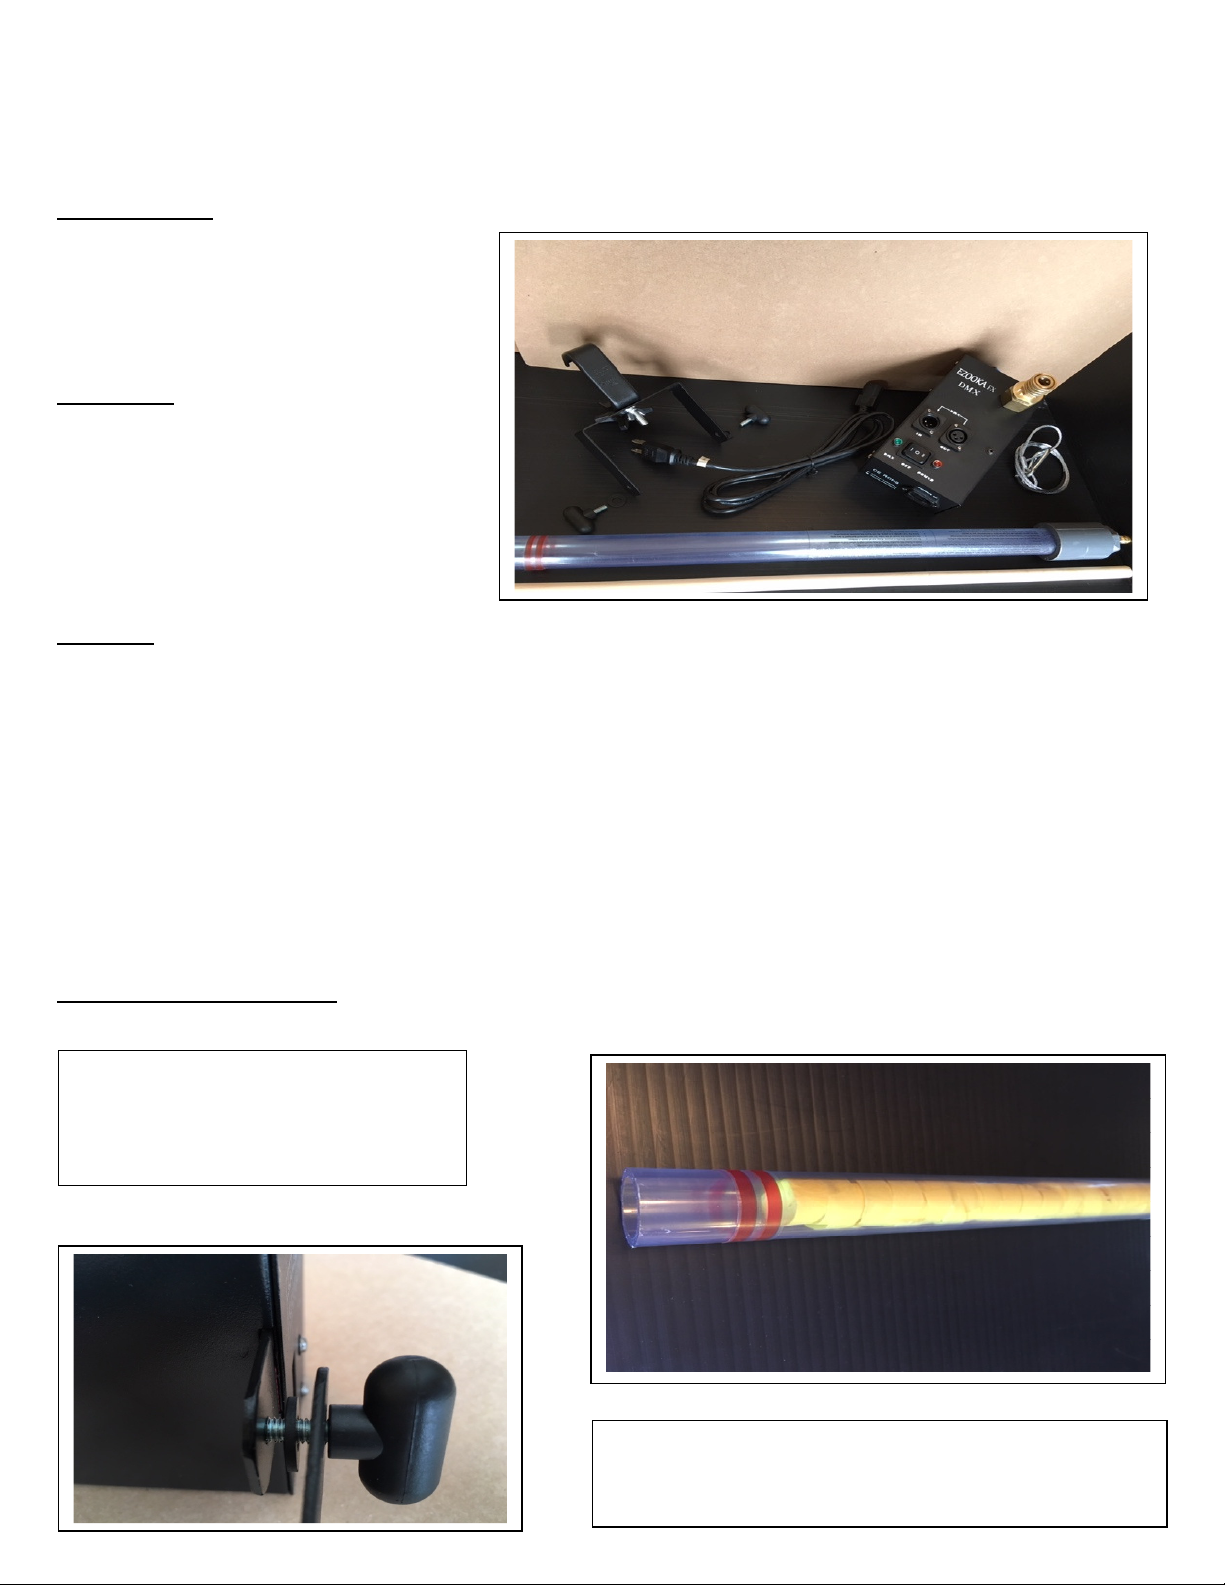
k) Insert and screw the Co2 cartridge all the way.
l) The launcher is now ready.
m) After triggering the launcher, do not forget to
remove the power supply to prevent it from
staying activated.
The launcher will be triggered as soon as the power in turned on.
2- From a DMX controller
Steps
CAUTION:
NEVER INSTALL THE Co2 CARTRIDGE BEFORE ATTACHING AND ADJUSTING THE LAUNCHER, INSTALLING THE
SHOOTING TUBE AND ARMING THE DRILLING SYSTEM.
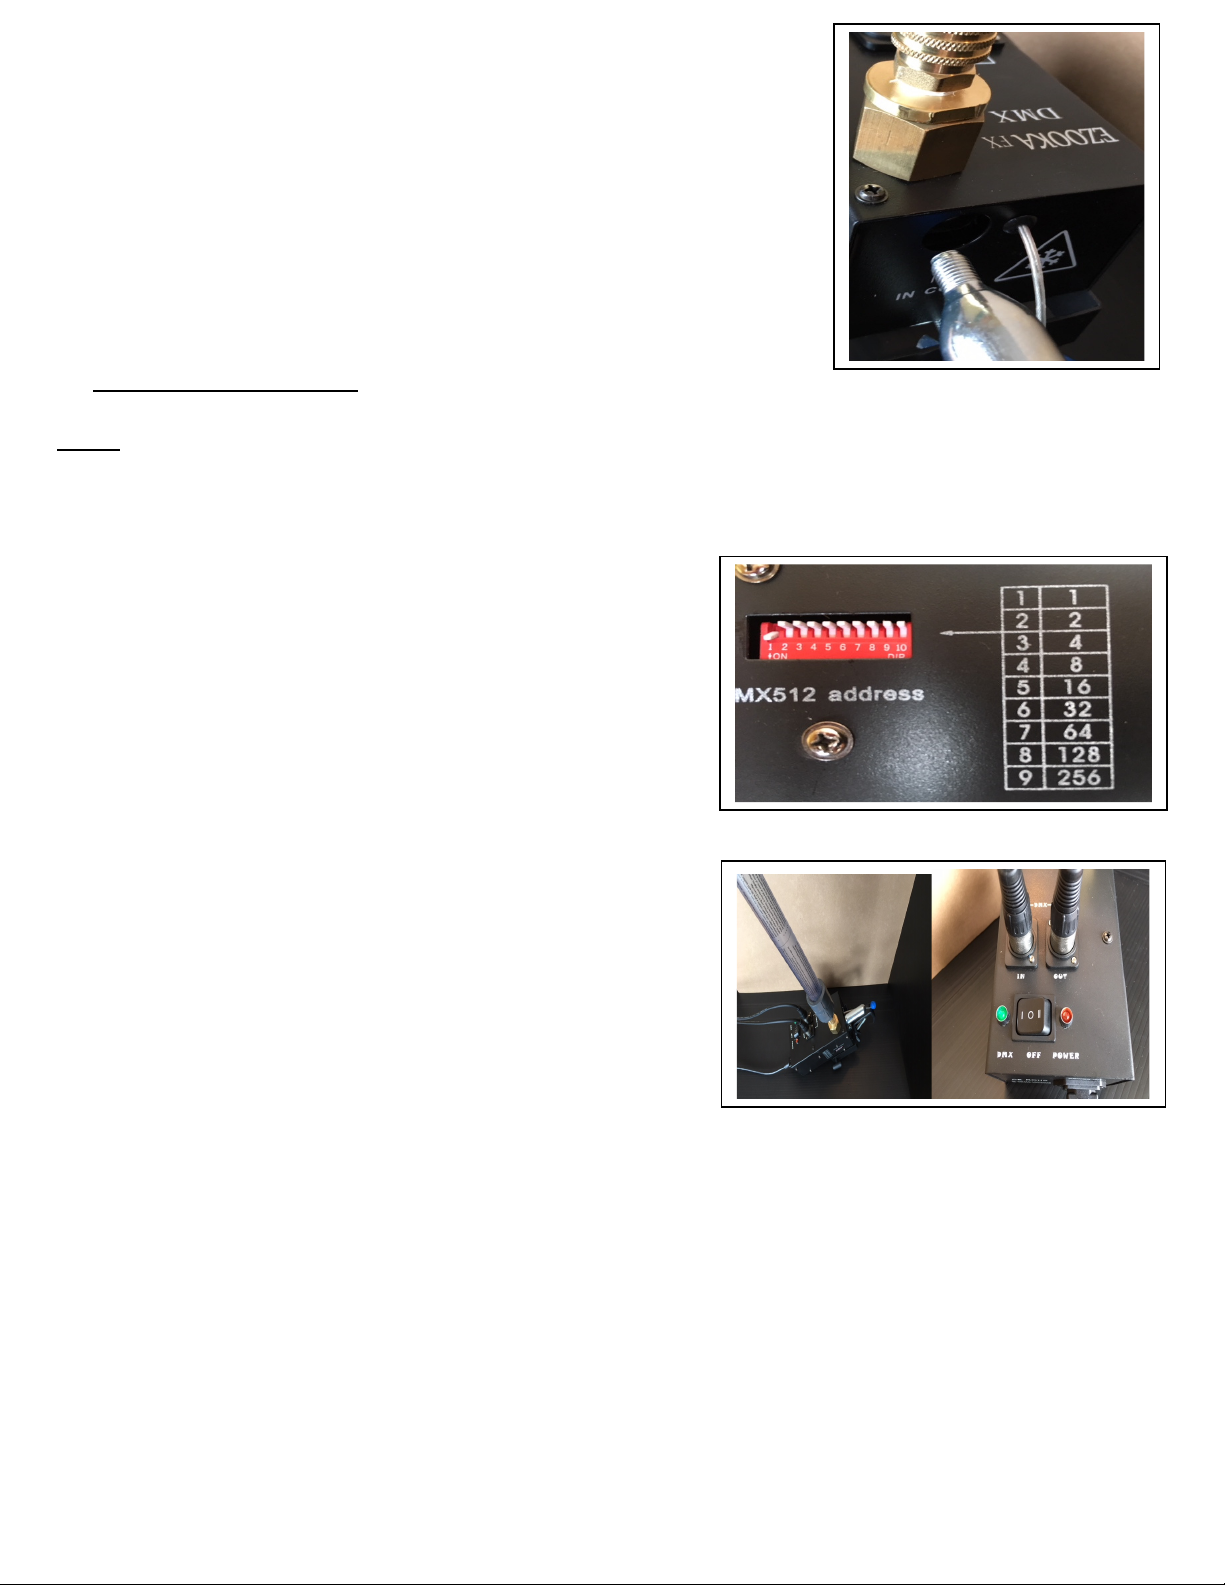
a) Program the addresses of each launcher according
to the desired configuration using the switches (Dip Switch)
Refer to the operating manual of your DMX controller.
b) Install the EZOOKA launchers on the ground giving
them the desired firing angle by adjusting the brackets
or attaching them to a structure using the C-Clamp.
c) Secure the launchers to the structure using the security threads.
d) Make sure the switches on the Ezooka boxes are « OFF ».
e) Make sure the DMX controller is not in use.
f) Connect the power cords to the EZOOKA electric launchers
and make sure they are firmly in place.
g) Connect the 3-pin DMX control cable from the output
of the DMX controller to the "IN" entry of an EZOOKA launcher
box and link the other launchers by connecting them with
the 3-pin DMX cables from the "OUT" output of one launcher
to the "IN" entry of another, and so on.
h) Install the pre-filled firing tubes to the launchers by lowering
the coupler ring and inserting the tube.
i) Reassemble the coupler ring so that the firing tube is securely attached to the launcher. Check for tightness by
pulling on the tube. To prevent the tube from being thrown, repeat the procedure if it’s not tight enough.
j) Adjust the firing angle by tightening the adjustment knobs.
k) Pull on the cocking handle (blue ball) until it snaps into place and stays in place. Note: If the system is not properly
engaged the cable length of the blue handle coming out of the case is approximately cm (2.5 inches) and when it
is engaged the length is approximately 11 cm (4.5 inches).
l) Set the case’s switches to « DMX».
m) Insert and screw the Co2 cartridge all the way
n) The launchers are now ready.
o) After triggering the launchers, do not forget to remove the power supply to prevent them from staying activated.
The launchers will be triggered as soon as the DMX system controls are activated.