SkyRaider Quick Guide June 30, 2015
SkyRaider Quick Guide Page 1
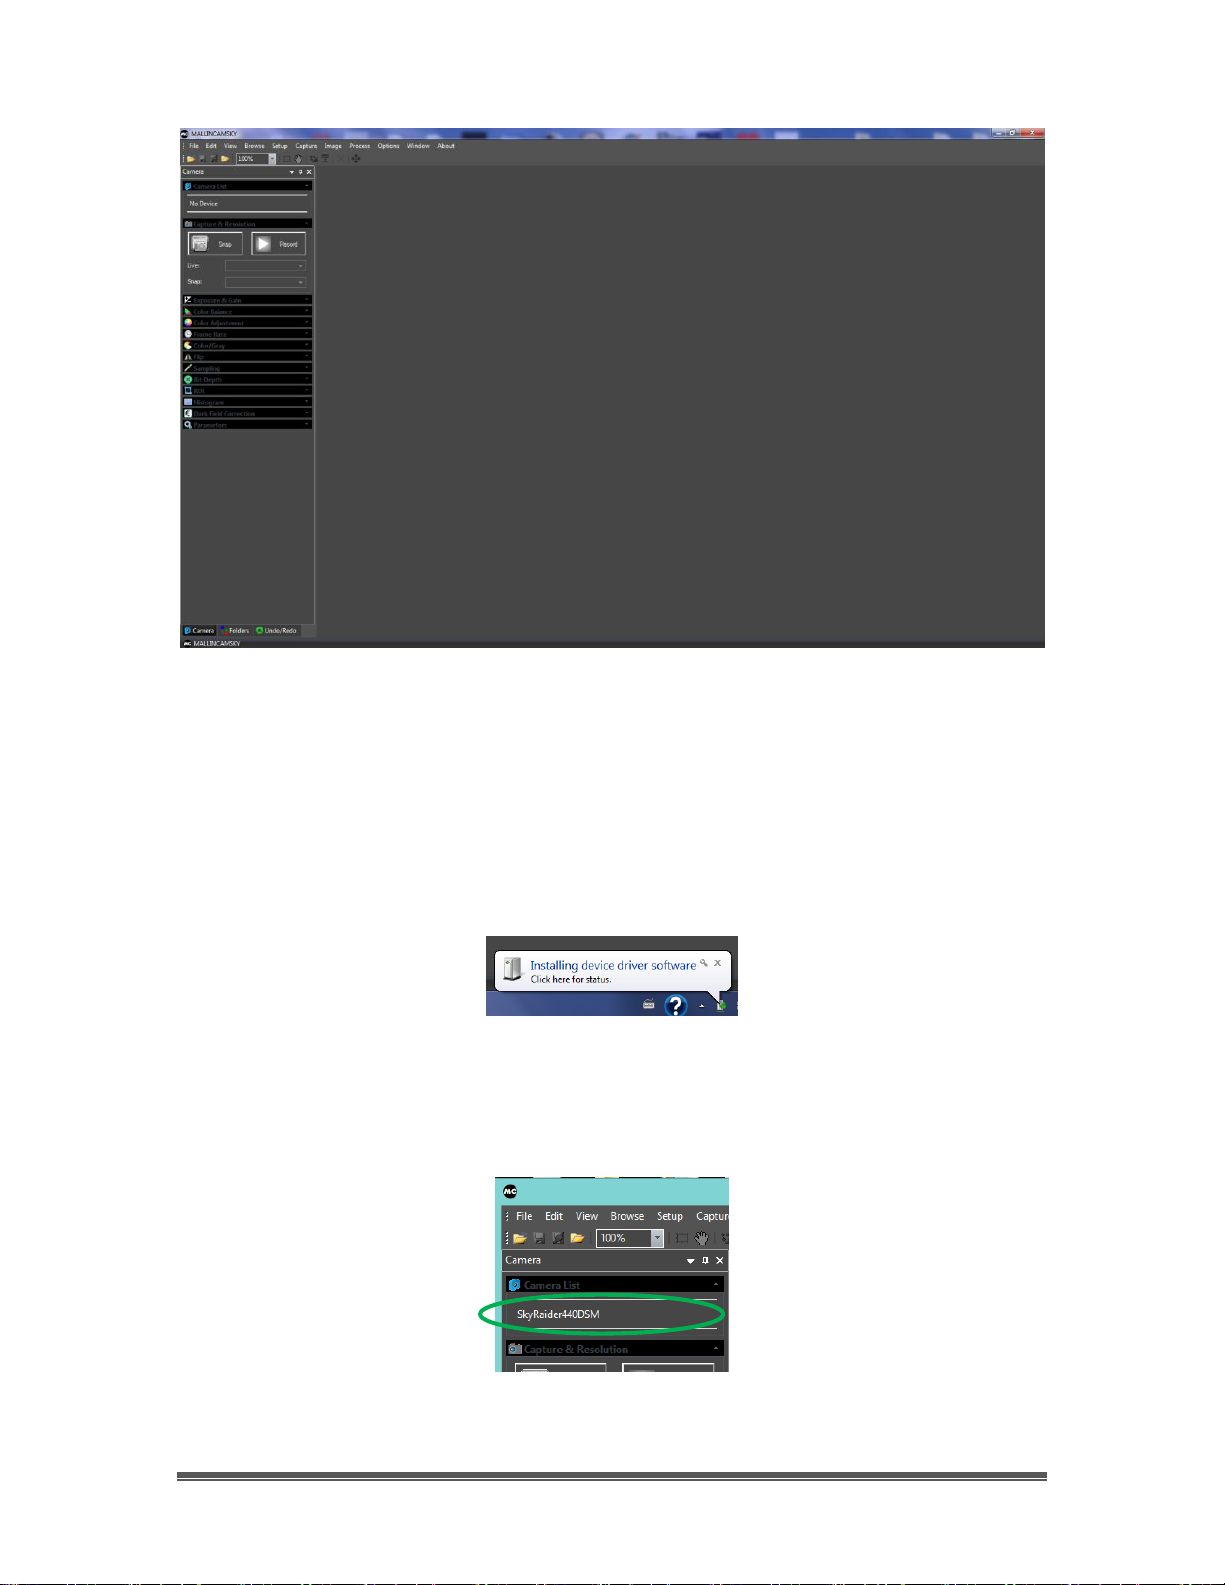
1. Introduction
After years of designing and testing under all operative conditions, MallinCam
has created the next generation of Live Astronomical Video CCD Cameras. Not
only live observation is possible, the series of SkyRaiders can take images and
video recording too! No one in the industry has developed and pushed the
envelope in an astronomical camera with such a state of the art product. We
are the leader in the Live Video CCD camera industry and plan to stay that way
for the benefit of astronomical advancement for the amateur community and
professionals alike.
The software package features the most advanced live video imaging system
ever created. MallinCam has created the world's first software with the MC
DarkField Subtraction System, on-the-fly eliminating the need of a Peltier cooler
under live application and yet retaining the best low noise live image ever
encountered on the market today. A MallinCam Advanced exclusive, the
MallinCam Dark Field live subtraction feature is unique to the MallinCam
SkyRaider Series of cameras. Images can be saved in the same manner or video
files can be created with the same On-The-Fly DarkField correction. Among
other advanced features, a live on-the-fly histogram make final image
adjustment possible to produce the finest live image, with the option to save
your view as an image or video file. The MallinCam SkyRaider-DS features the
world renowned Hyper-circuit with a buffered variable gain. The Hyper circuit is
used in our other camera designs and allows a user to increase sensitivity with
low noise without increasing exposure time. A MallinCam Exclusive. Installation of
the Hyper circuit in the SkyRaider-DS differs from other MallinCam cameras in
that it uses a triple buffered electronic section to keep noise to a low level and
still can be used with the Live MC Dark Field Subtraction for even lower
noise. The MallinCam SkyRaider-DS features dual independent on board
memory, ensuring separate video / imaging signal / data from the camera
control through USB2 demand. No other video CCD camera system has these
exciting unique features on the market today. The MallinCam SkyRaider-DS uses
a two stage step up voltage driver to operate the CCD sensor to its maximum
sensitivity at 15.3 volts from a 5 volts source. A MallinCam unique feature not
found on any other video CCD cameras using USB2 system.
Special thanks to Chris Appleton and Rock Mallin who expertise and experience
are way beyond my capabilities.
So thank you for your purchase, and let the adventure begin.